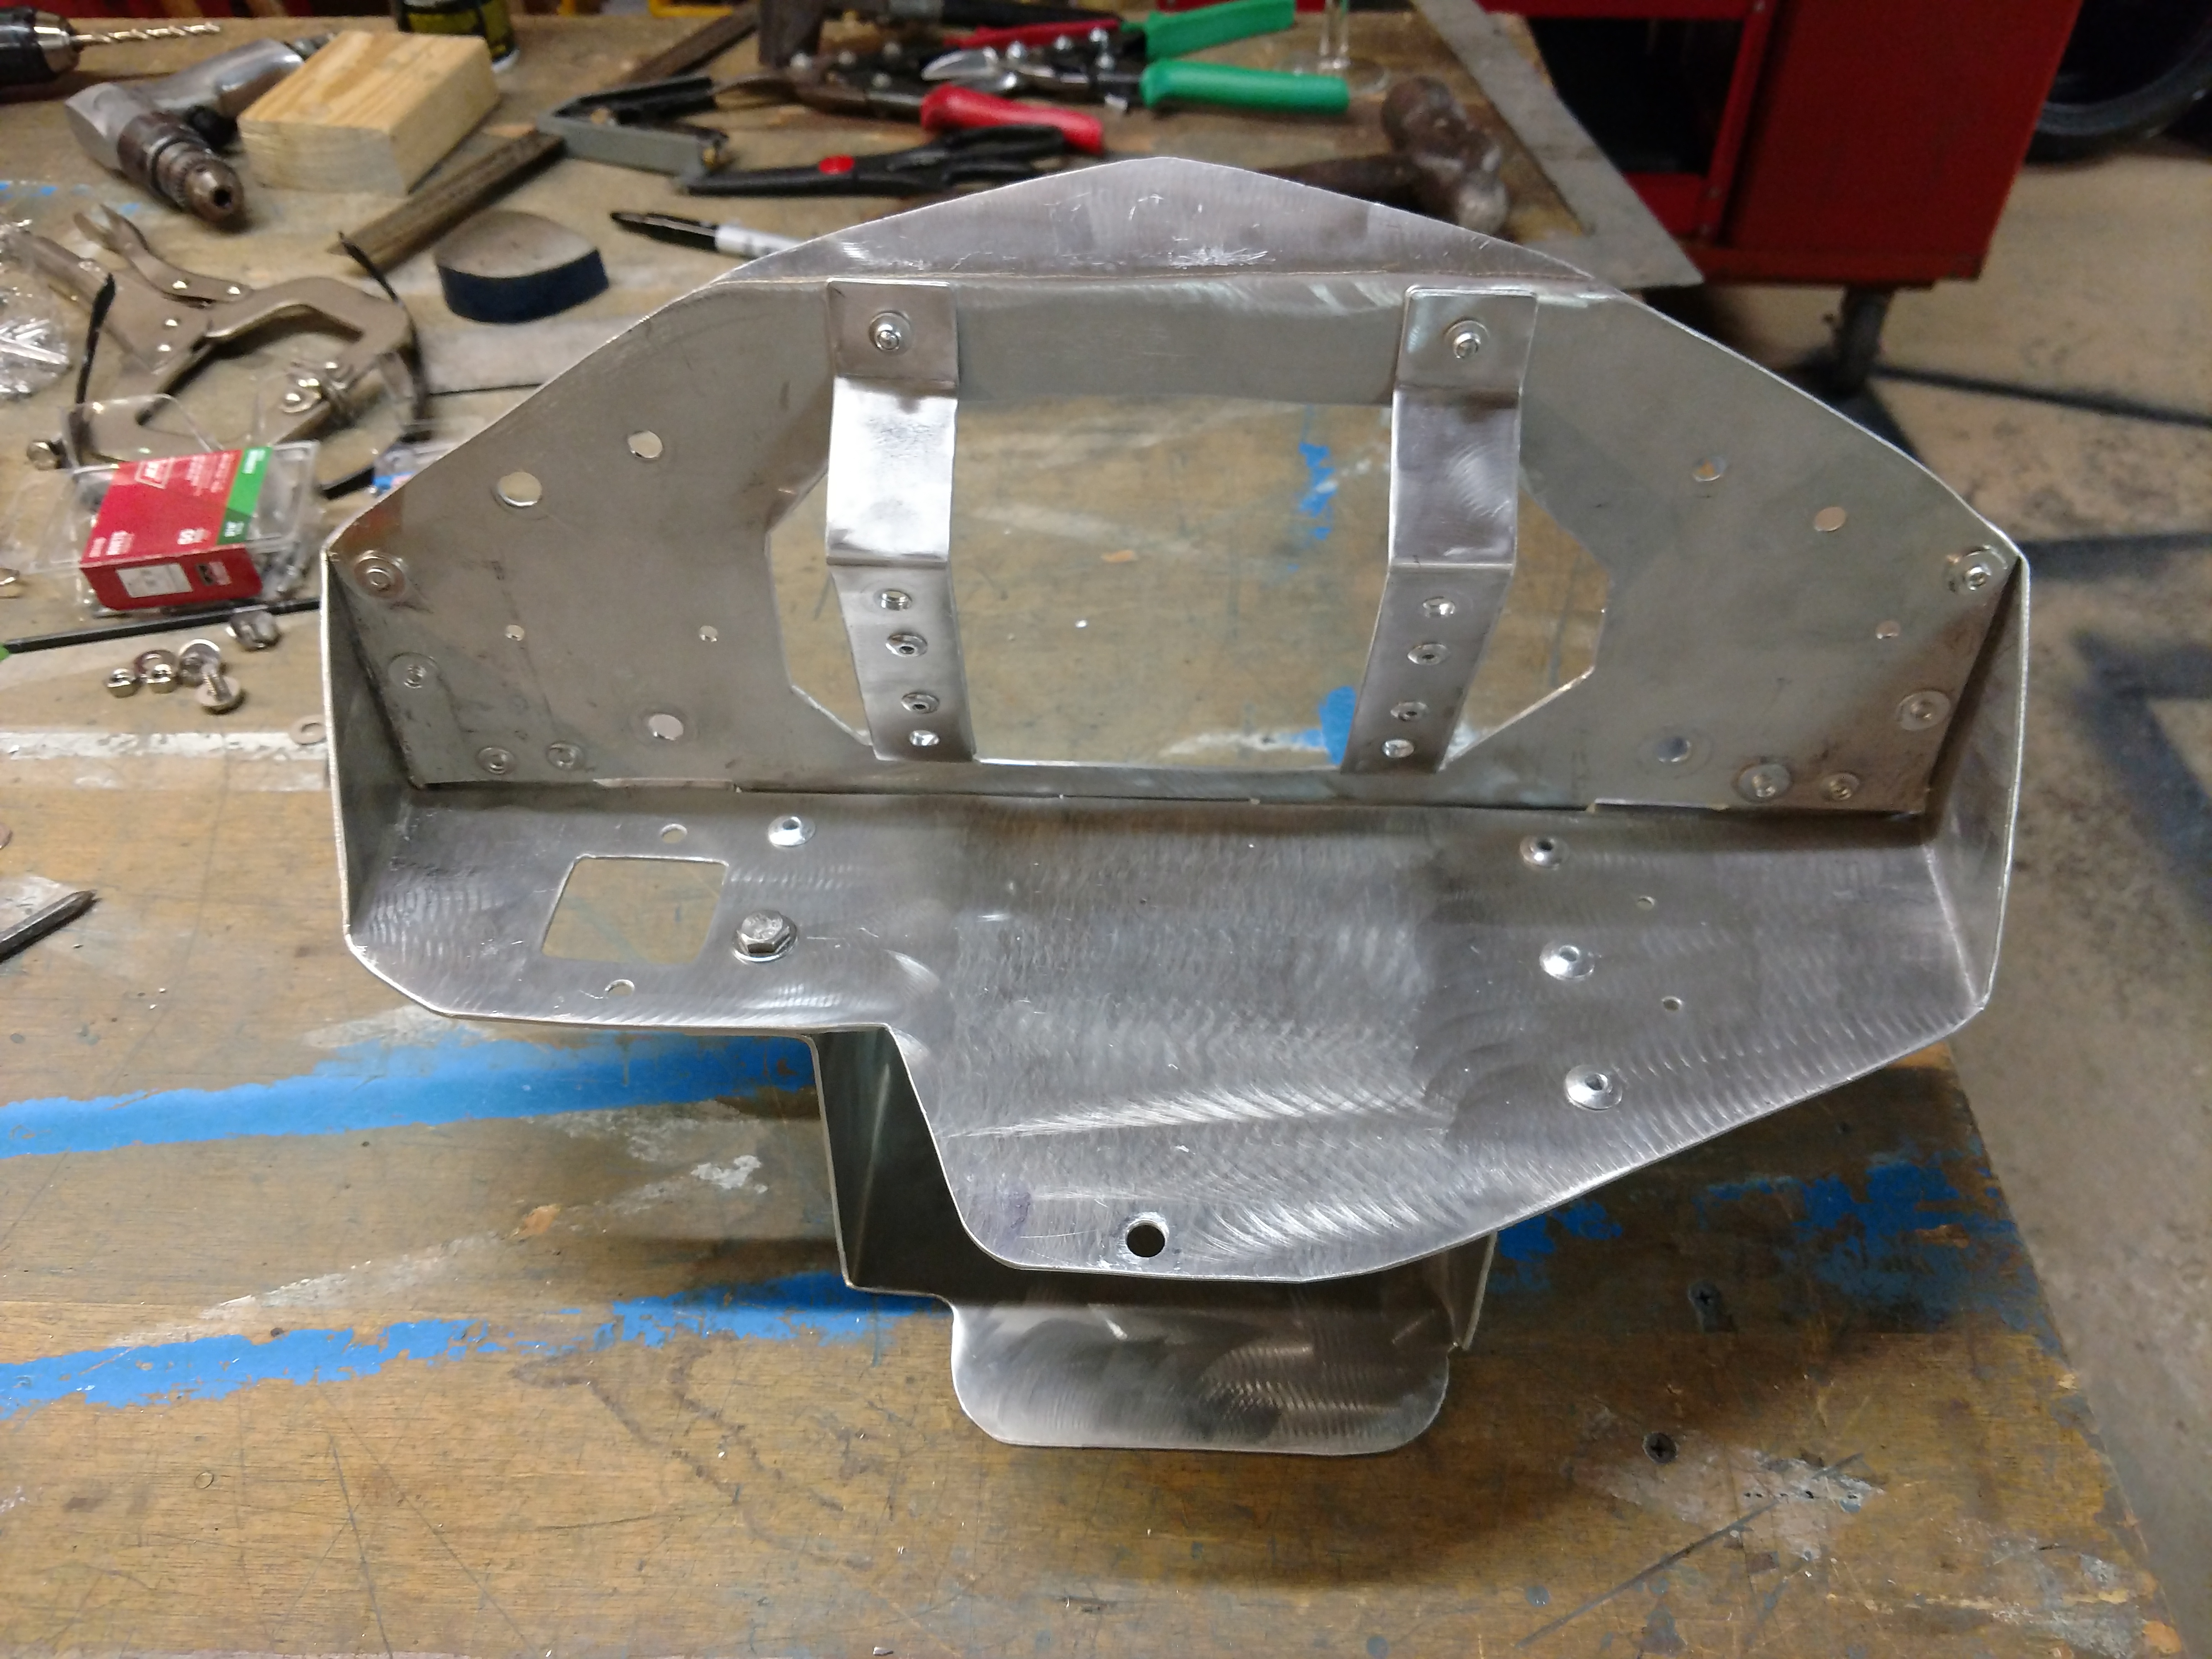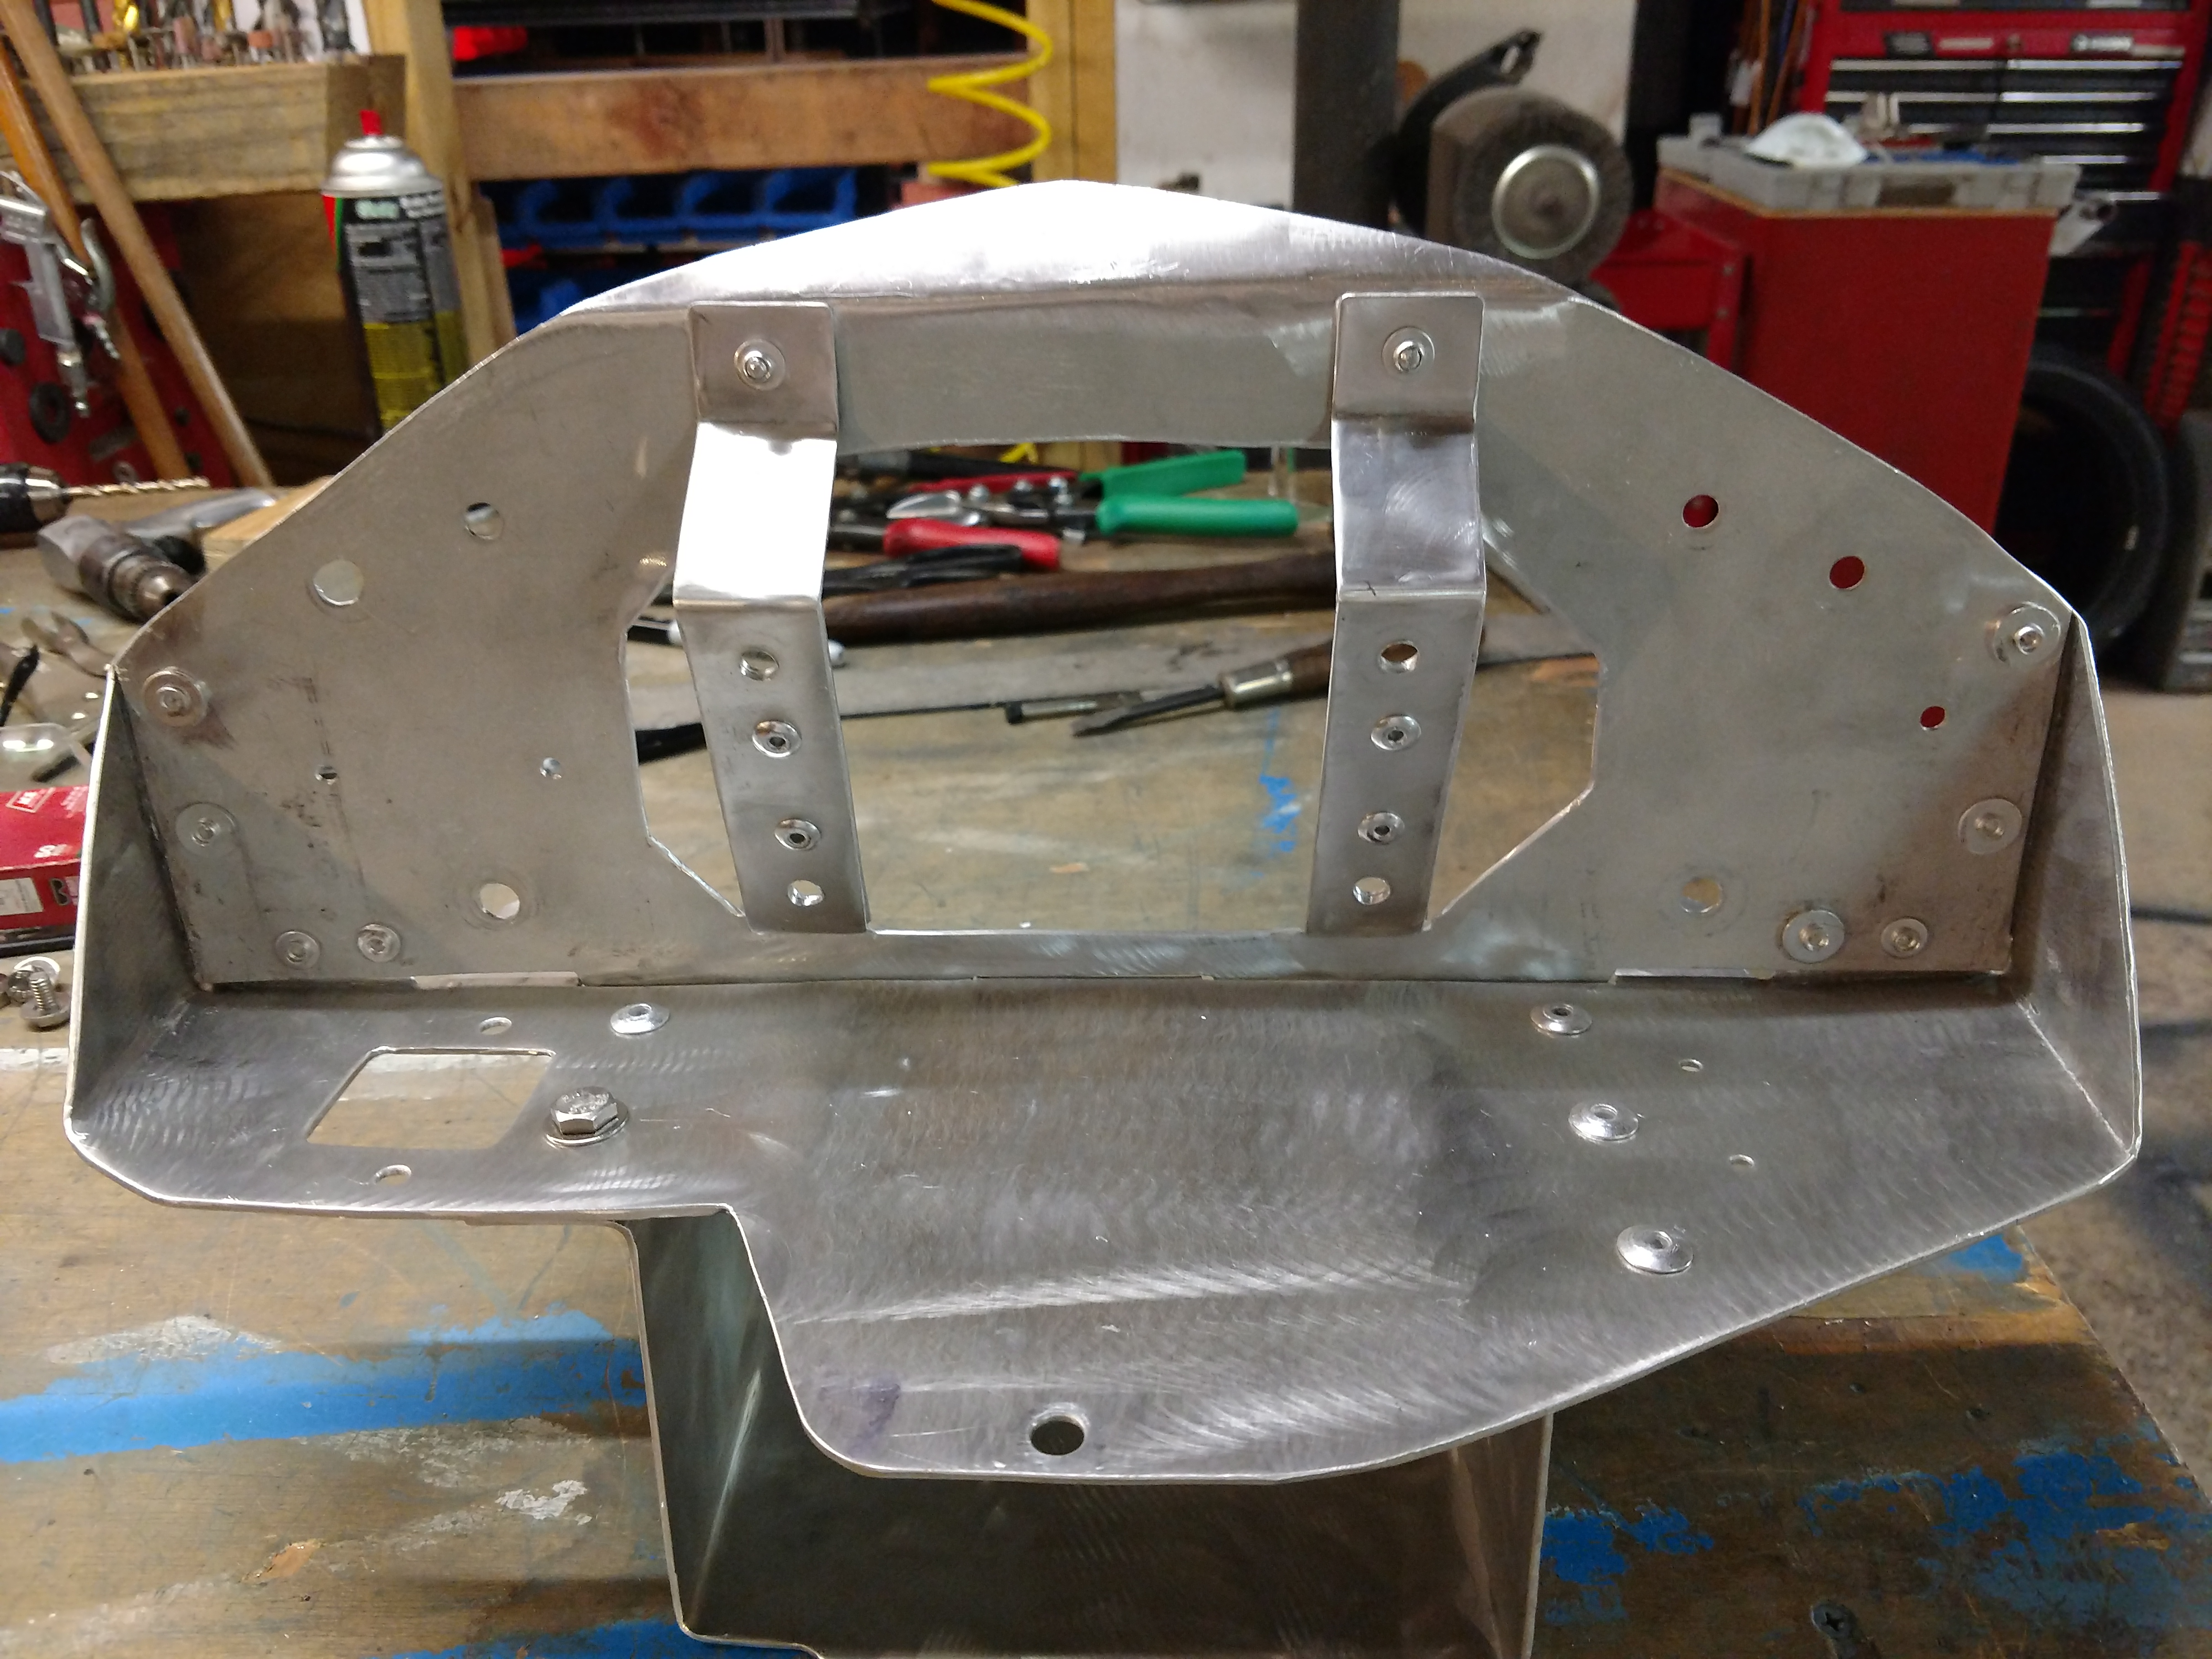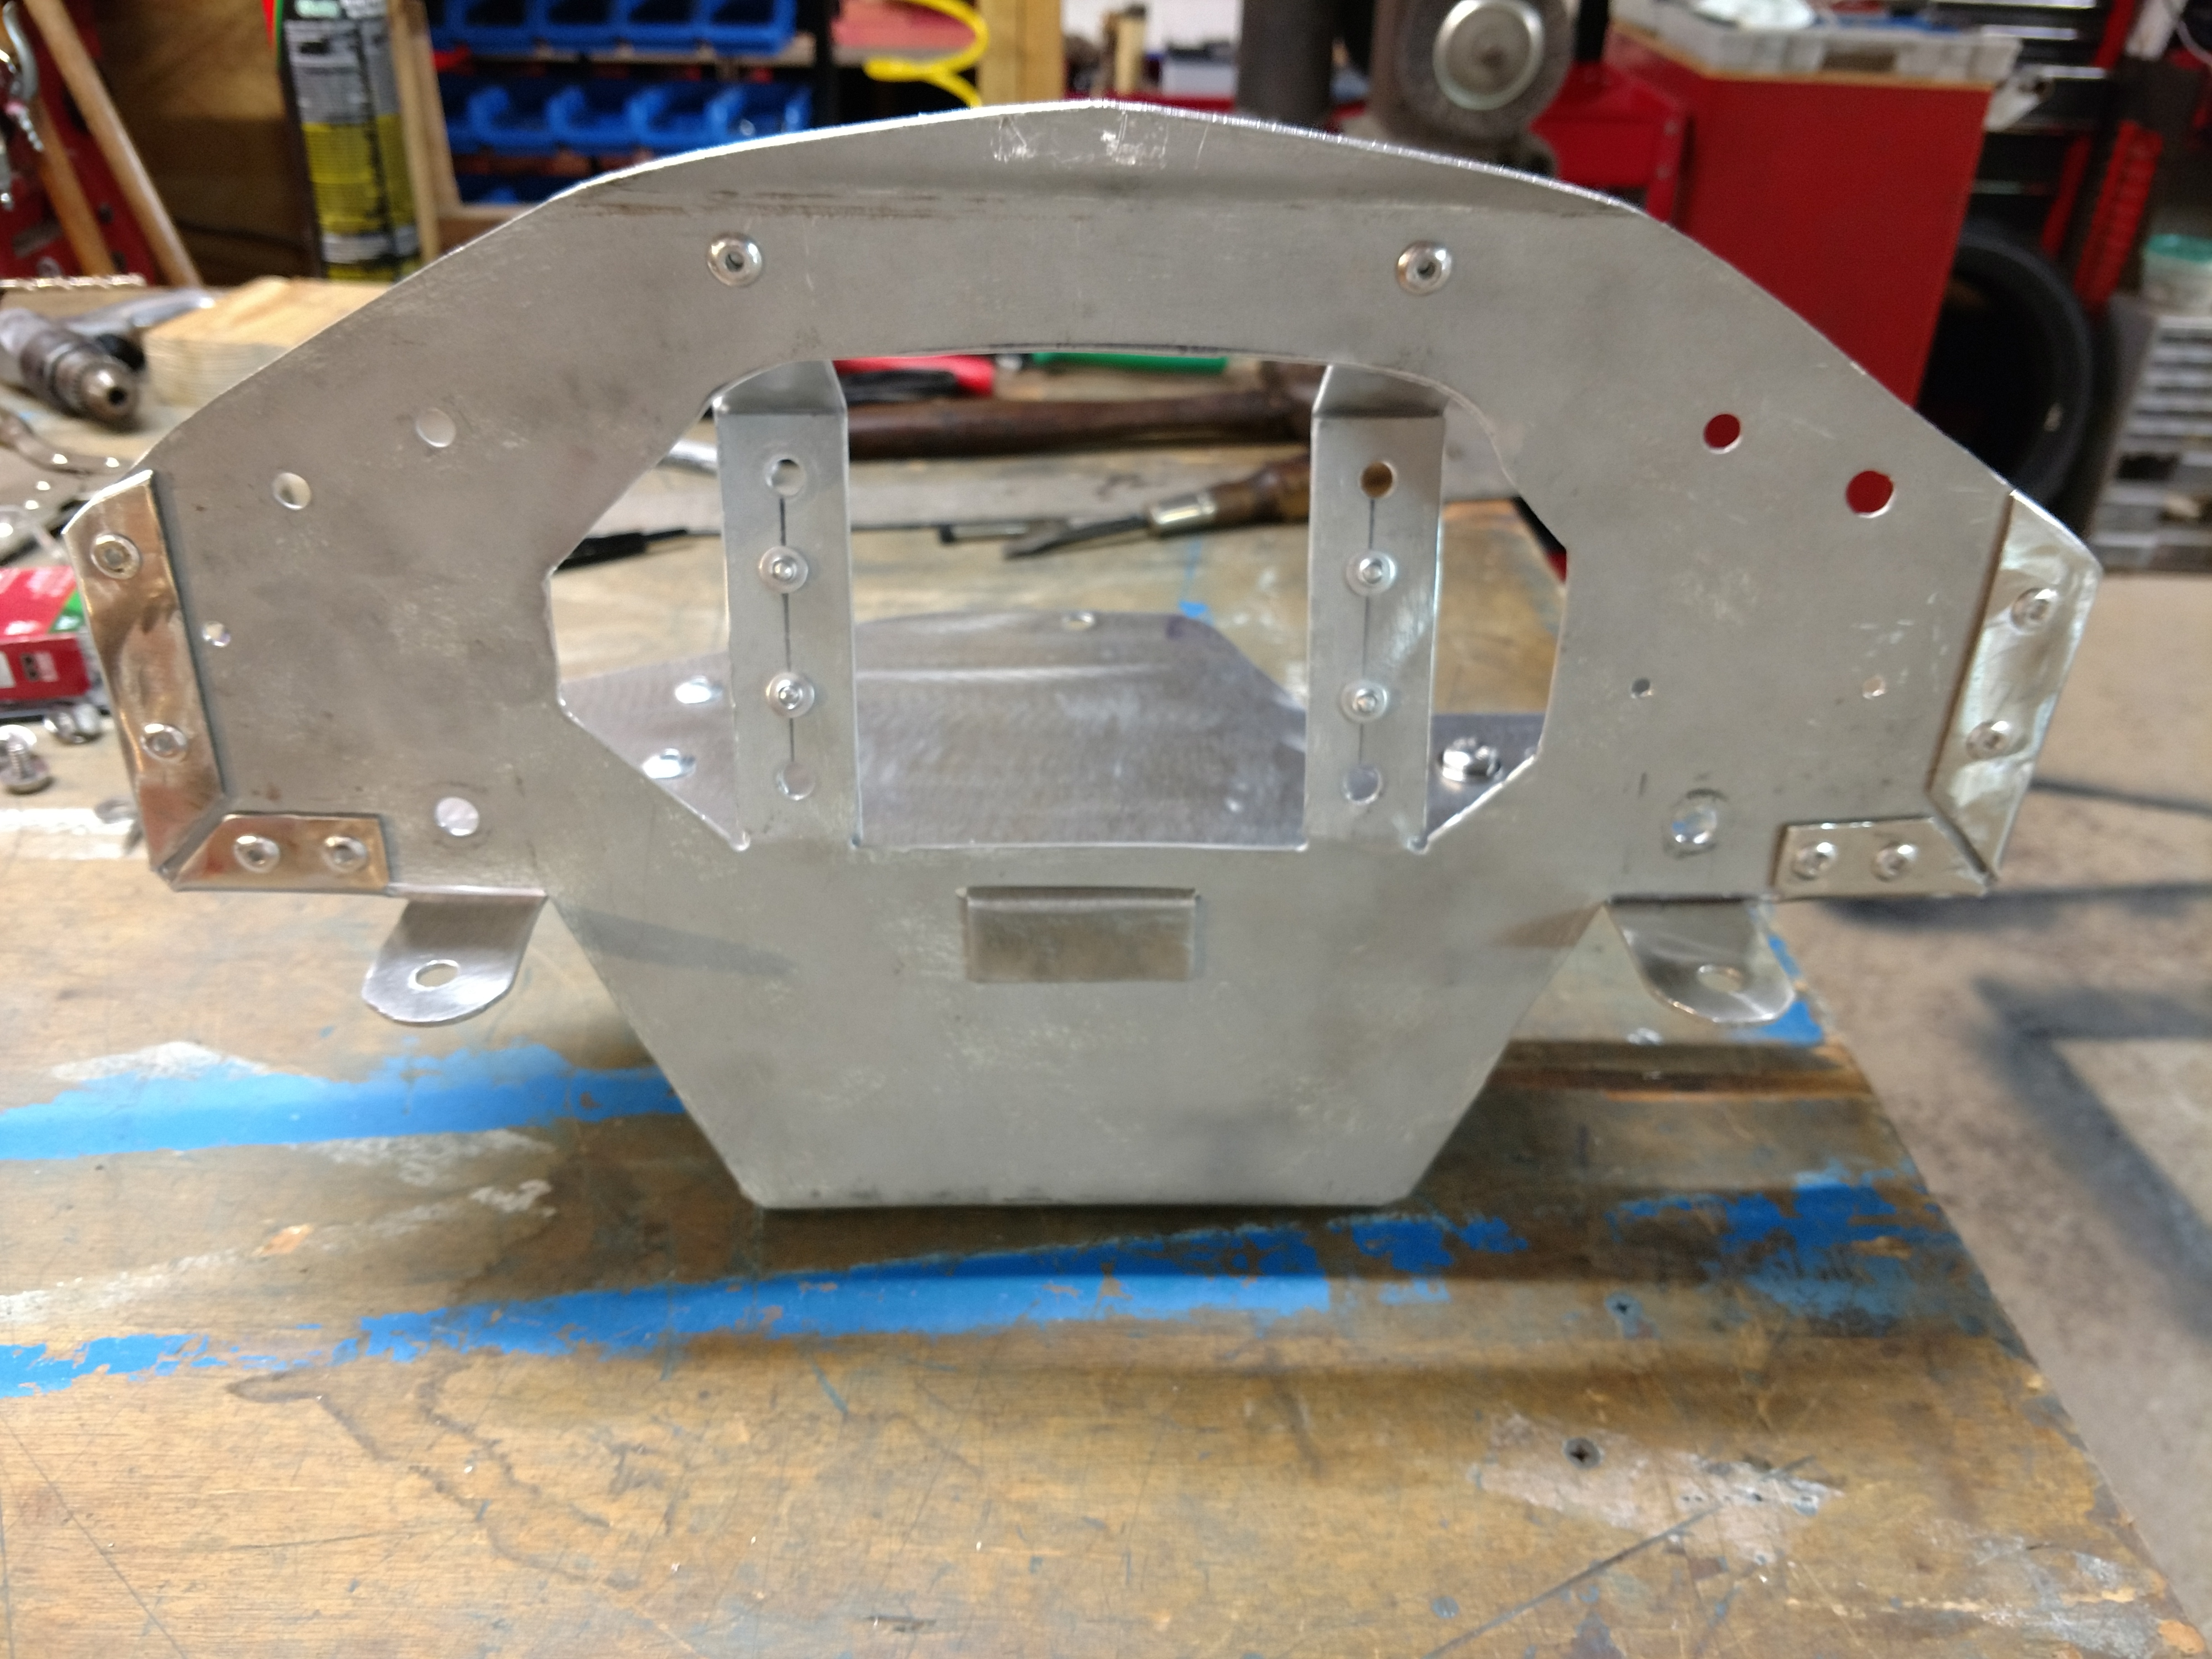

Since this is the first install of this setup, and my first
FuelTech build, I wanted a solid foundation, but one that I could
drill and cut if needed. Afterthoughts happen. After a season
of use, I'll build up something cleaner, possibly out of carbon fiber.
This is a good example of the work that goes into a custom part.
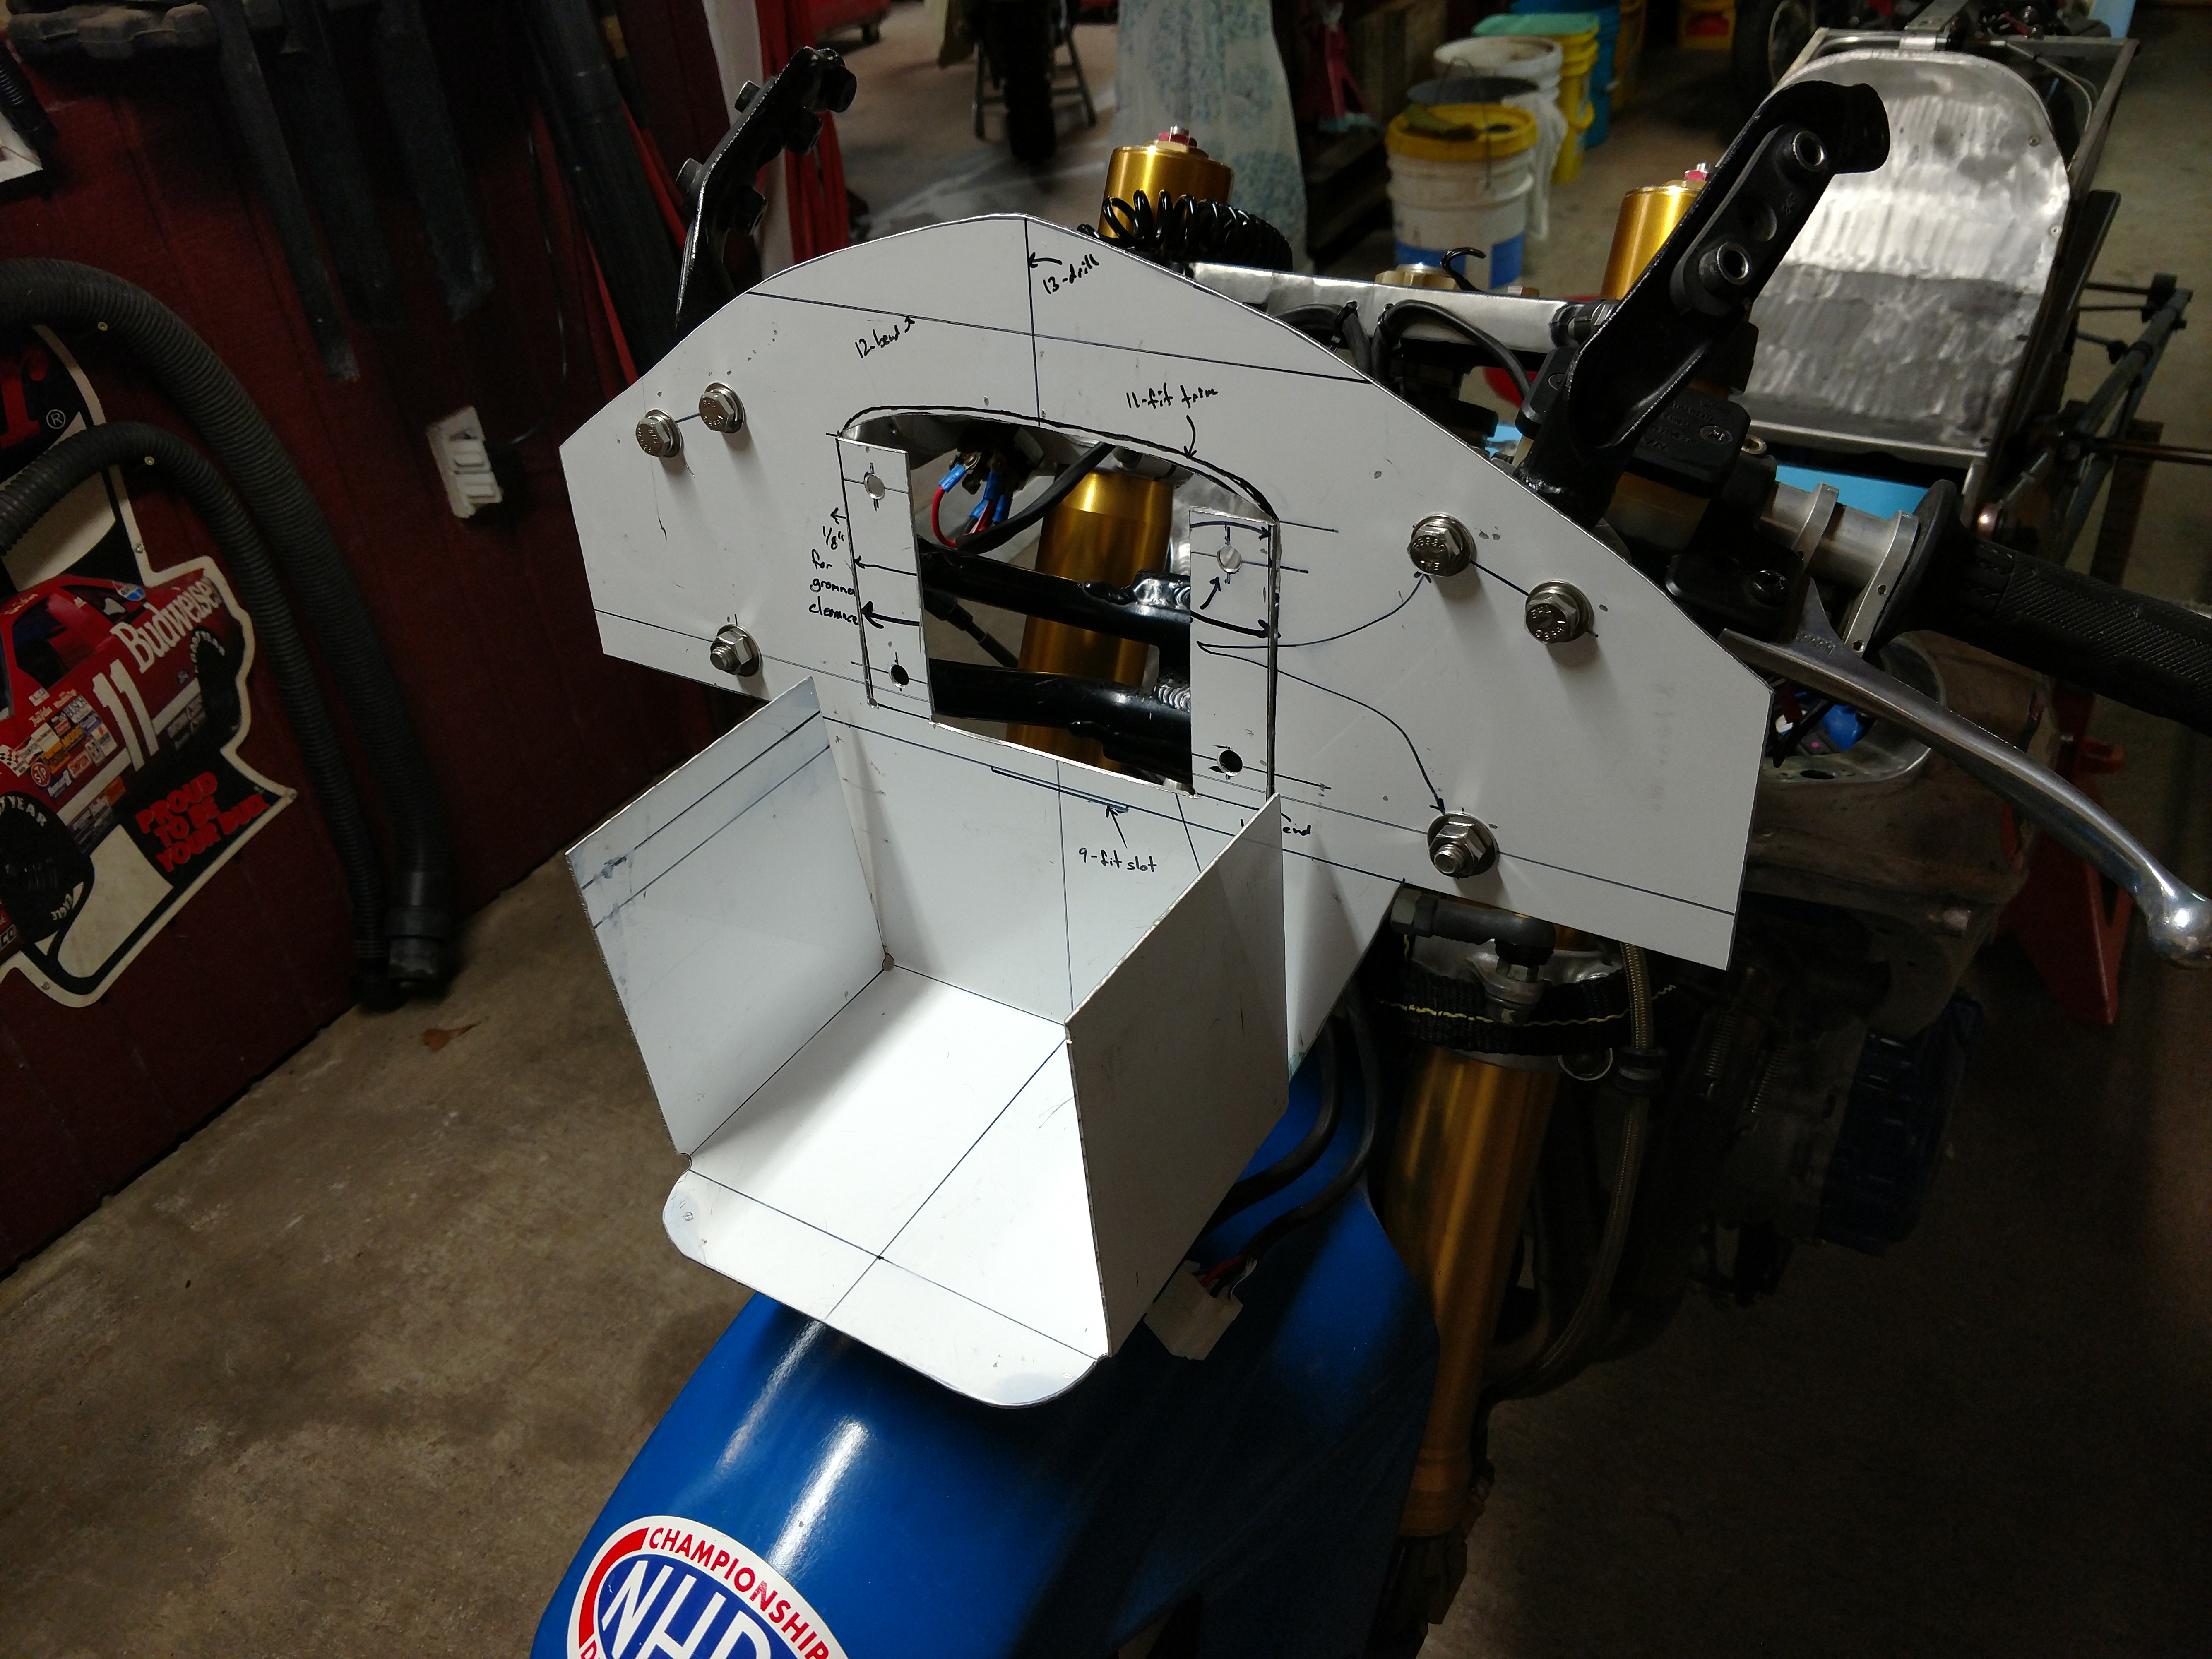
First step was patterns and mockups to finalize locations.
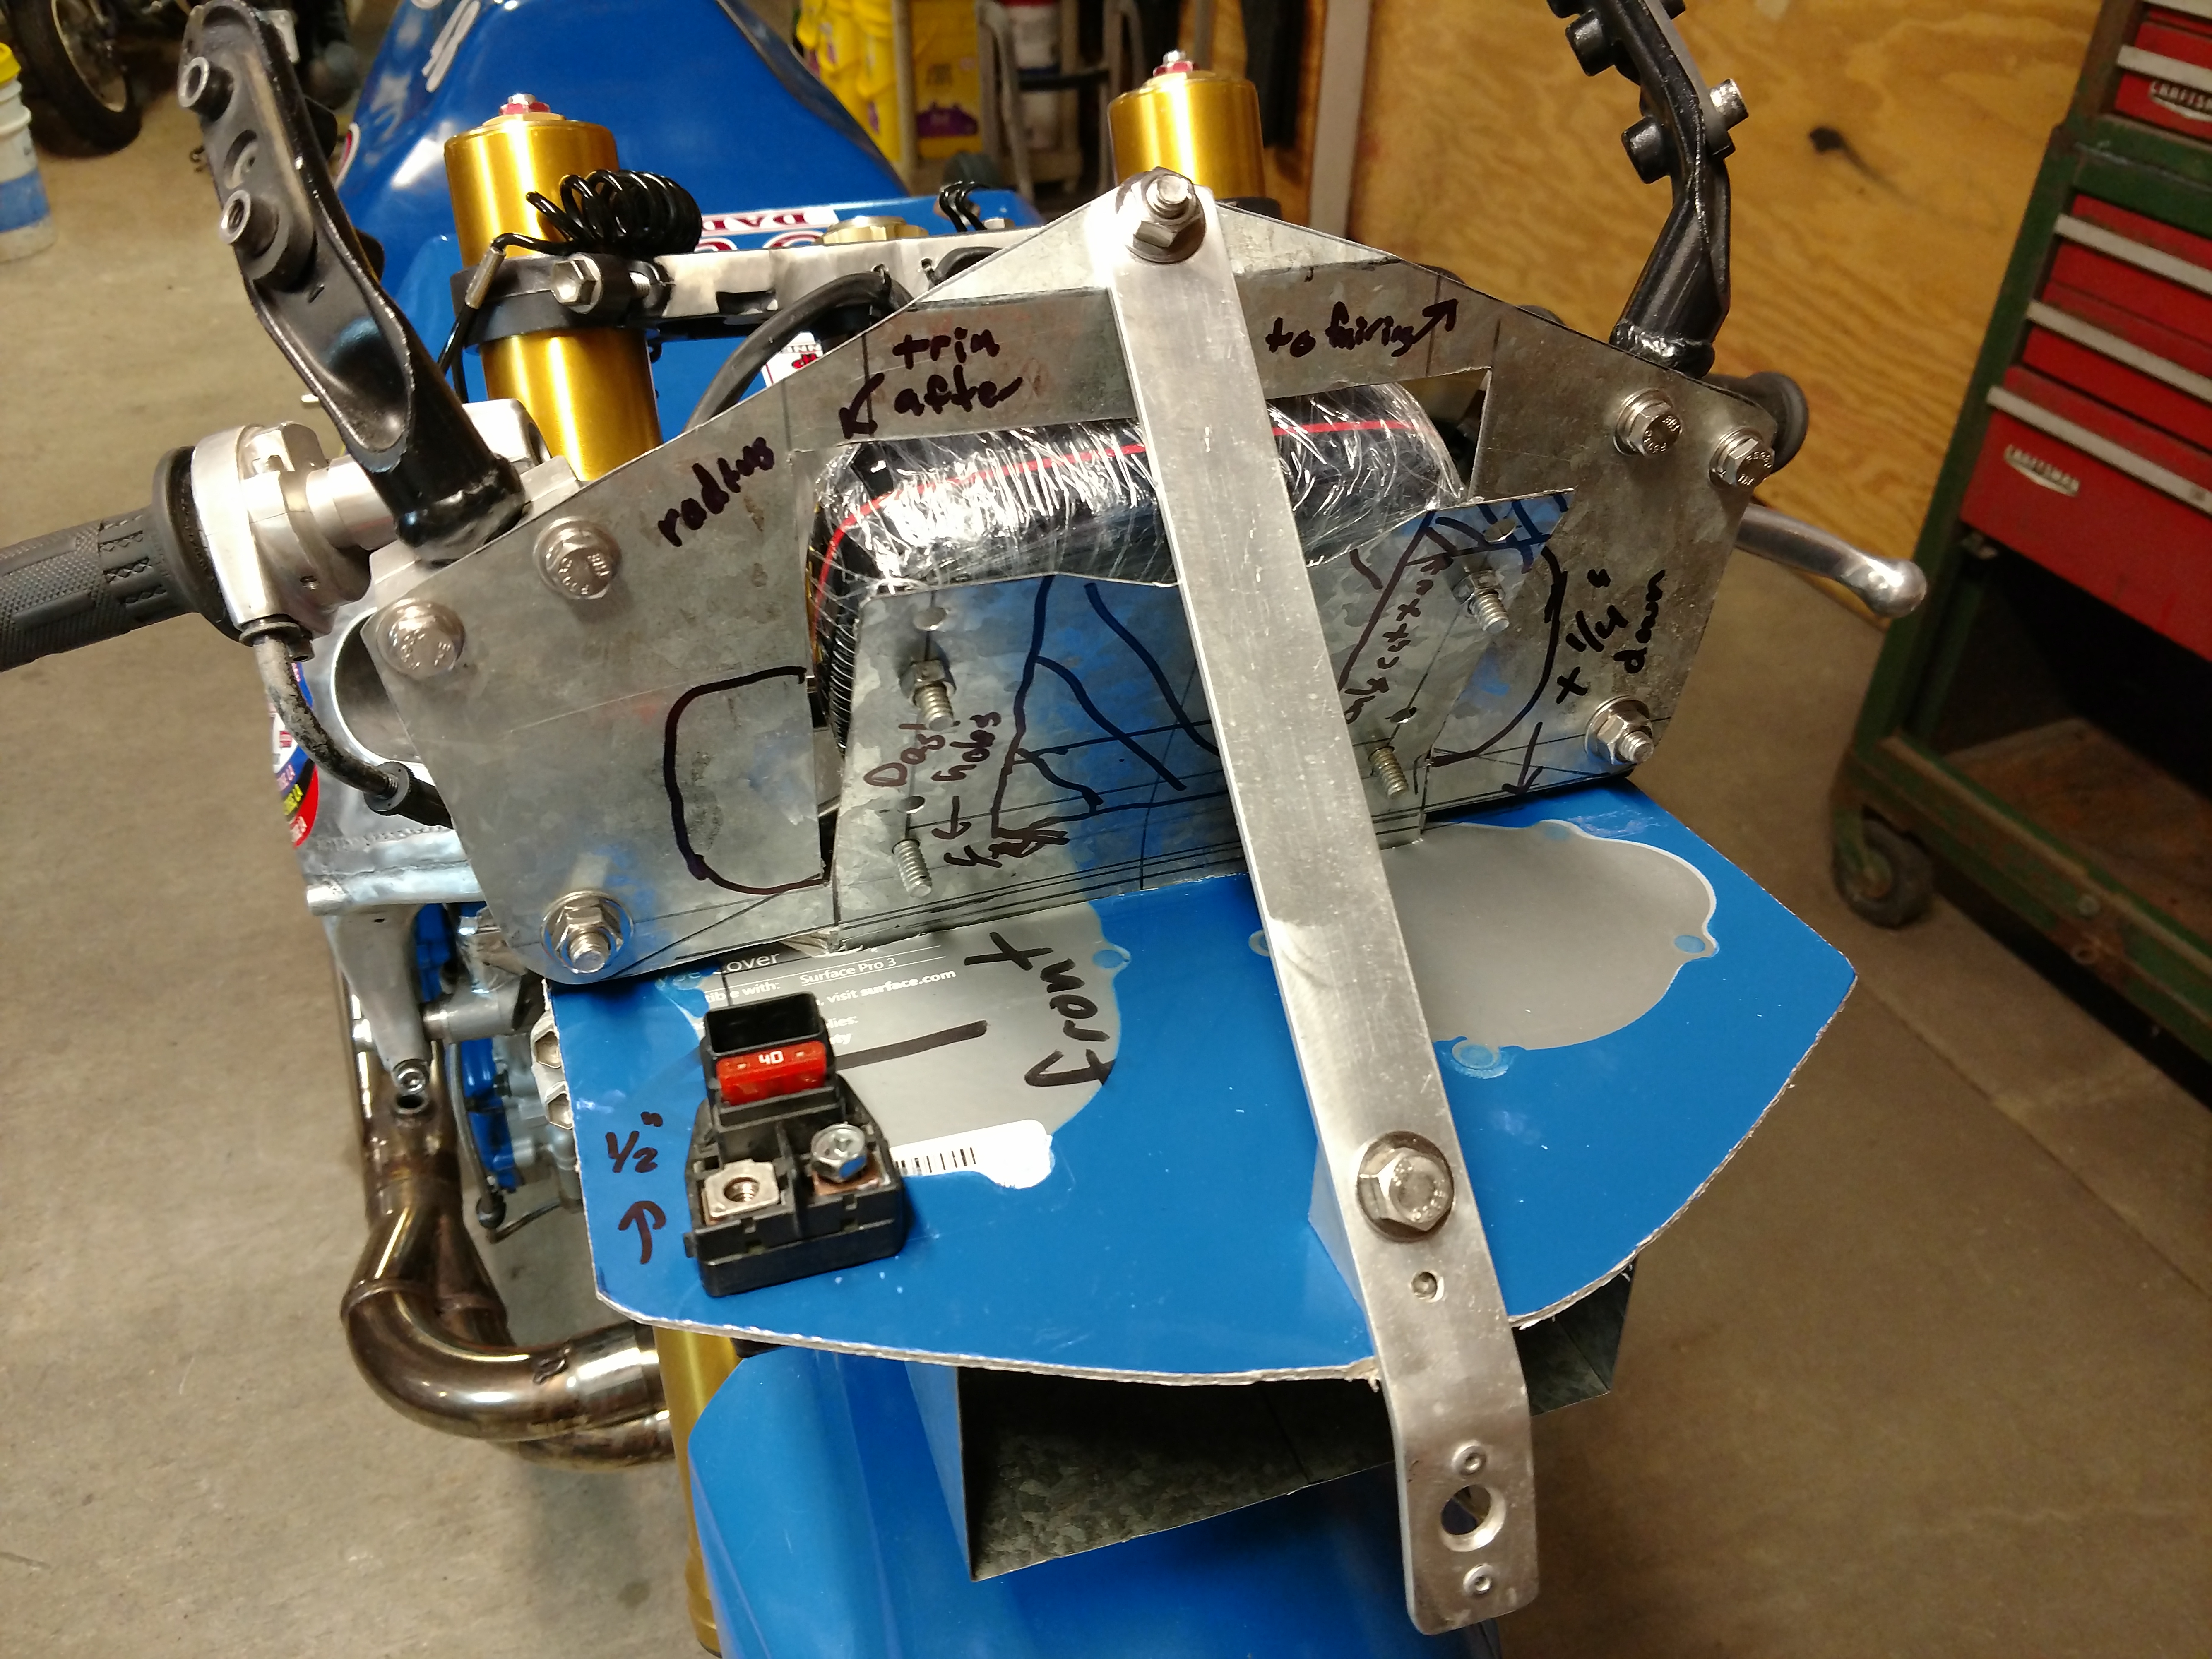
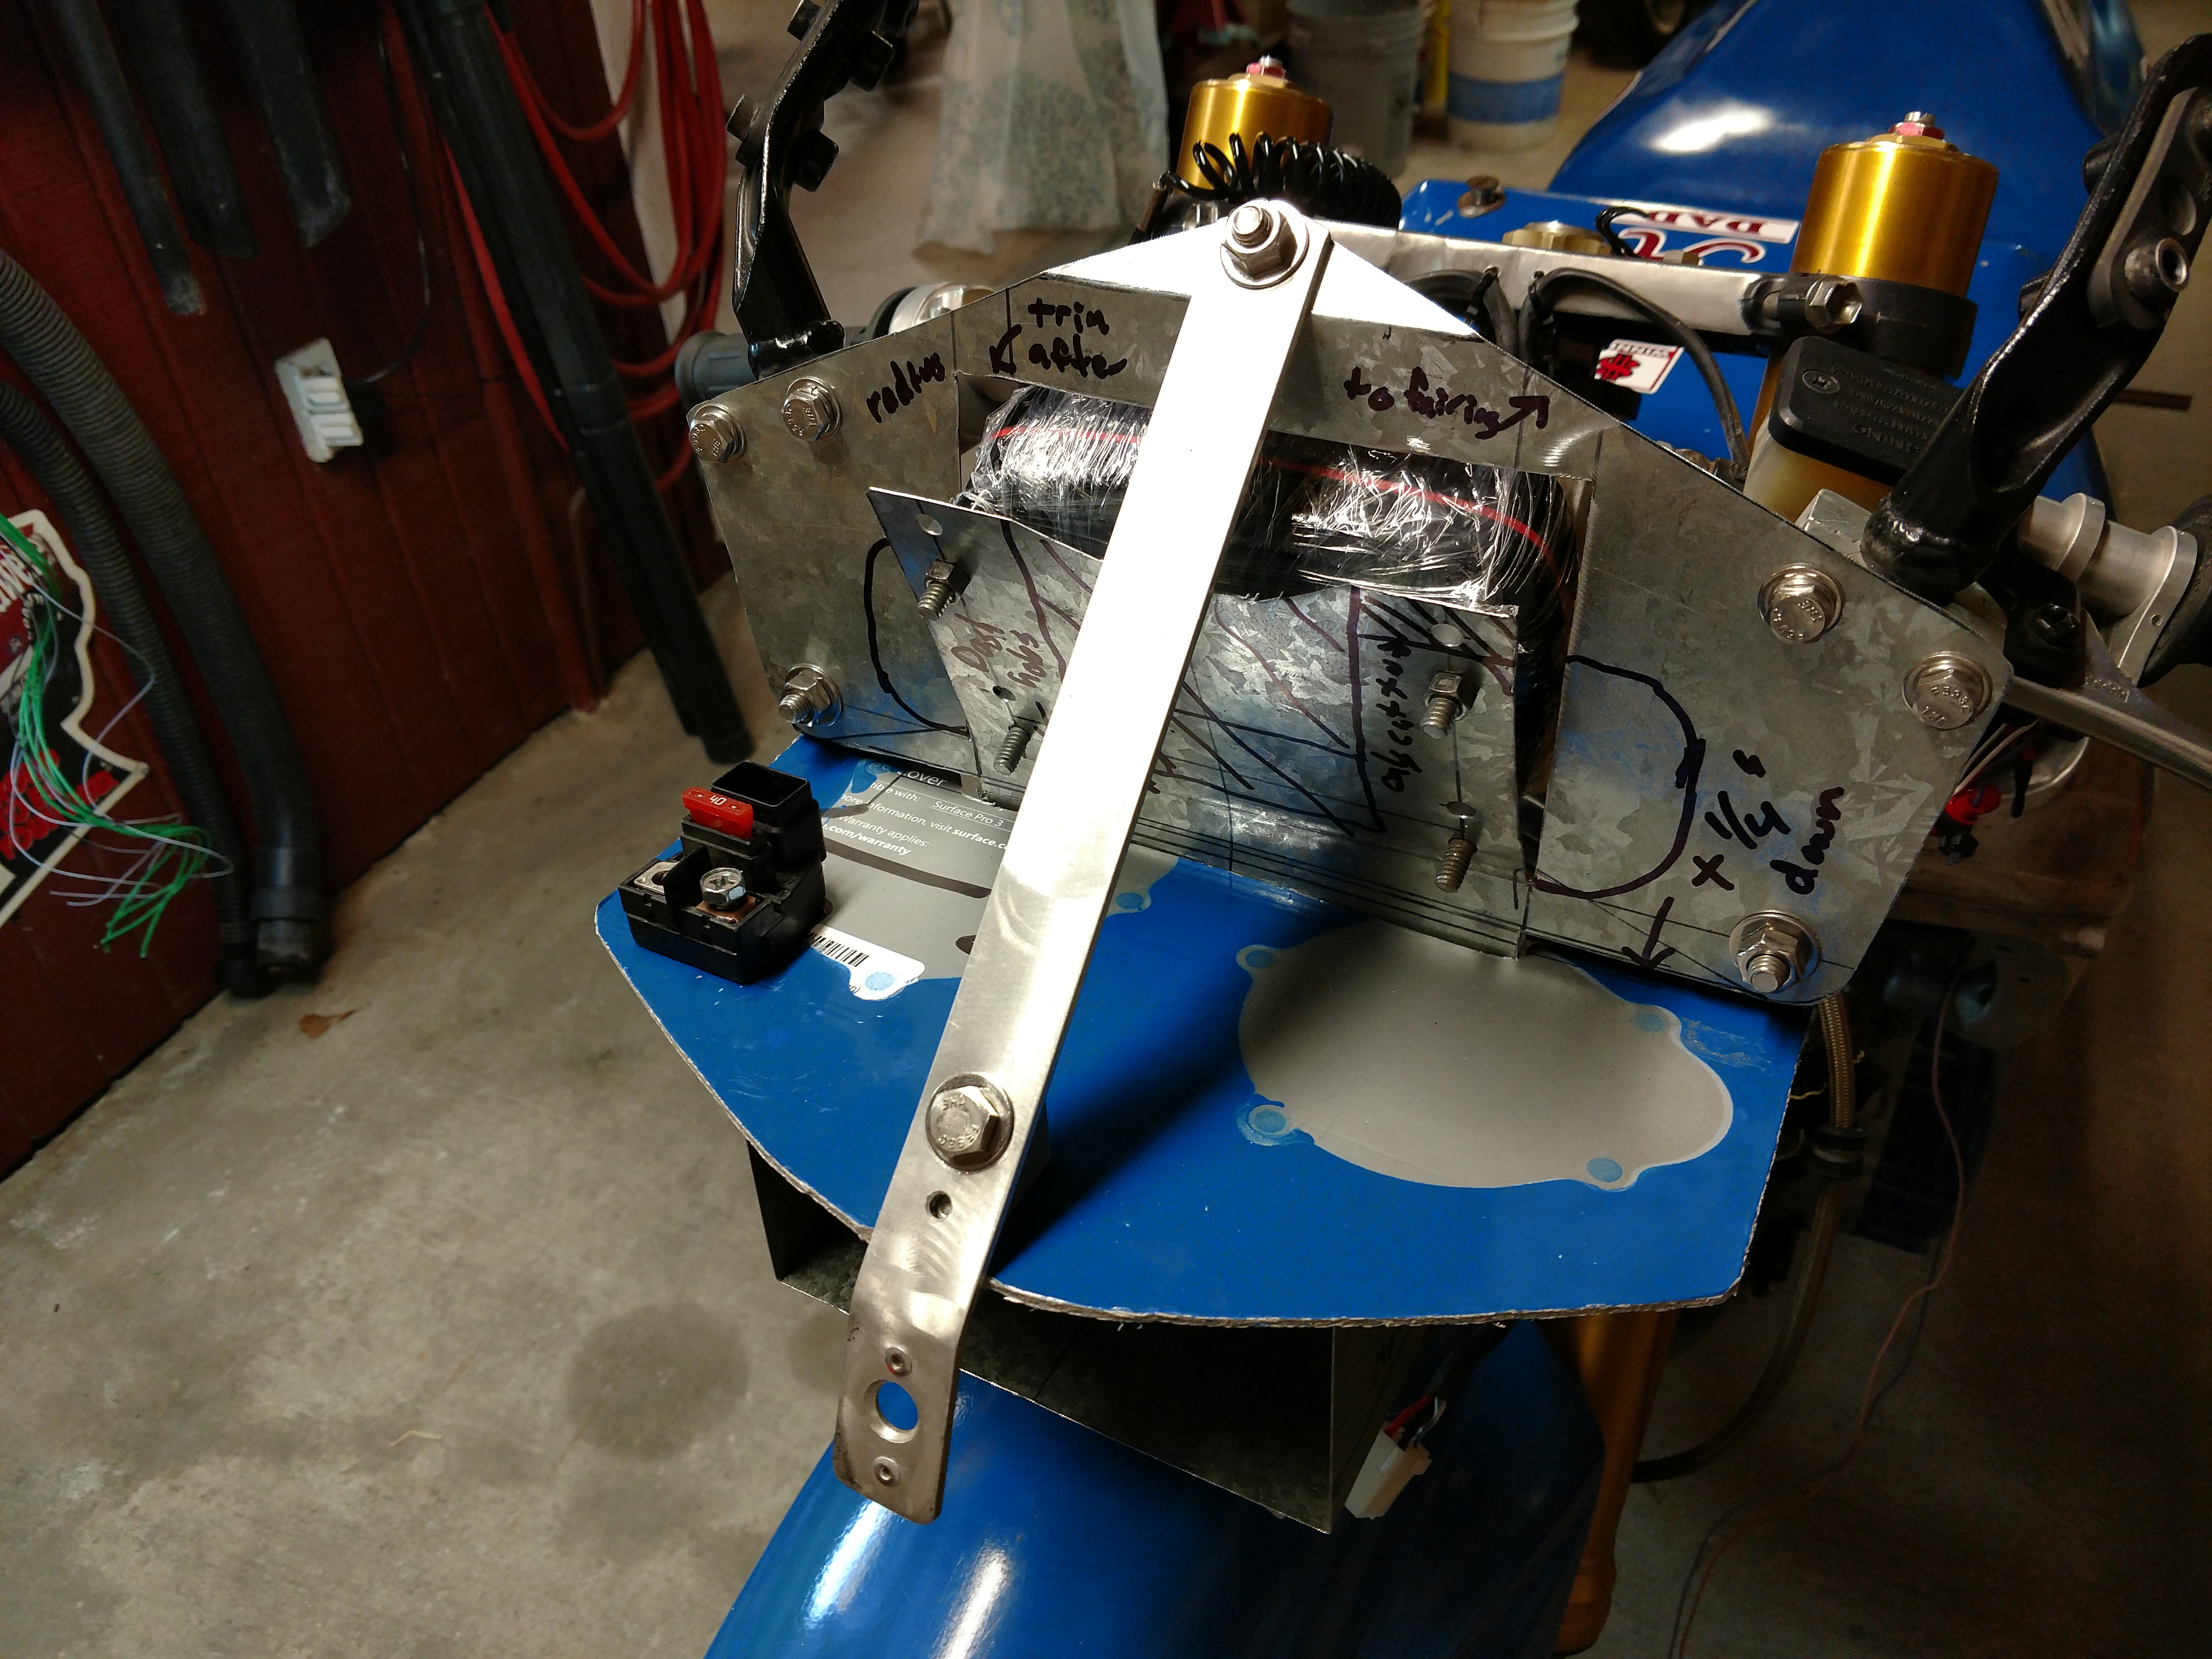
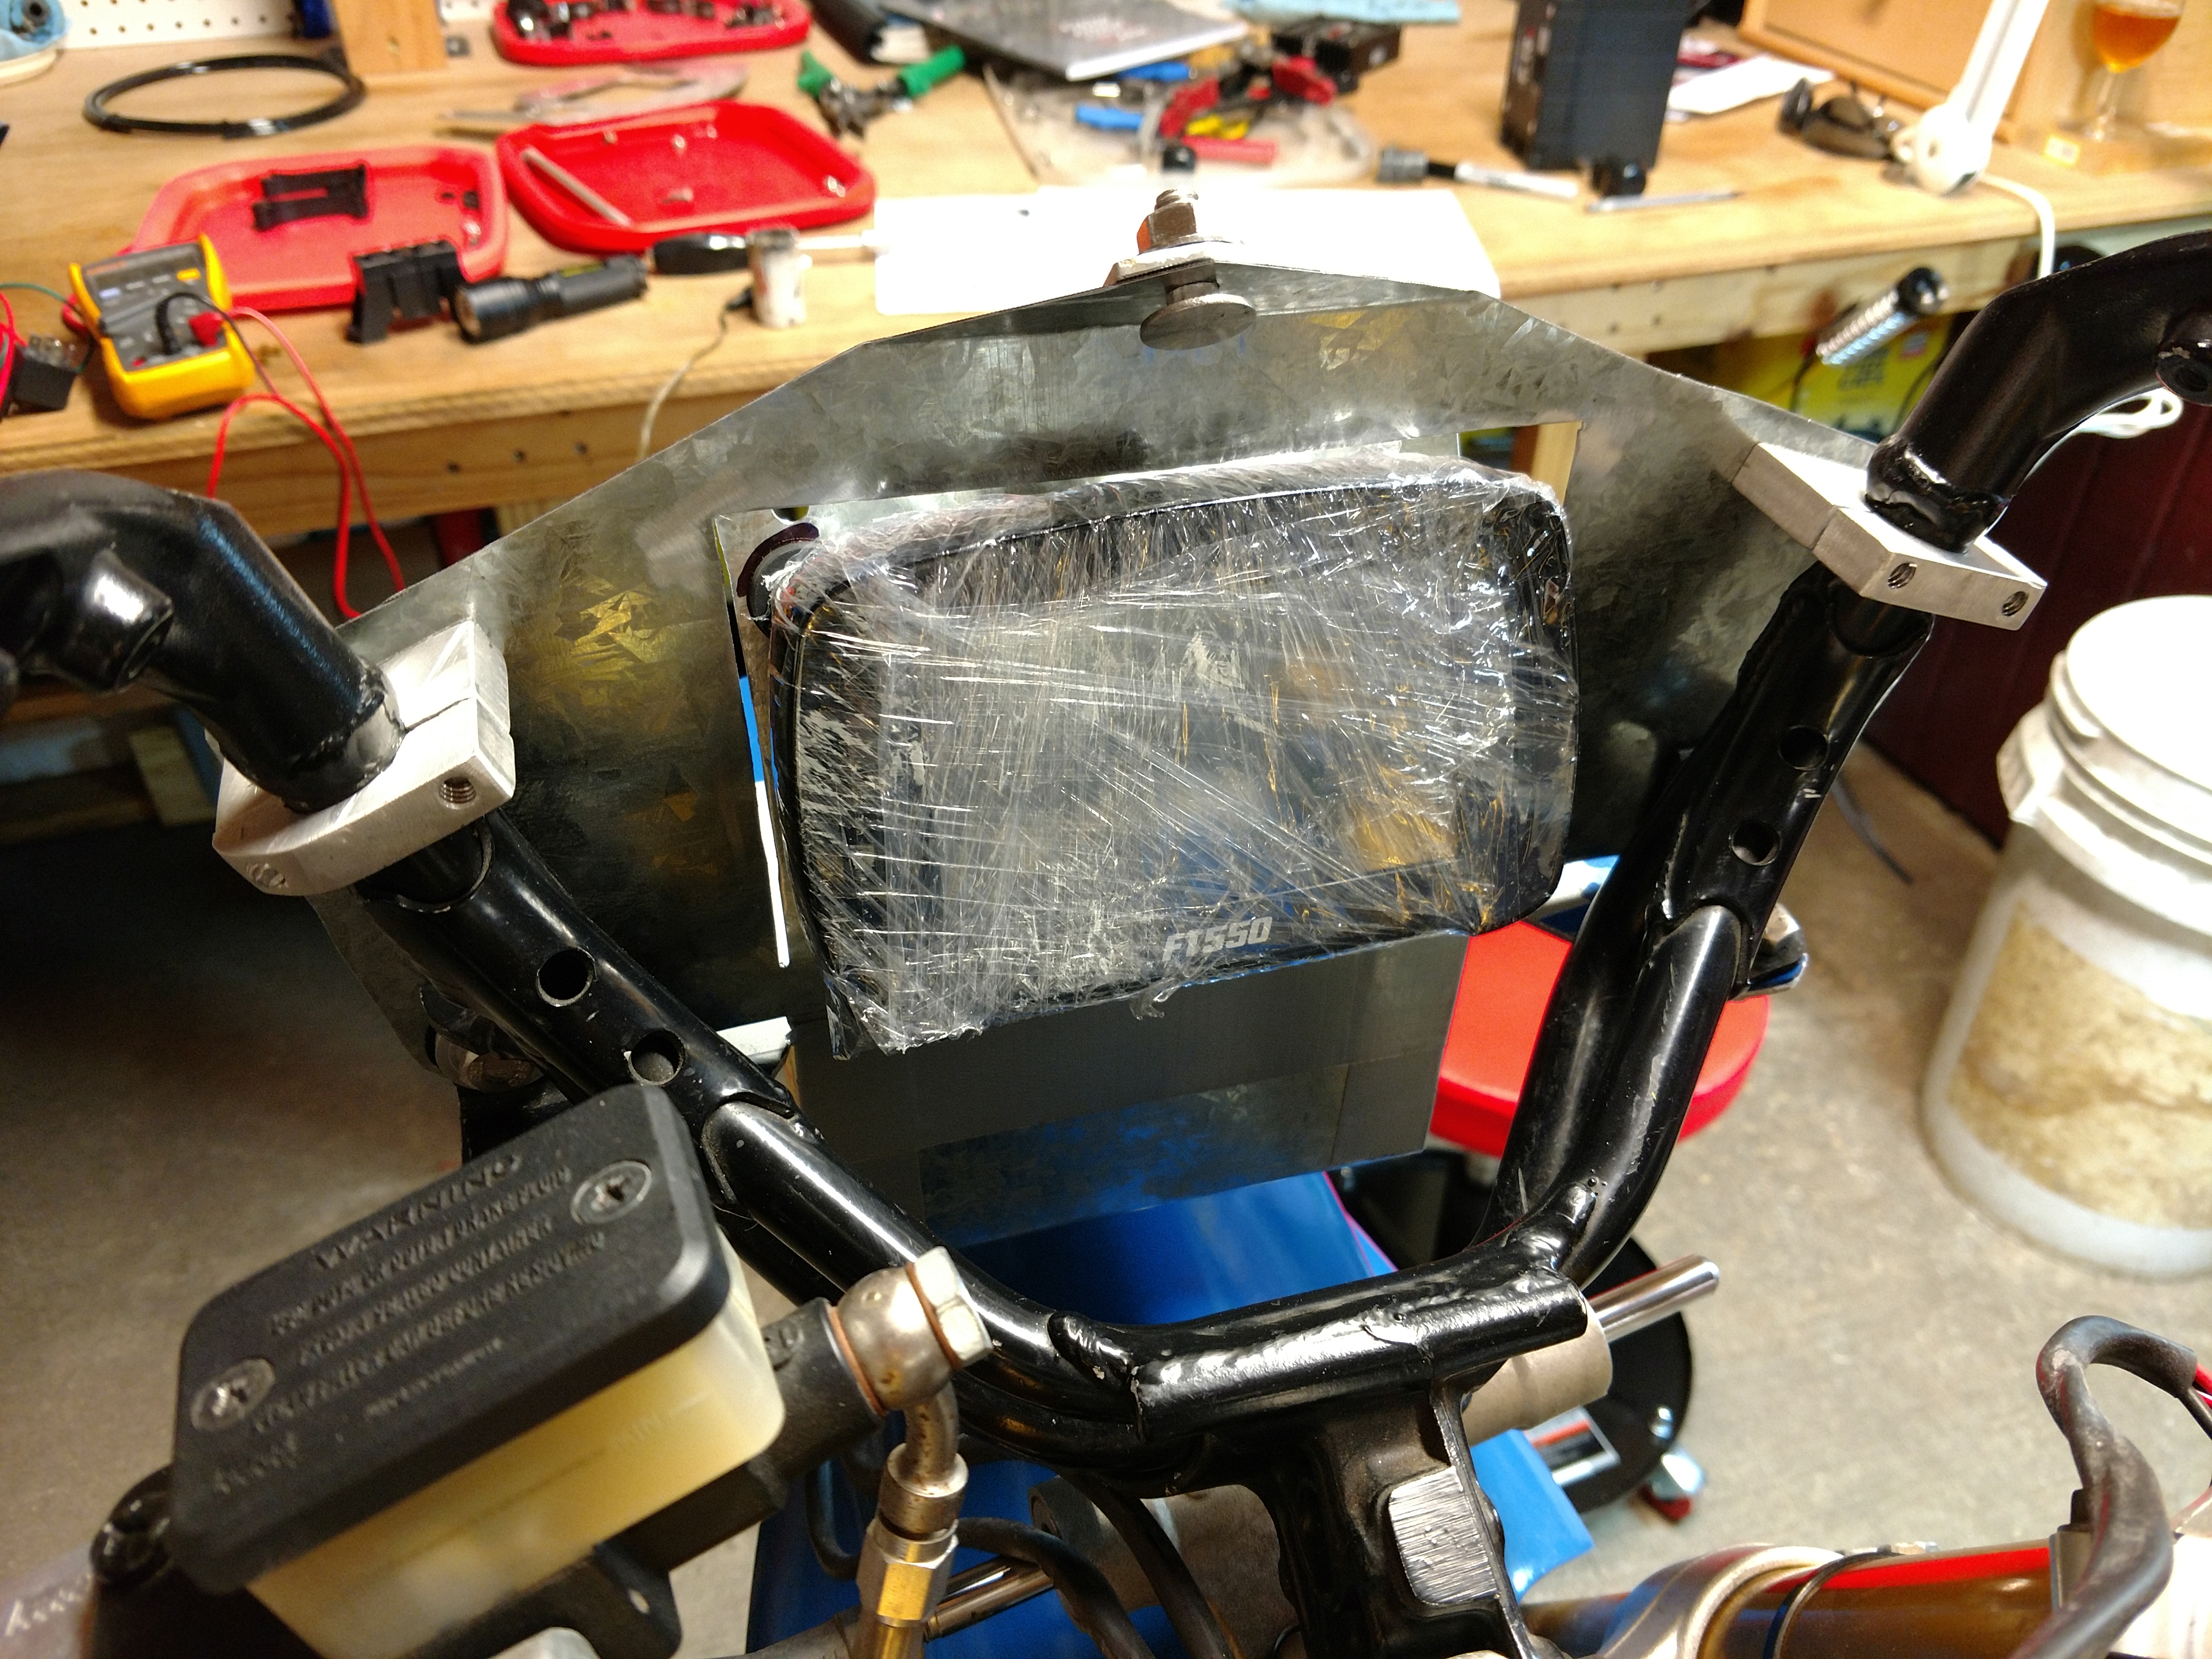
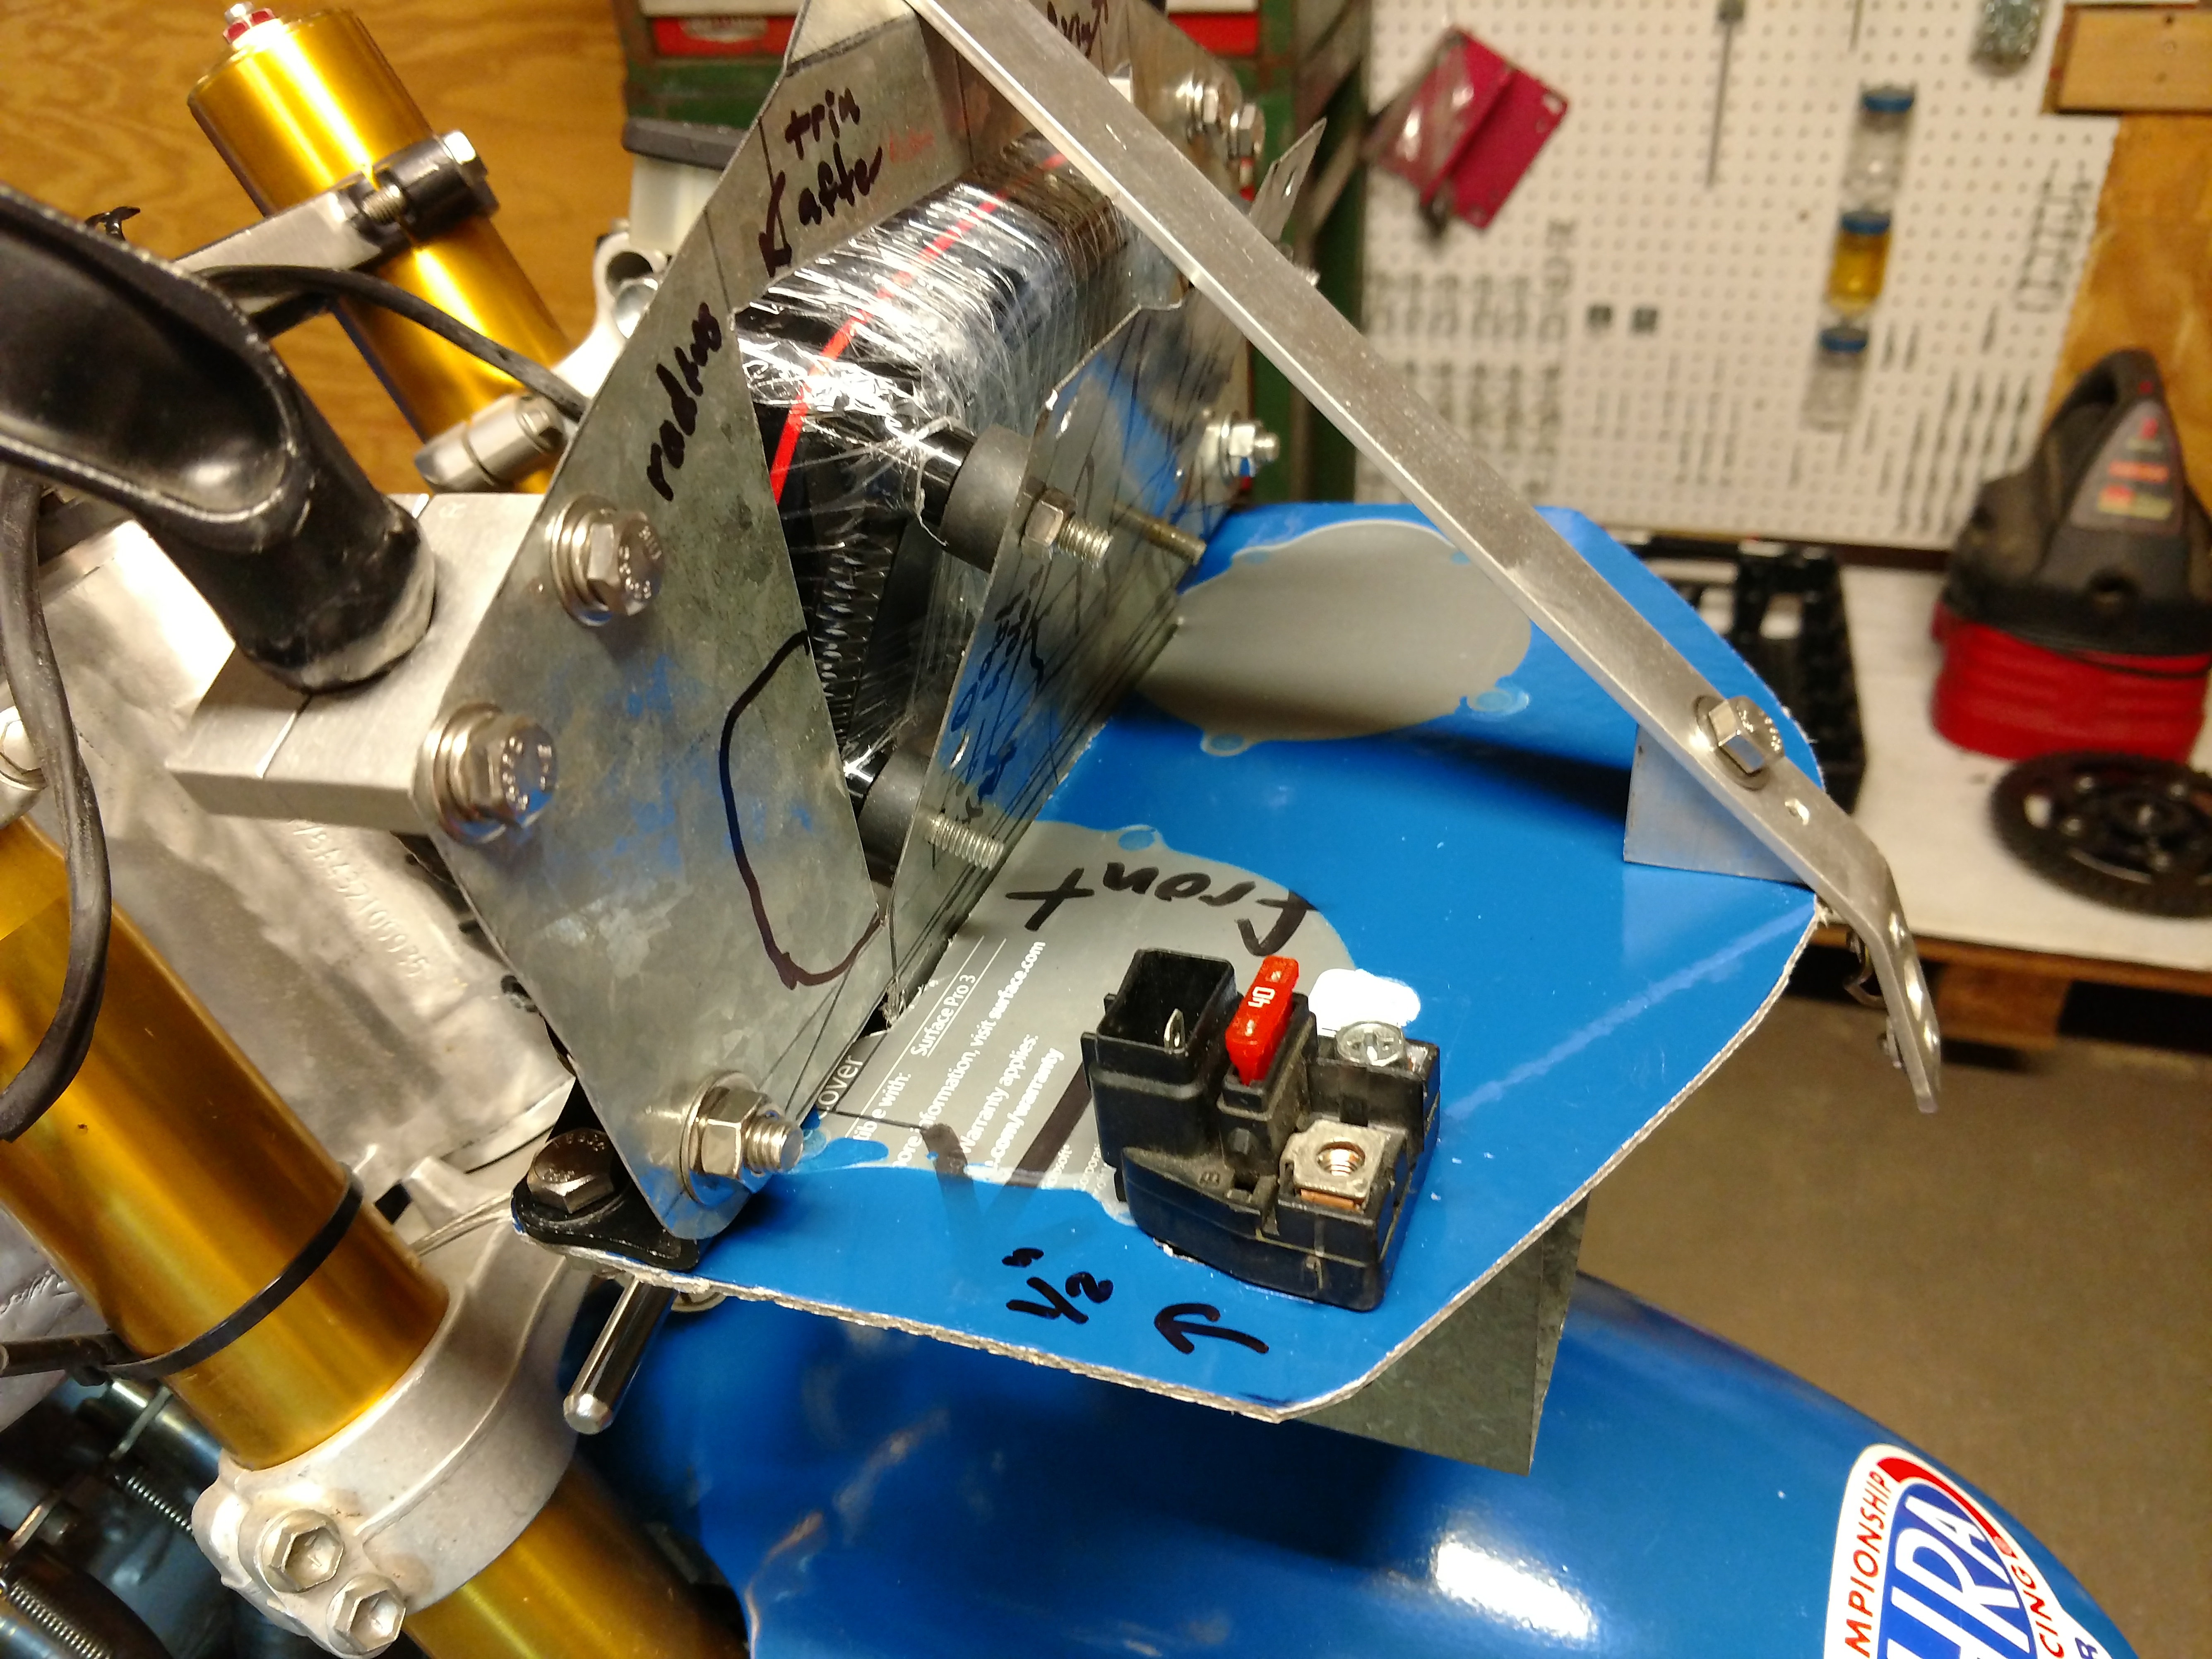
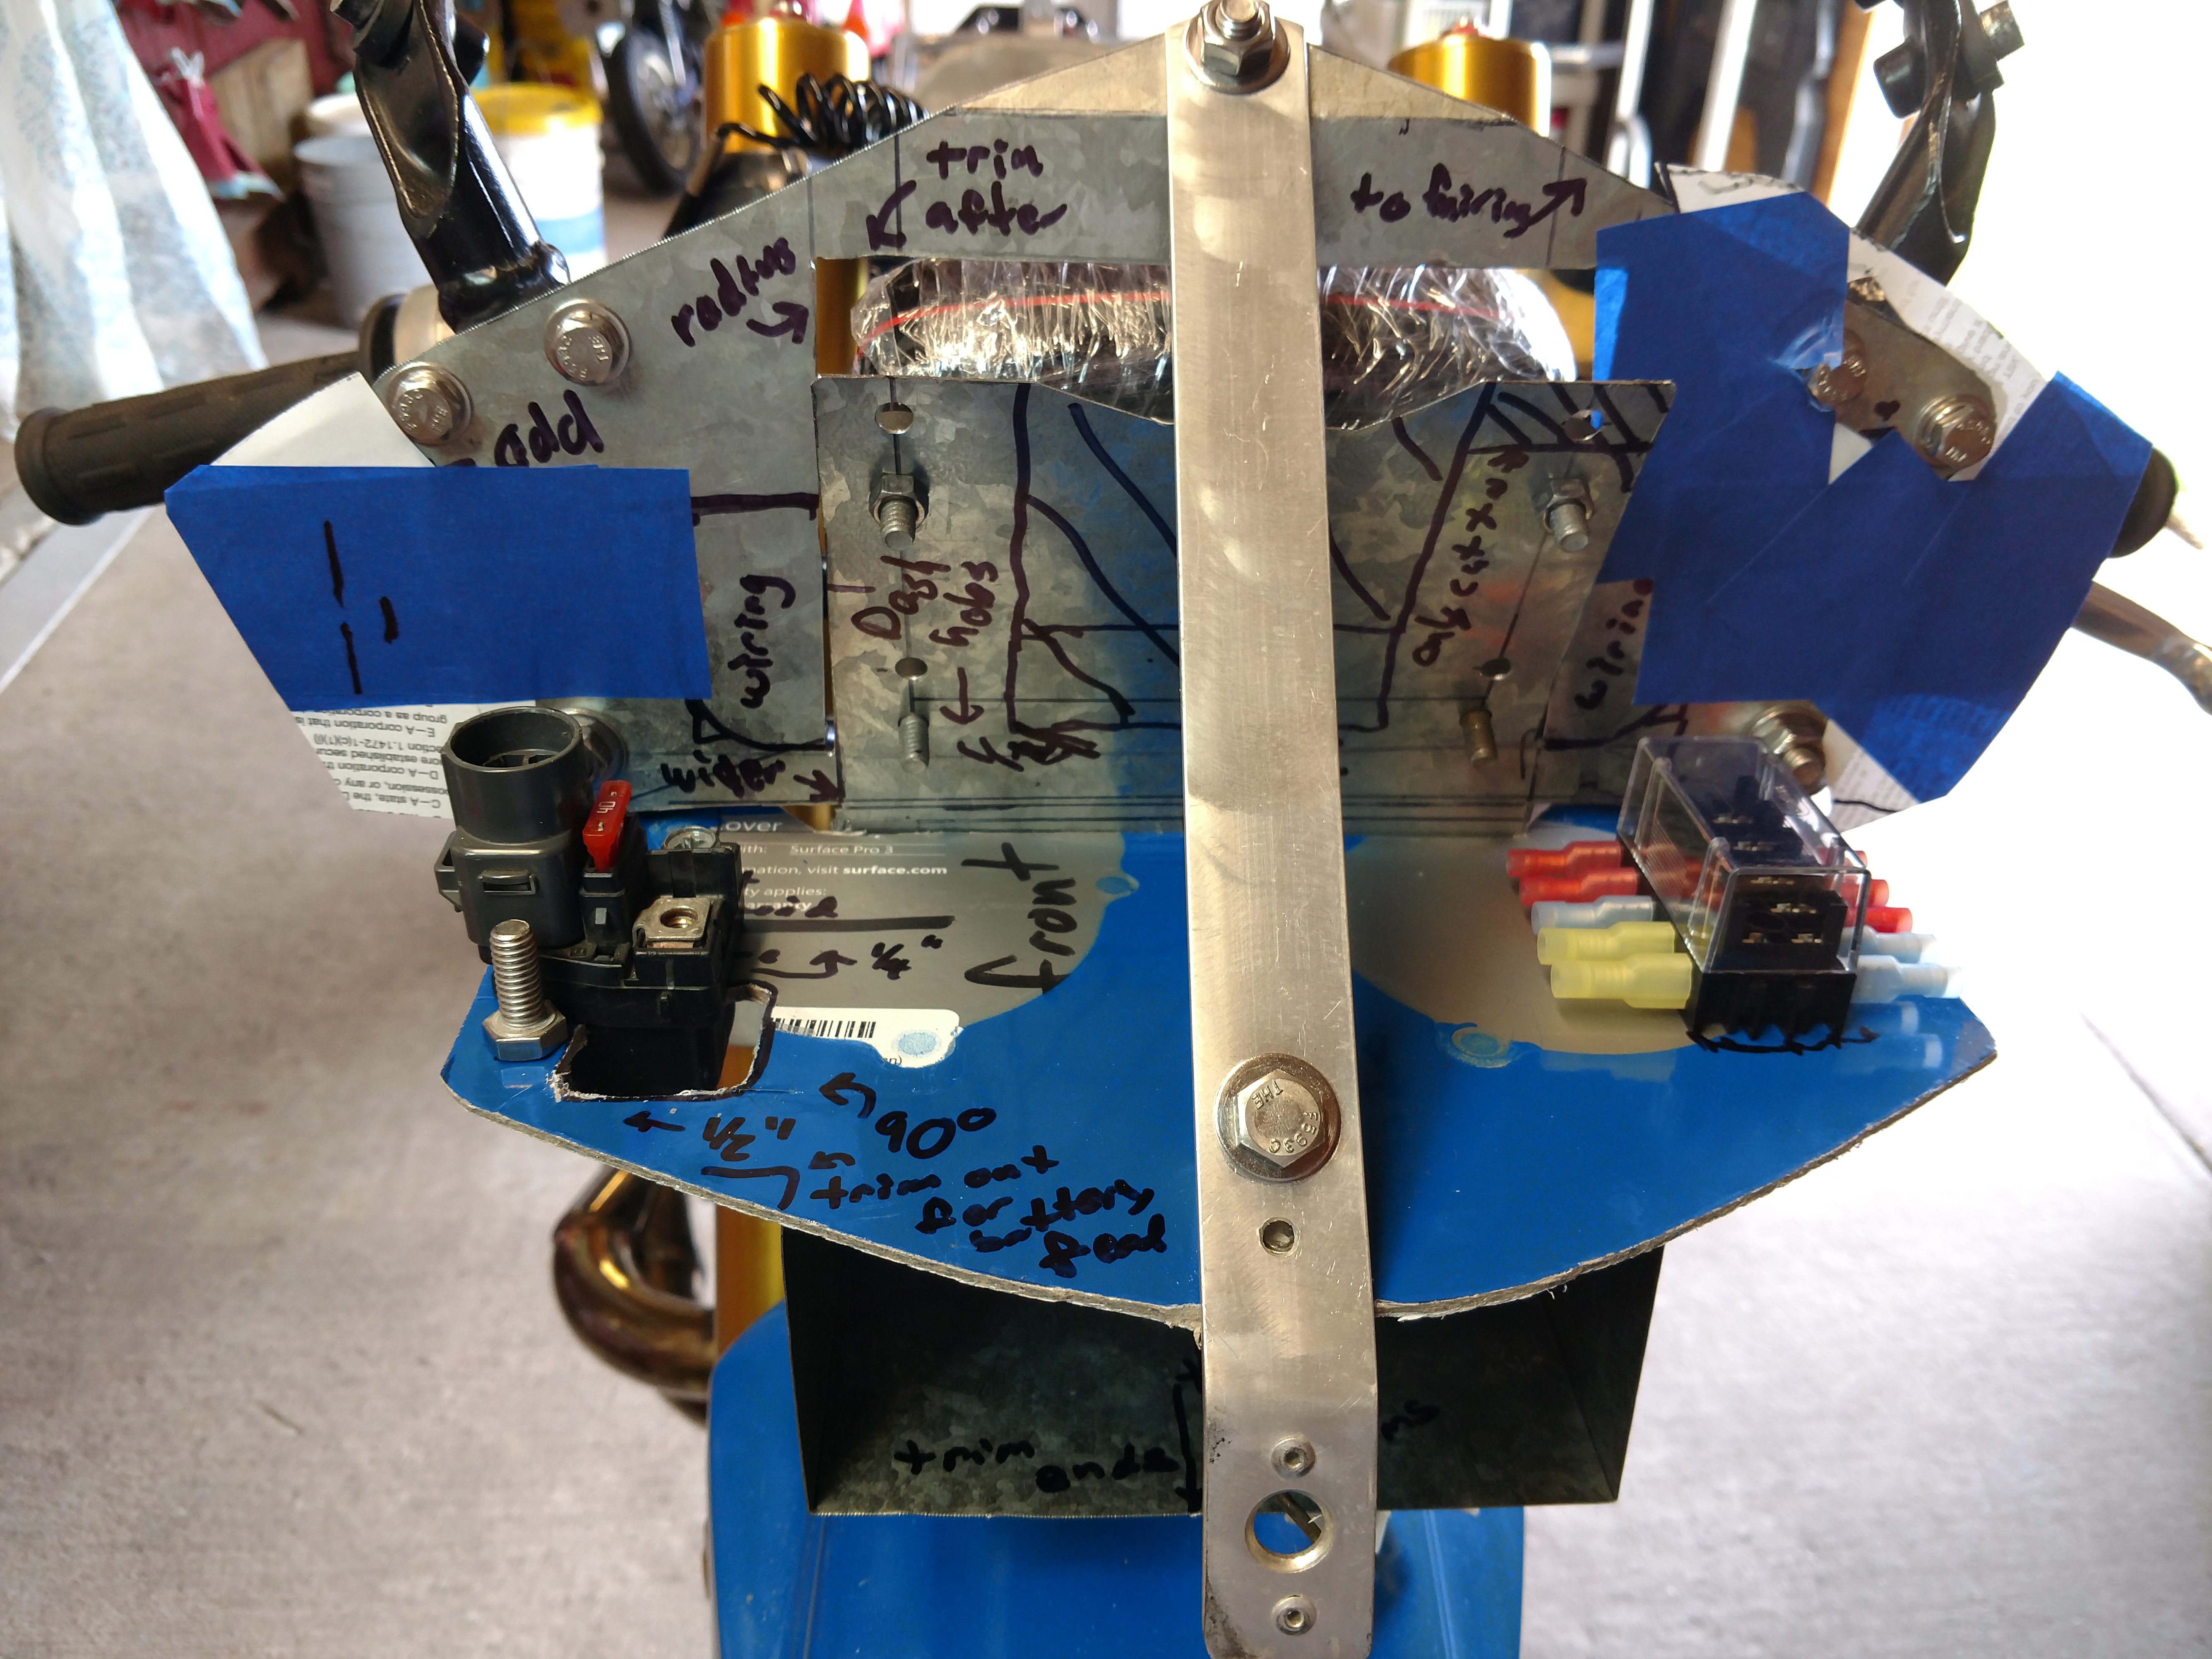
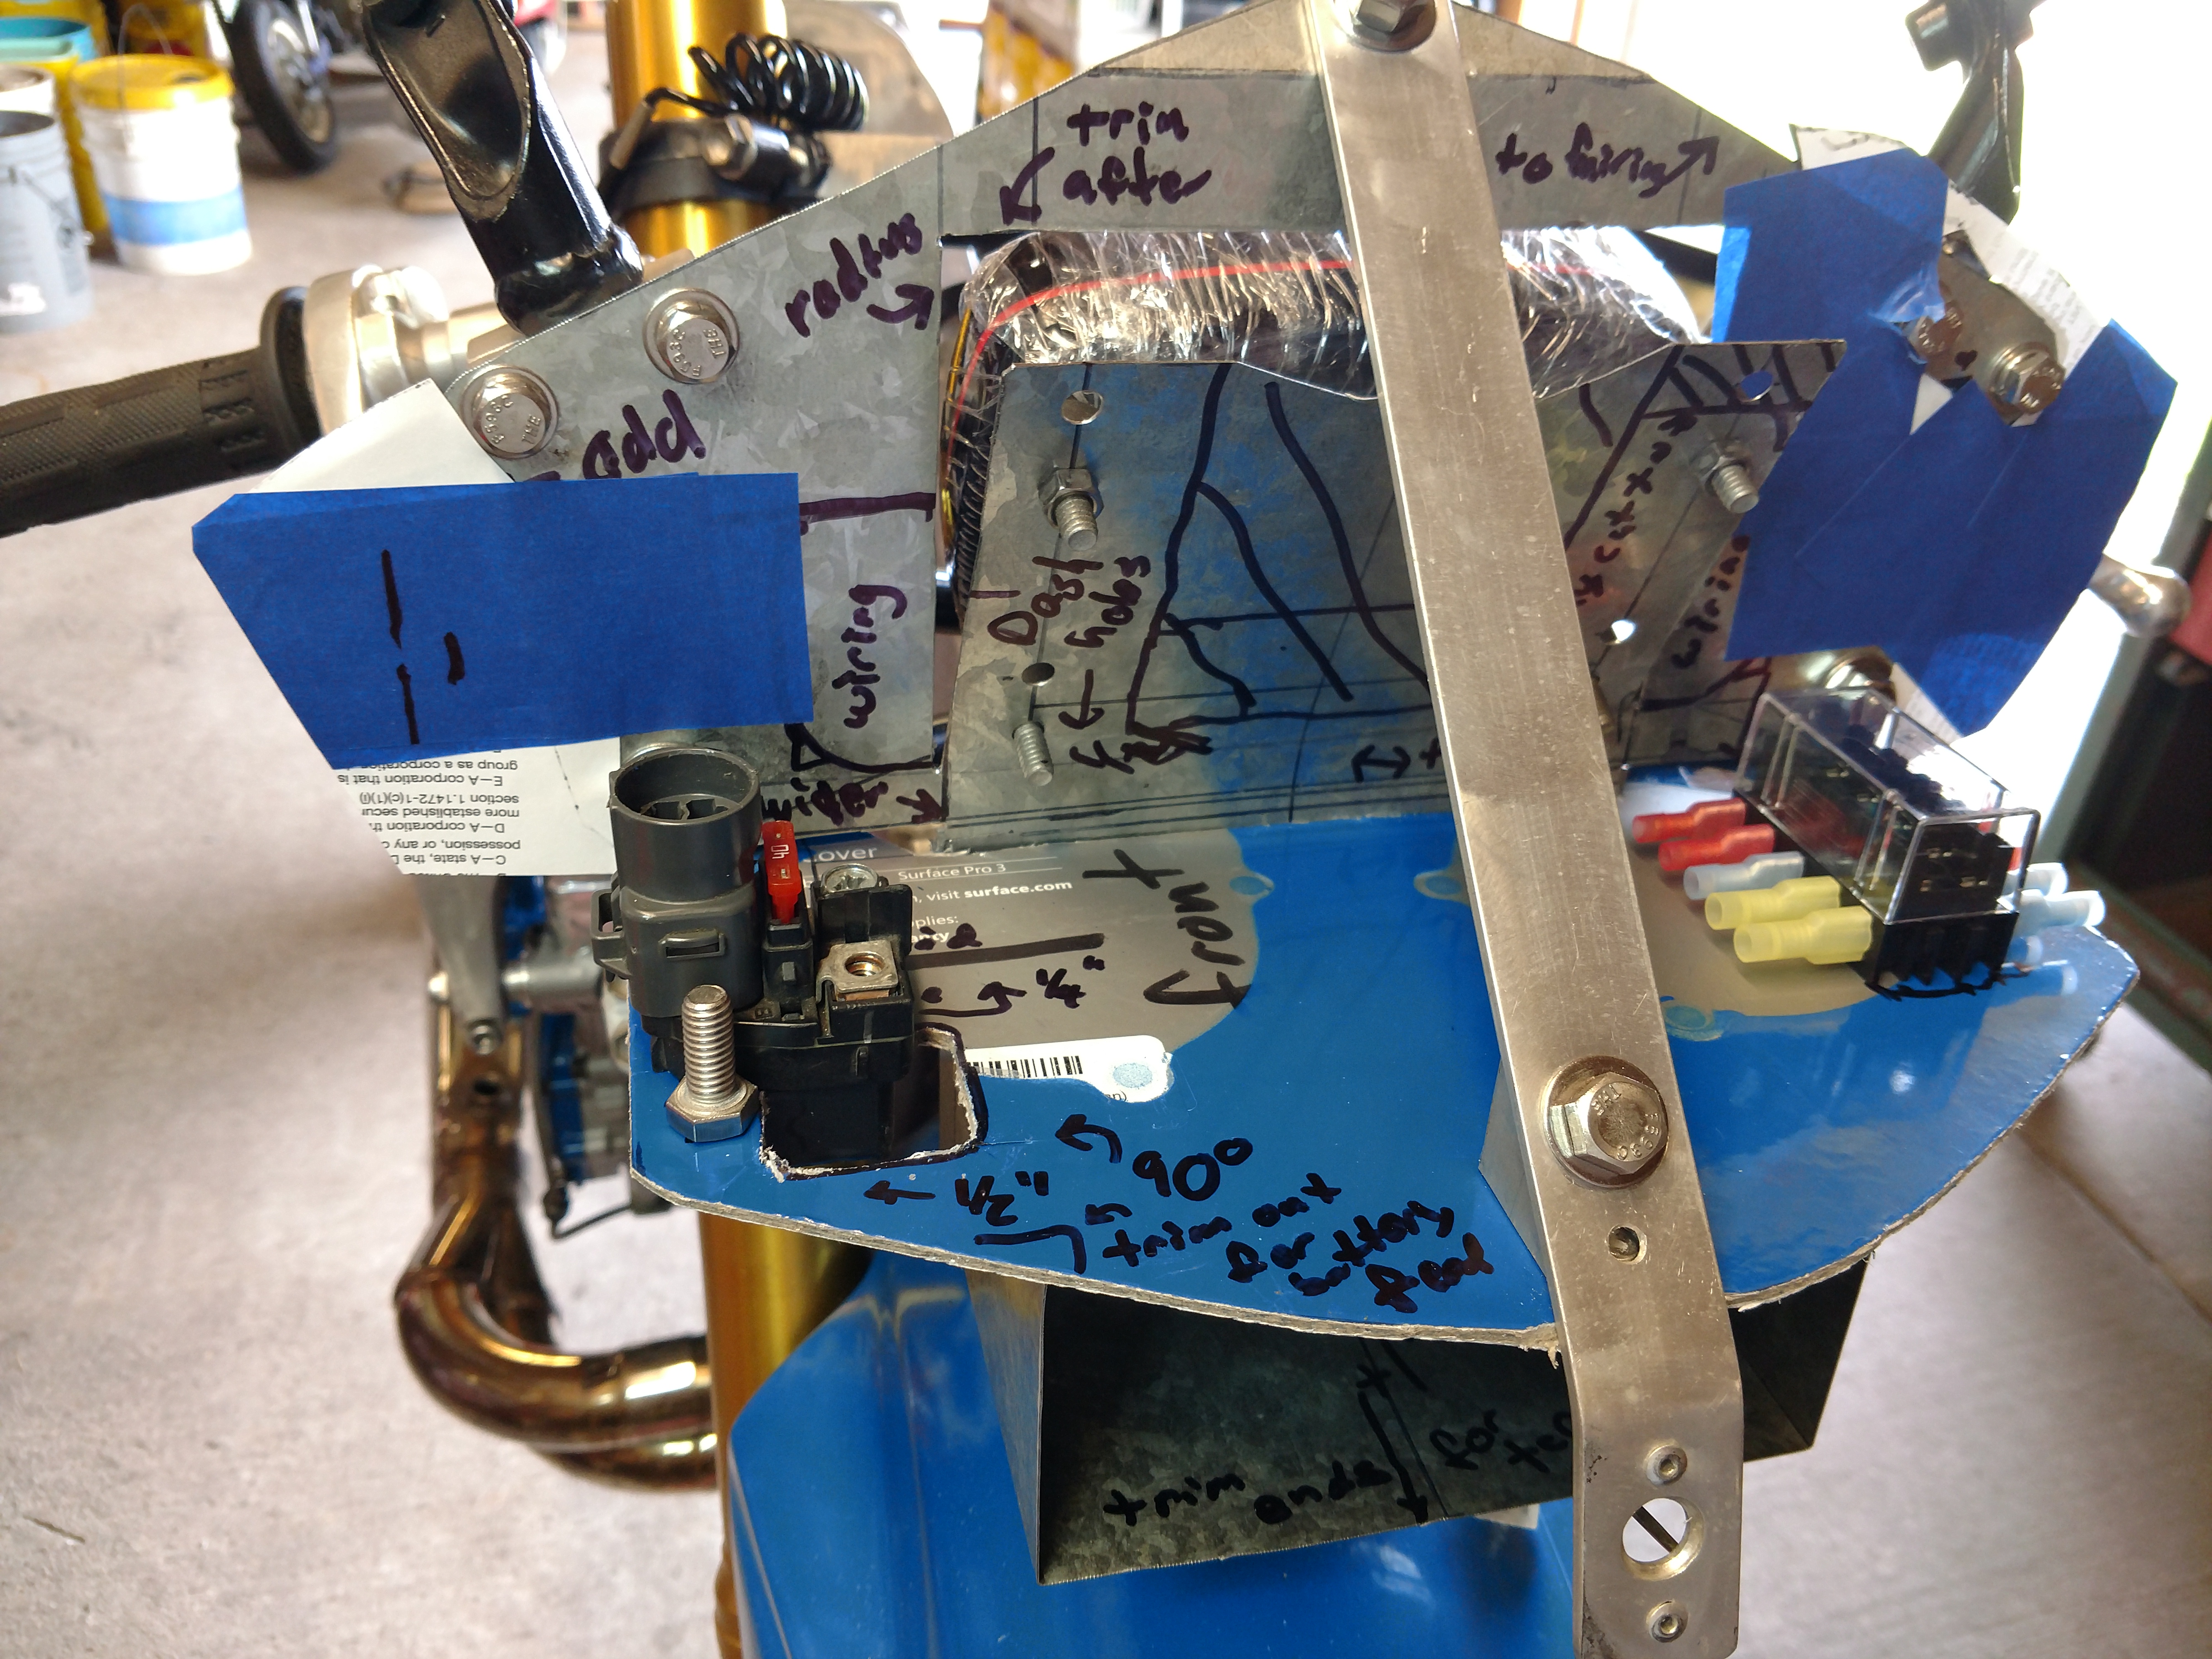
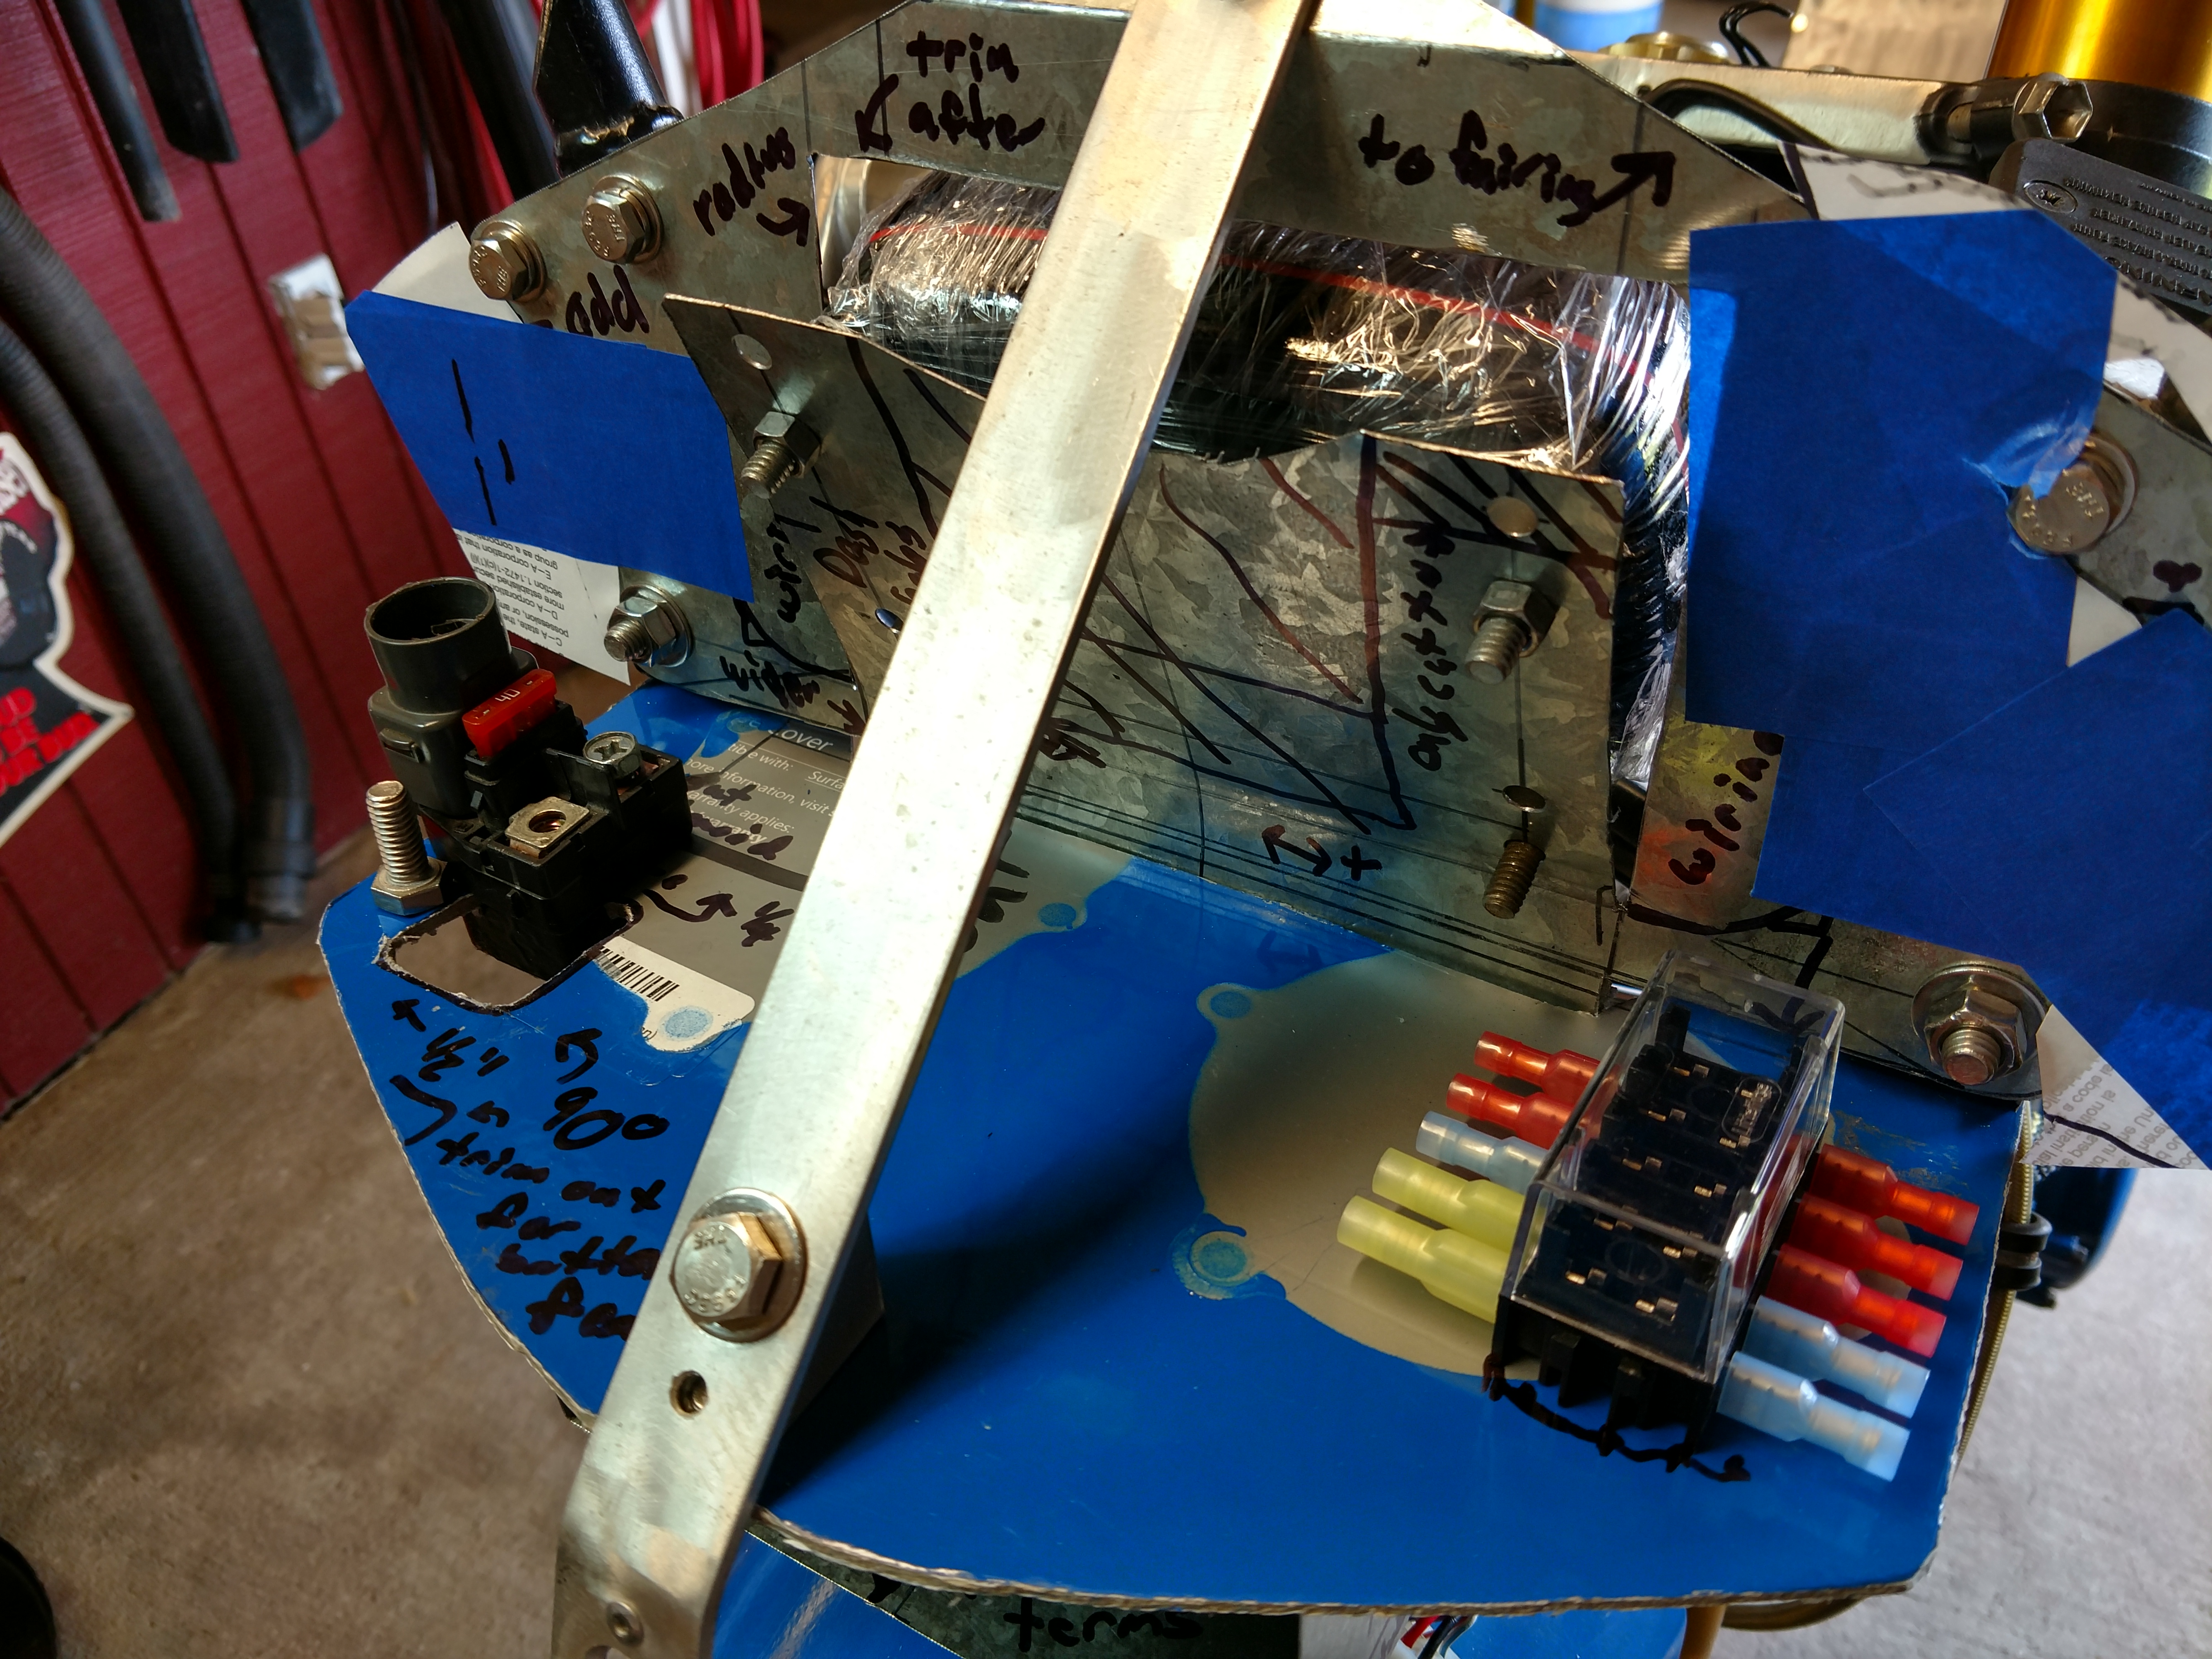
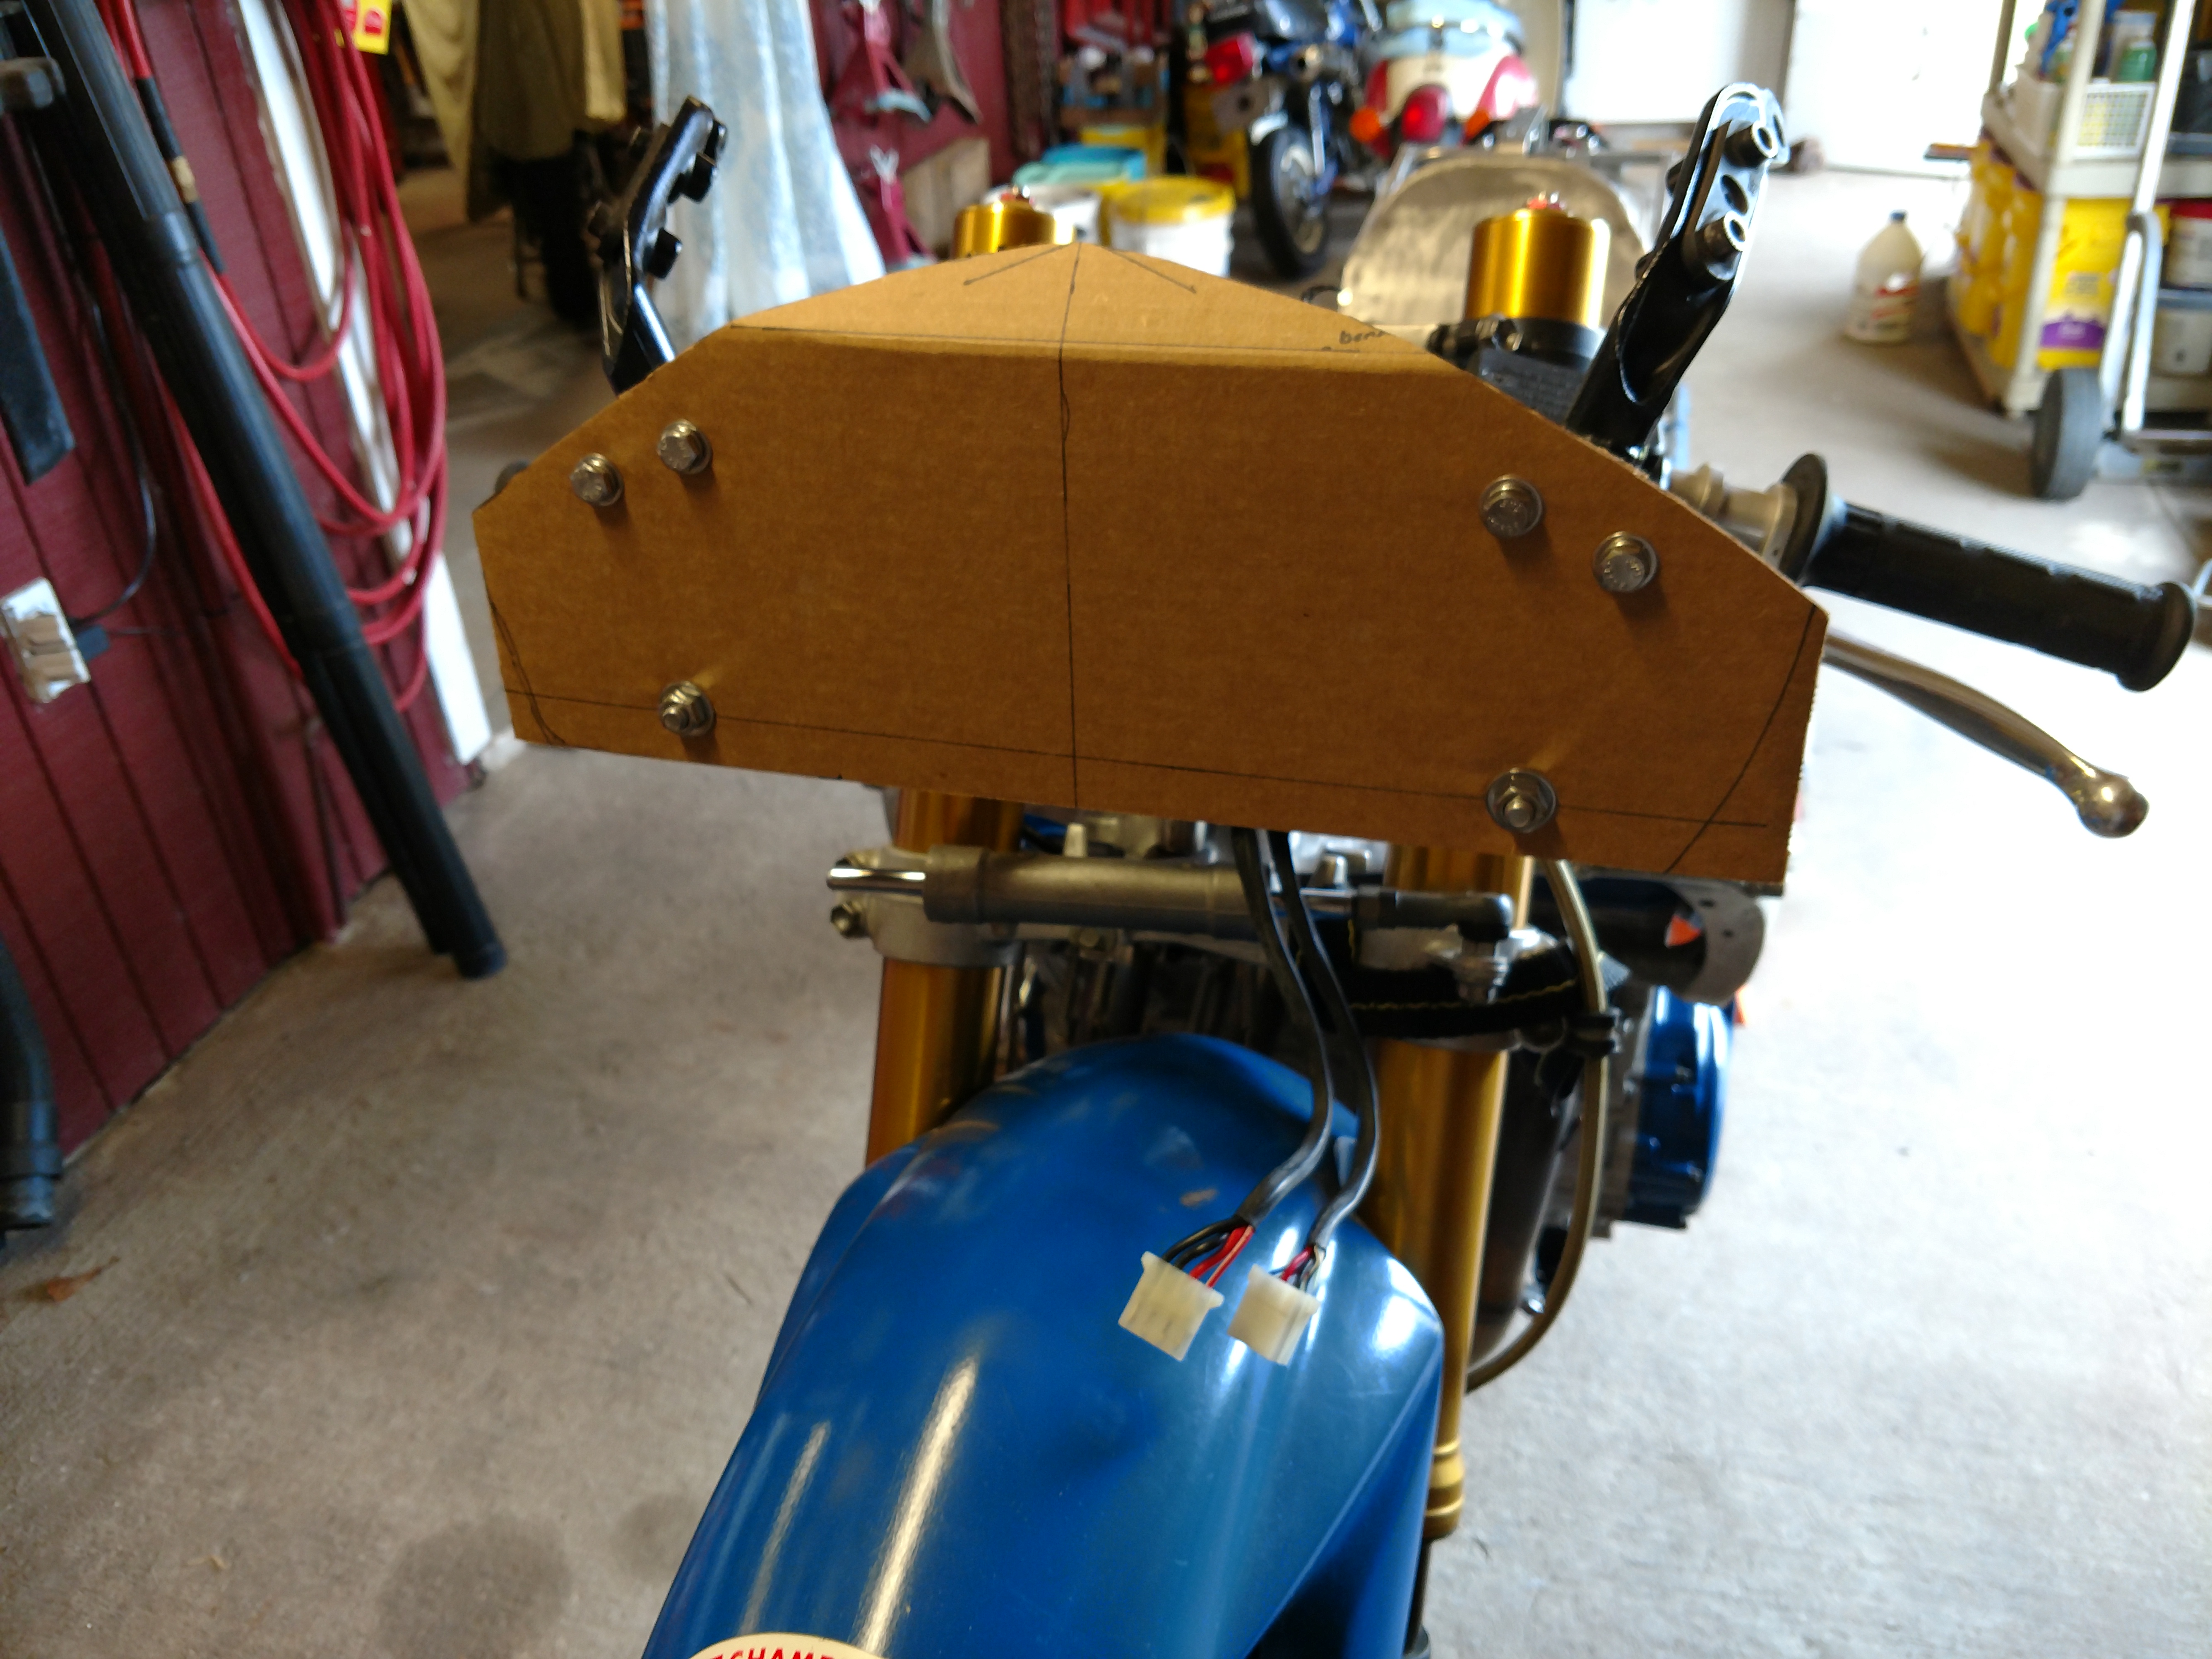
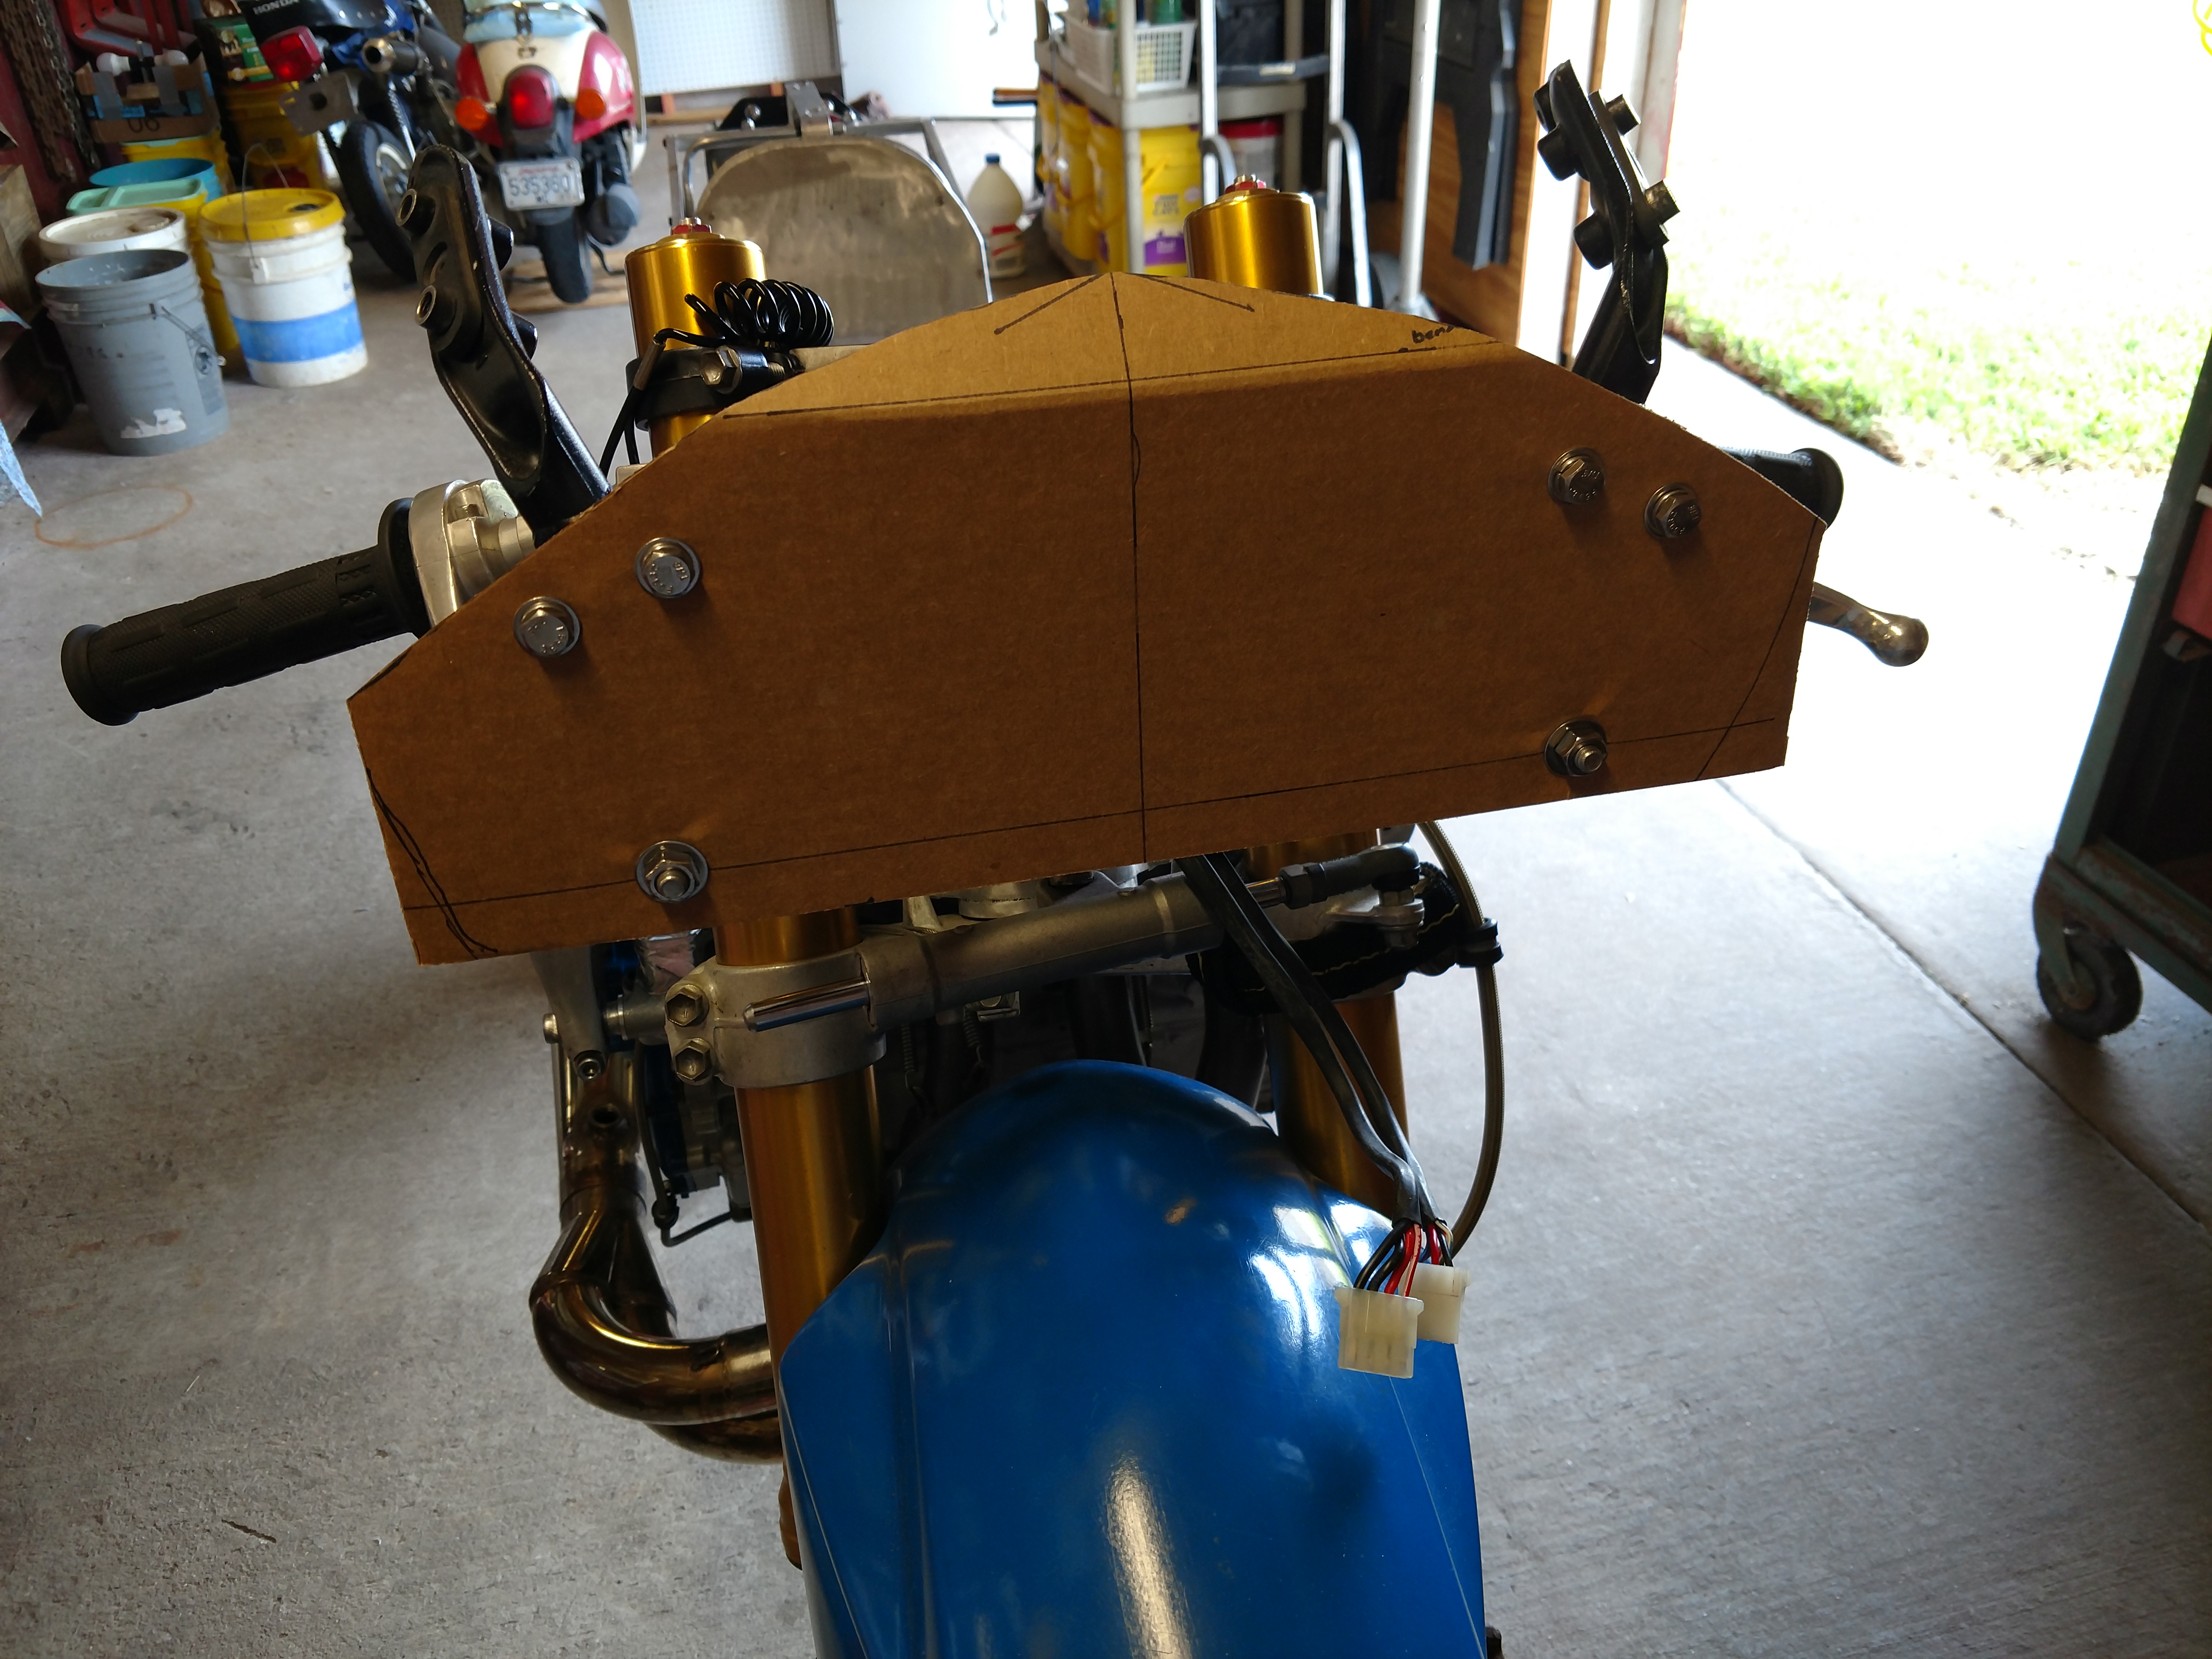
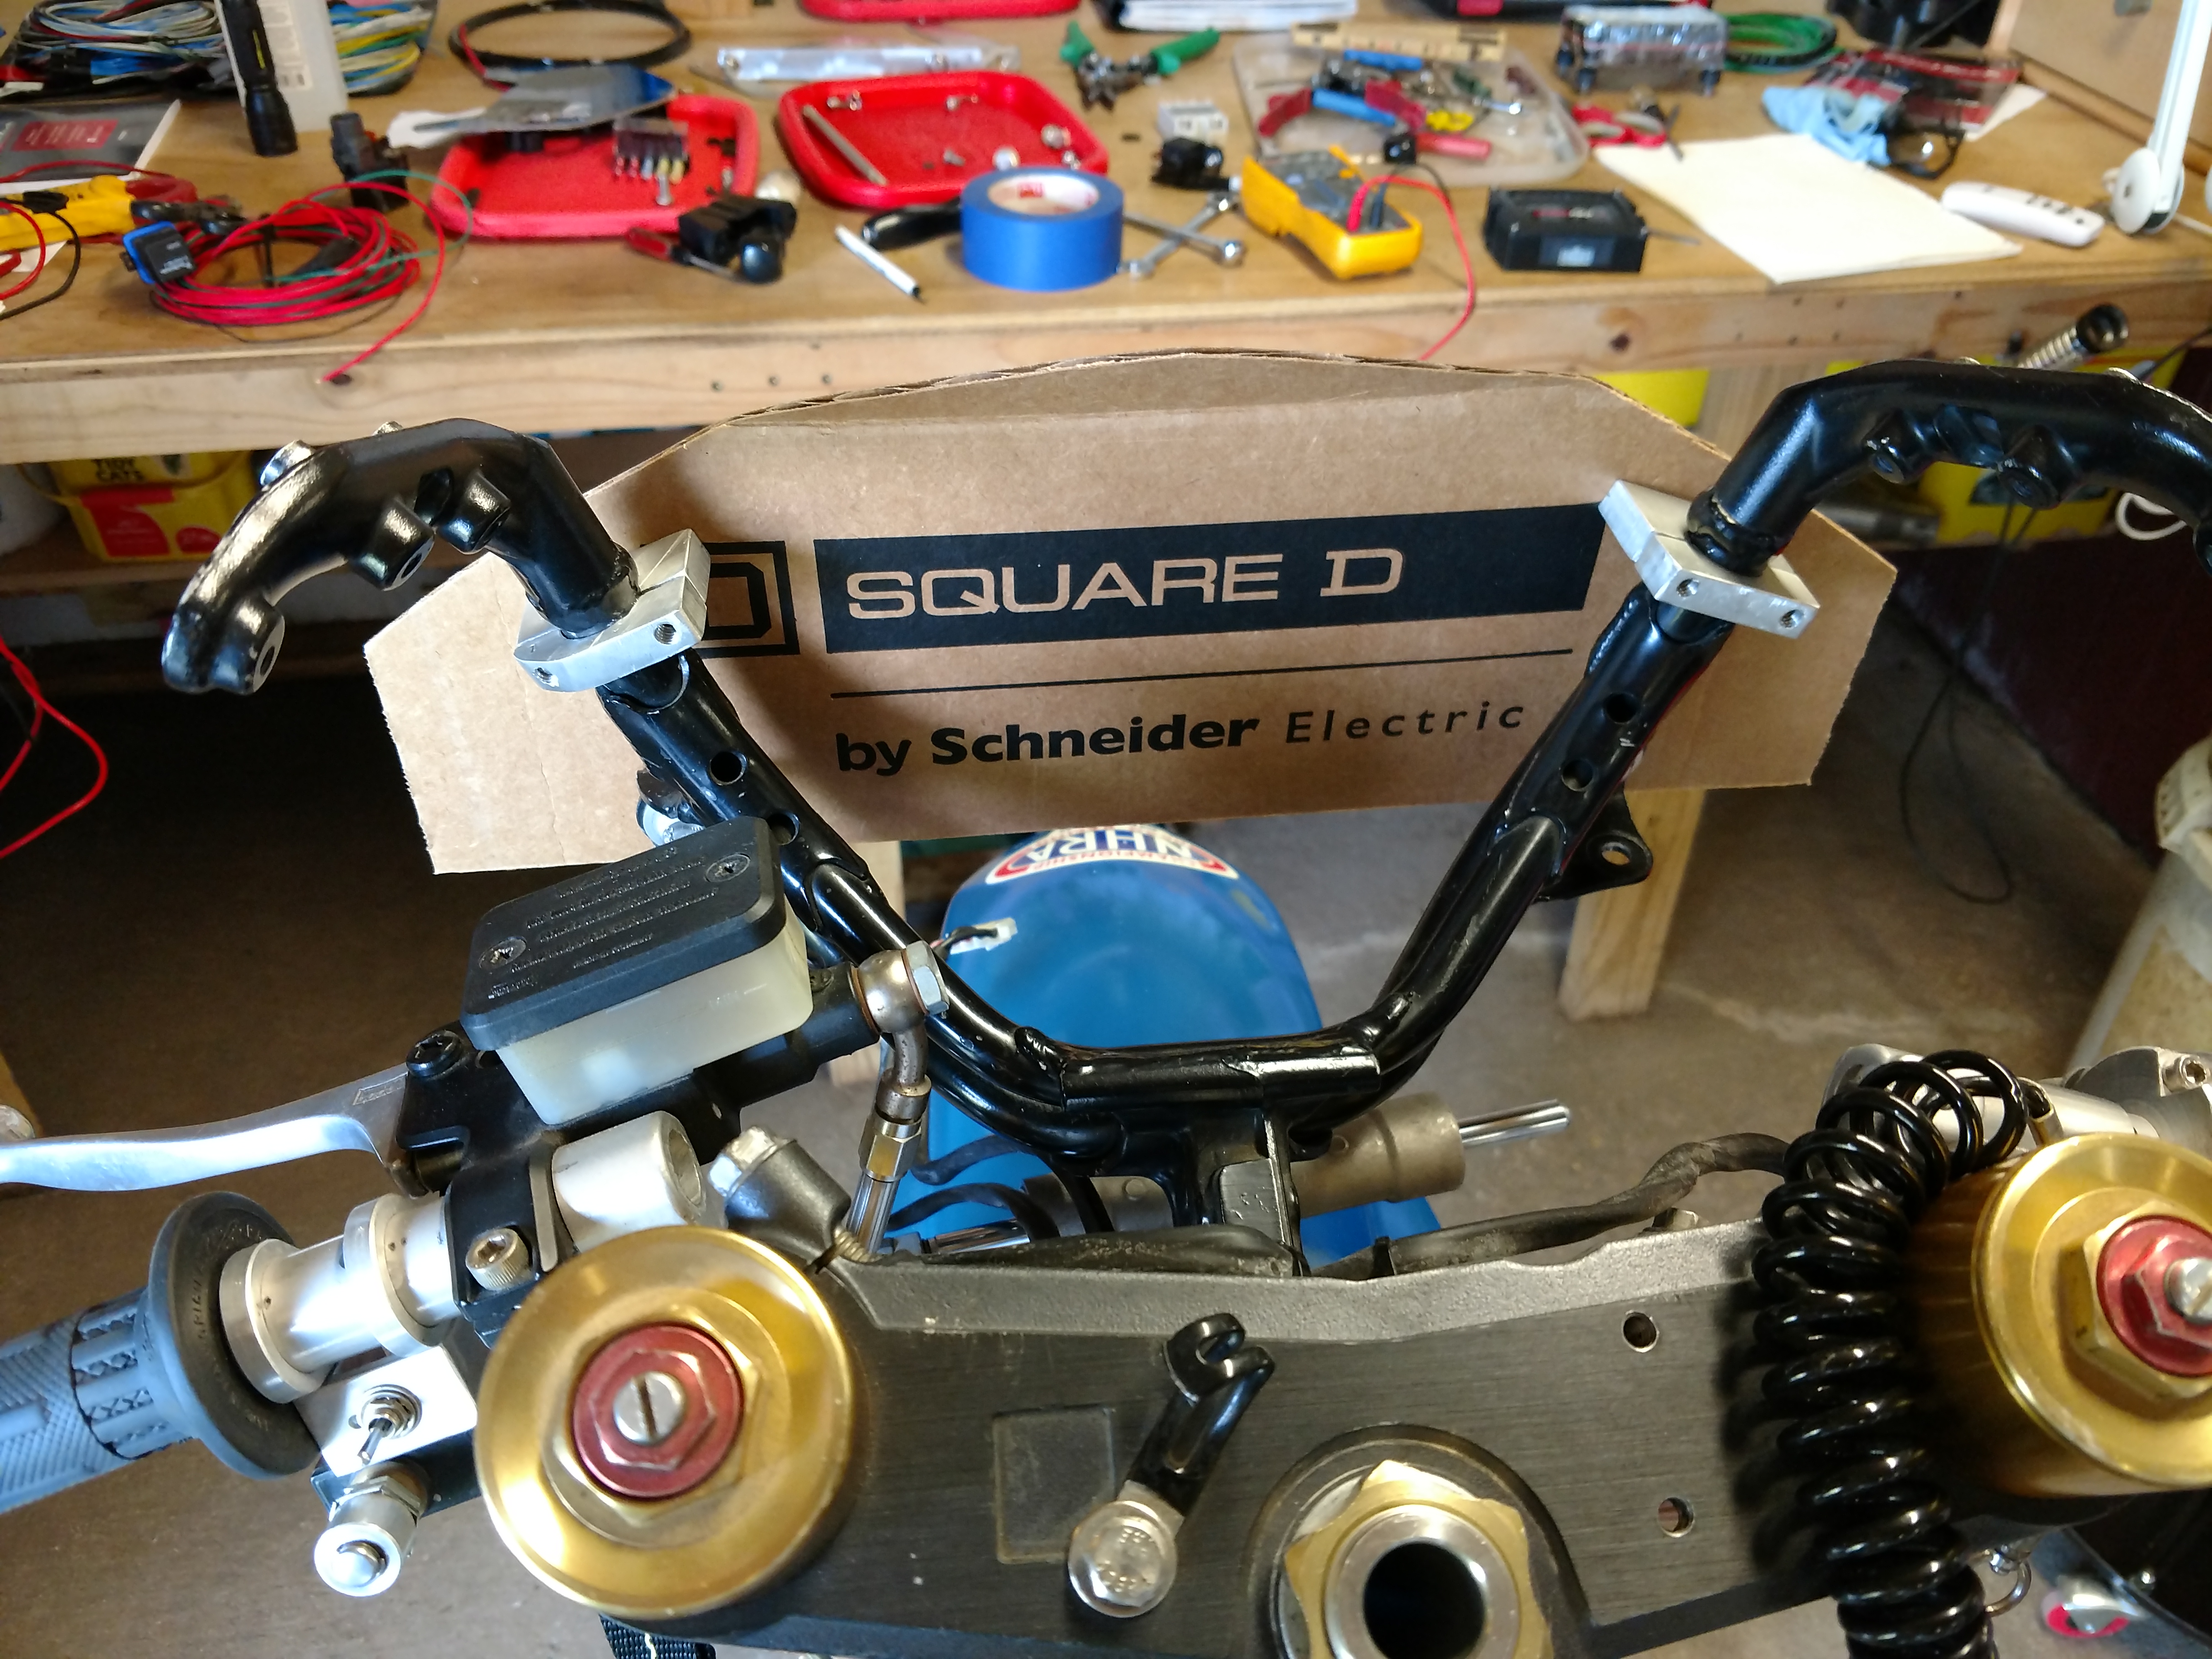
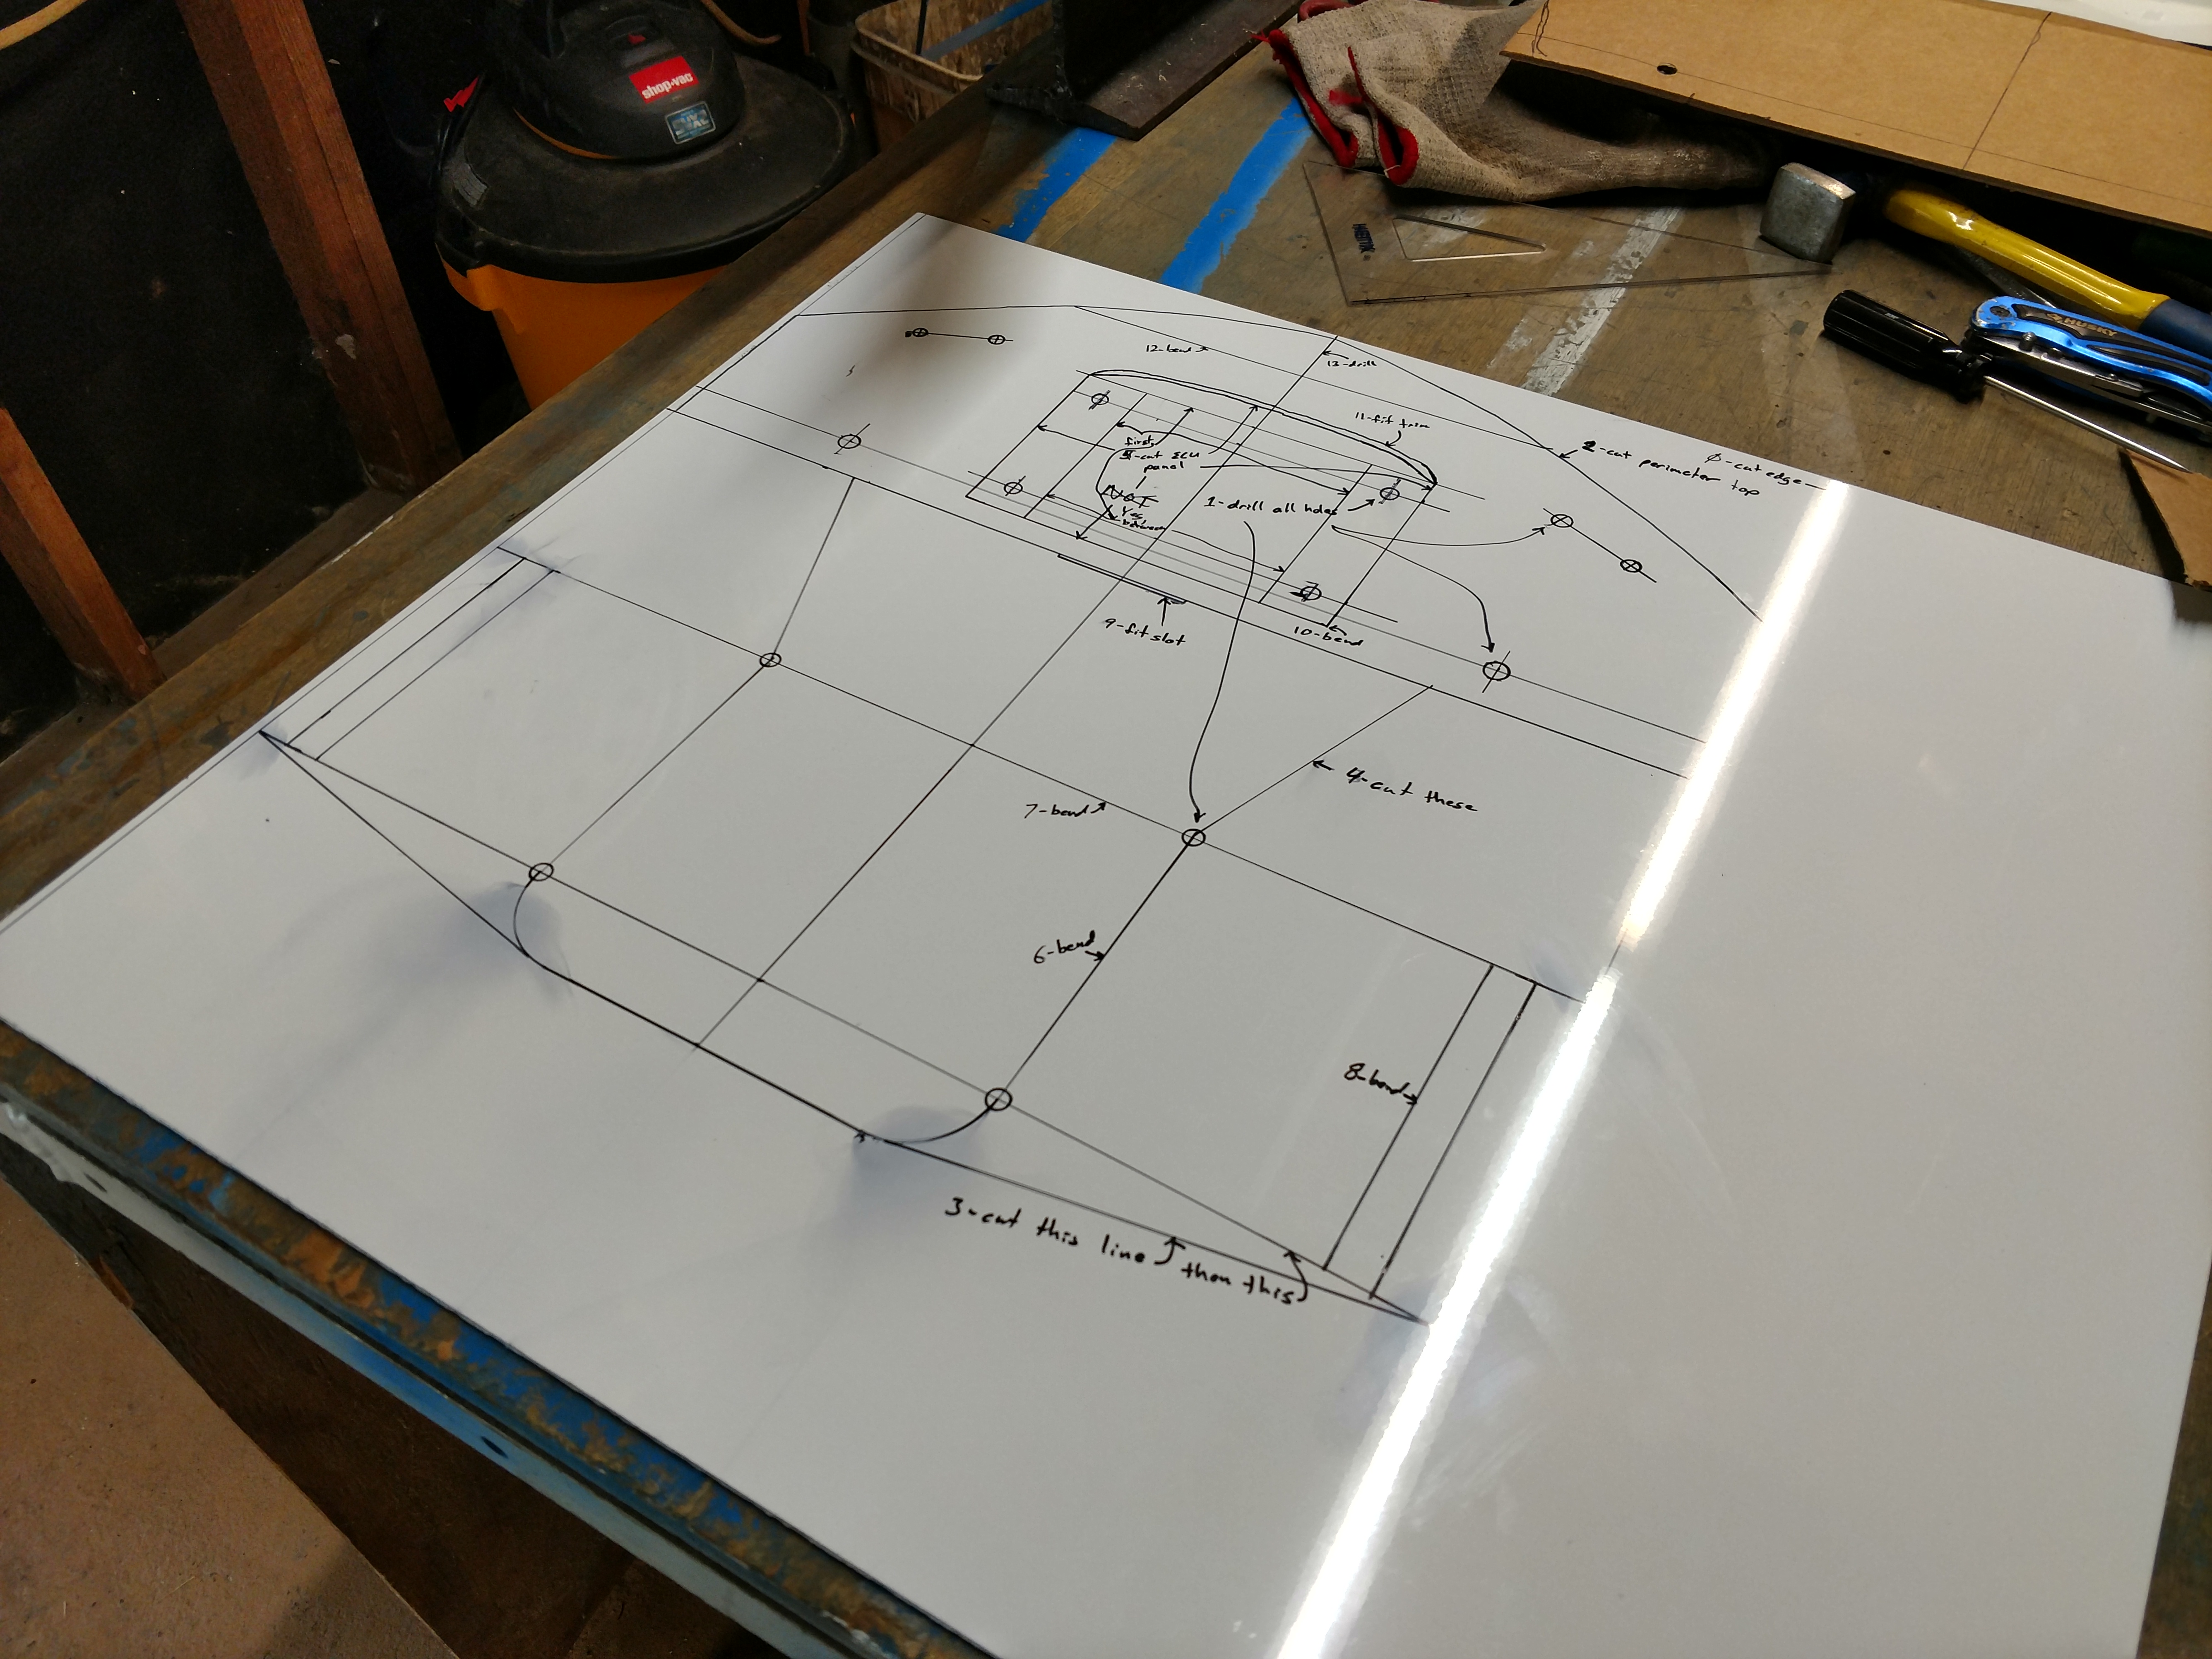
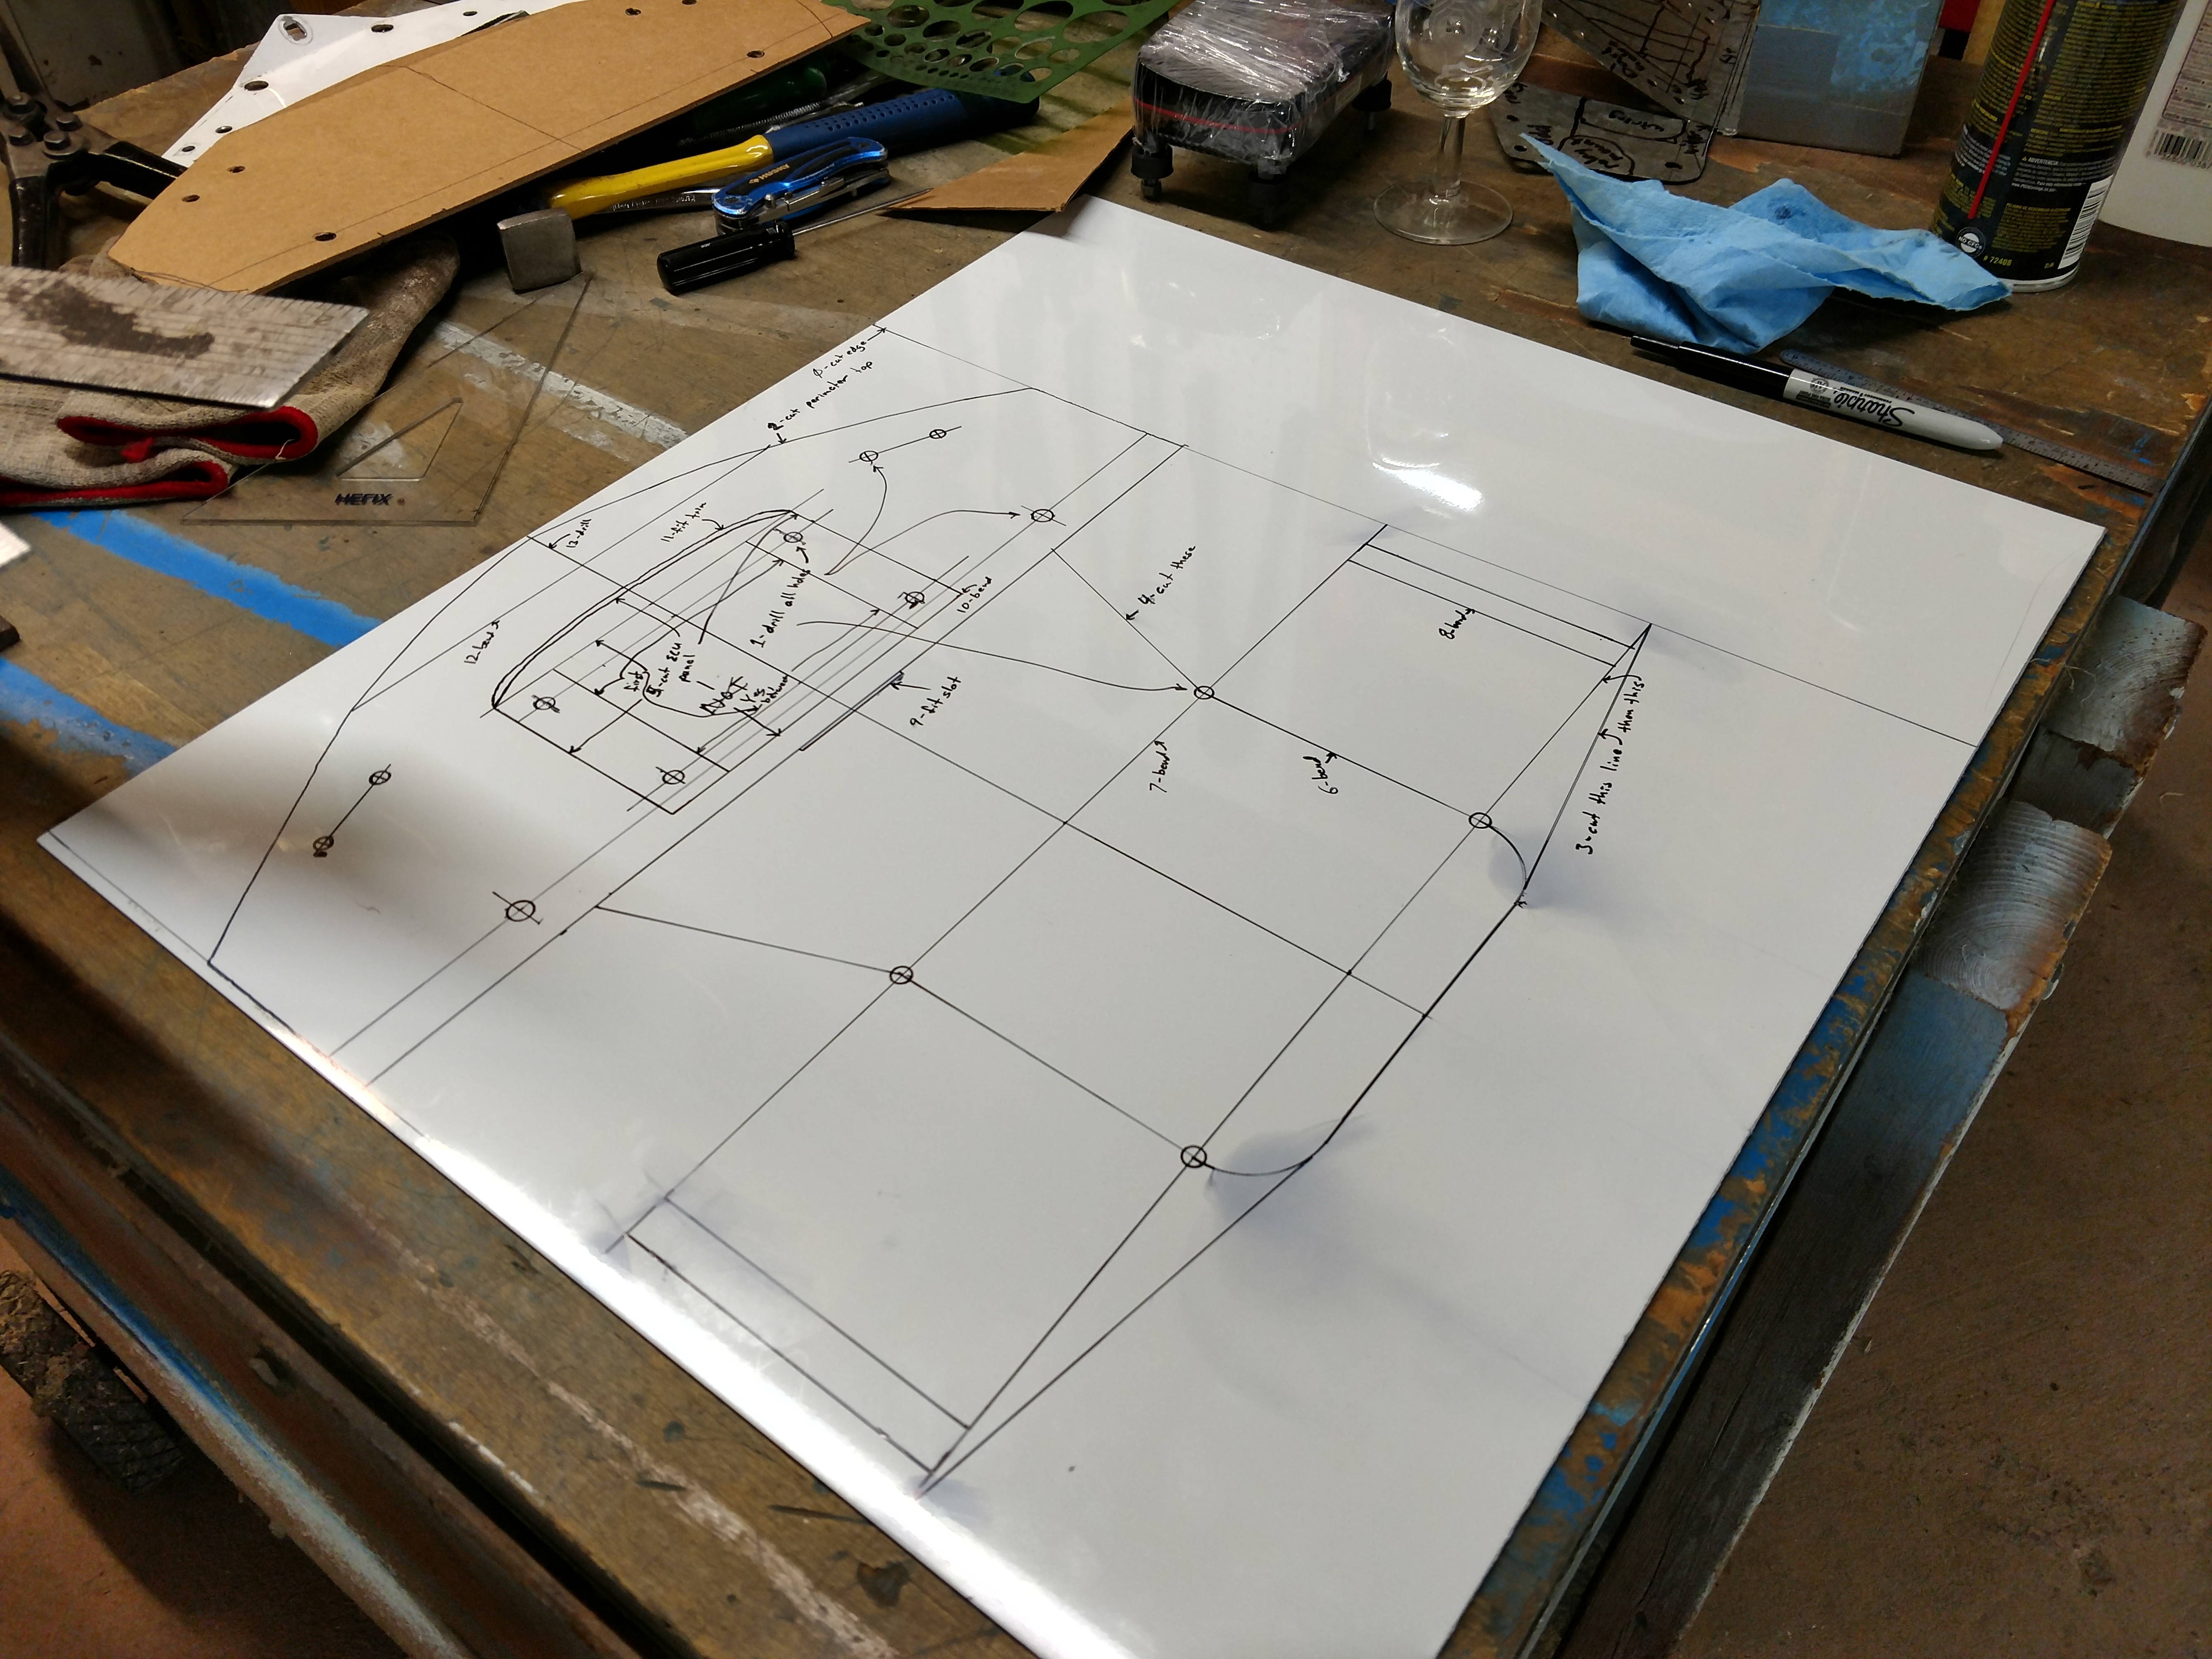
The main structure was marked and trimmed. Numbered steps helped
me avoid cutting something I wanted to keep or bending something
into my way. Then the first bends formed the battery box.
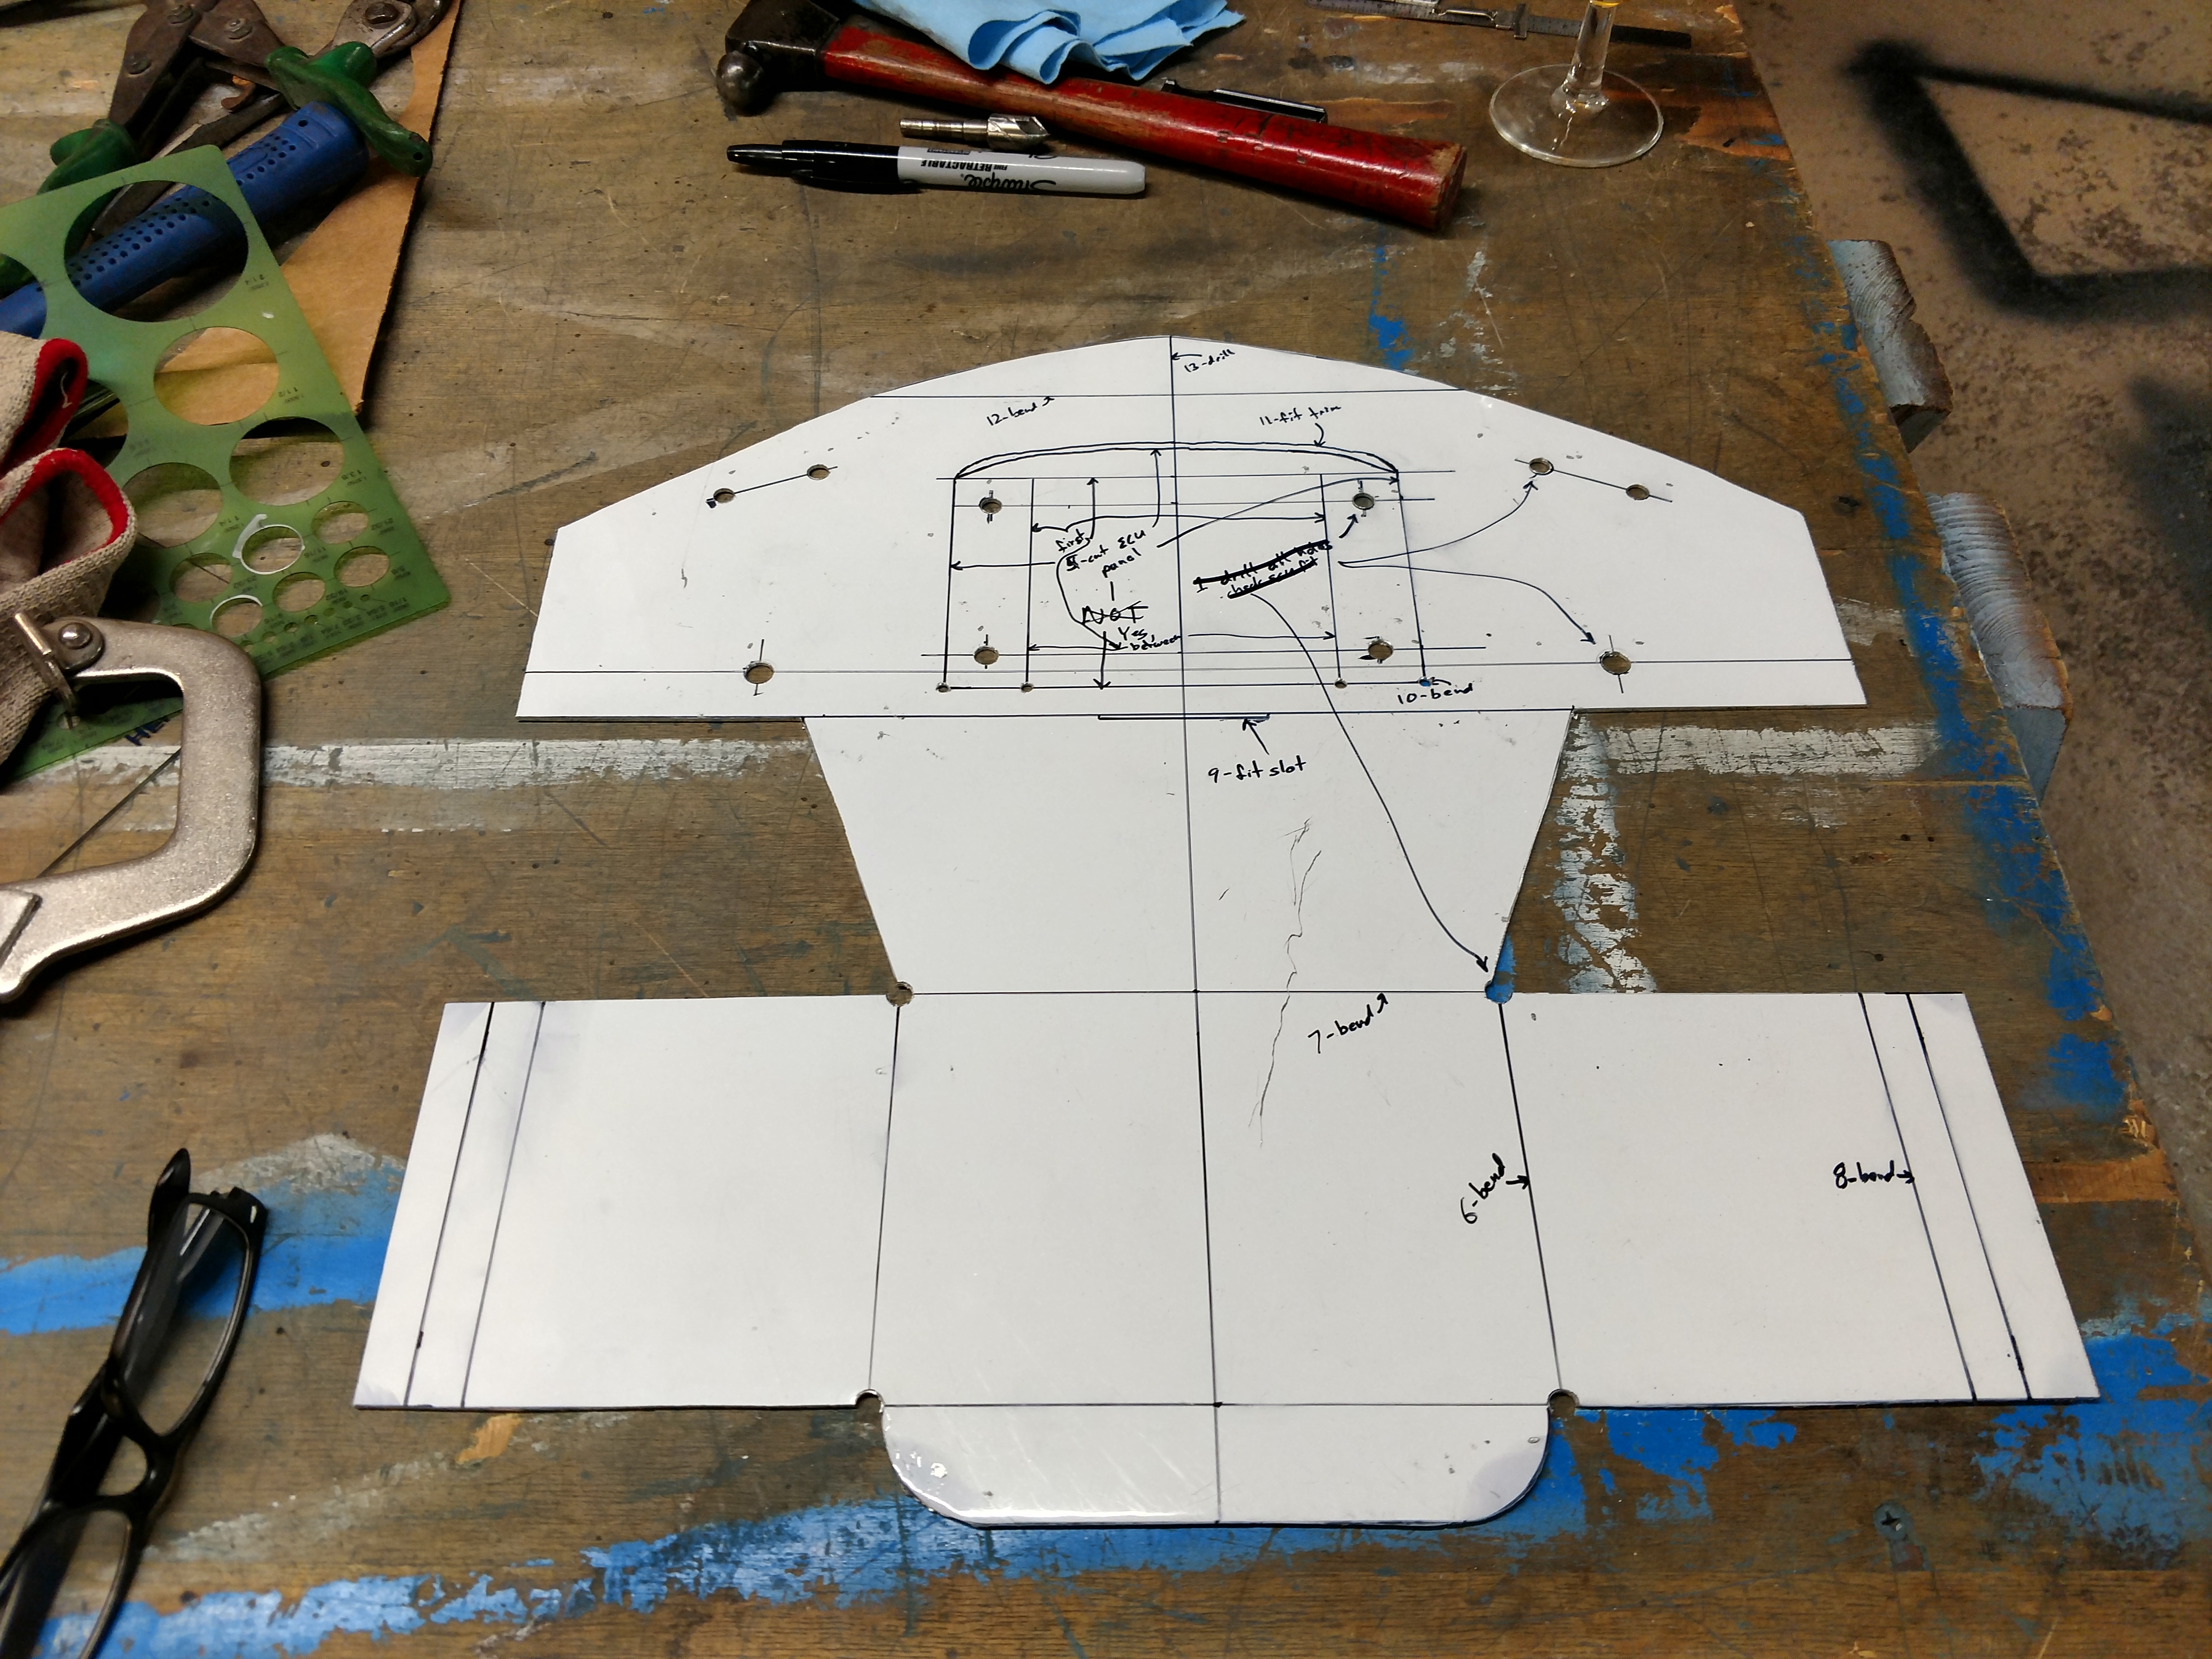
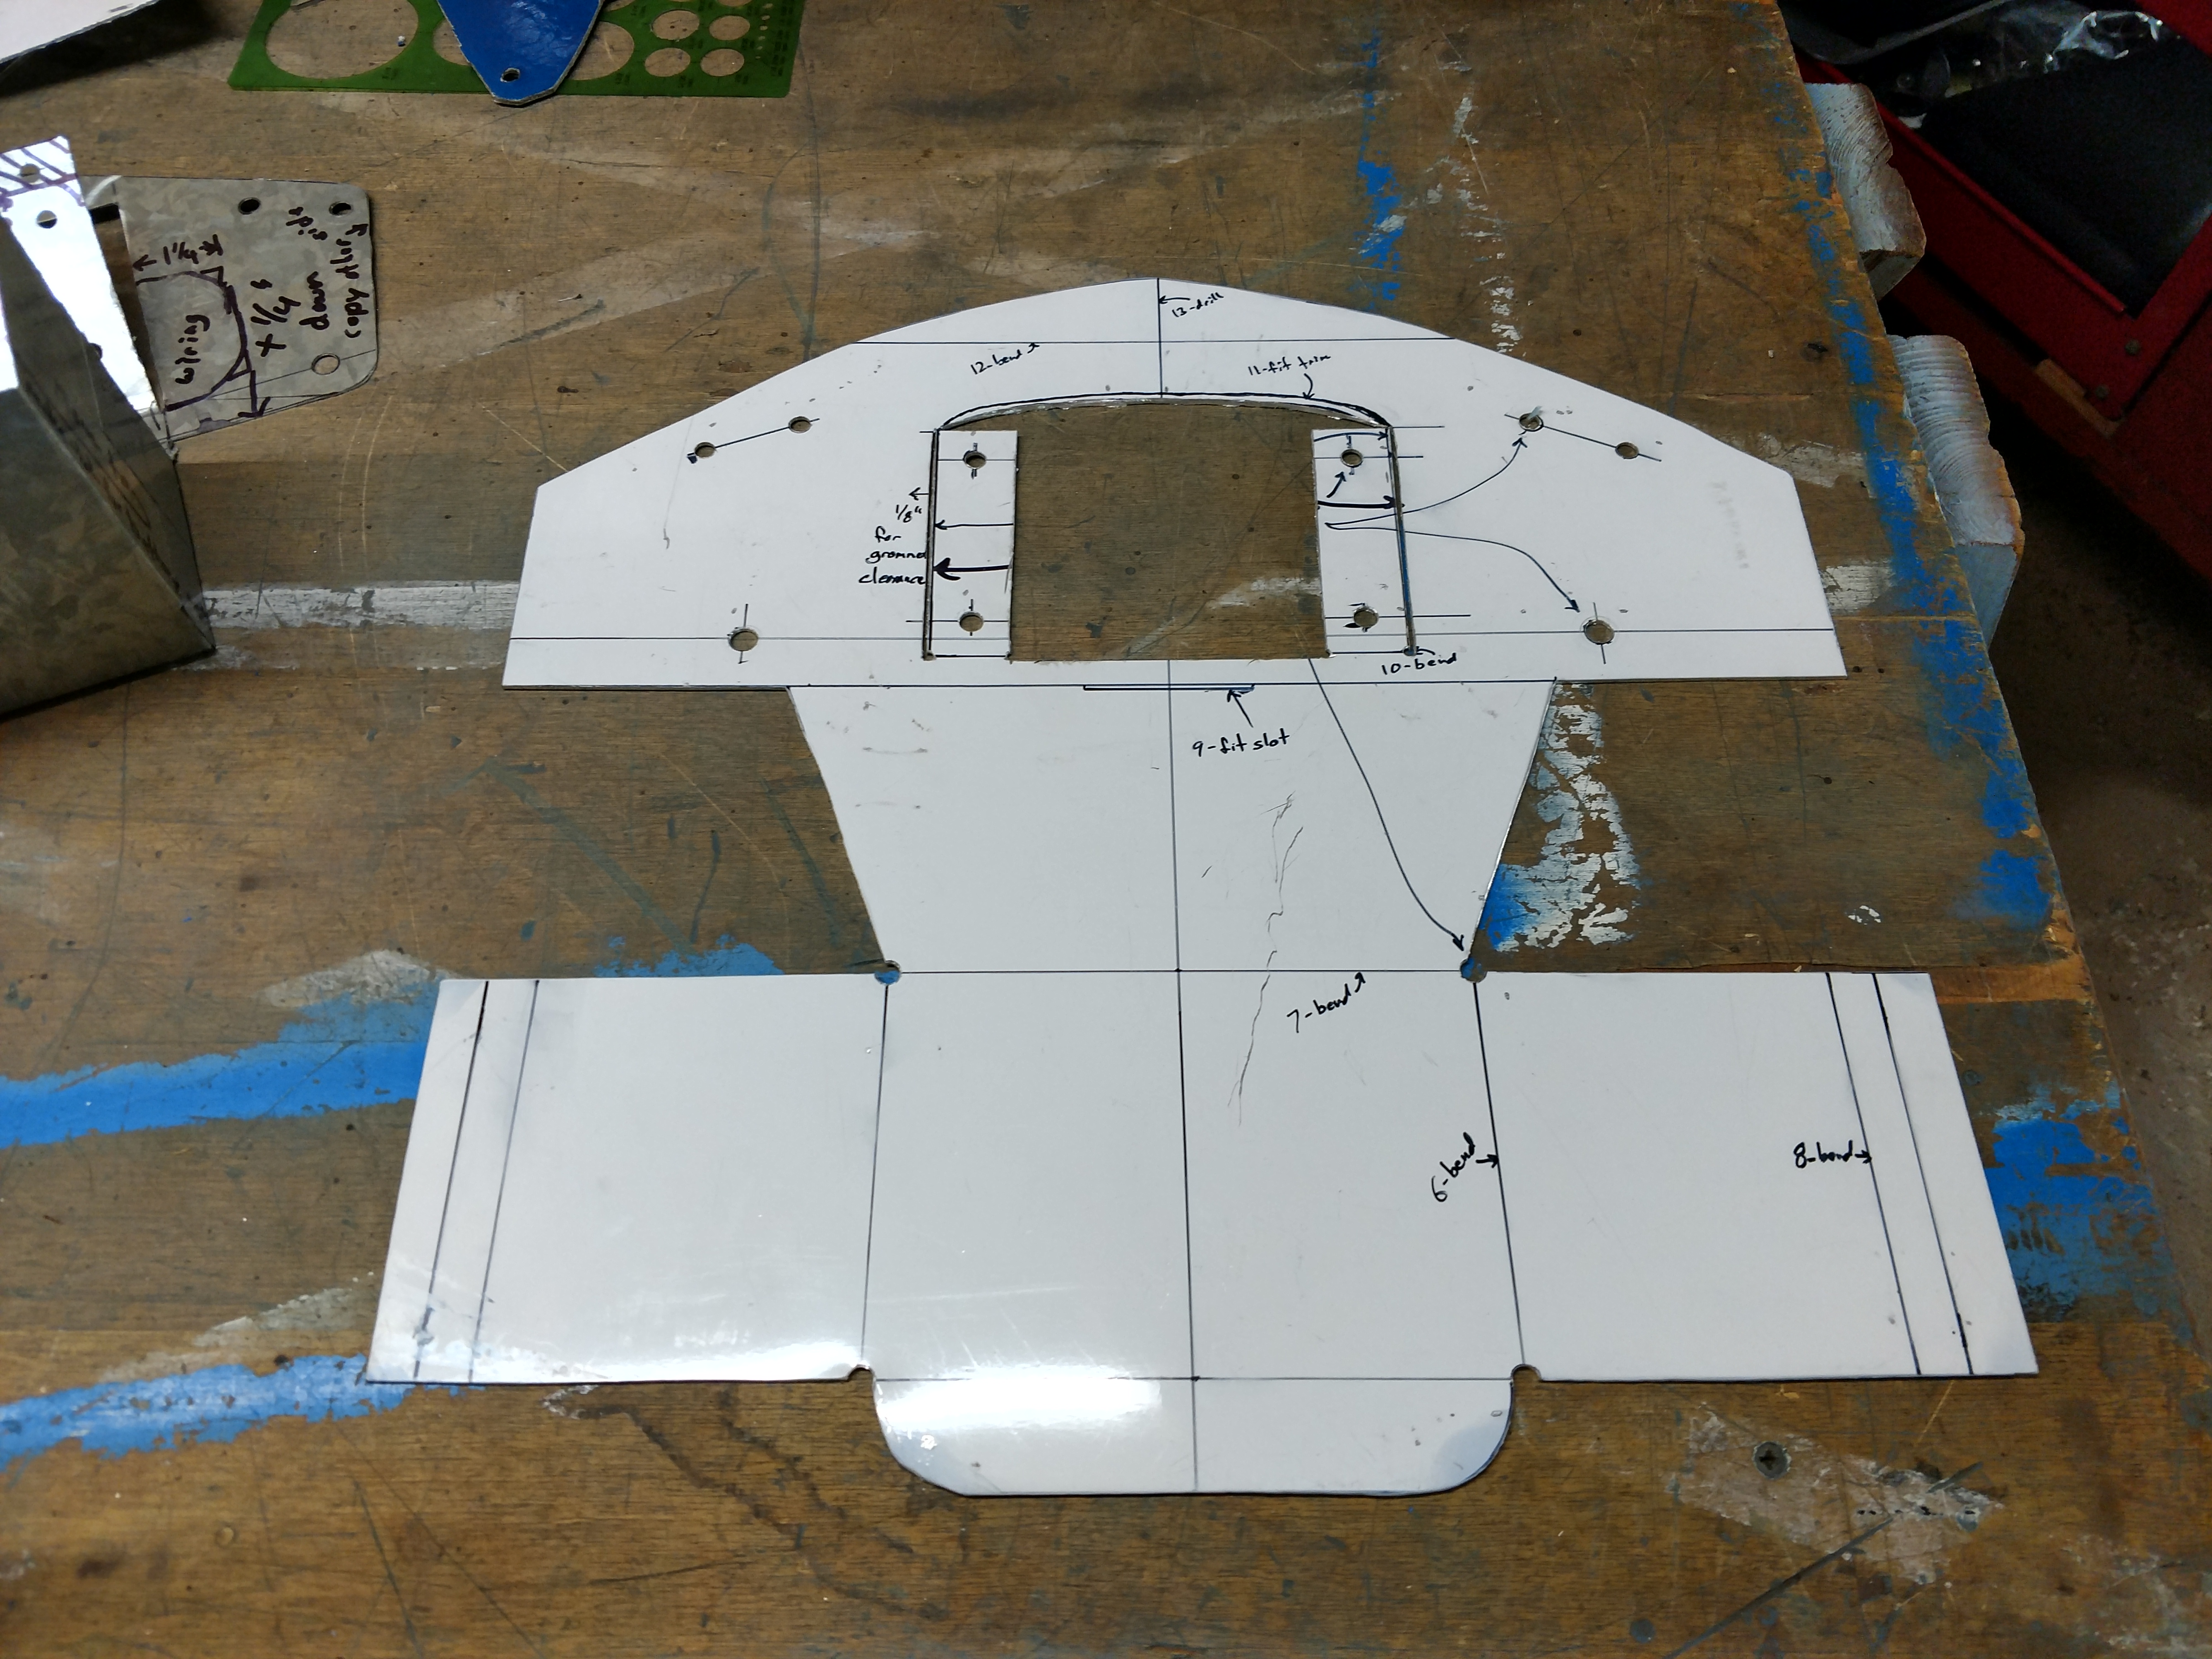
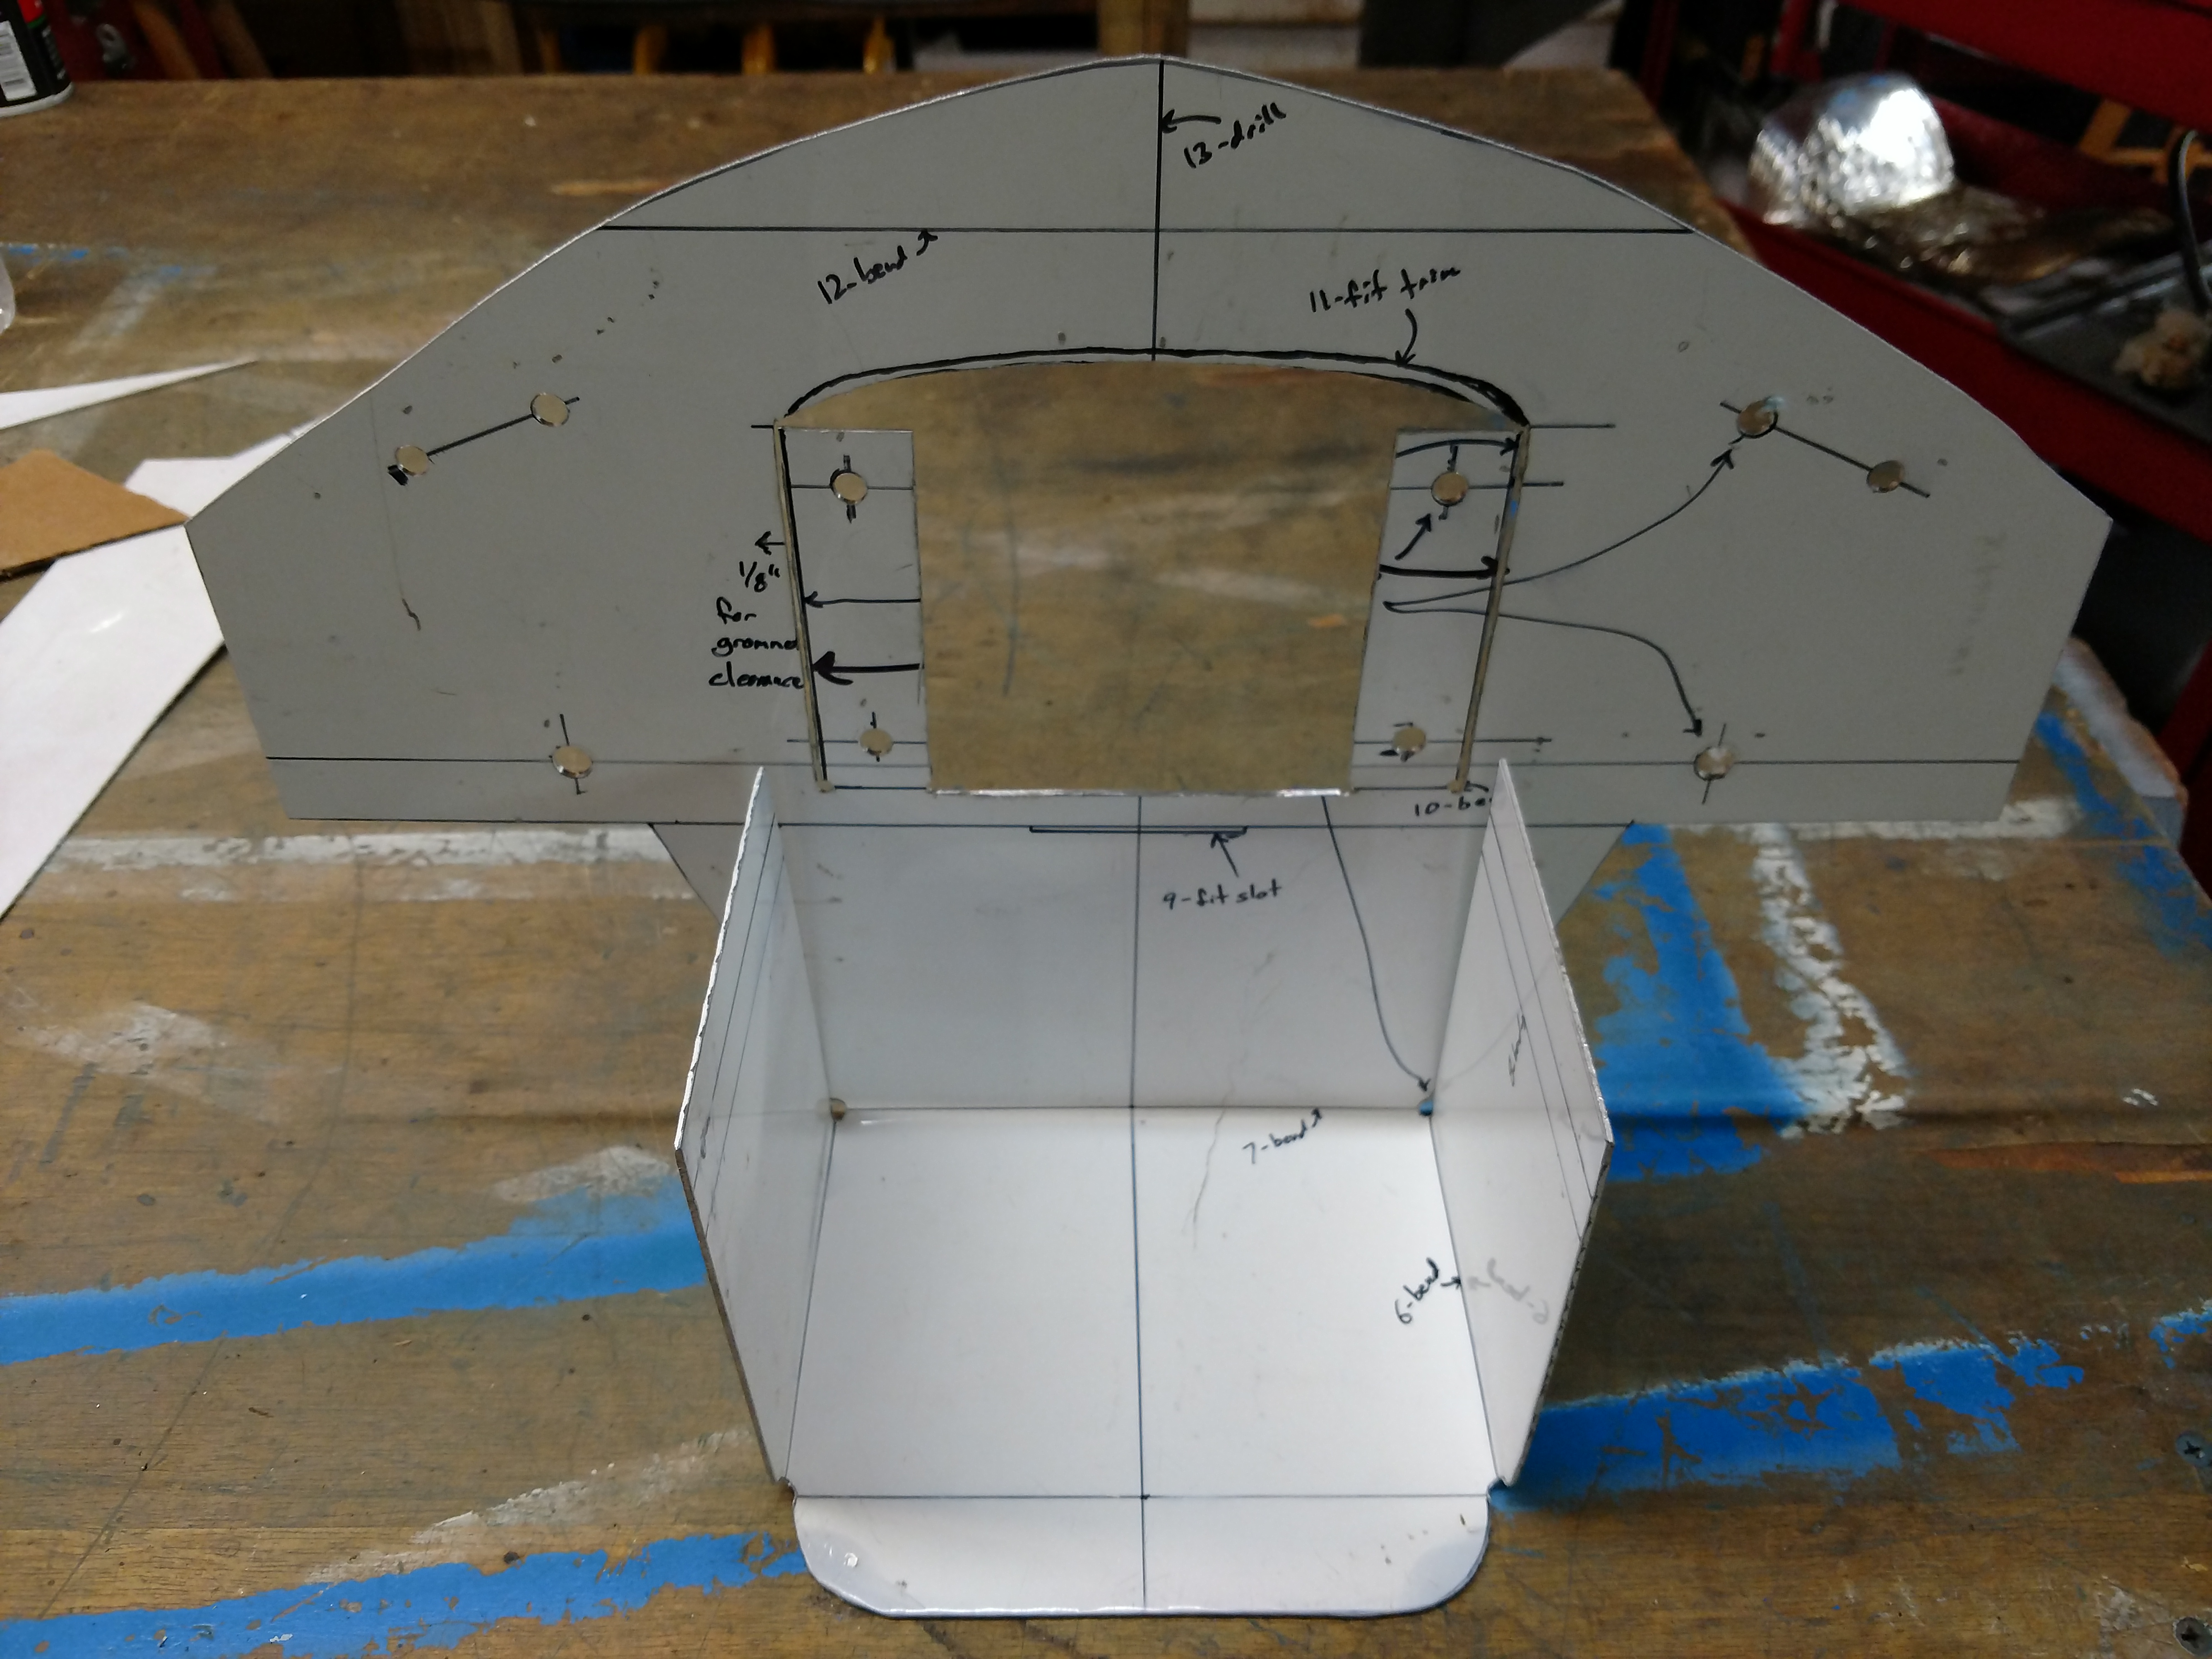
Test mounting the main structure ensured its fit.
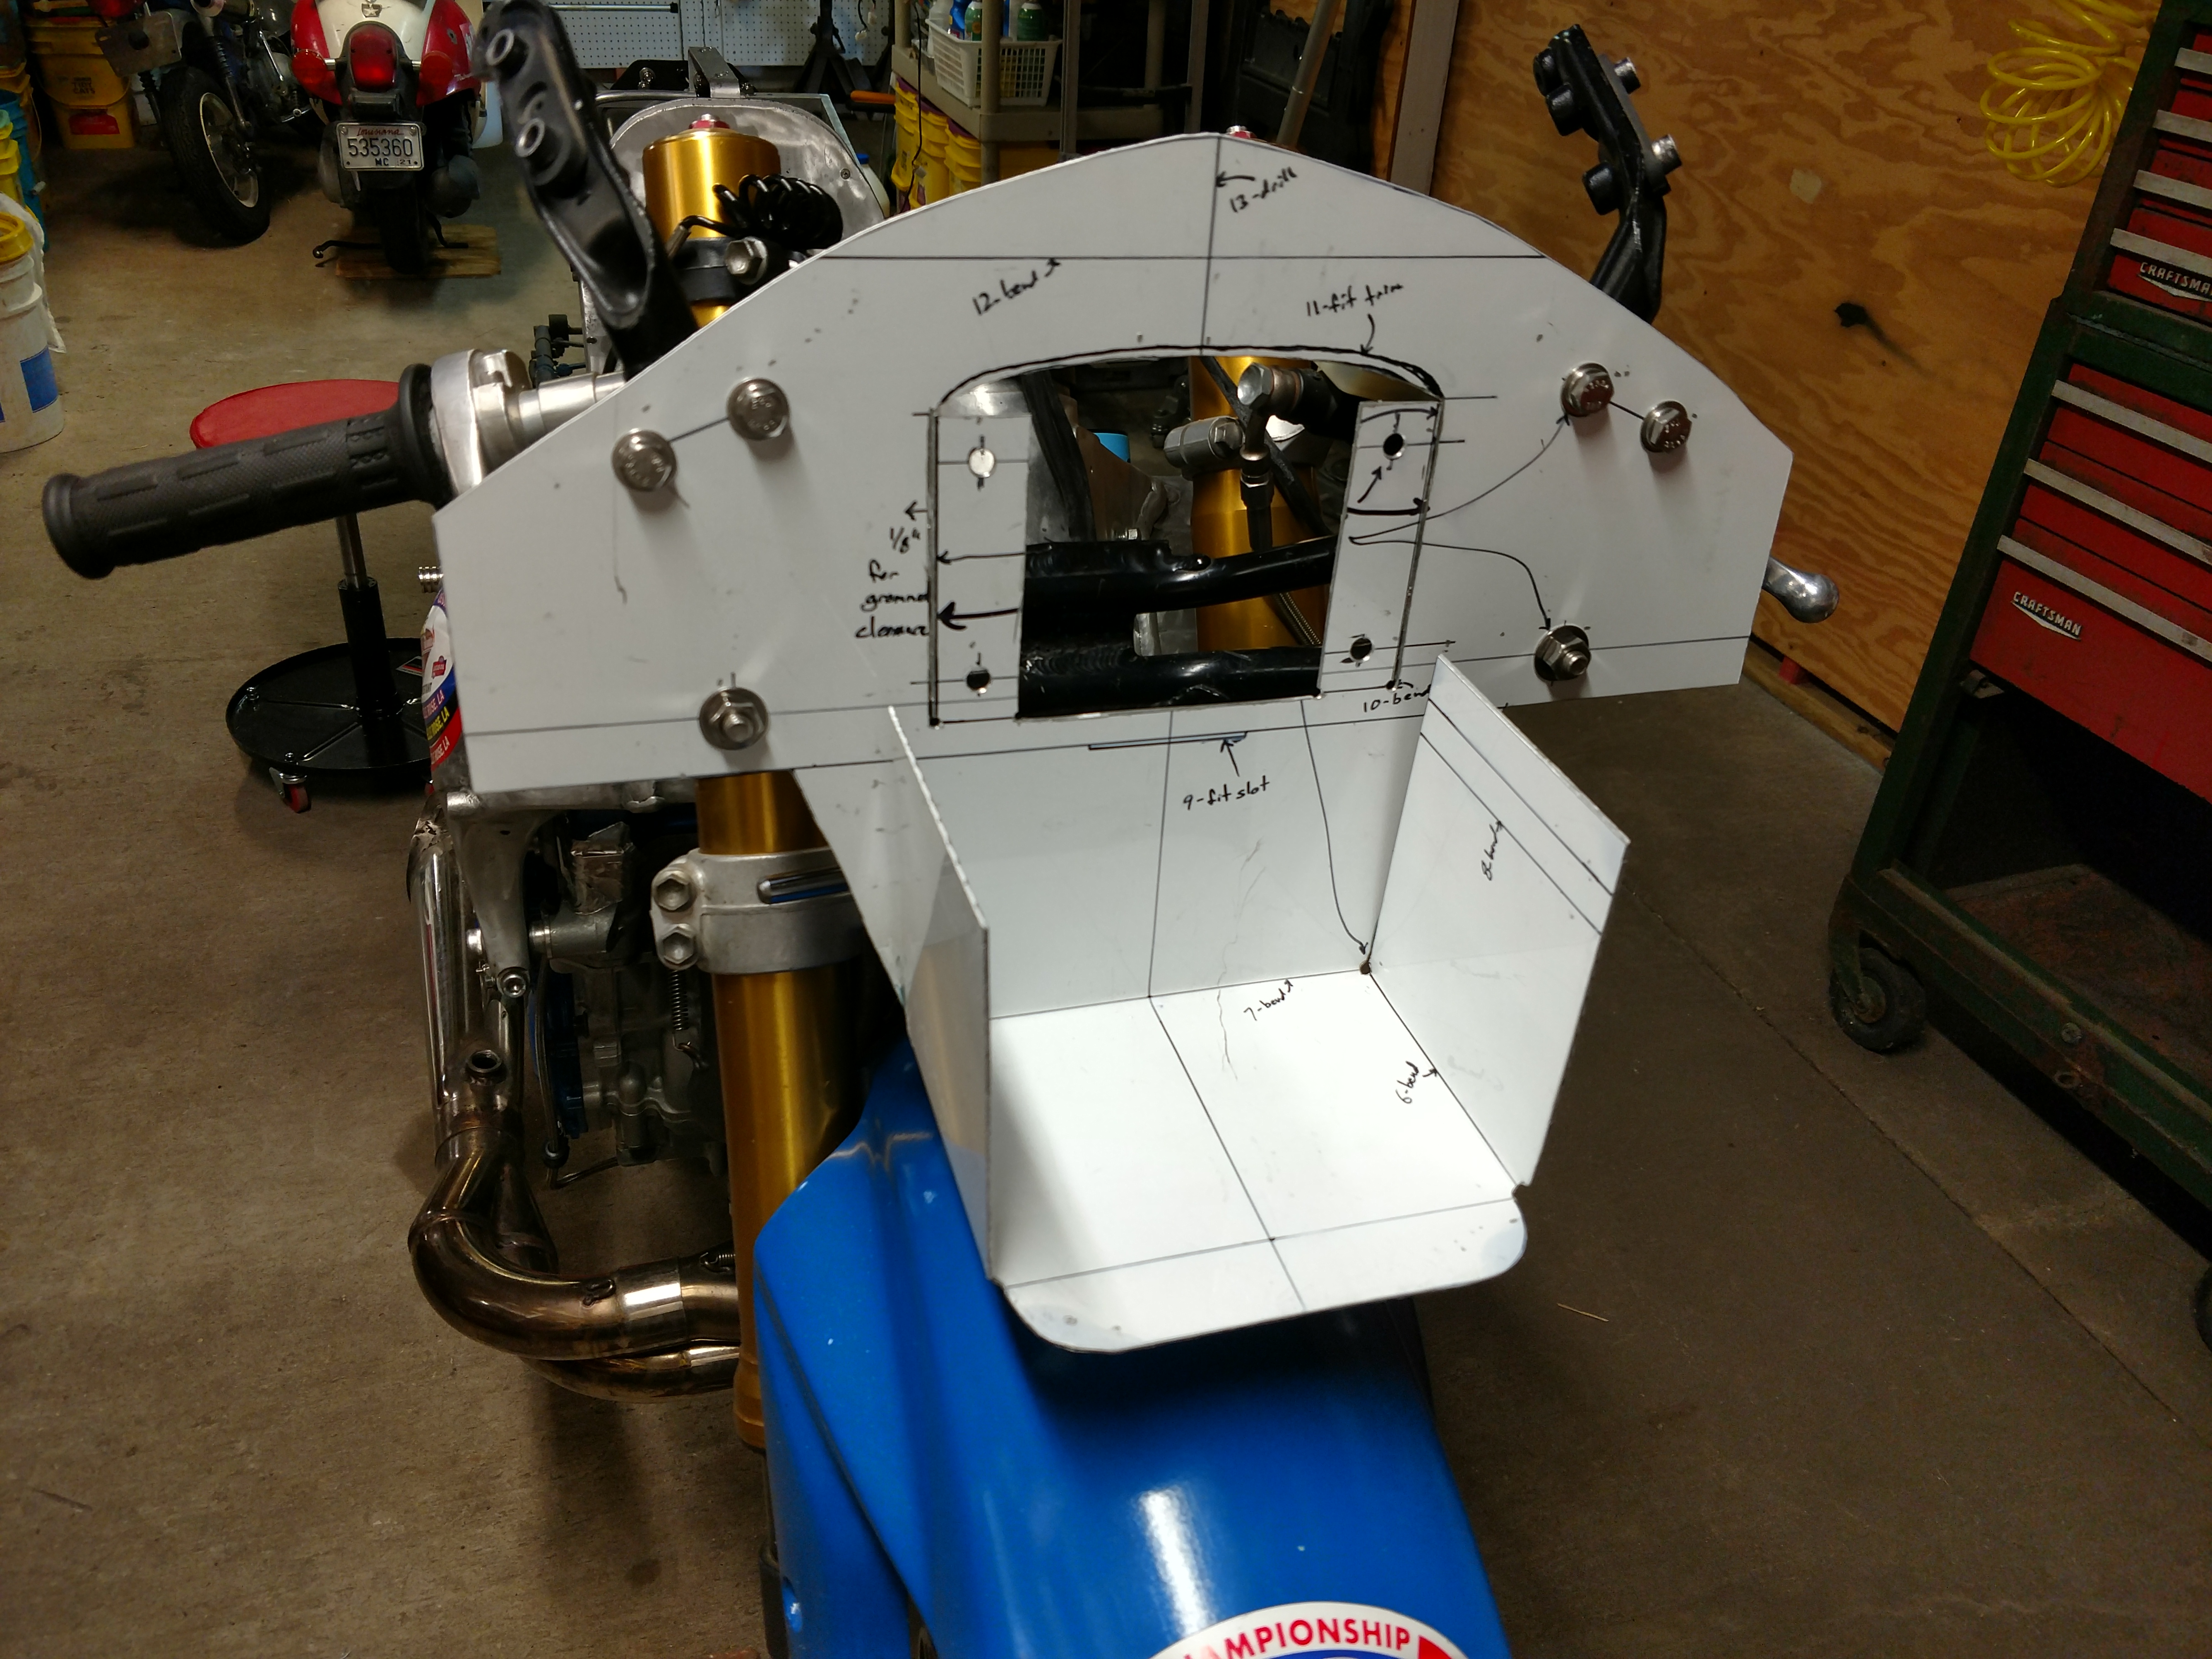
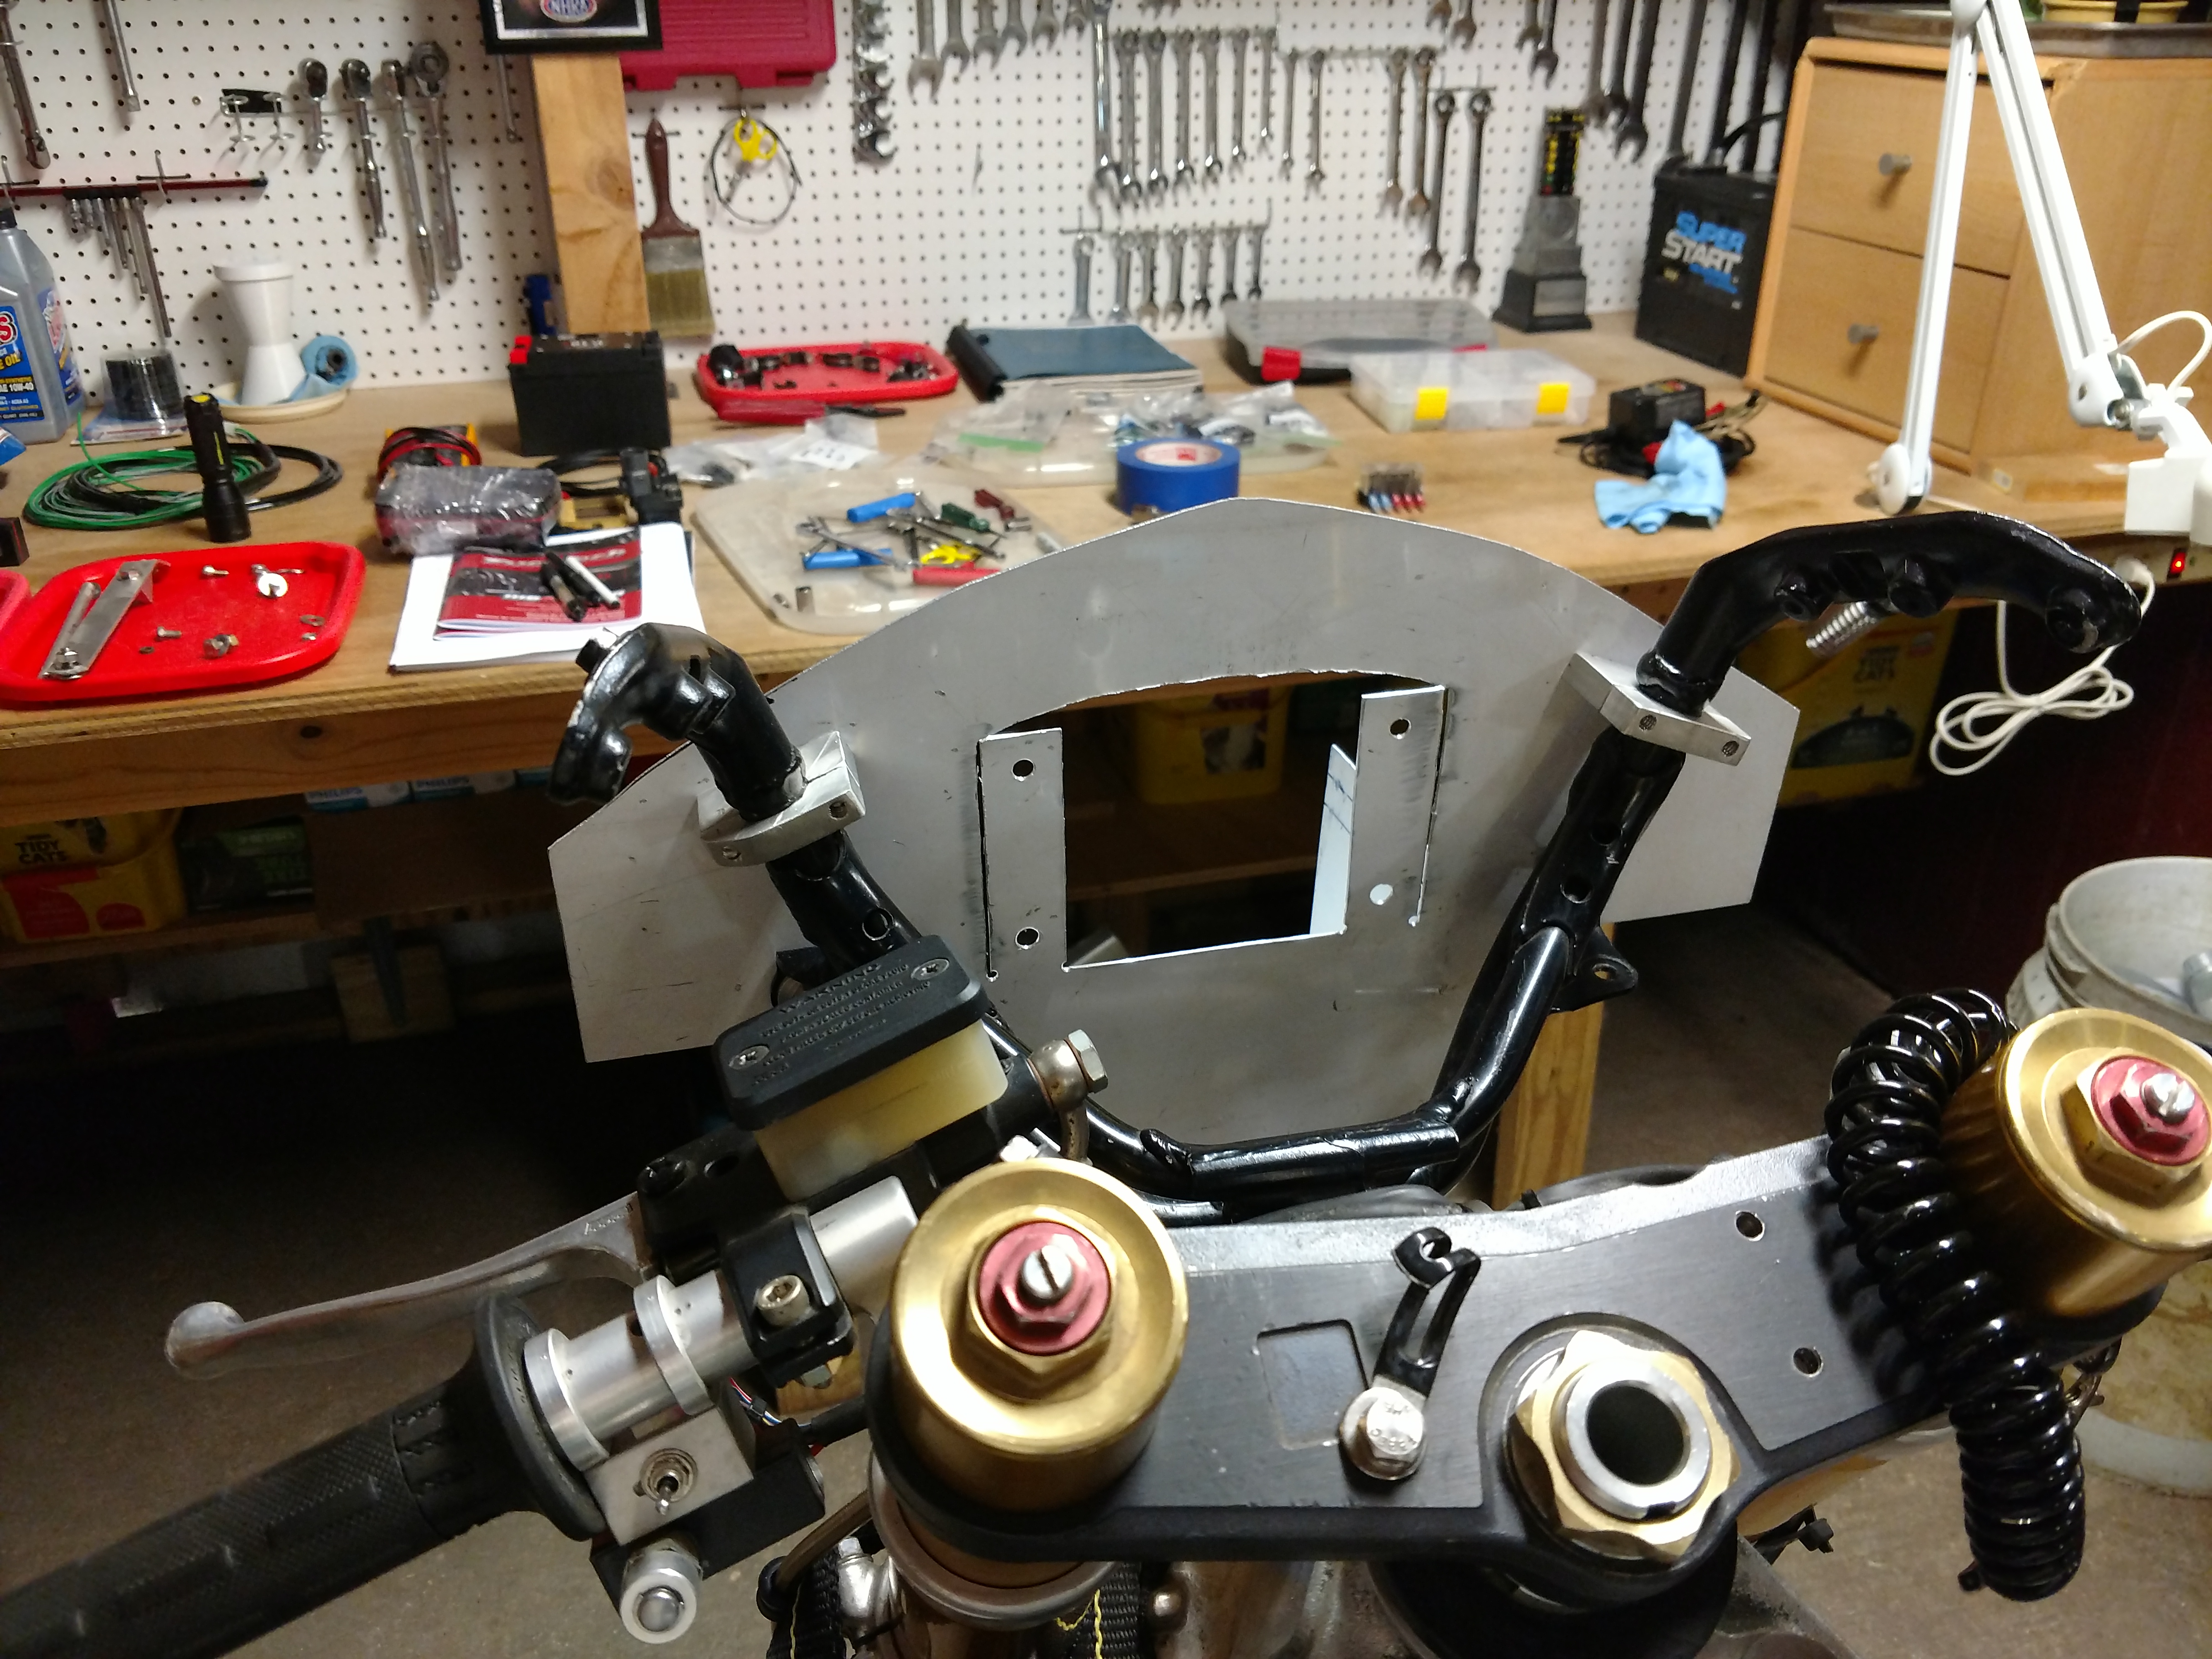
The deck piece was cut from the same material and fitted. The
middle pic shows my contemplation of the next step.
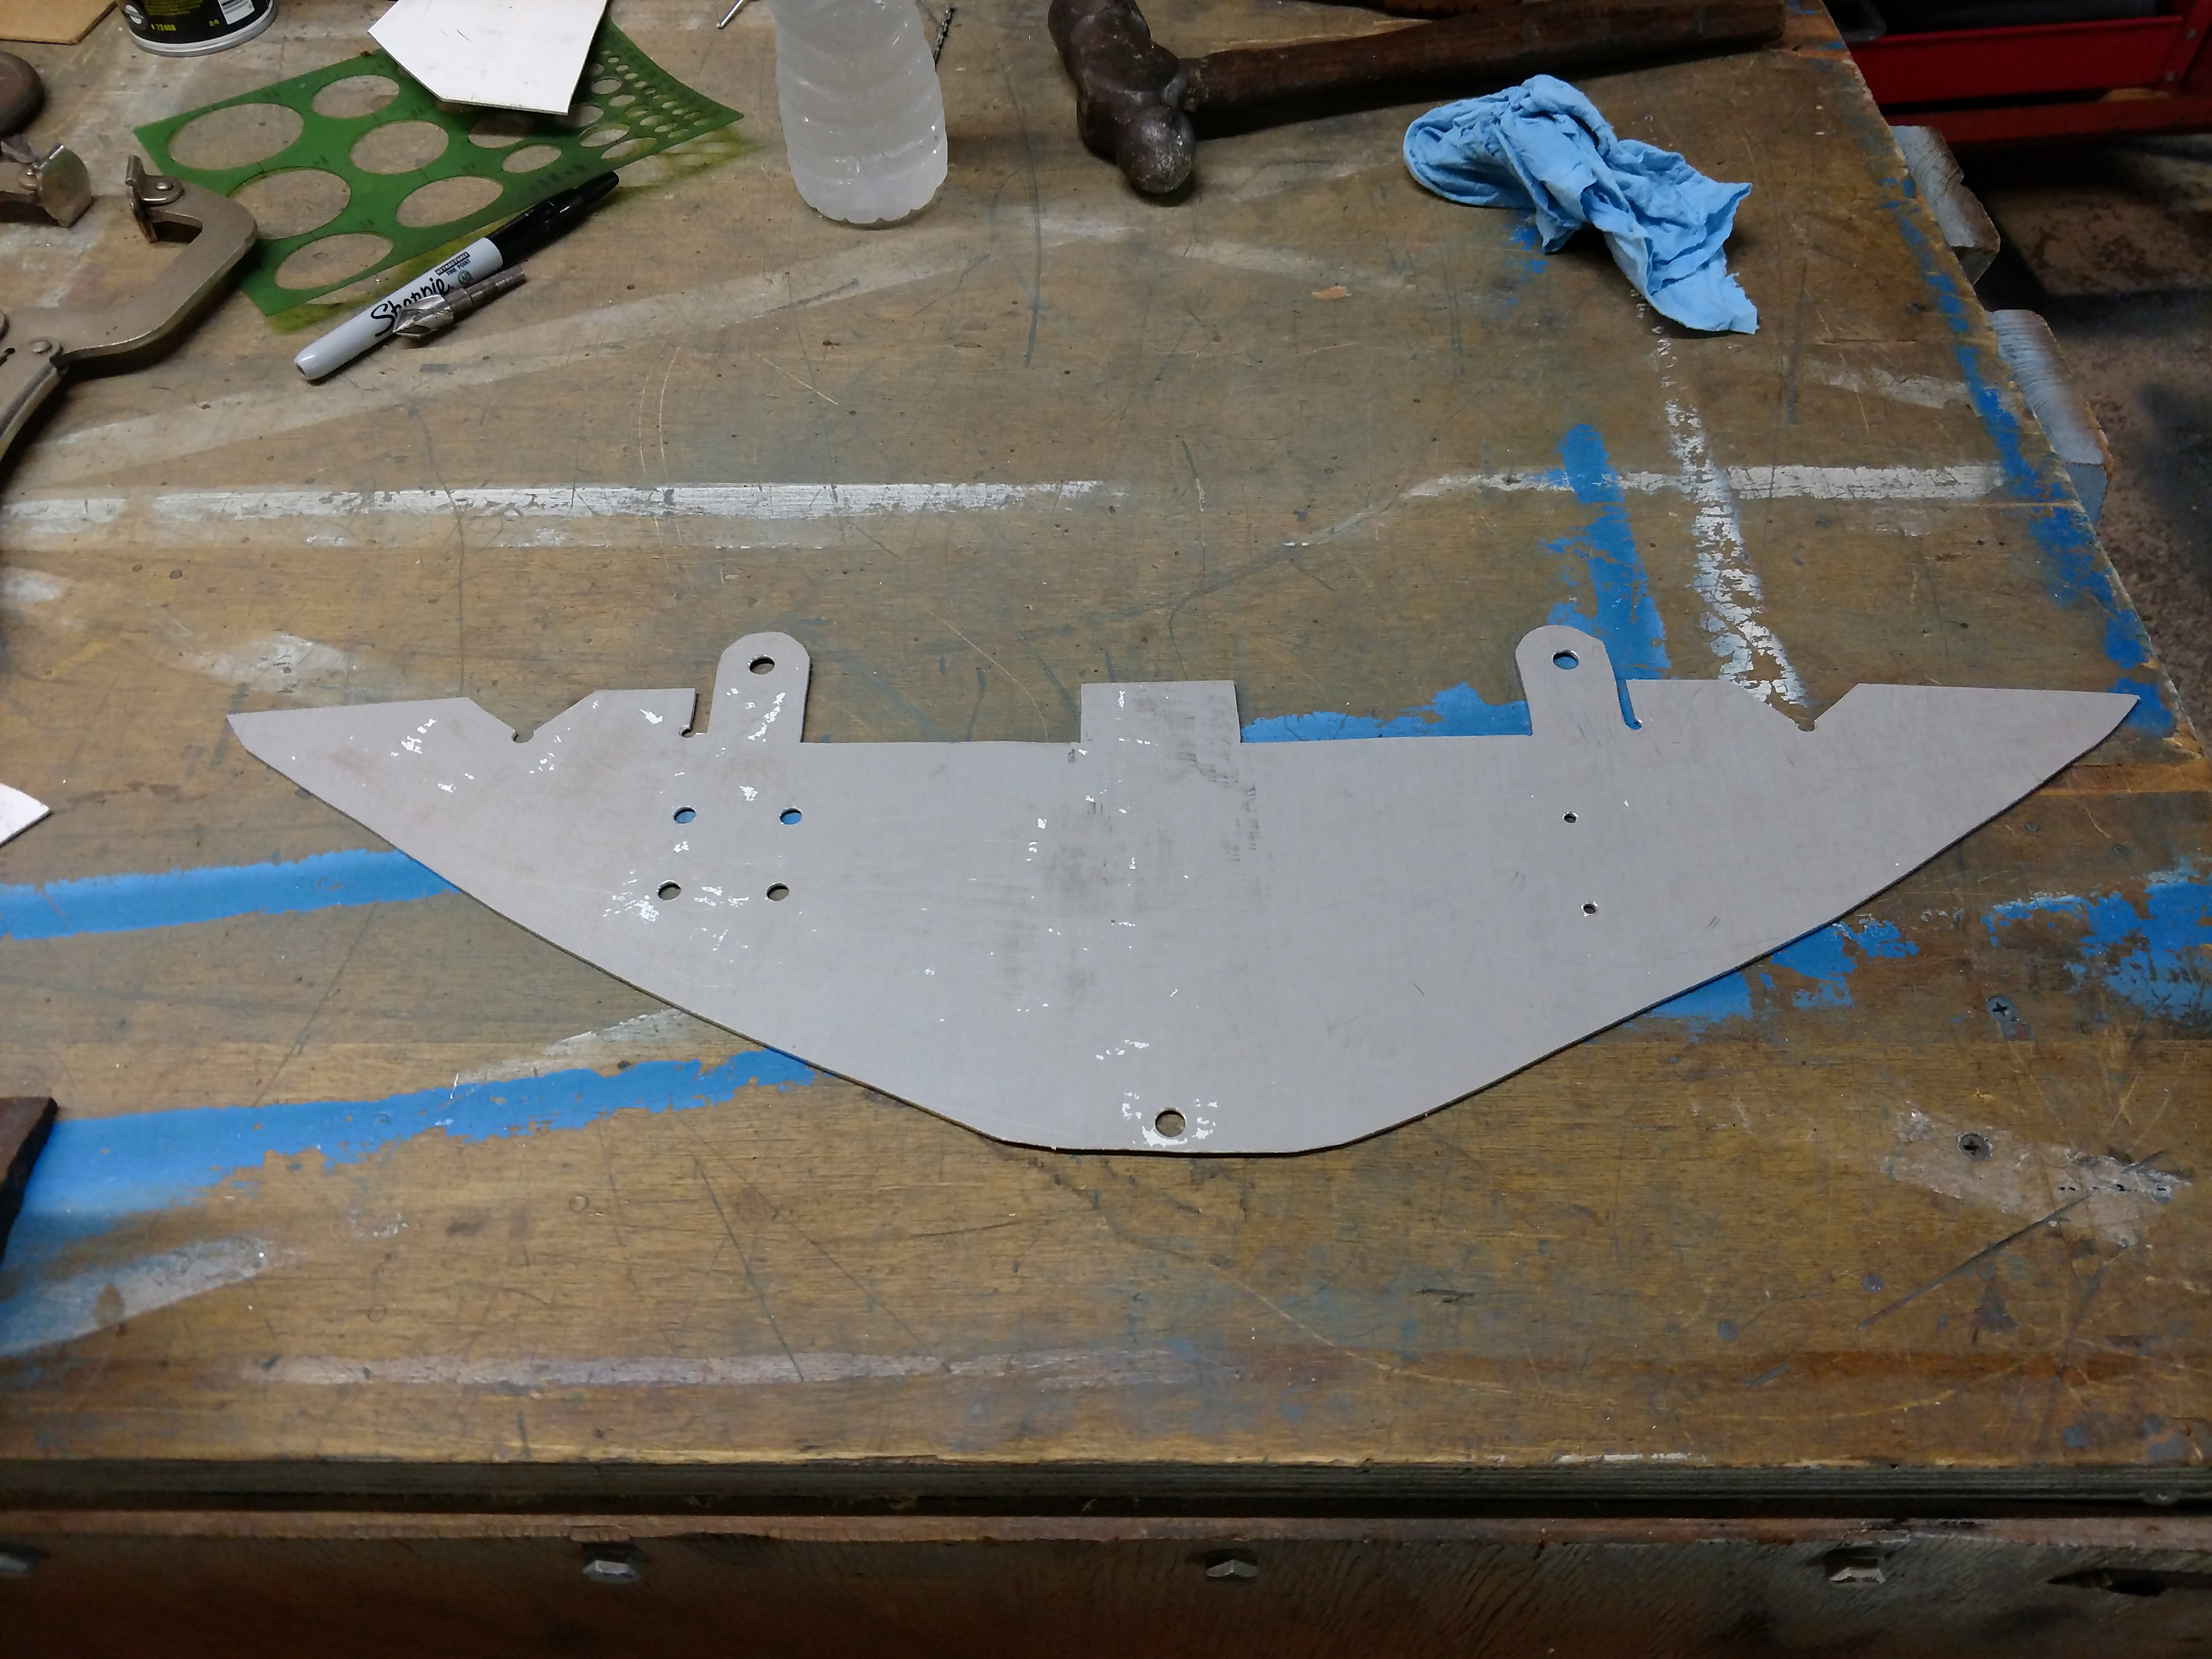
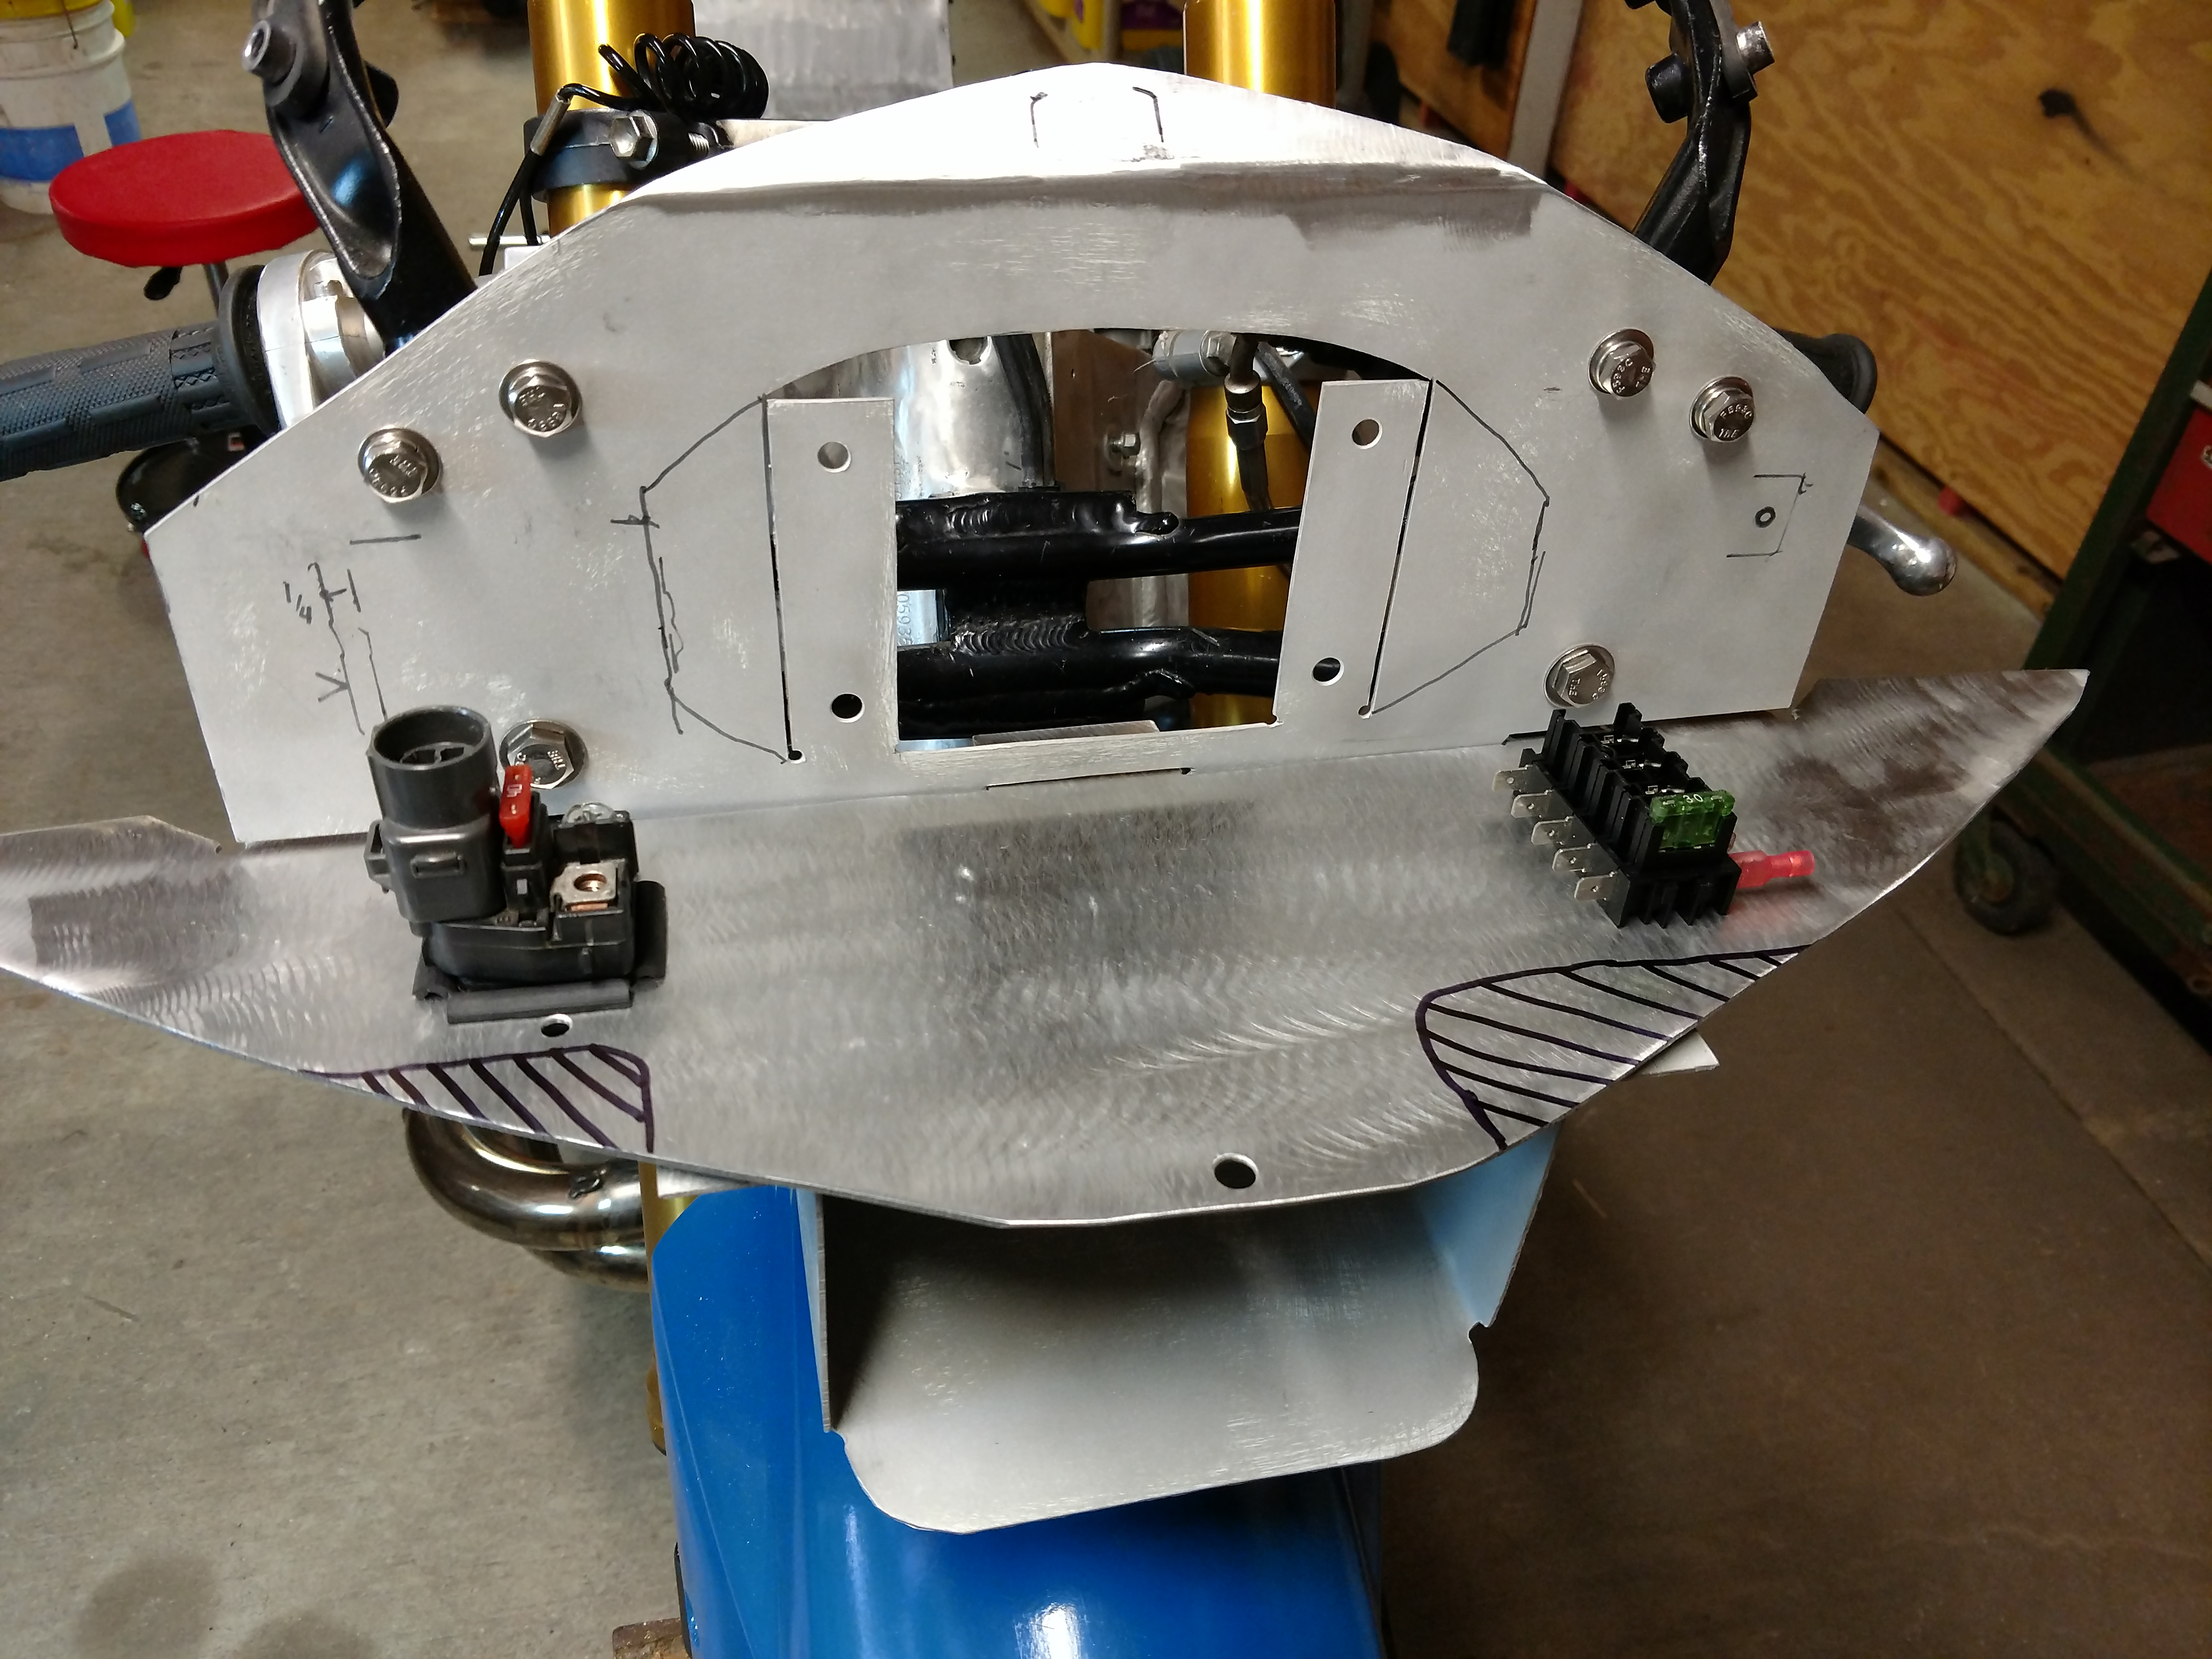
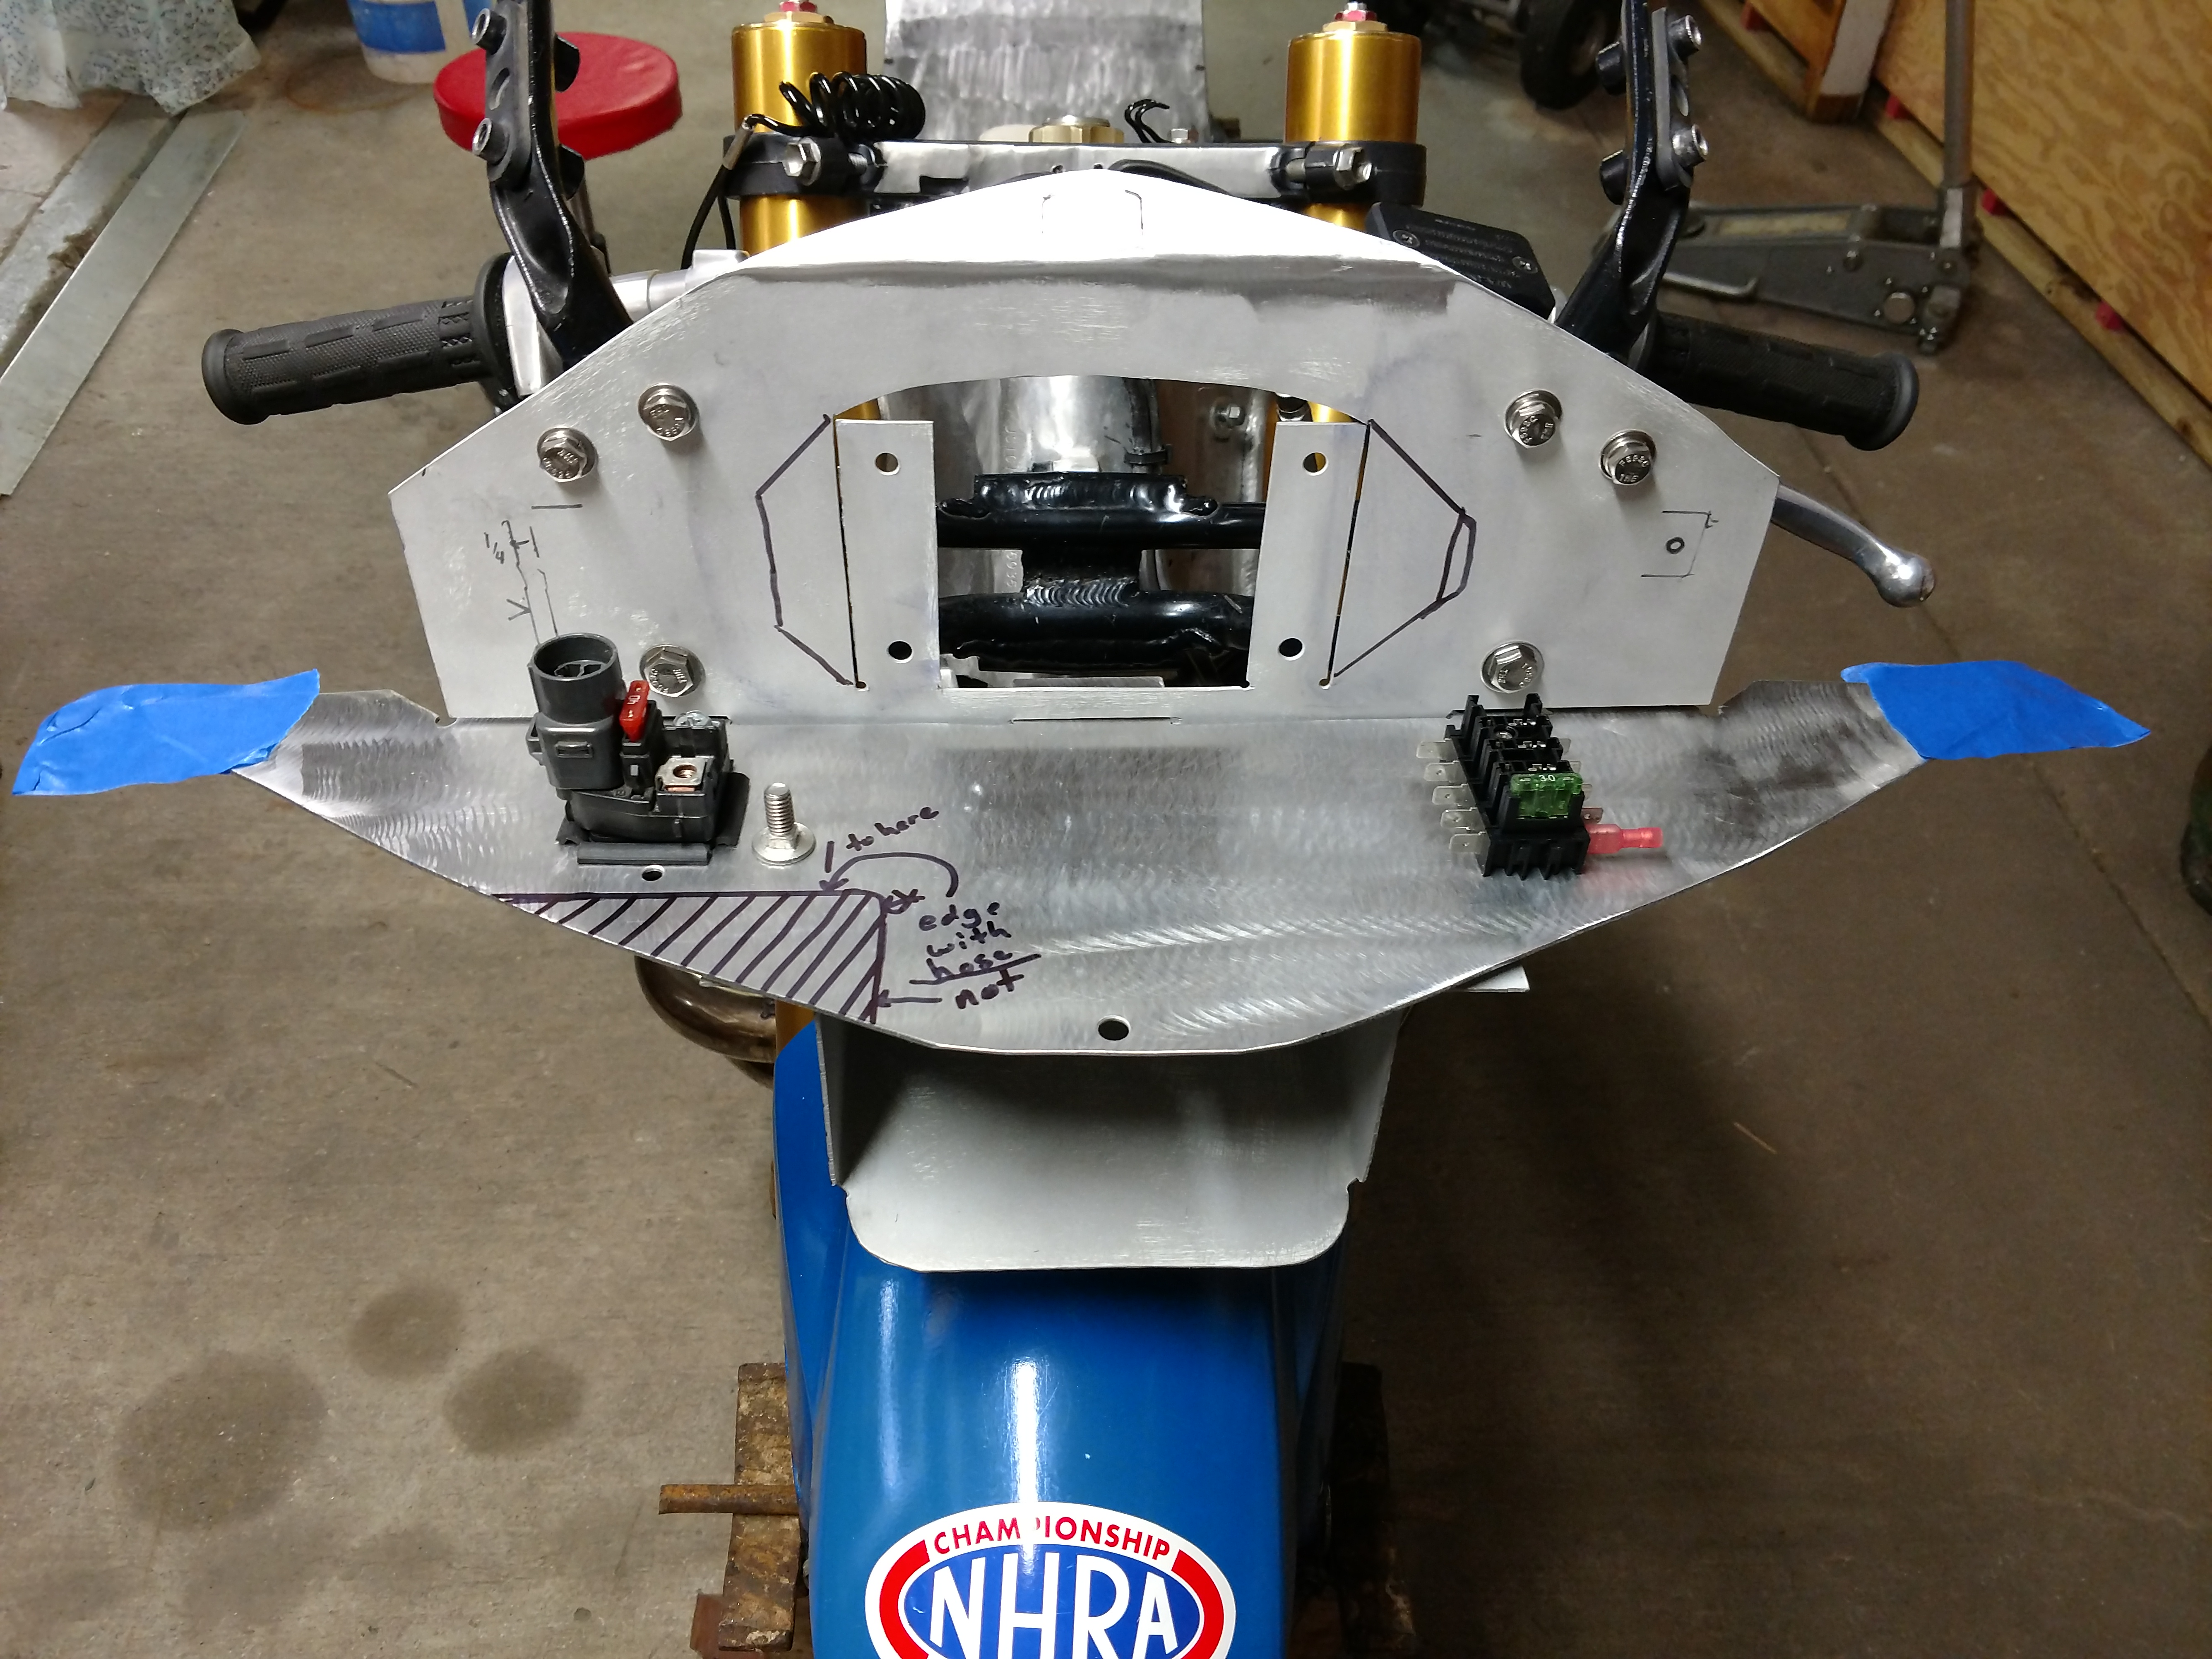
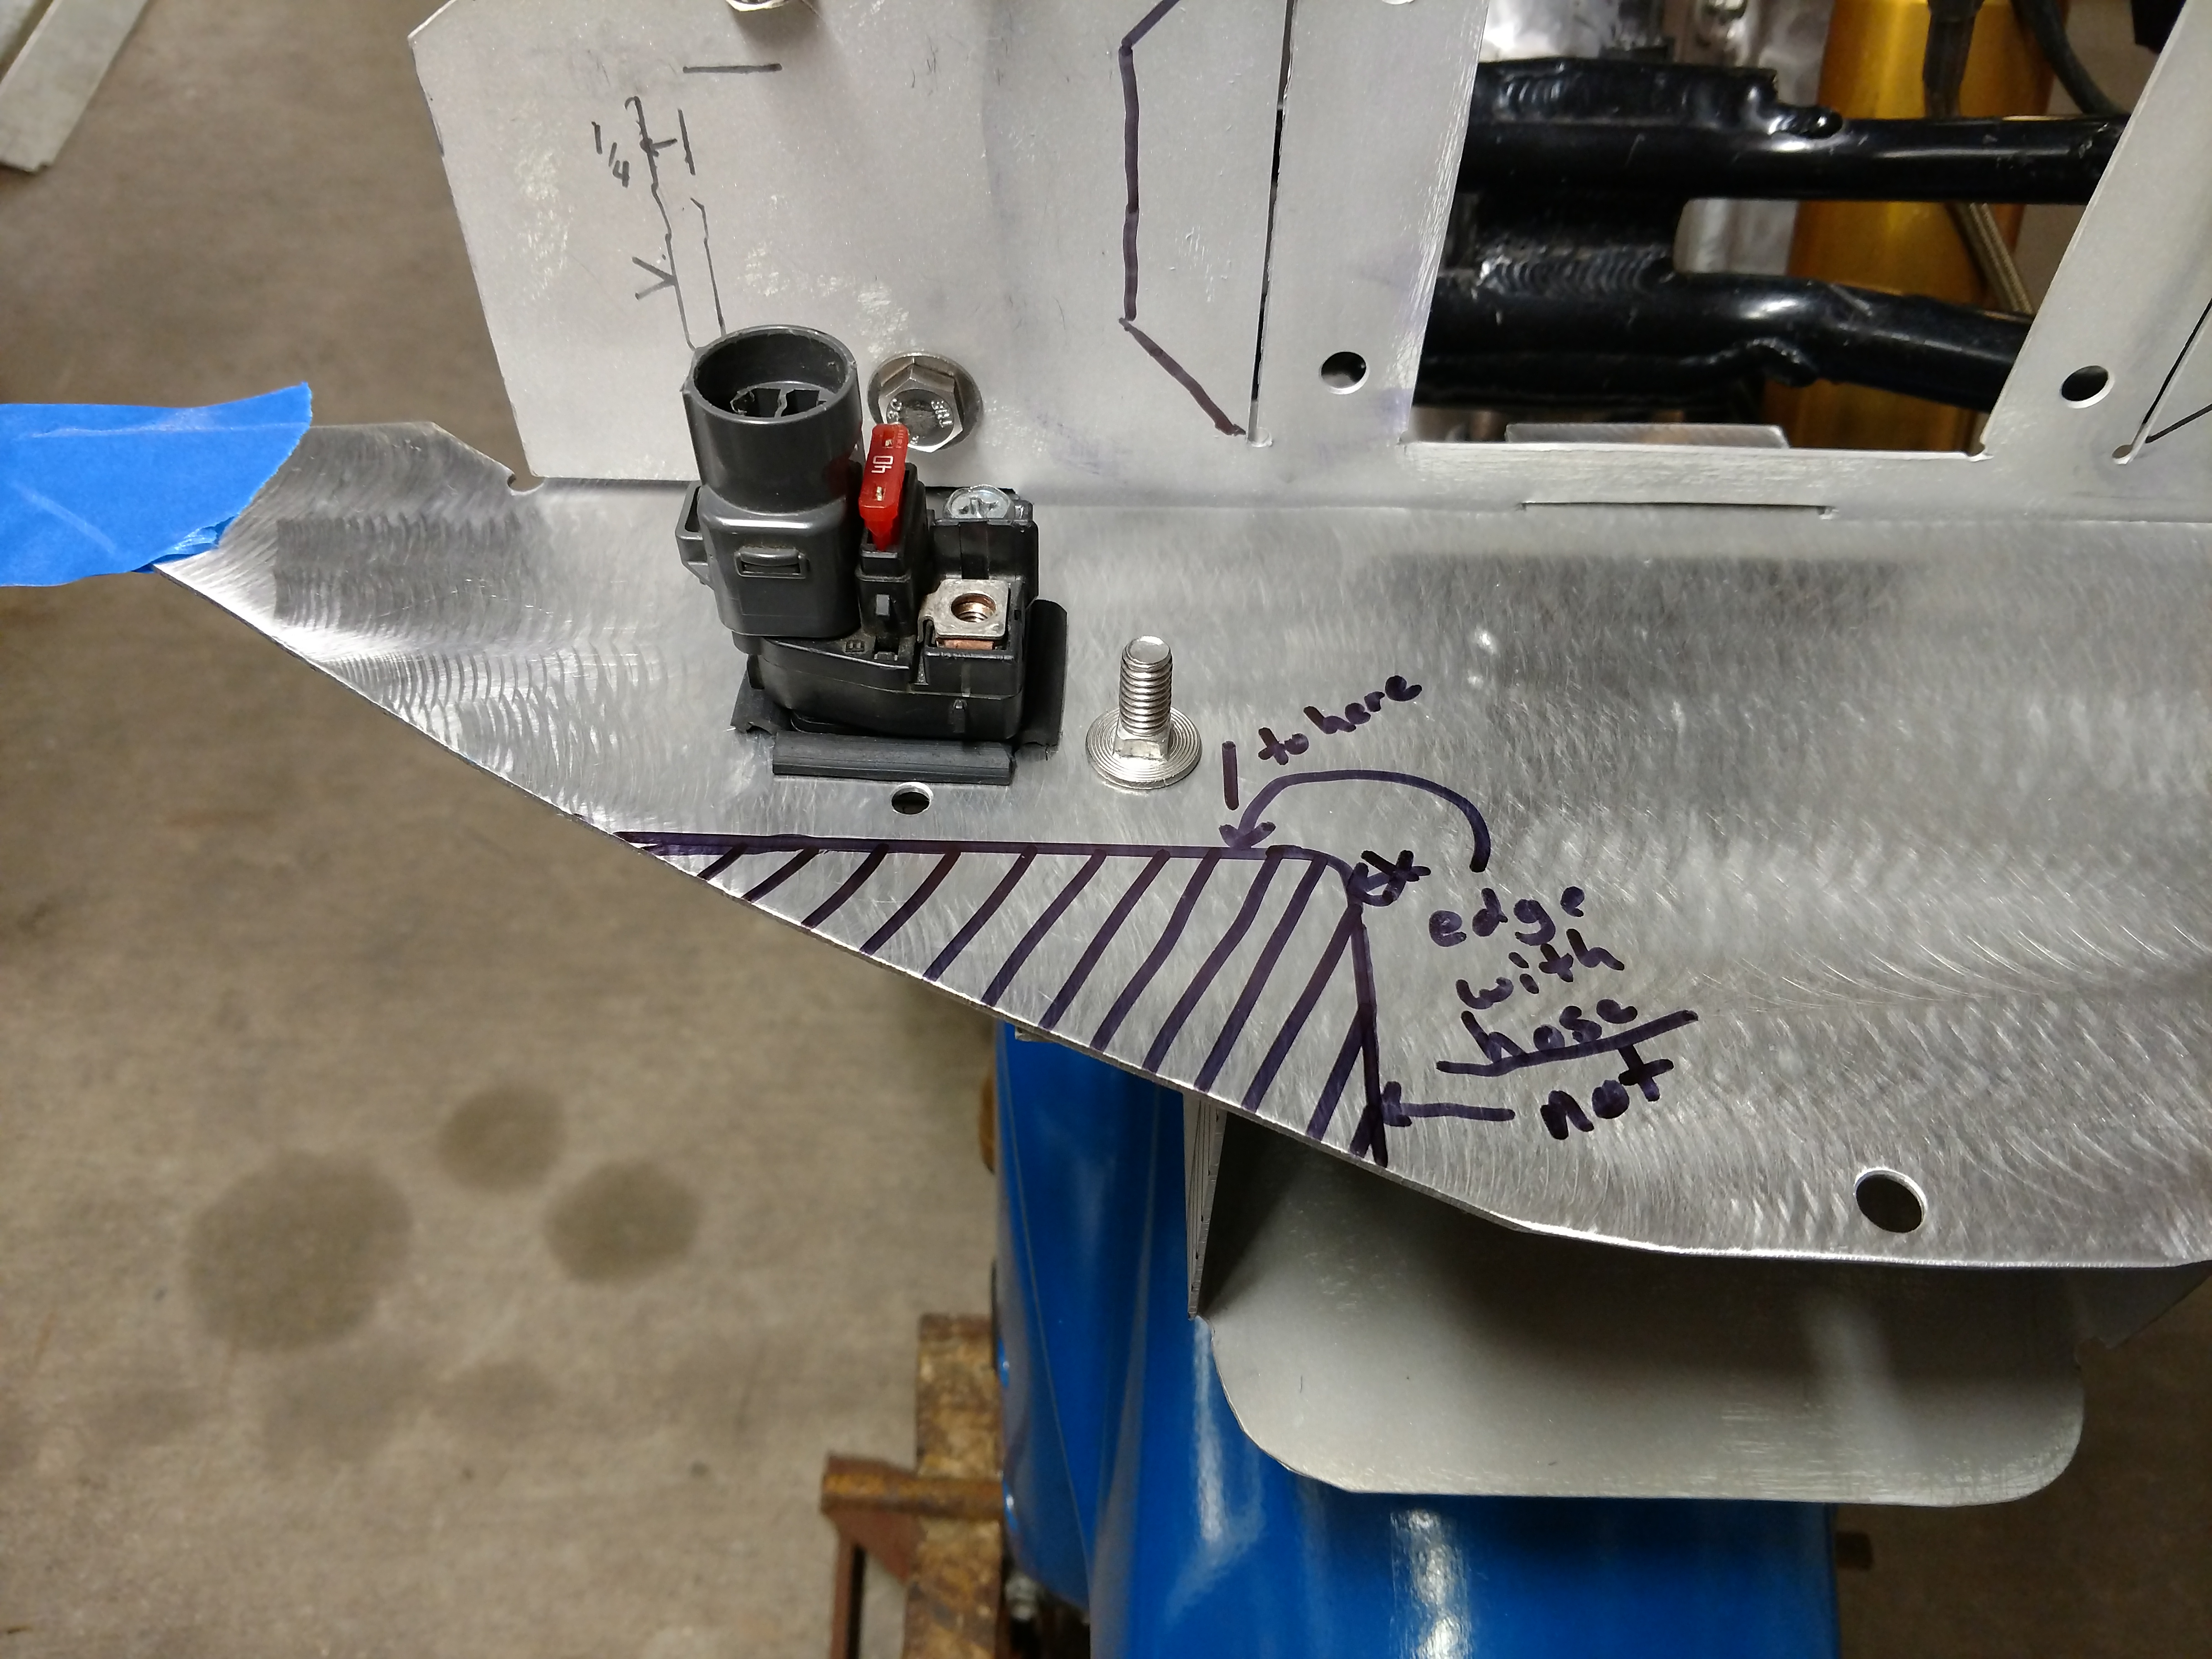
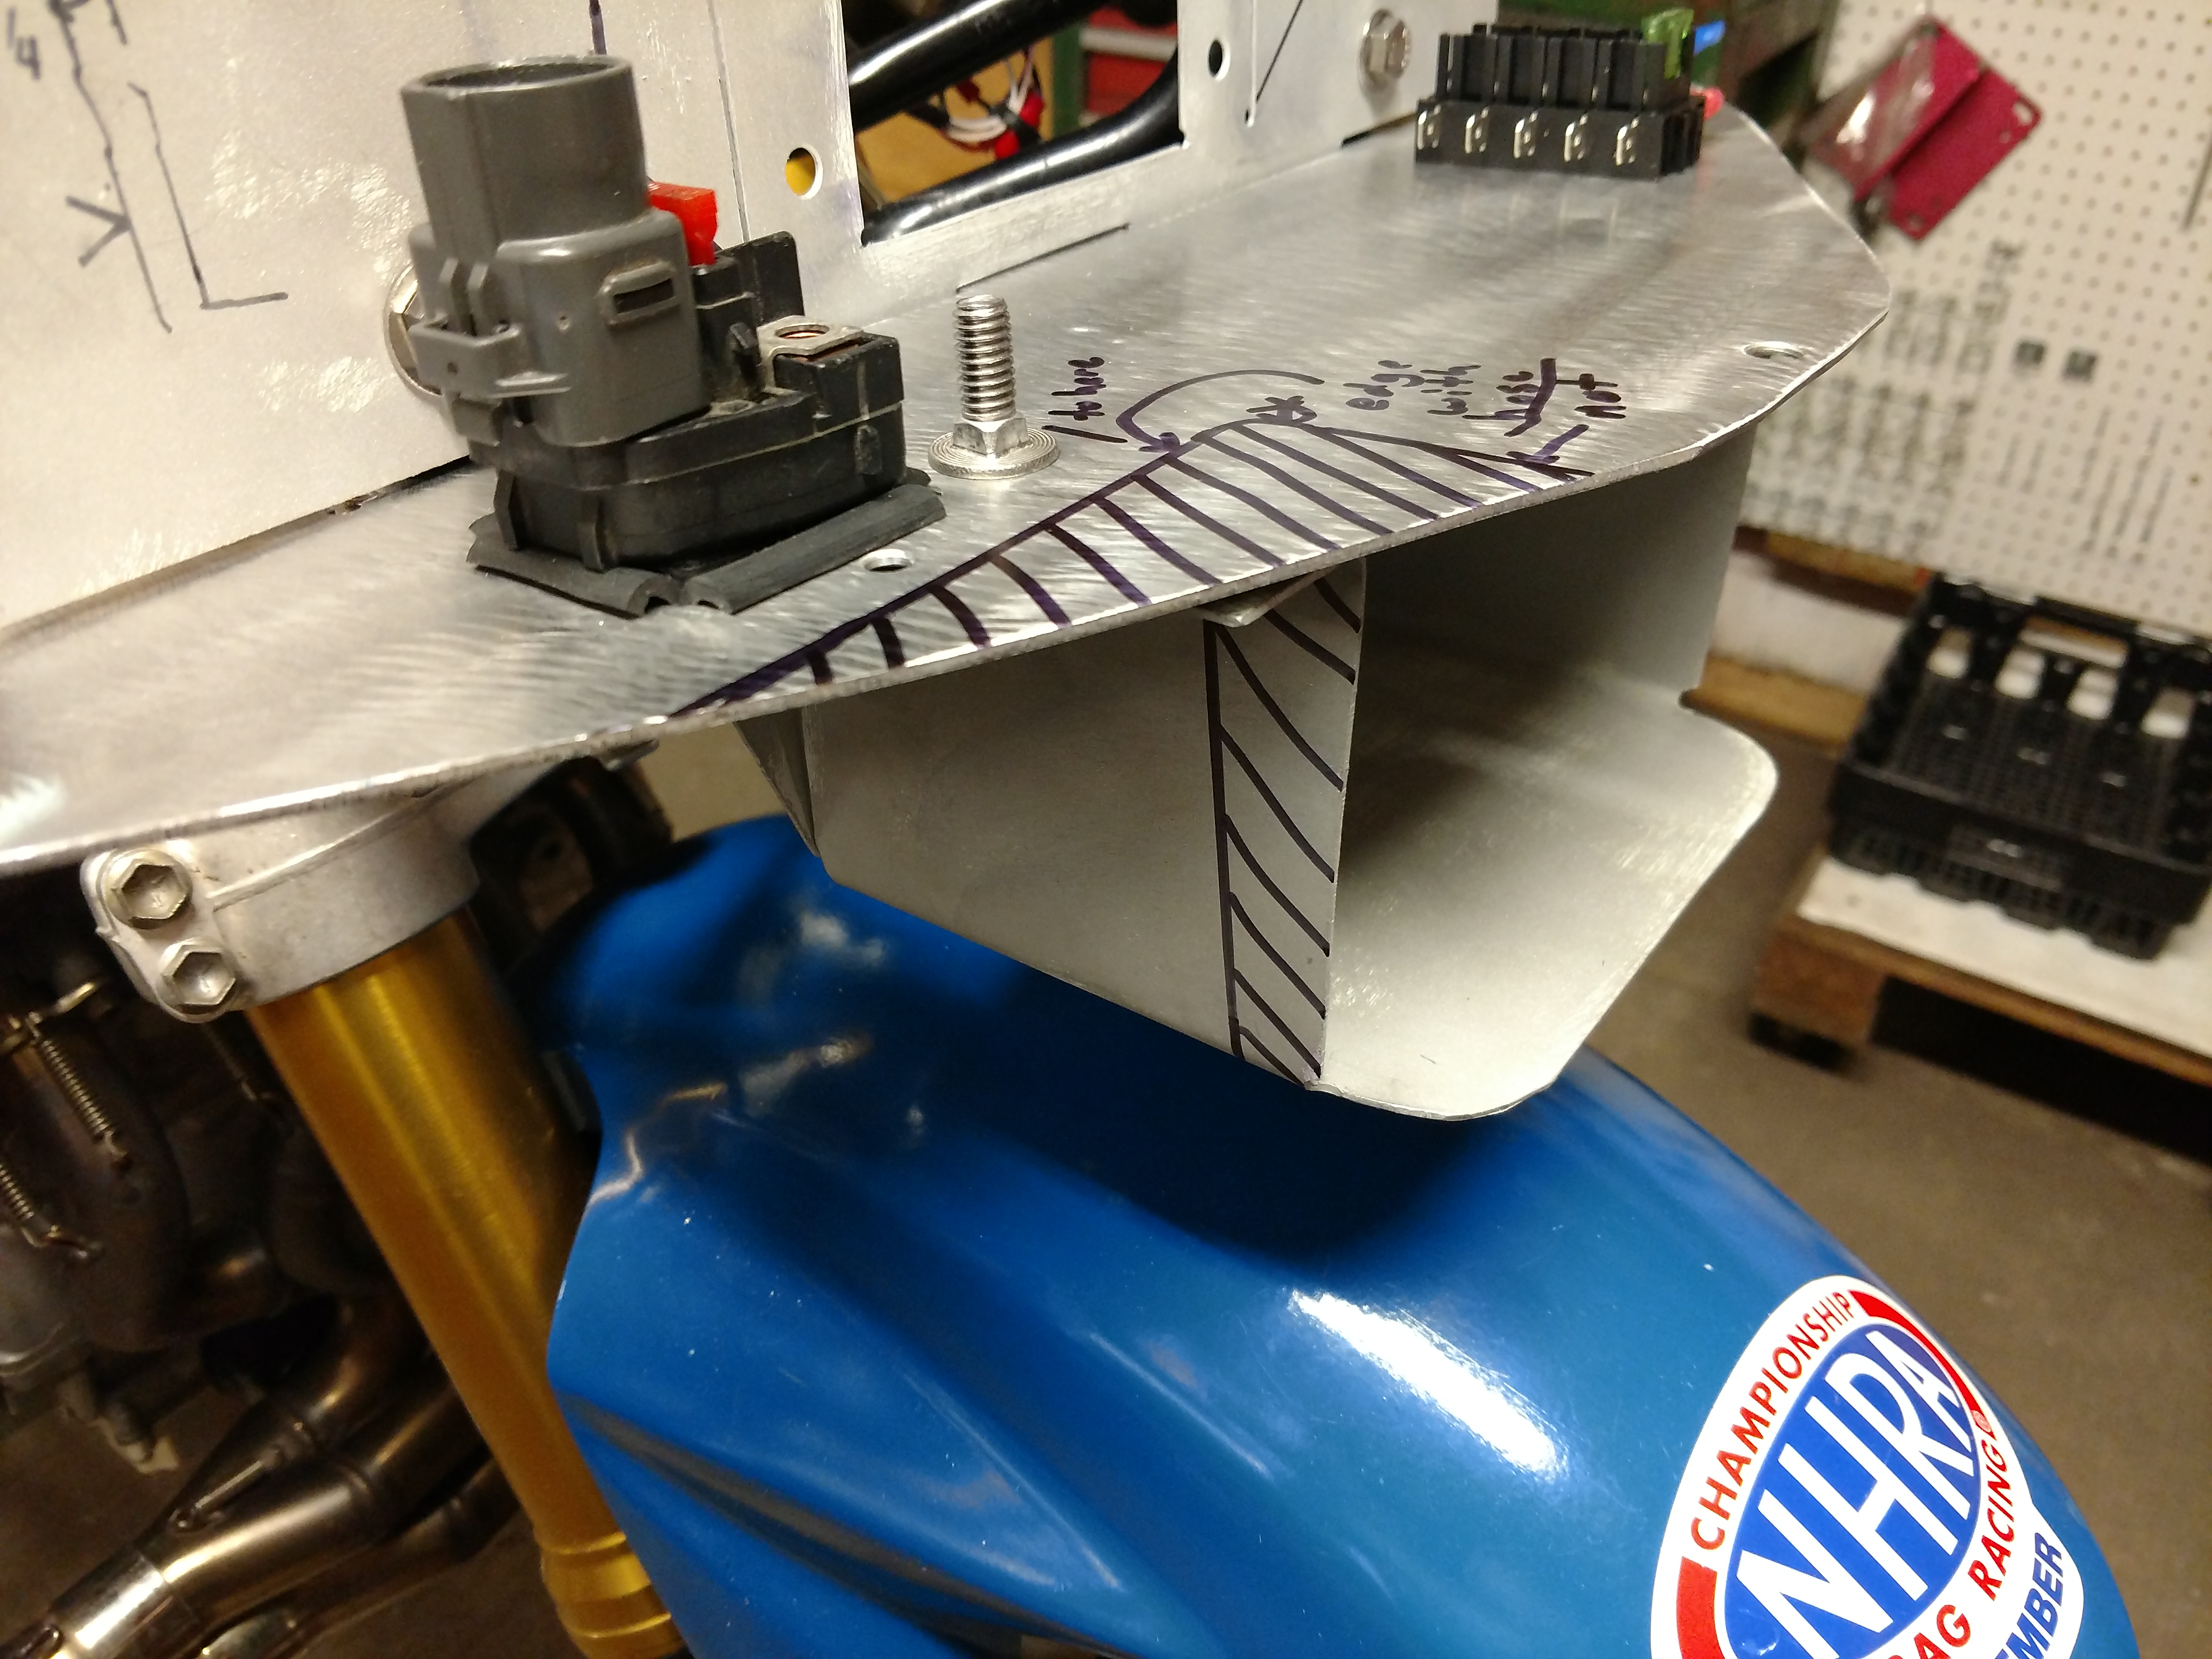
Clearance was needed for safety around the positive terminal
and to give the main cables a place to pass through the deck.
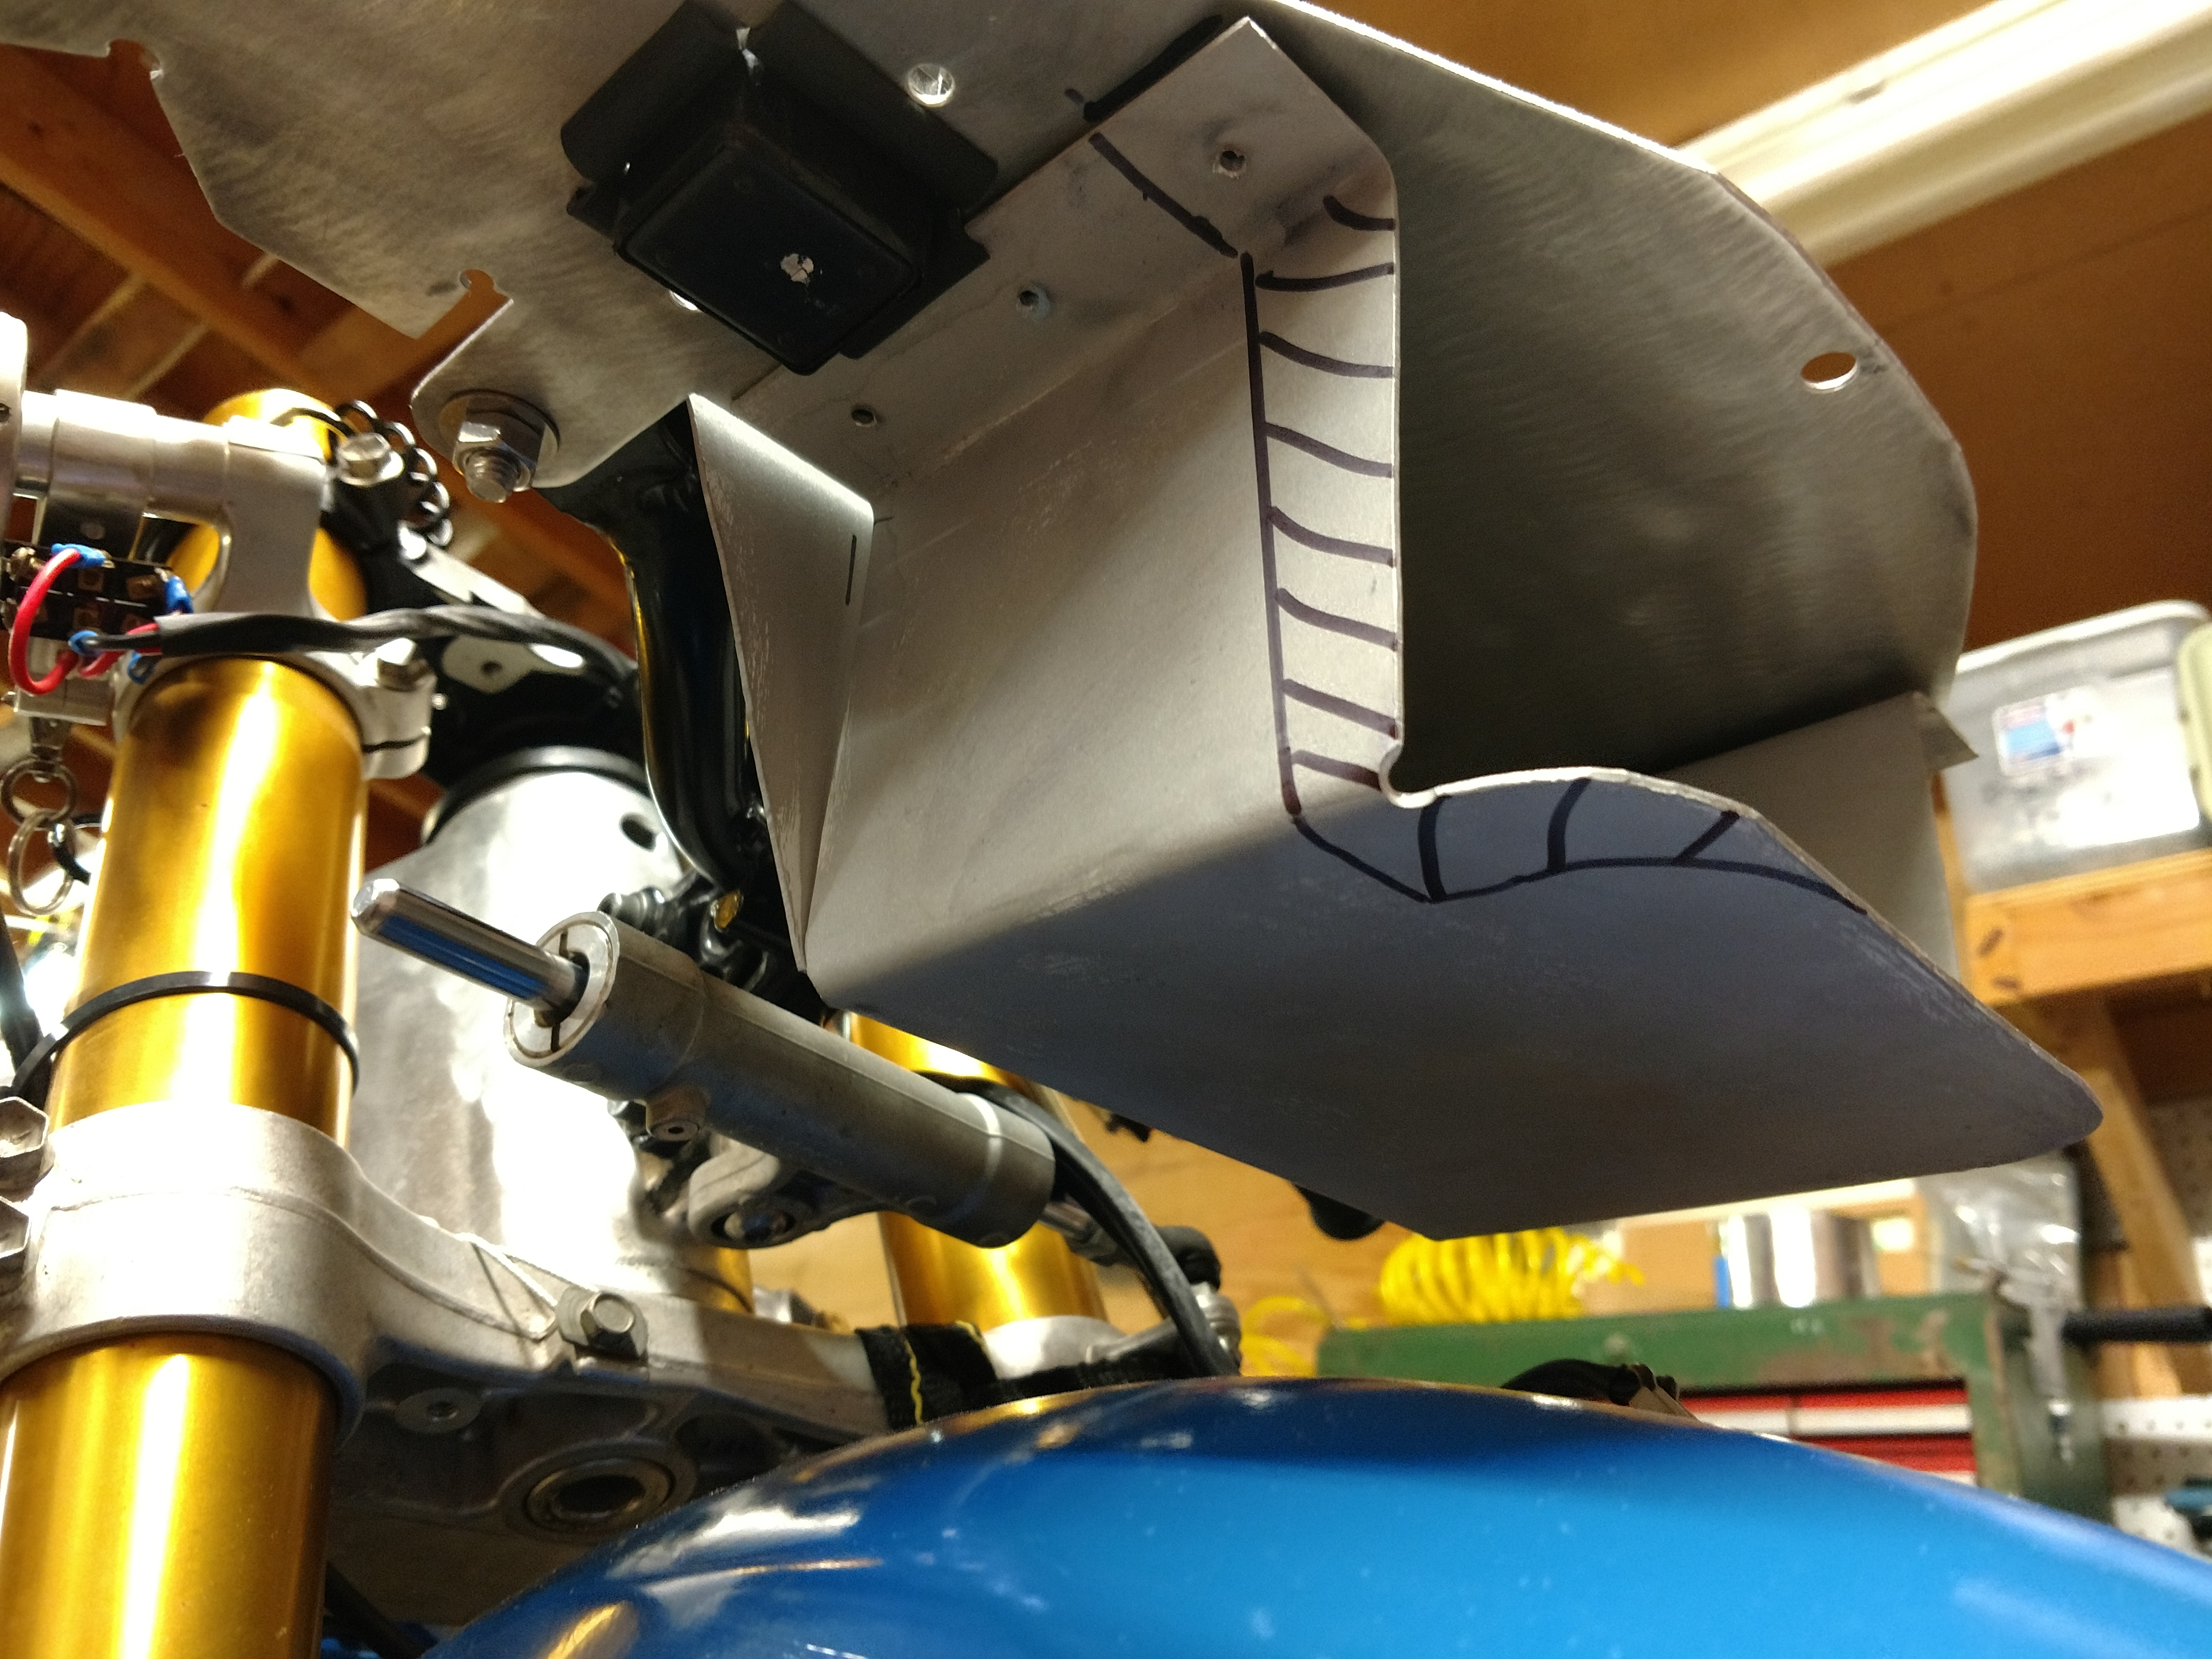
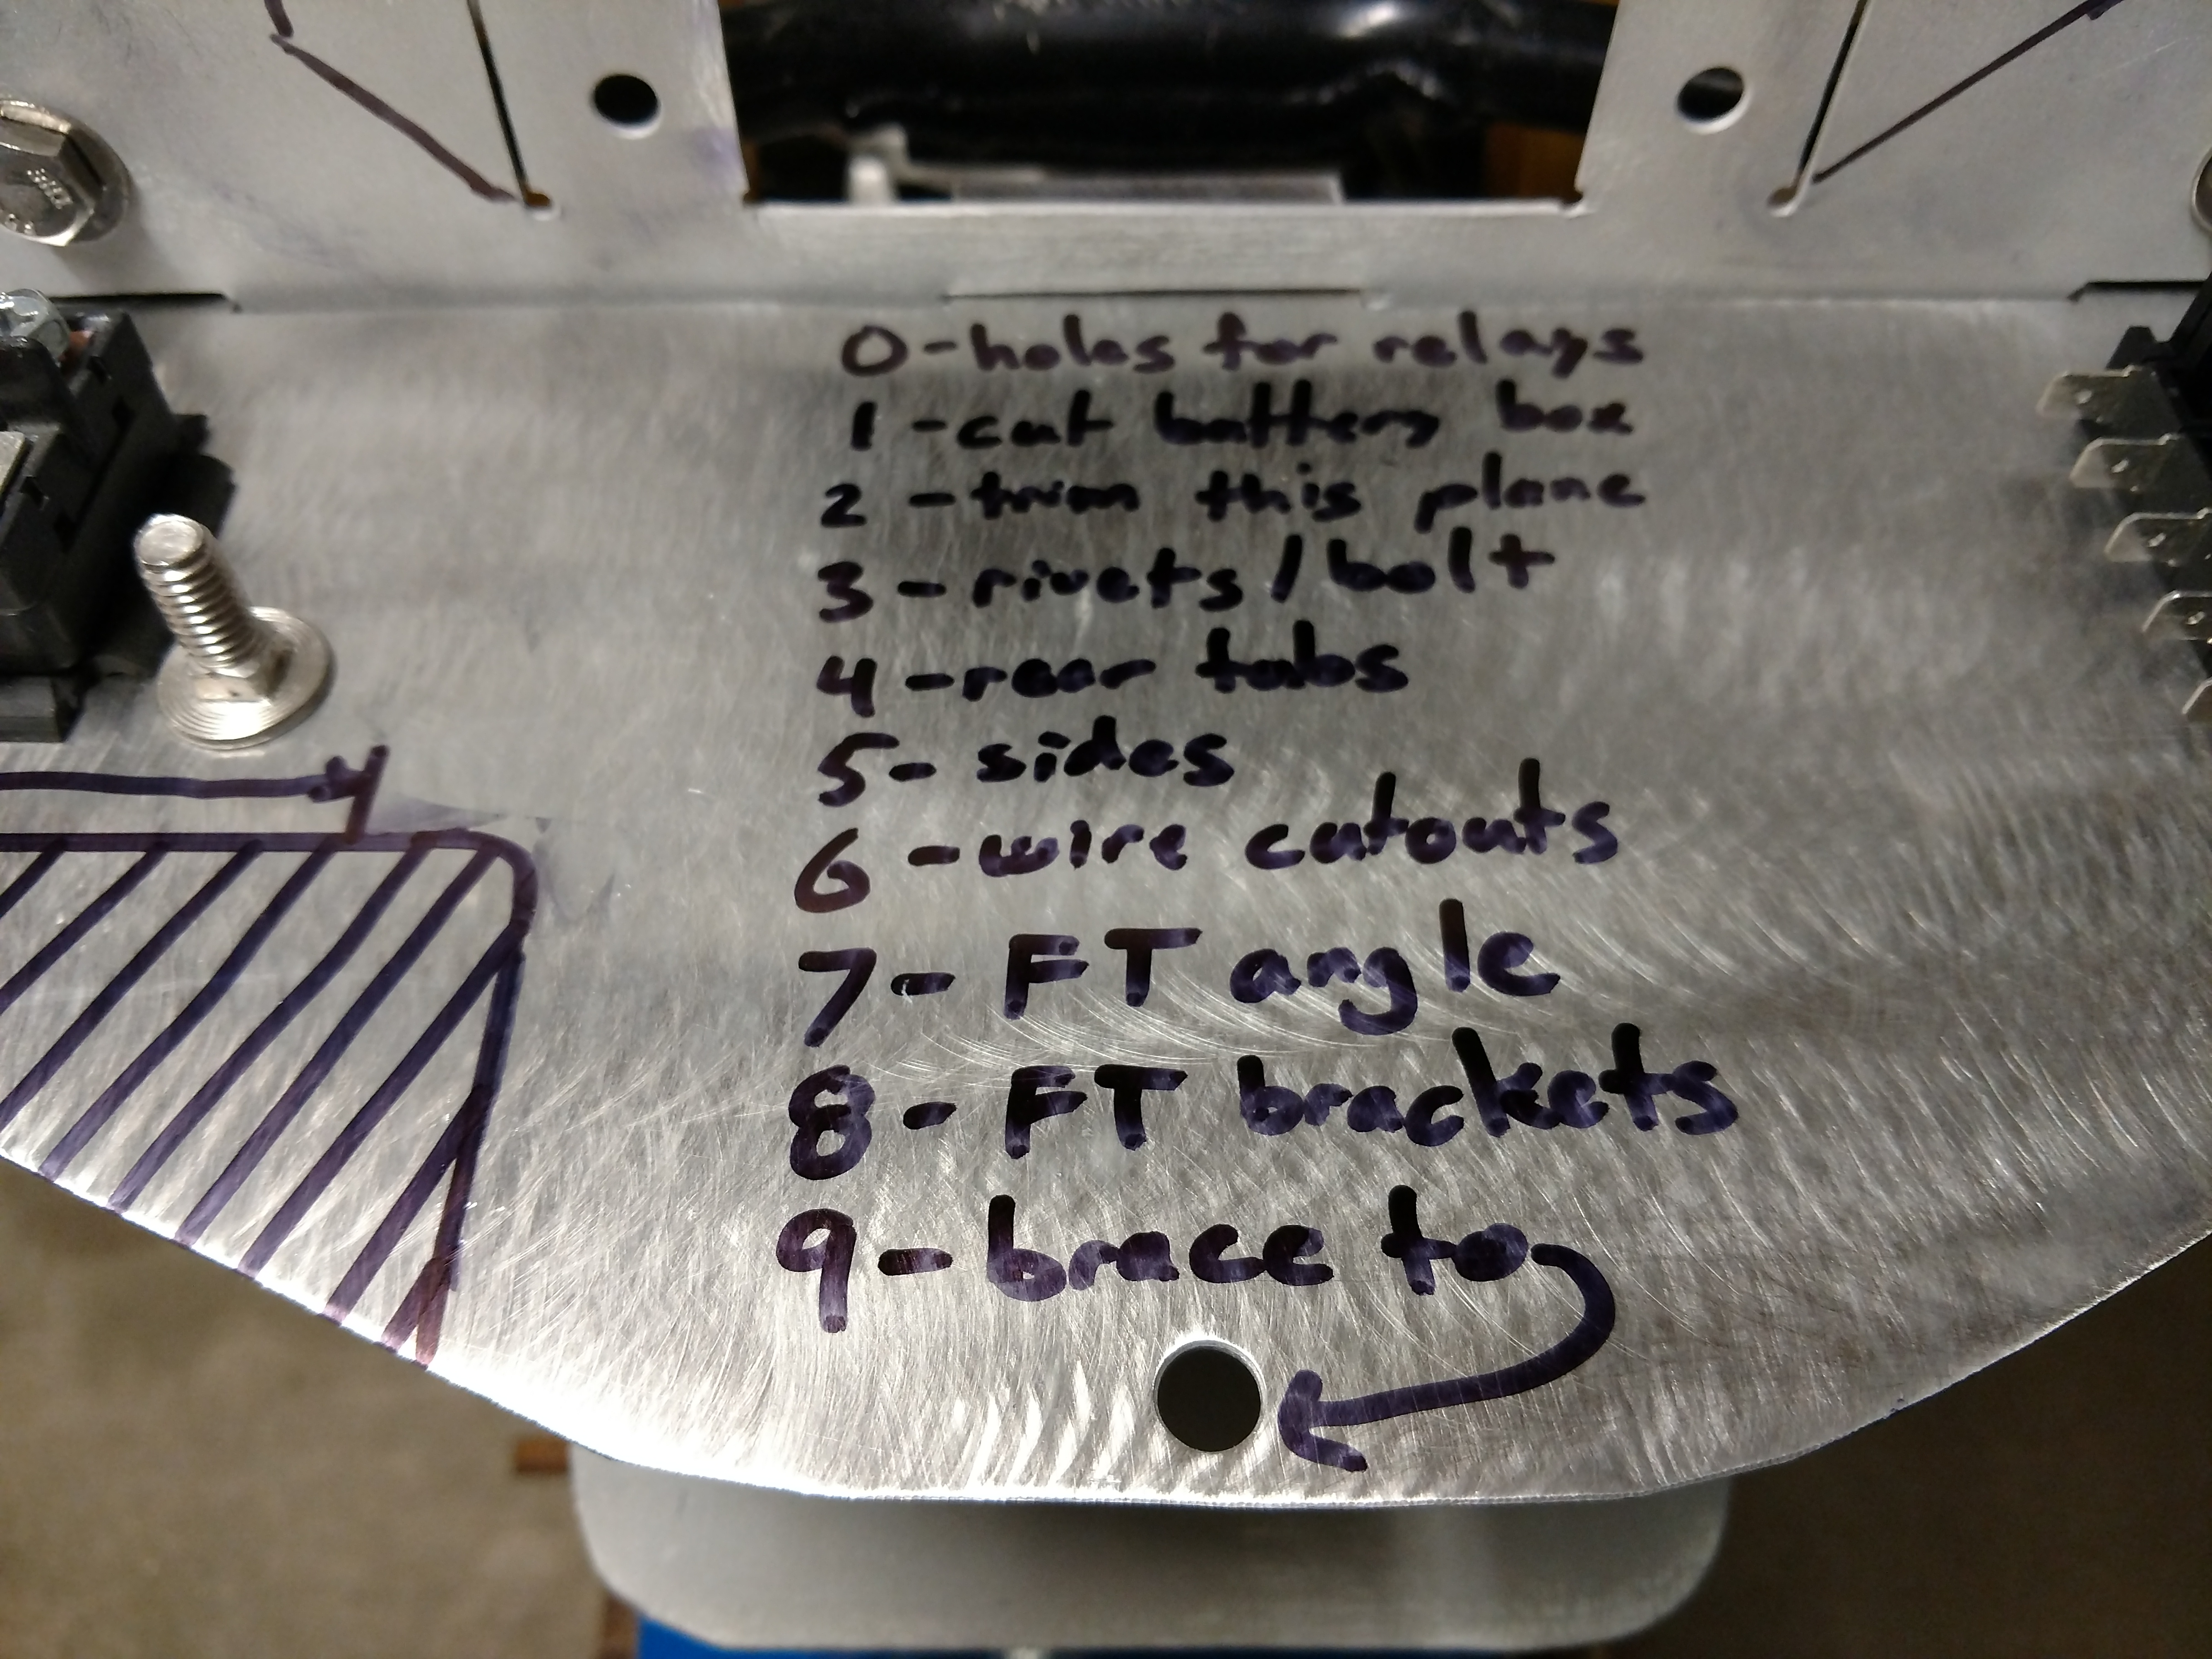
Detailed lists are how I work out the order of operations.
And they might as well be someplace hard to loose.
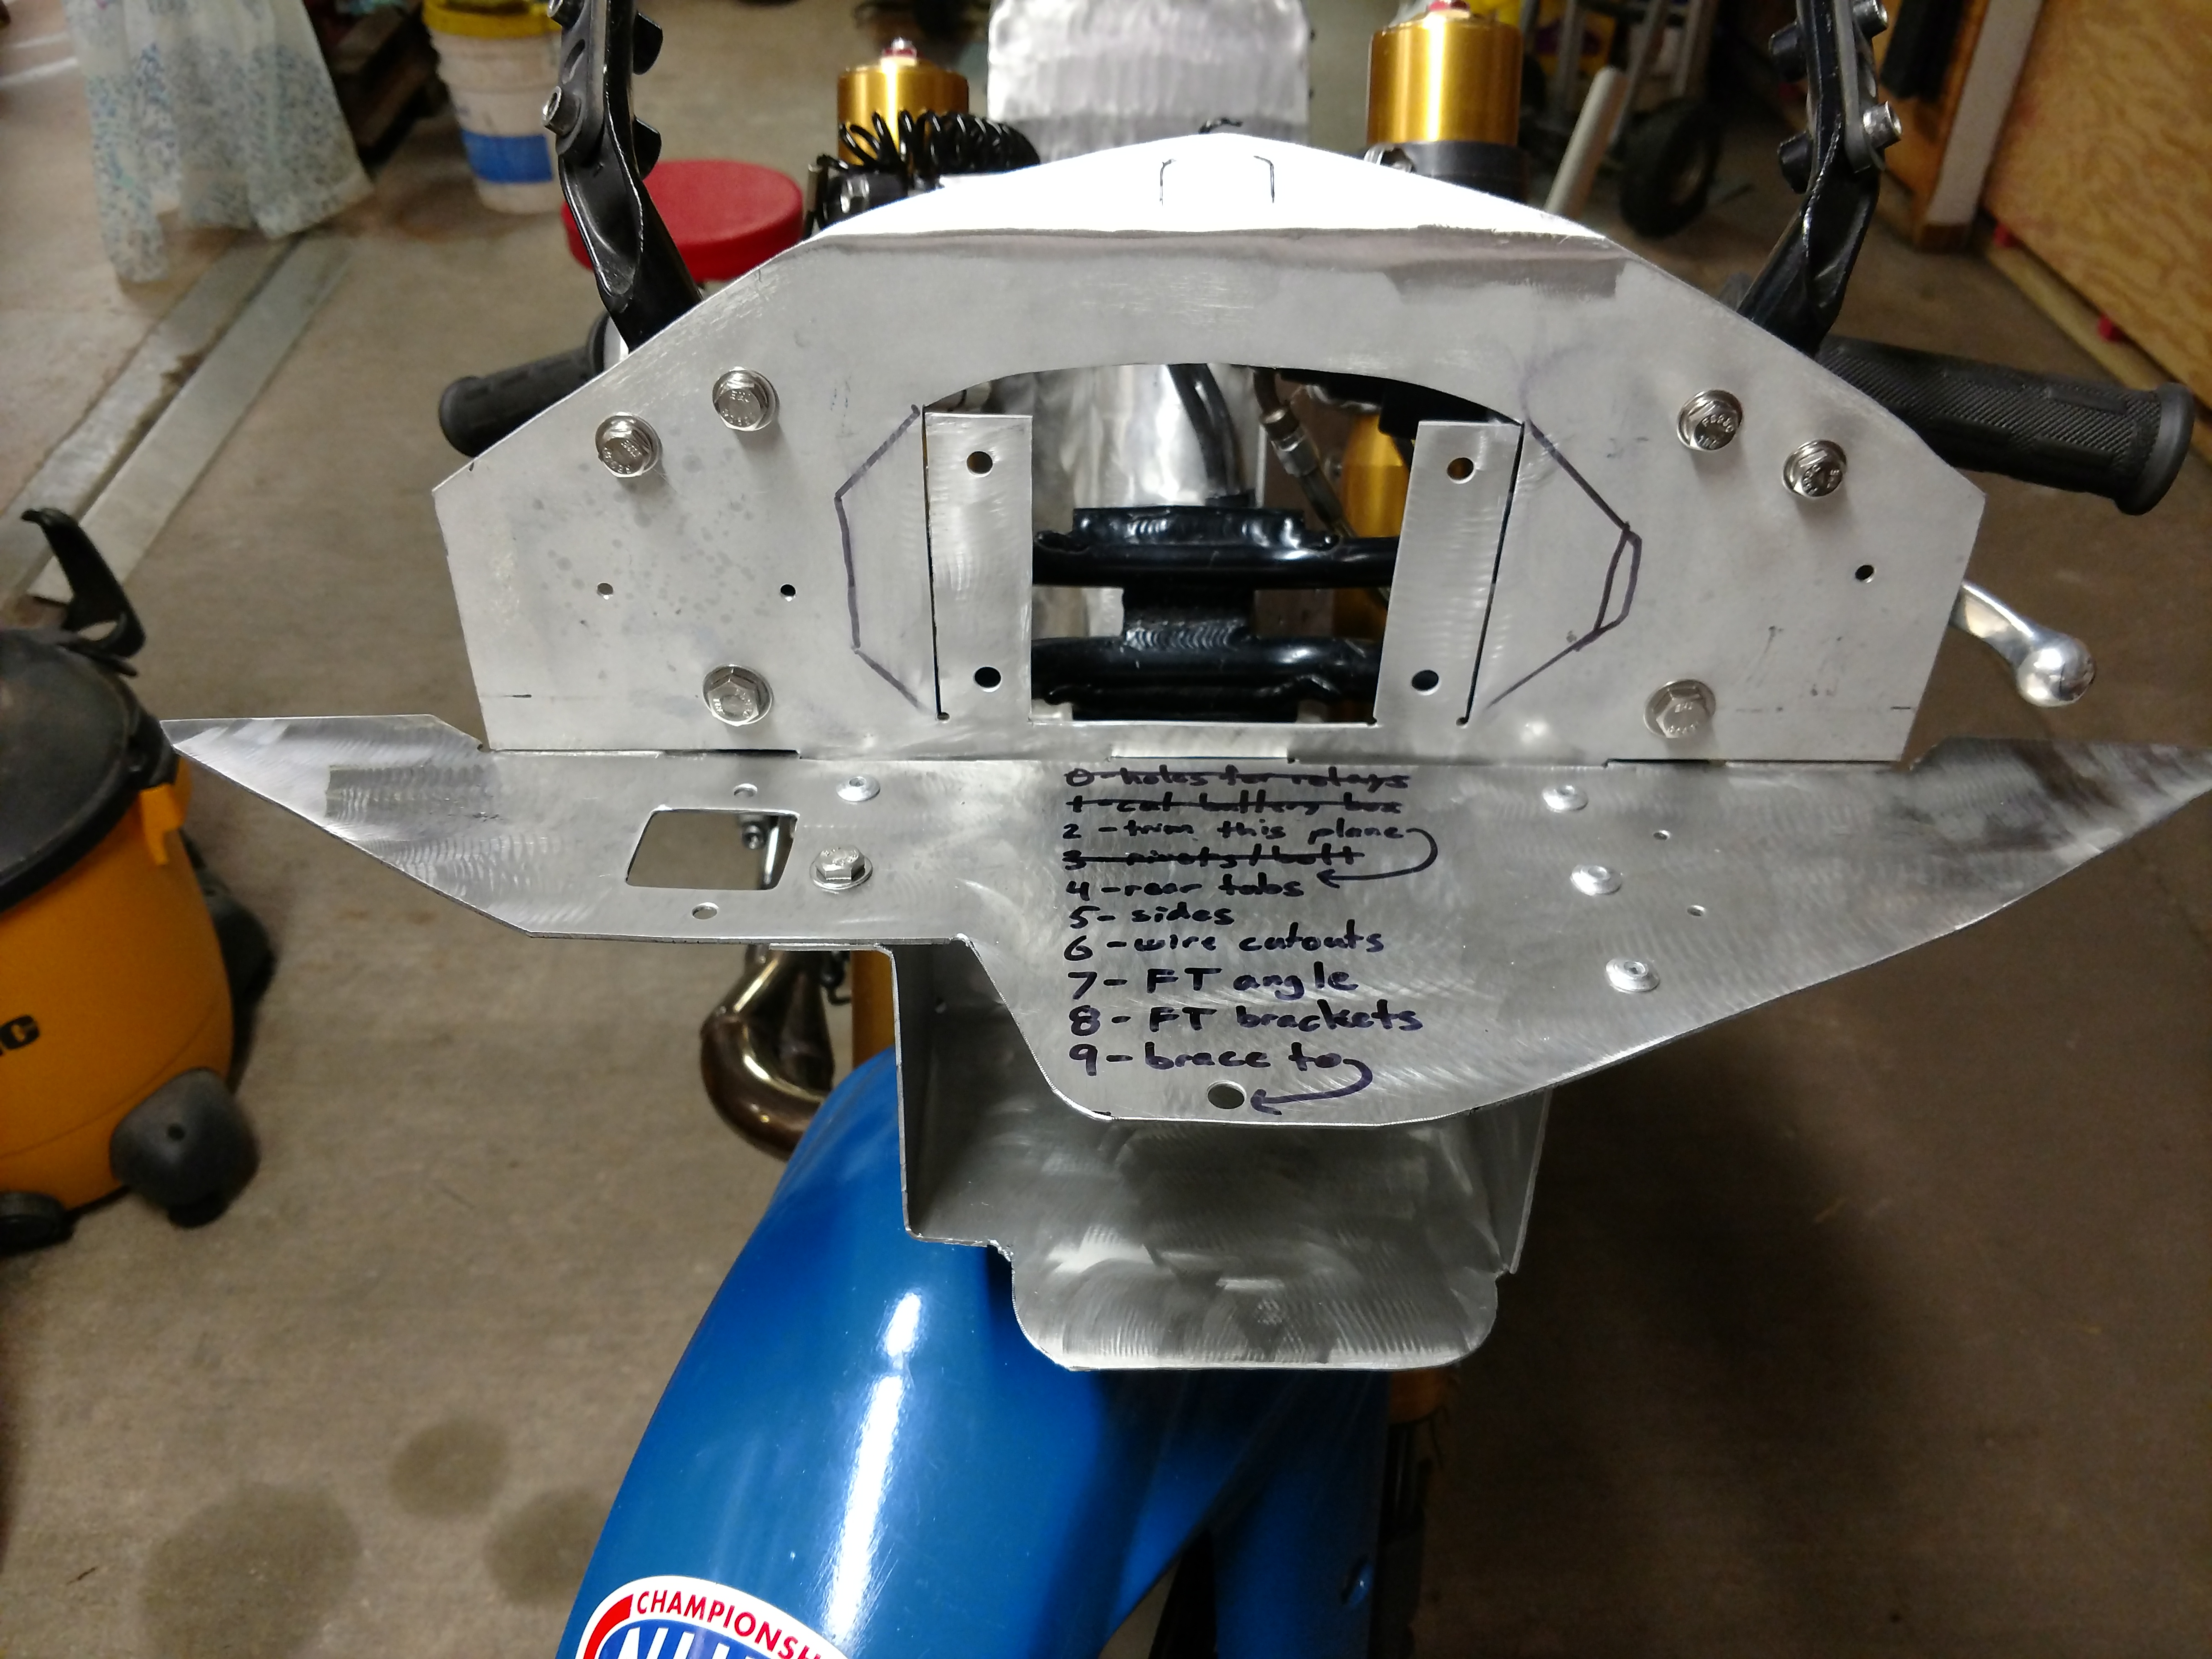
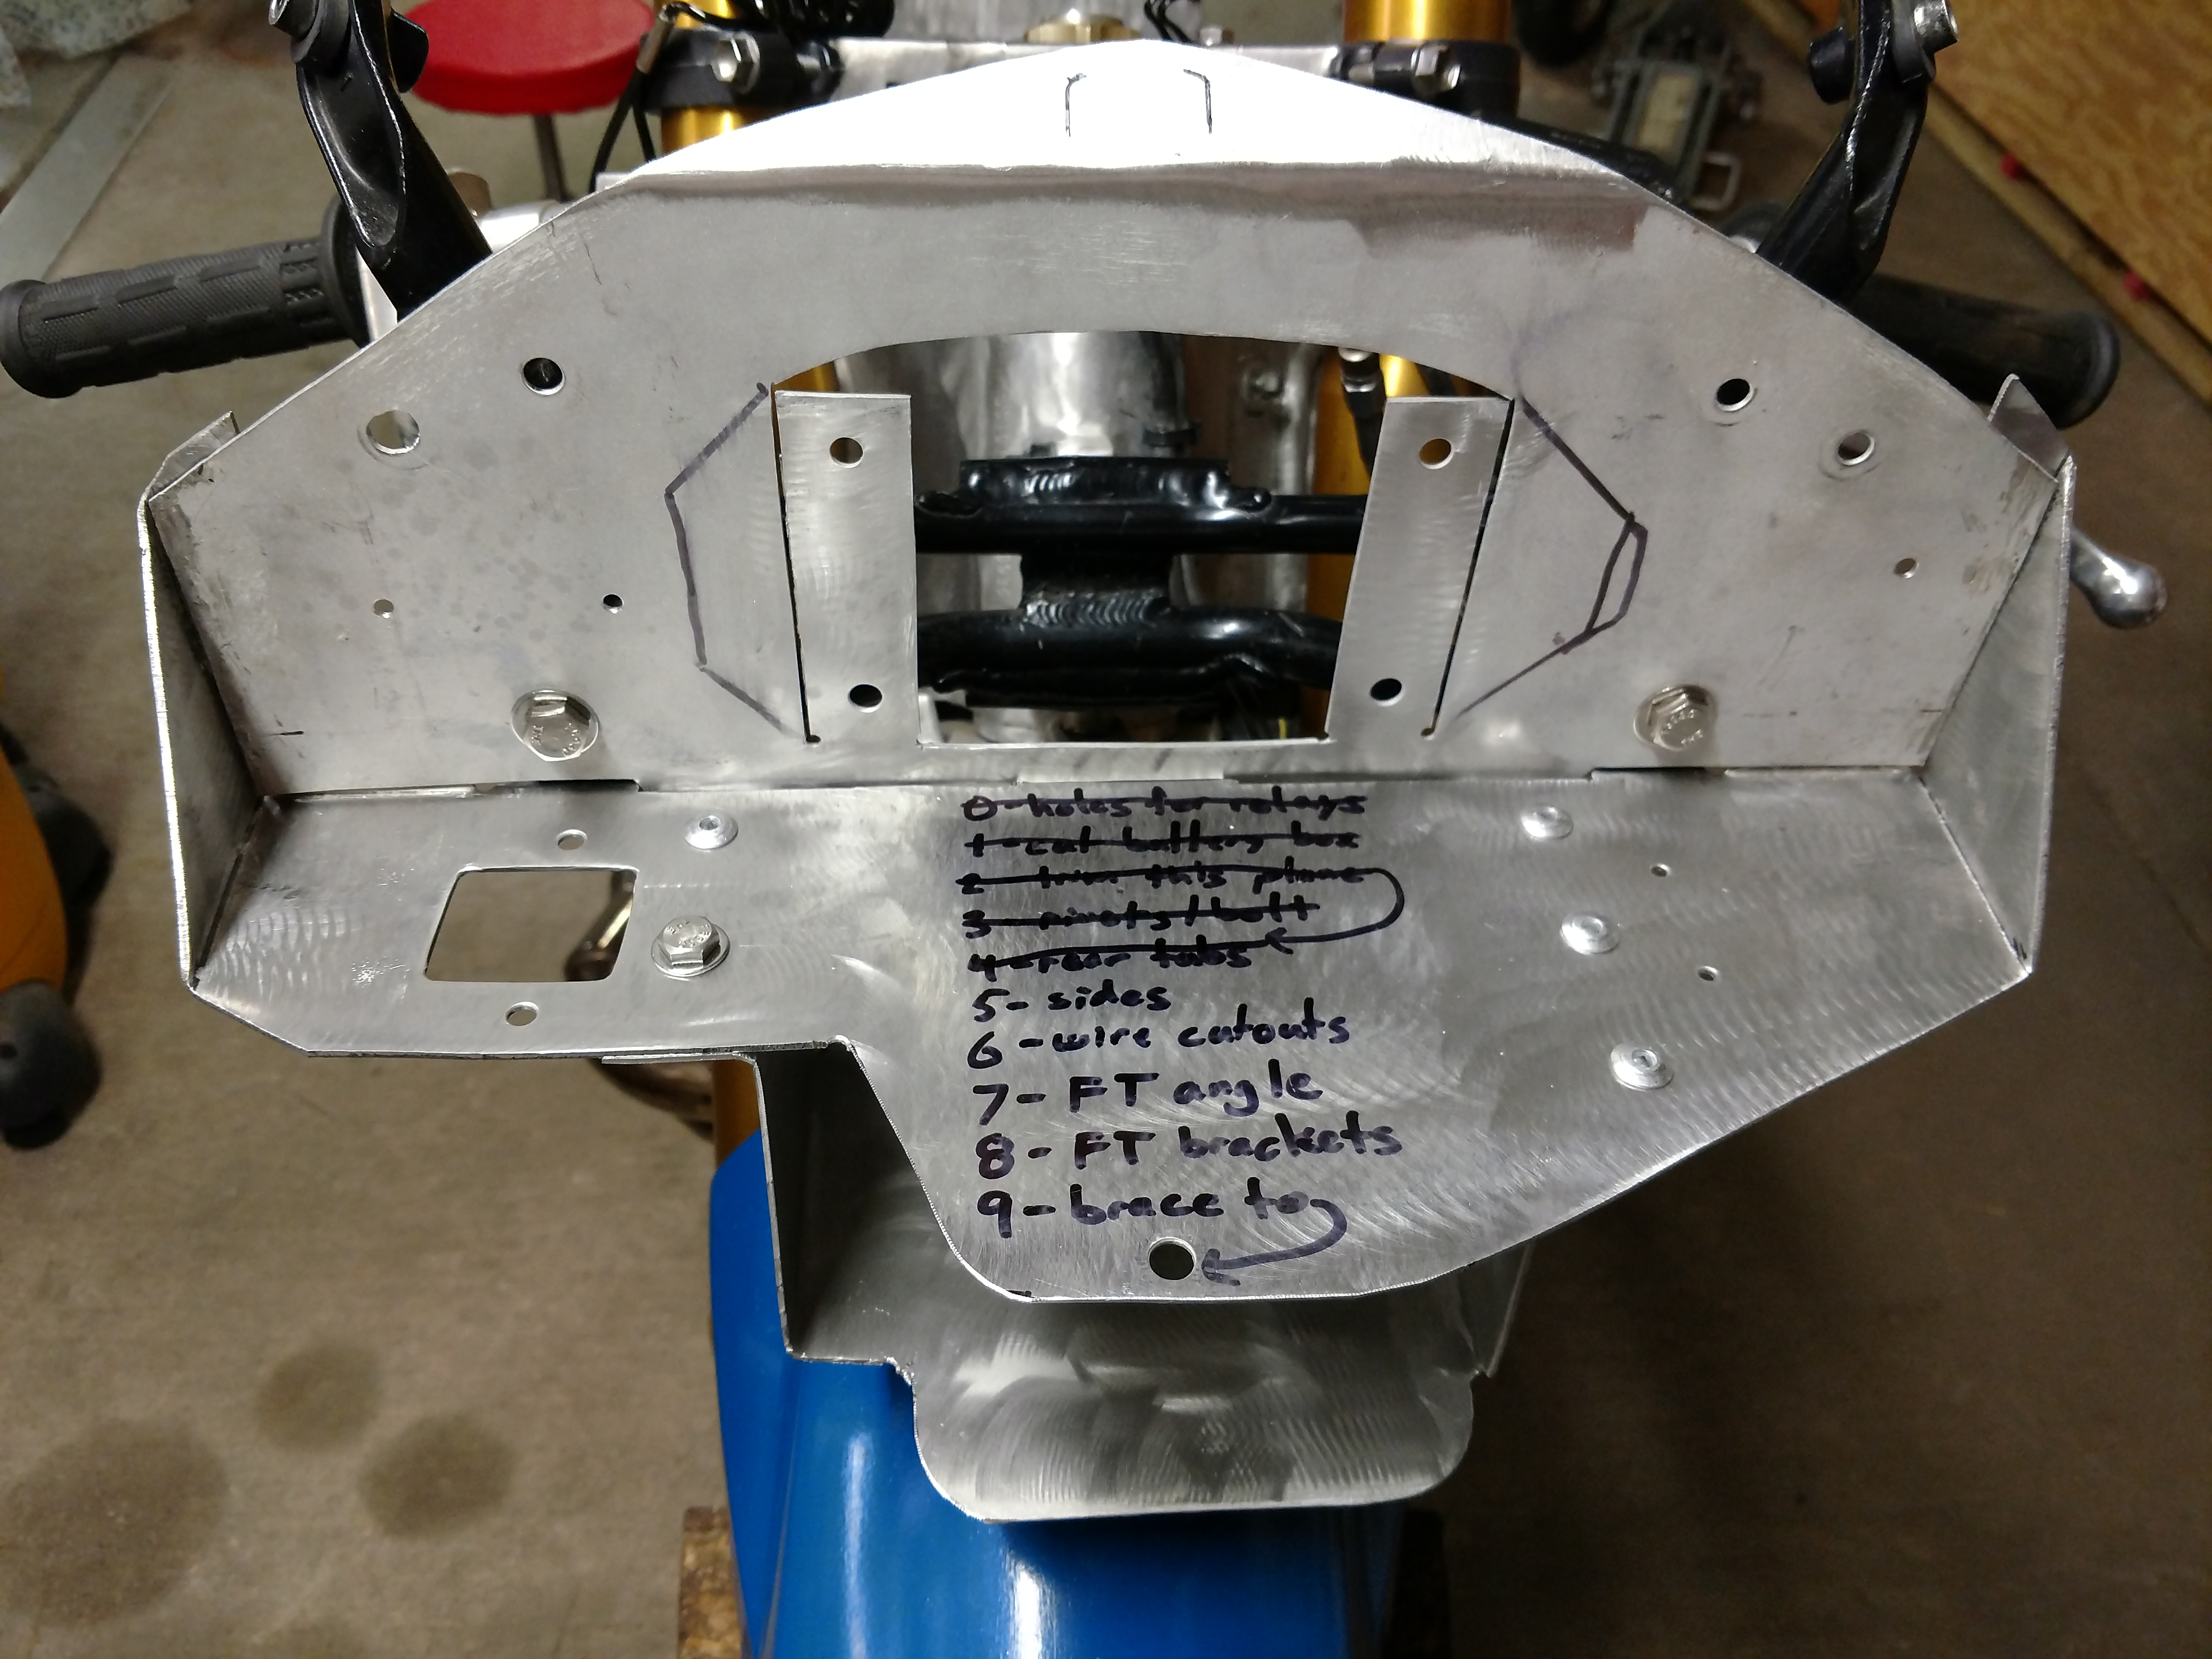
The deck got a final trim and was joined to the battery box with 4
1/4" rivets and a 1/4-20 bolt that will act as a main ground point
electrically close to the negative terminal. FuelTech says to run
all grounds directly to the battery, but that would mean a large
pile of connectors making battery changes problematic. The cable
to the battery is as short as possible and double 10ga. For added
strength, the two pieces are riveted together at the sides.
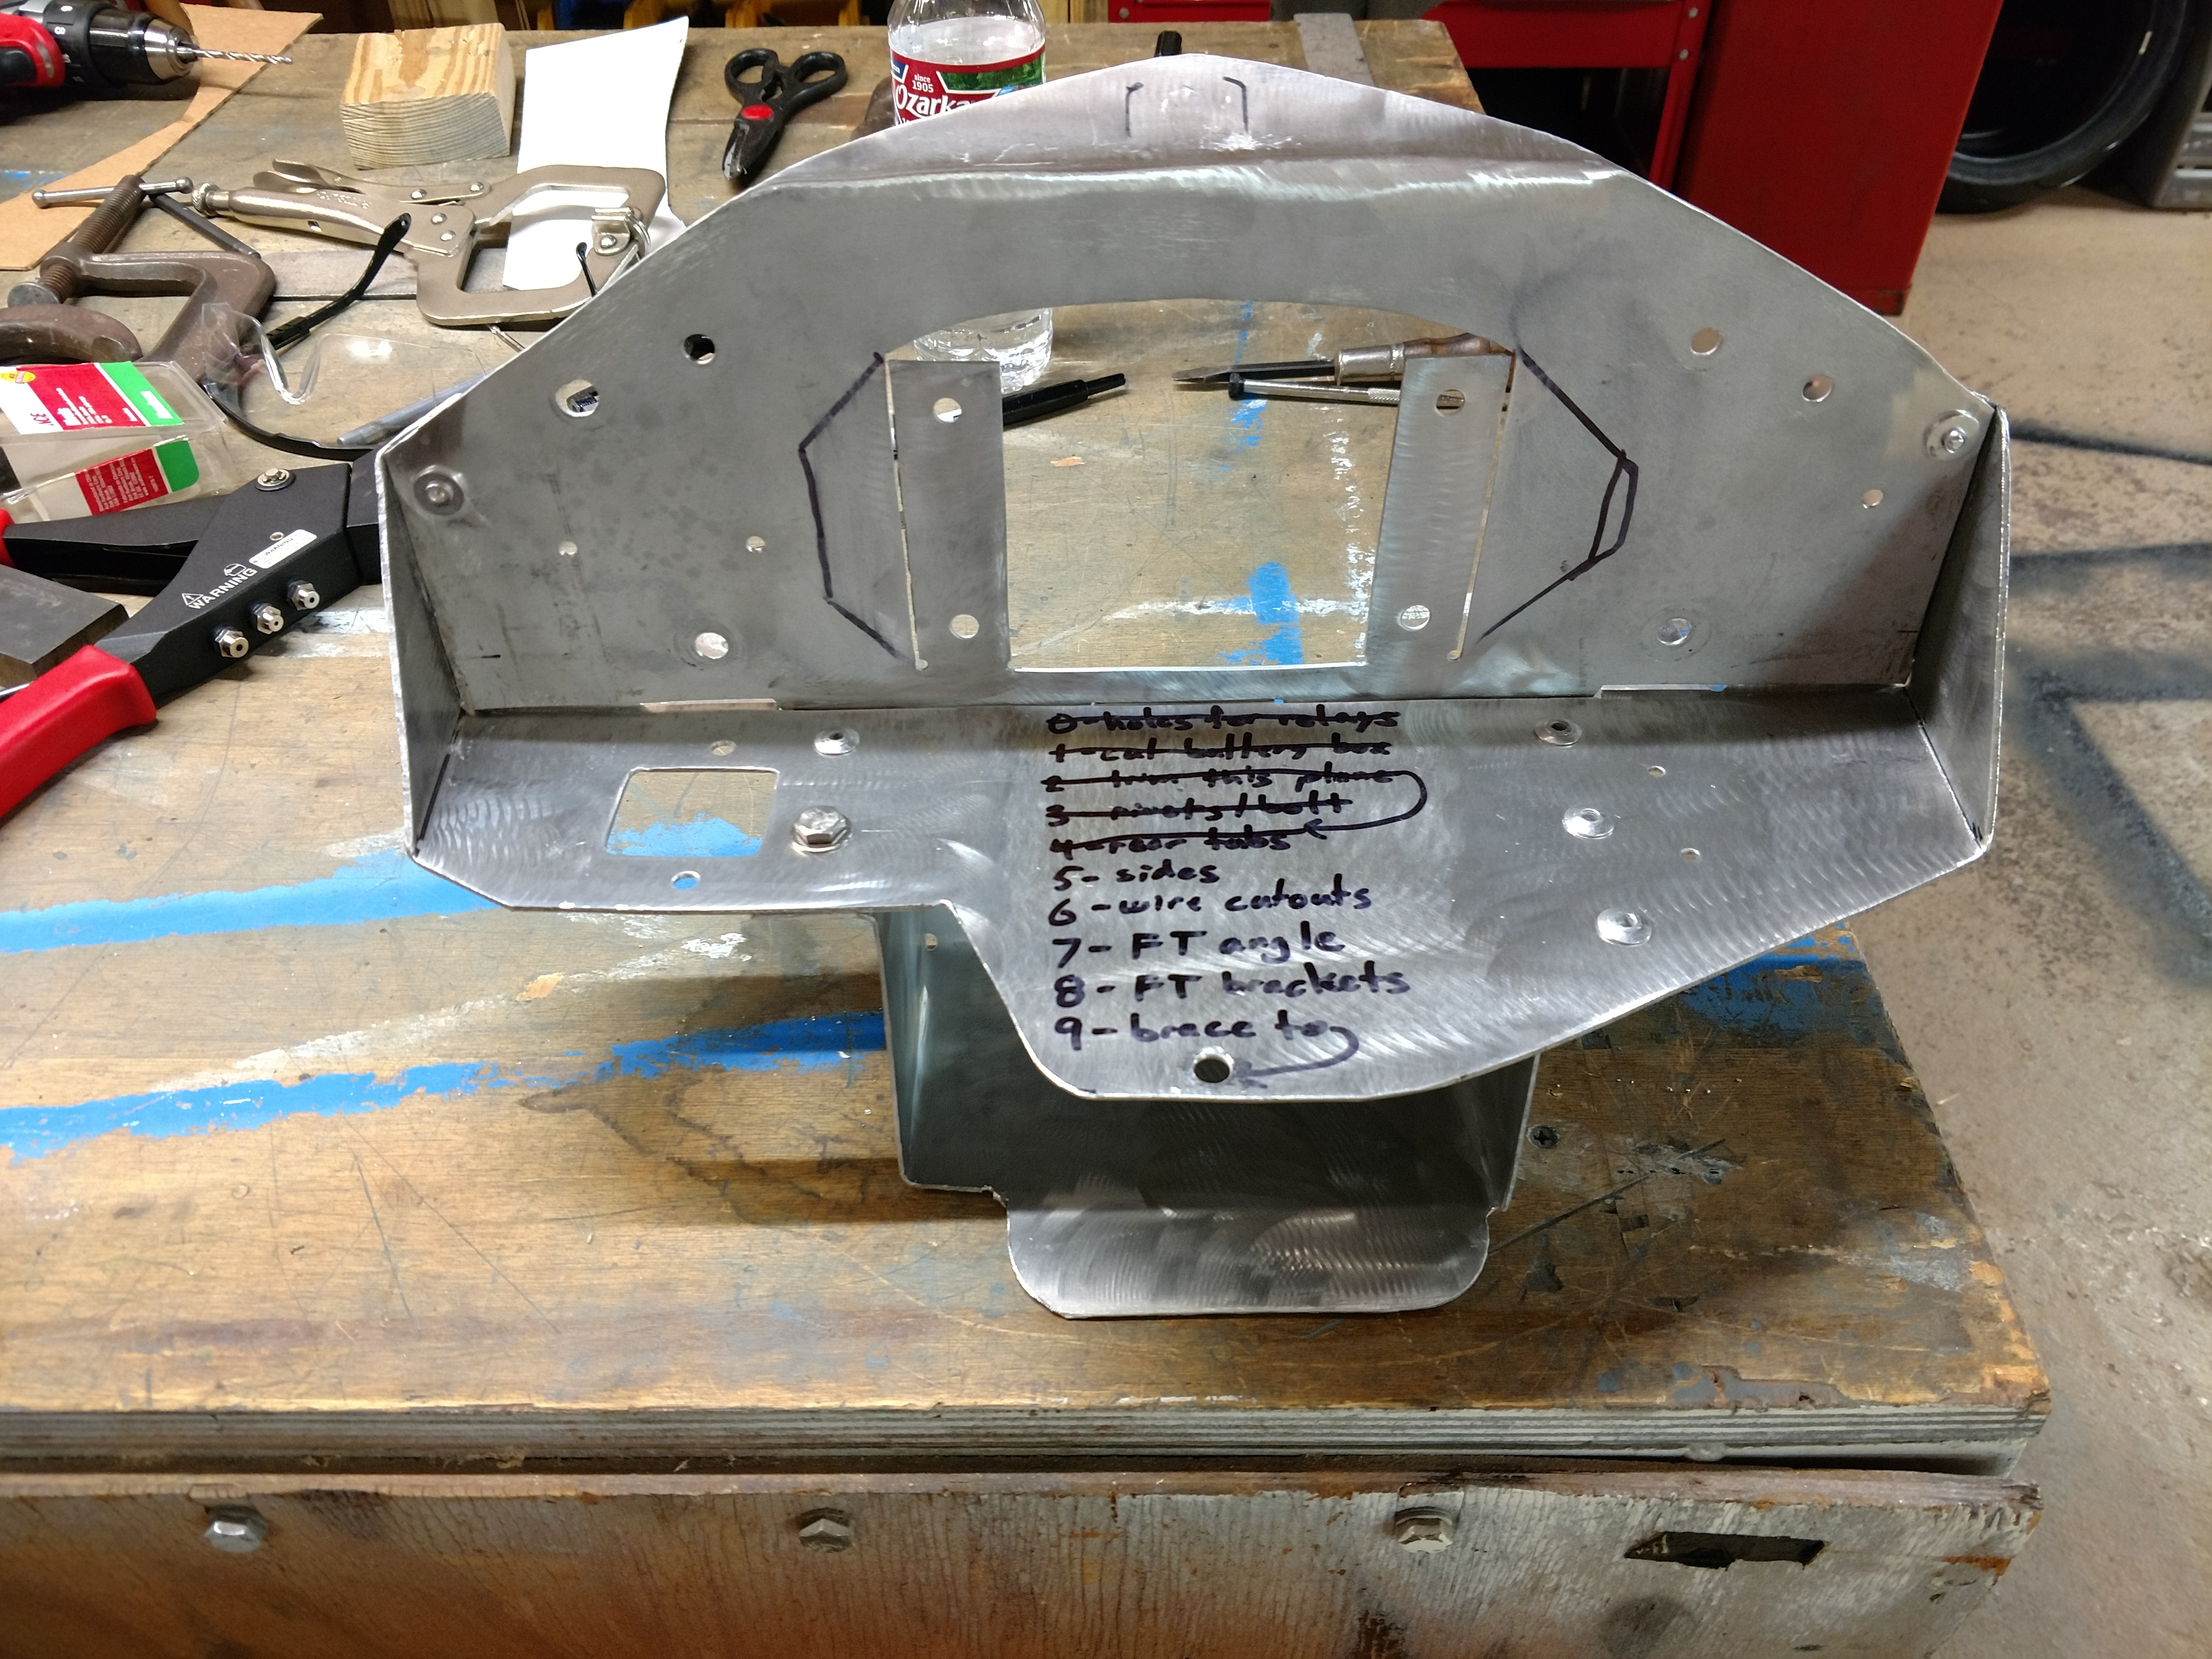
Finally, to put the dash at an angle for best visibility from the
riding position, the mounts were bent and braced.