Wiring the system was just a matter of breaking it down to groups
of circuits. Some rethinking was required along the way to keep
everything neat and put fuses in the best electrical locations.
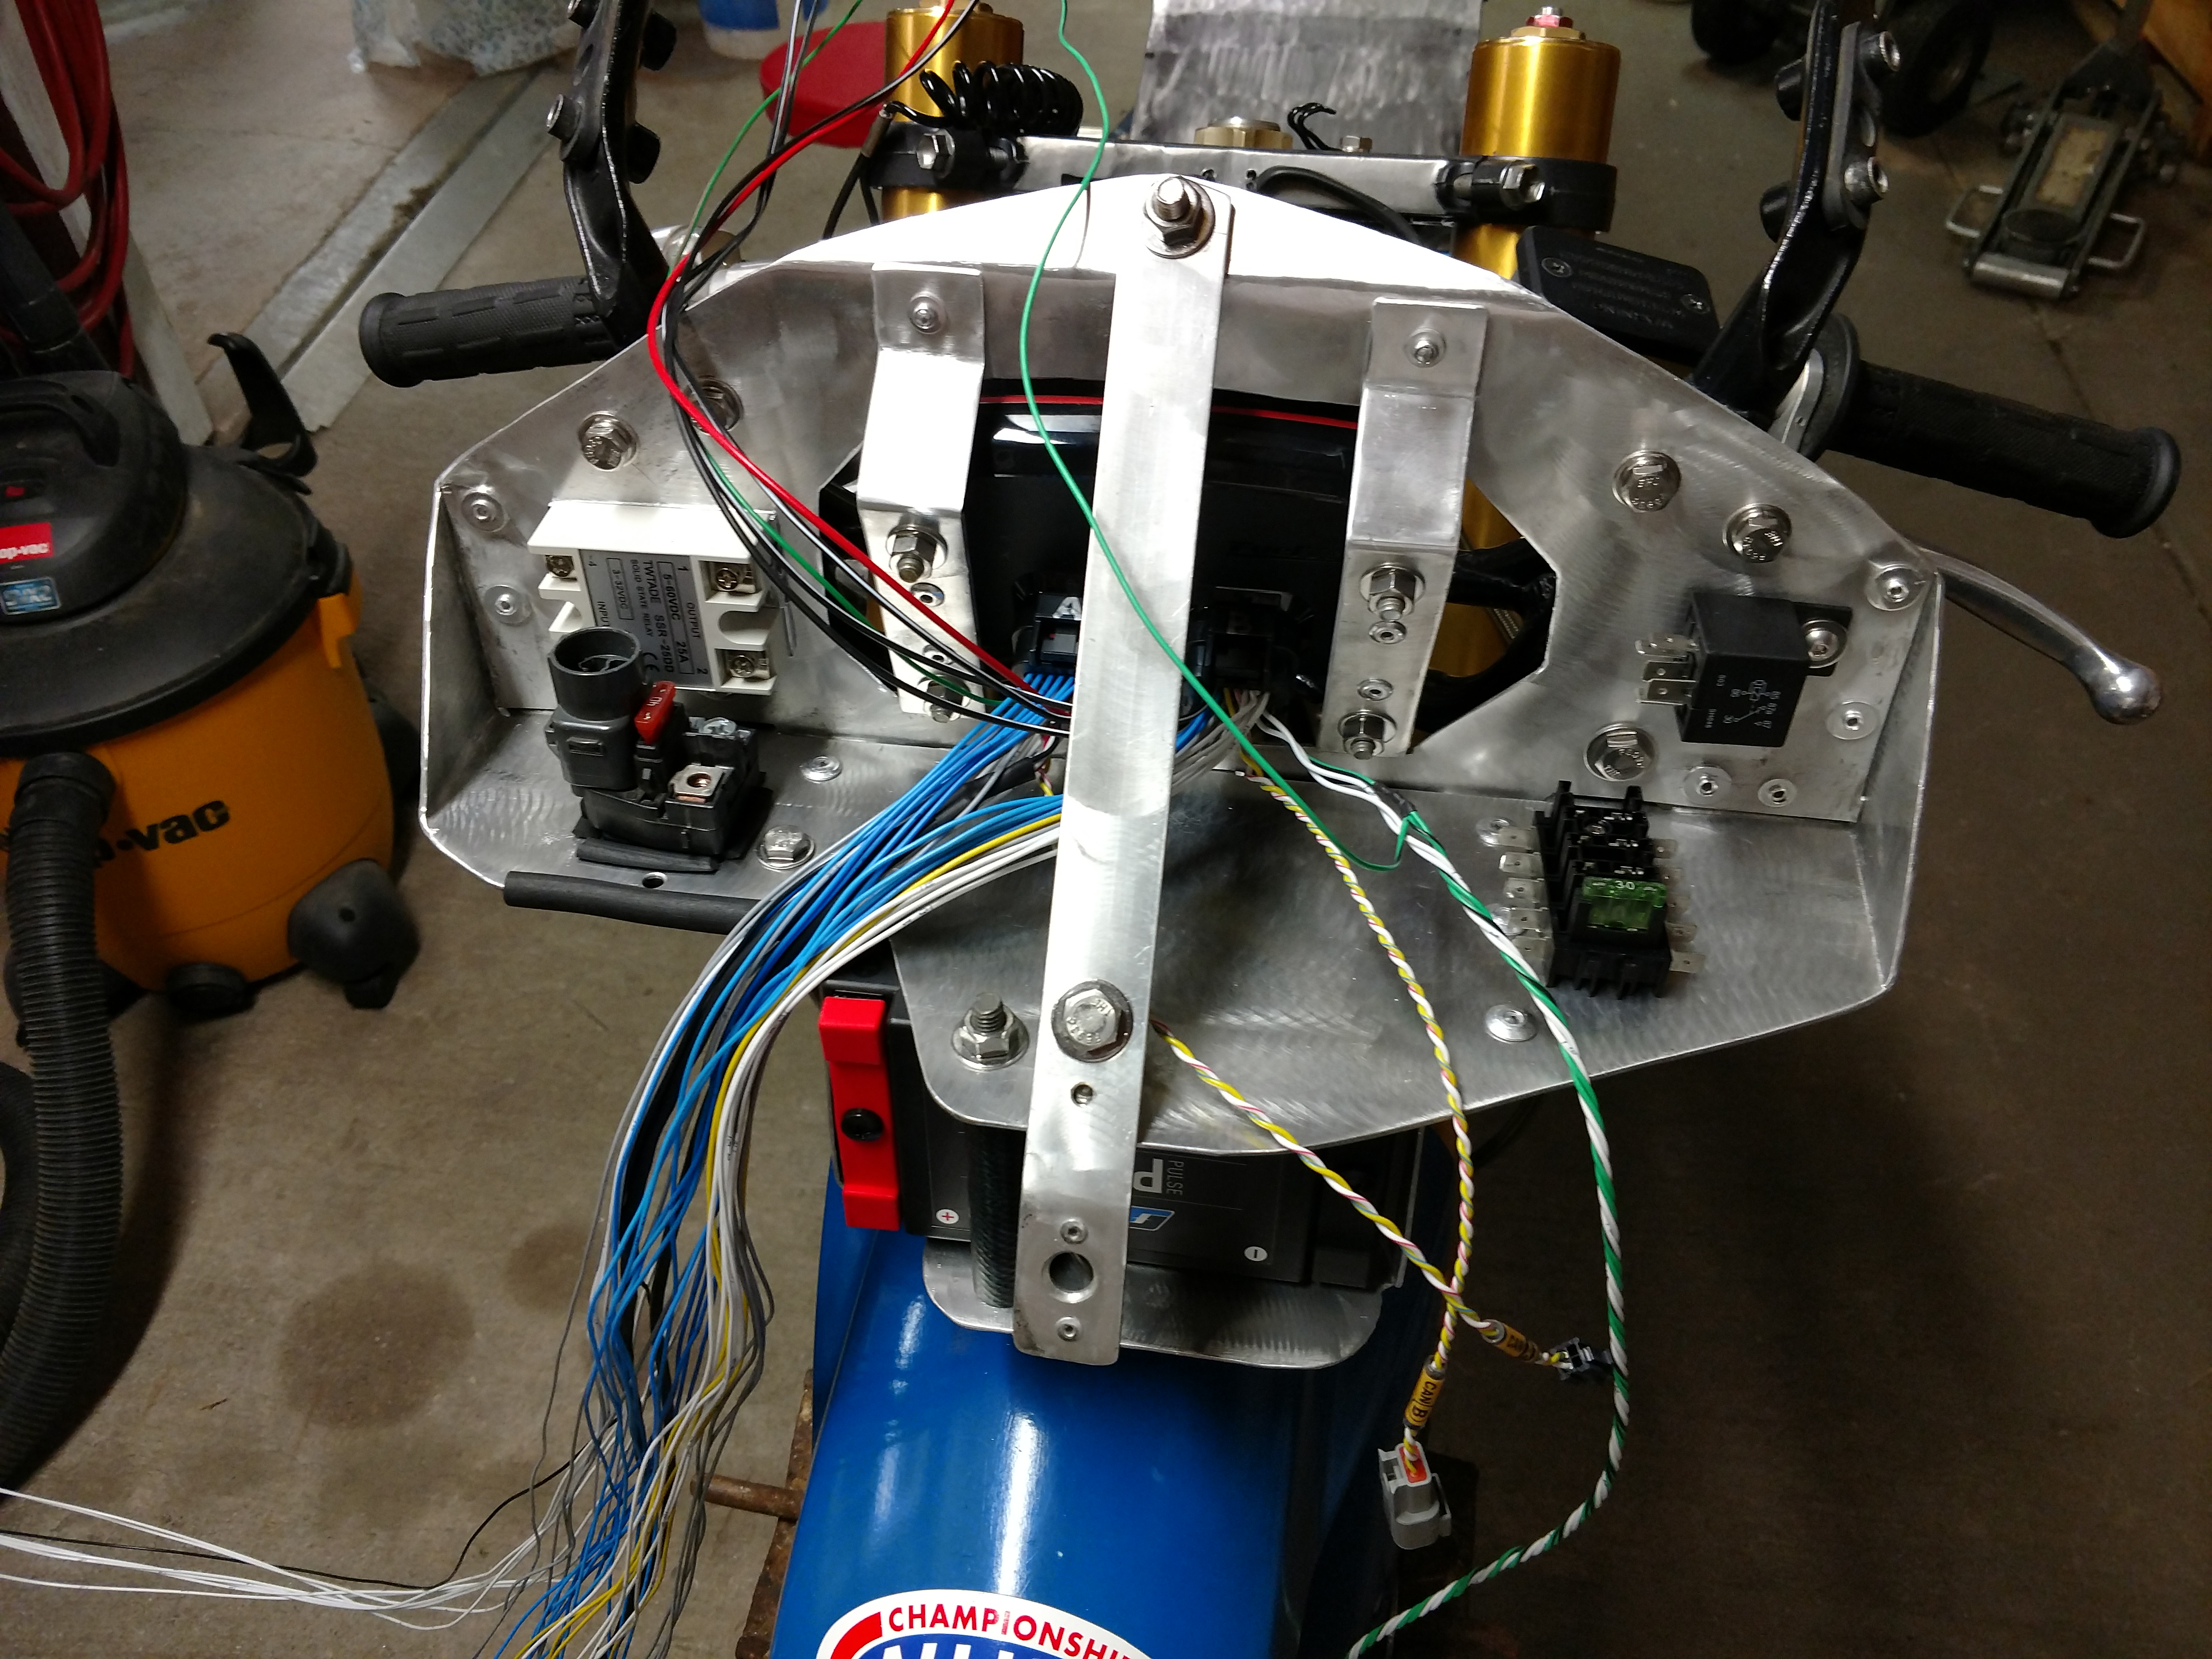
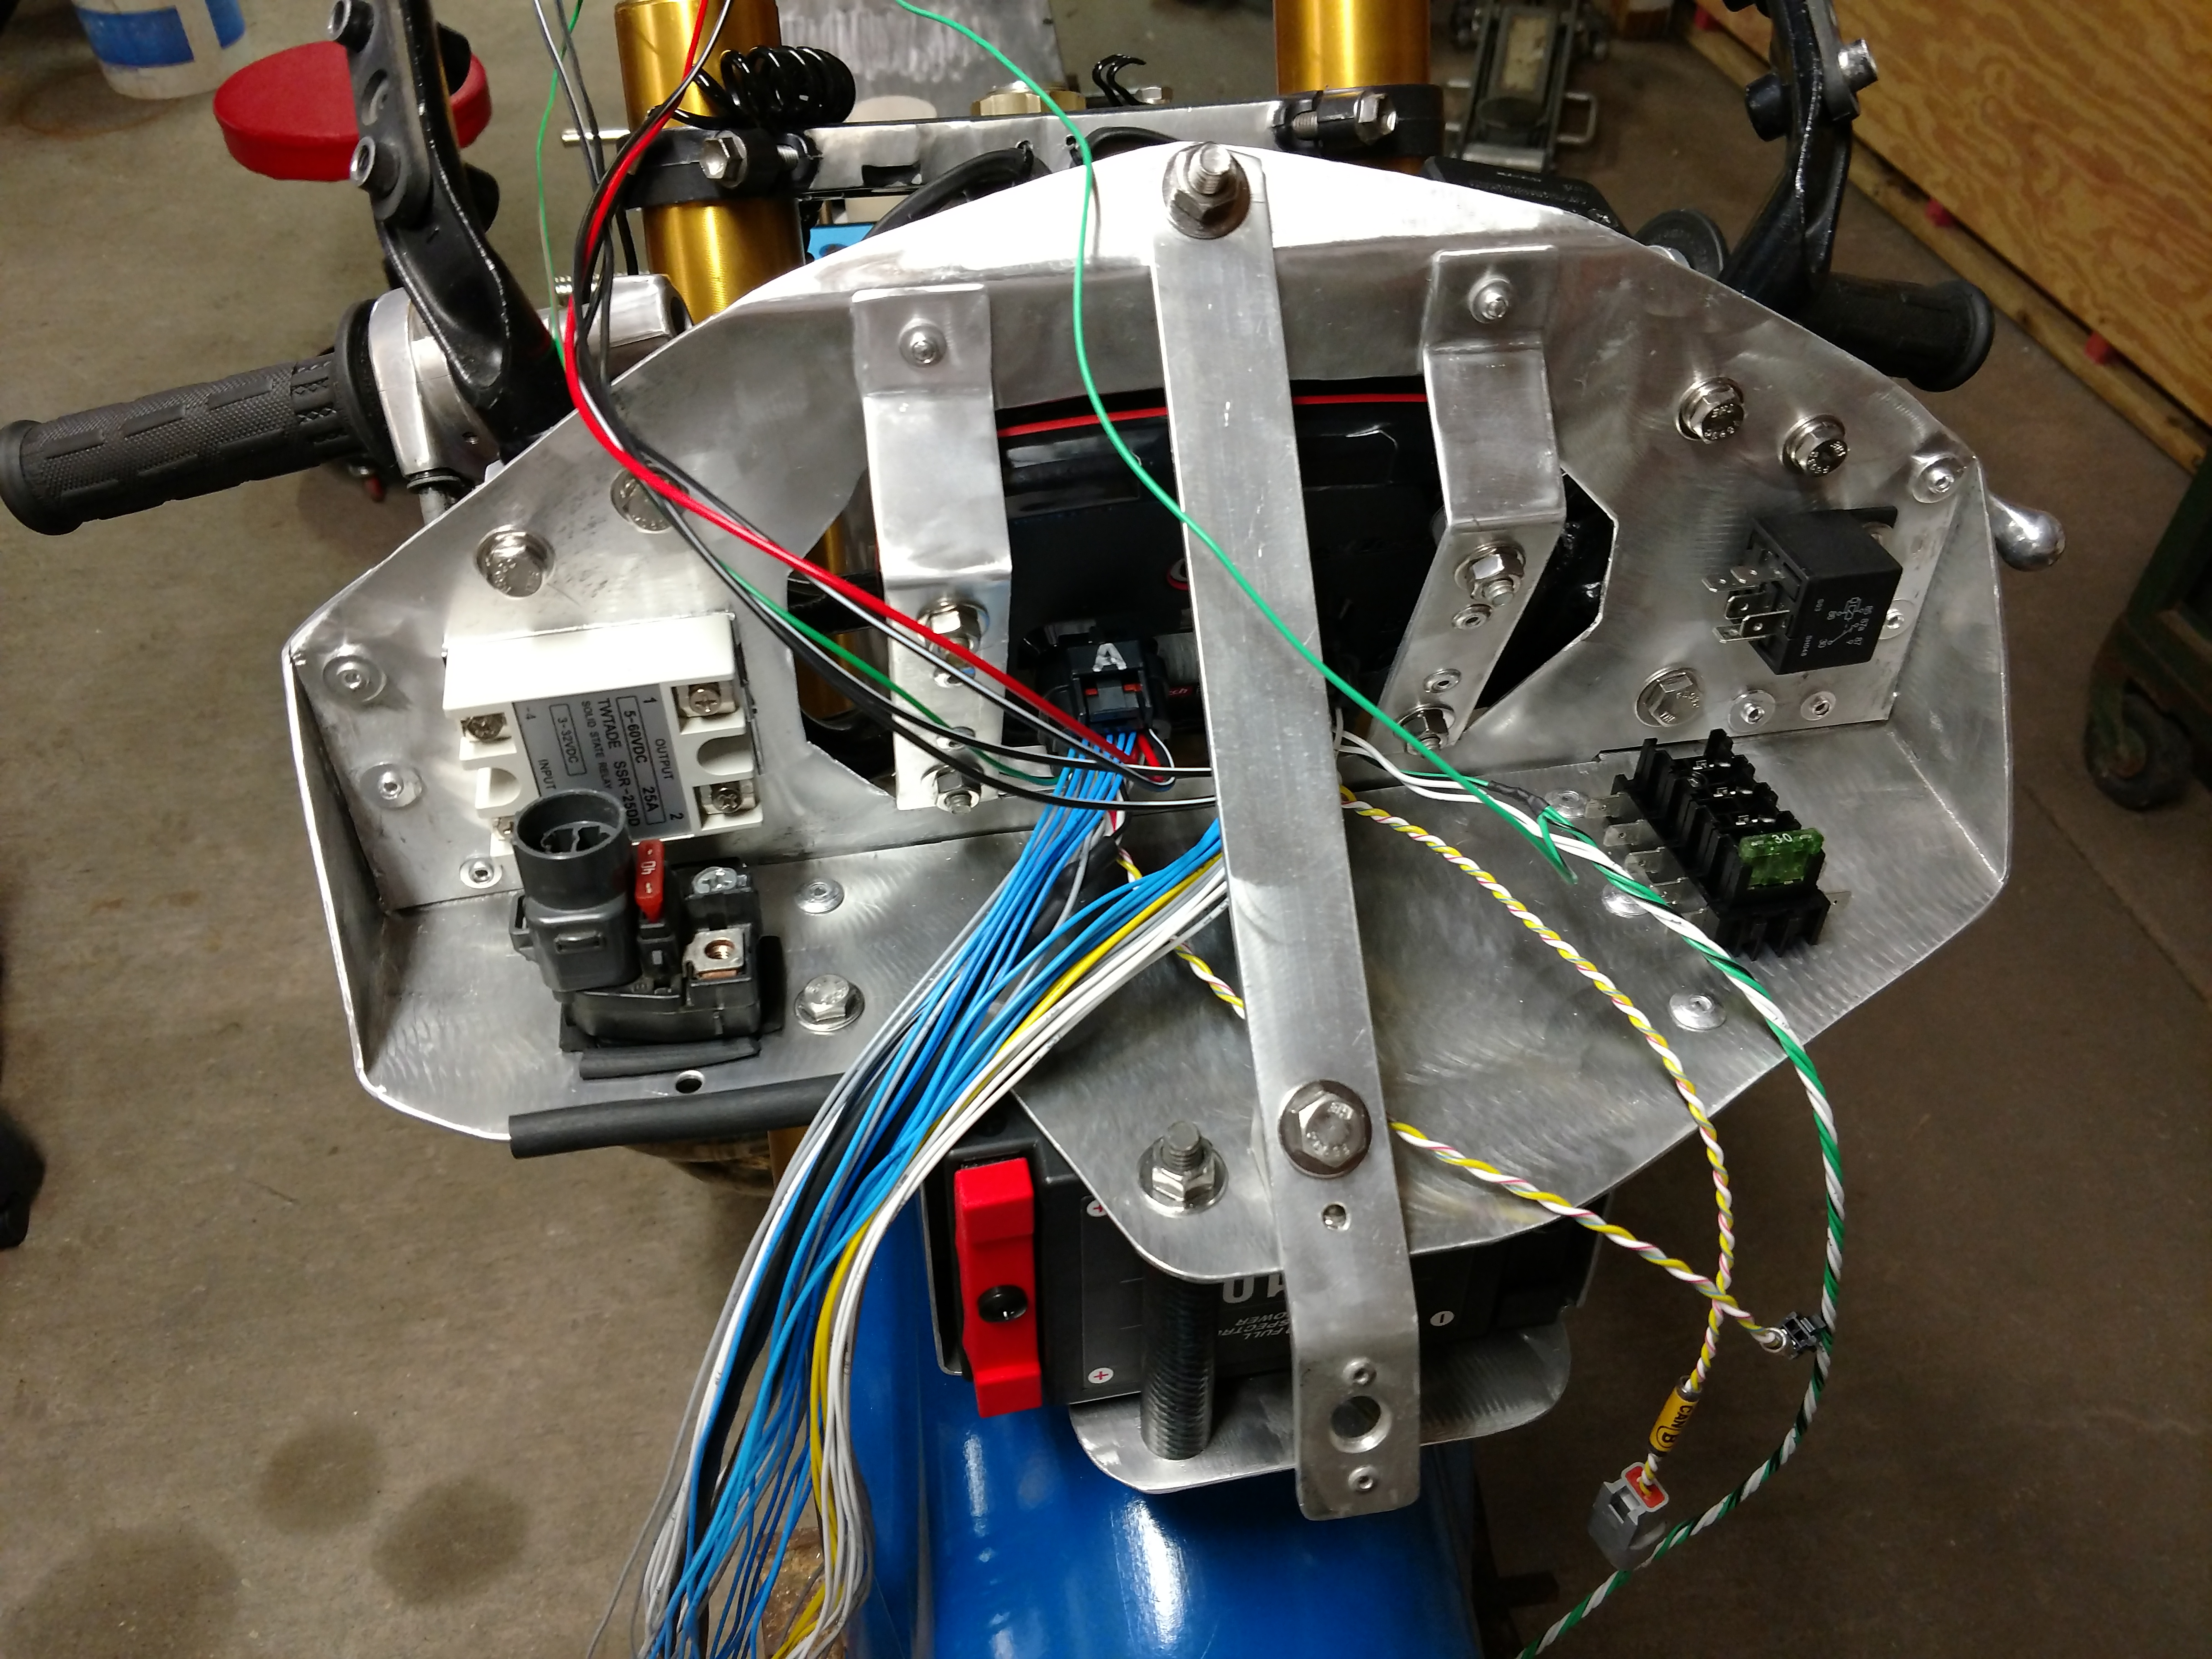
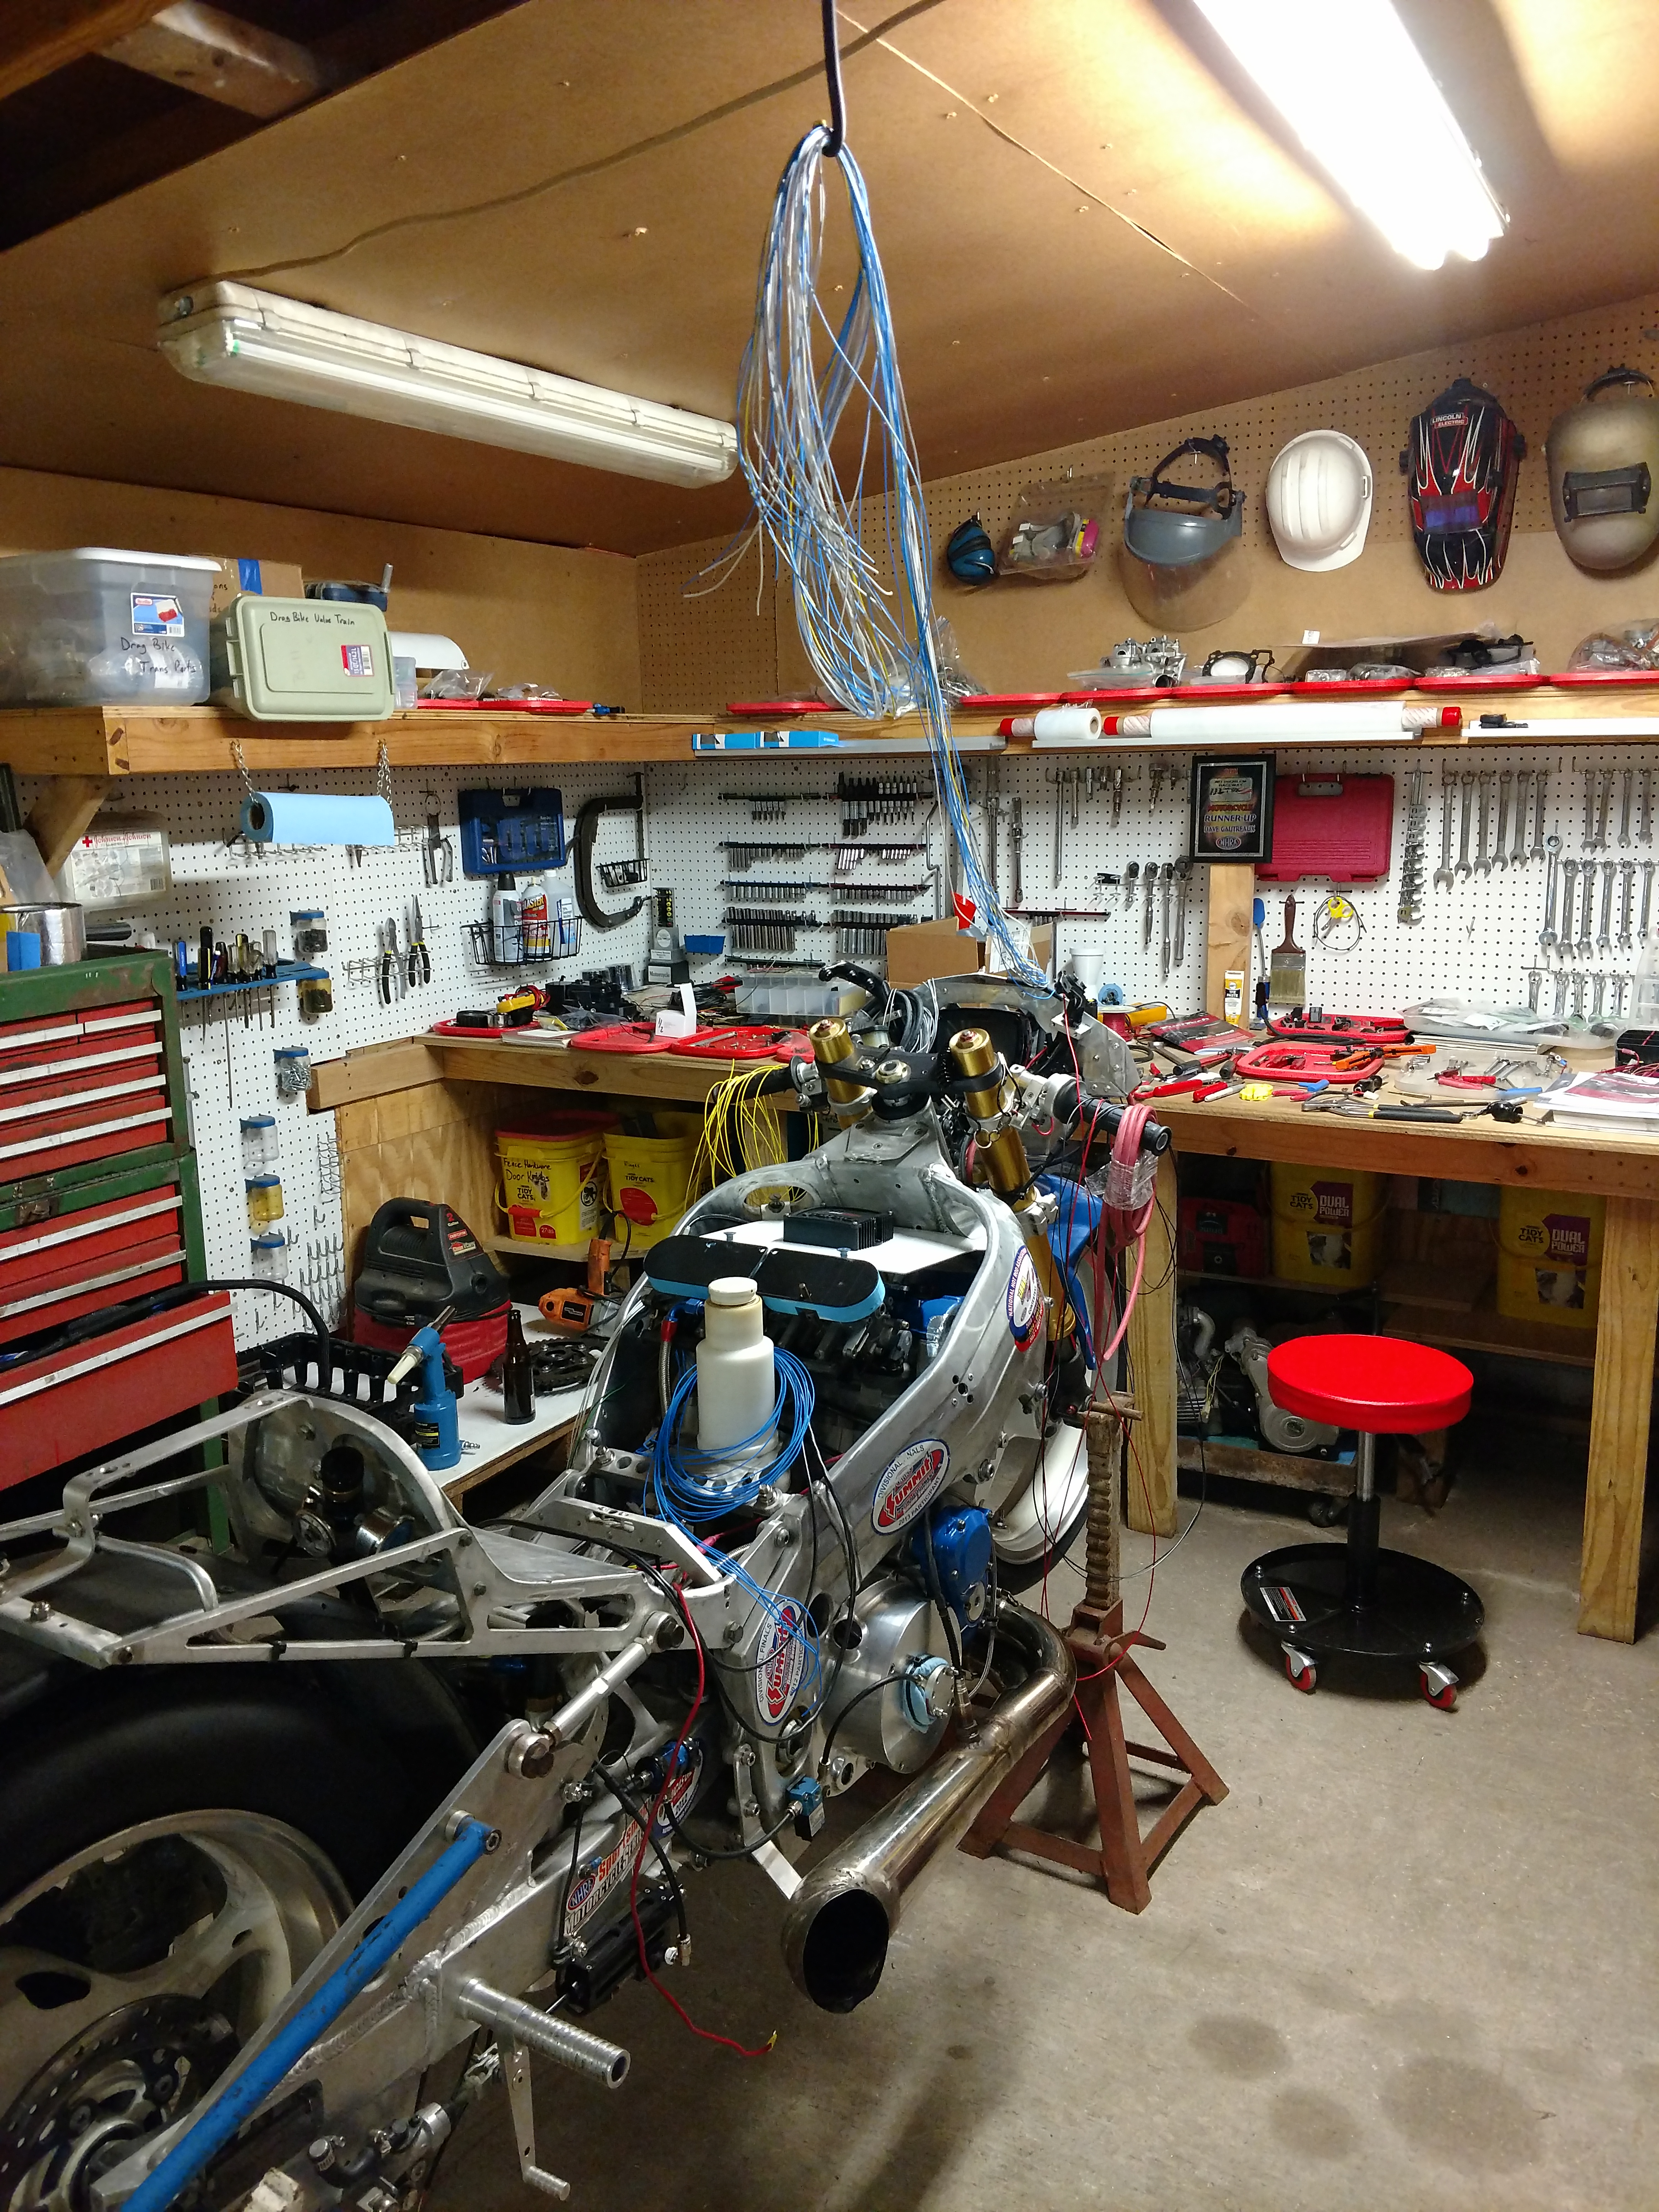
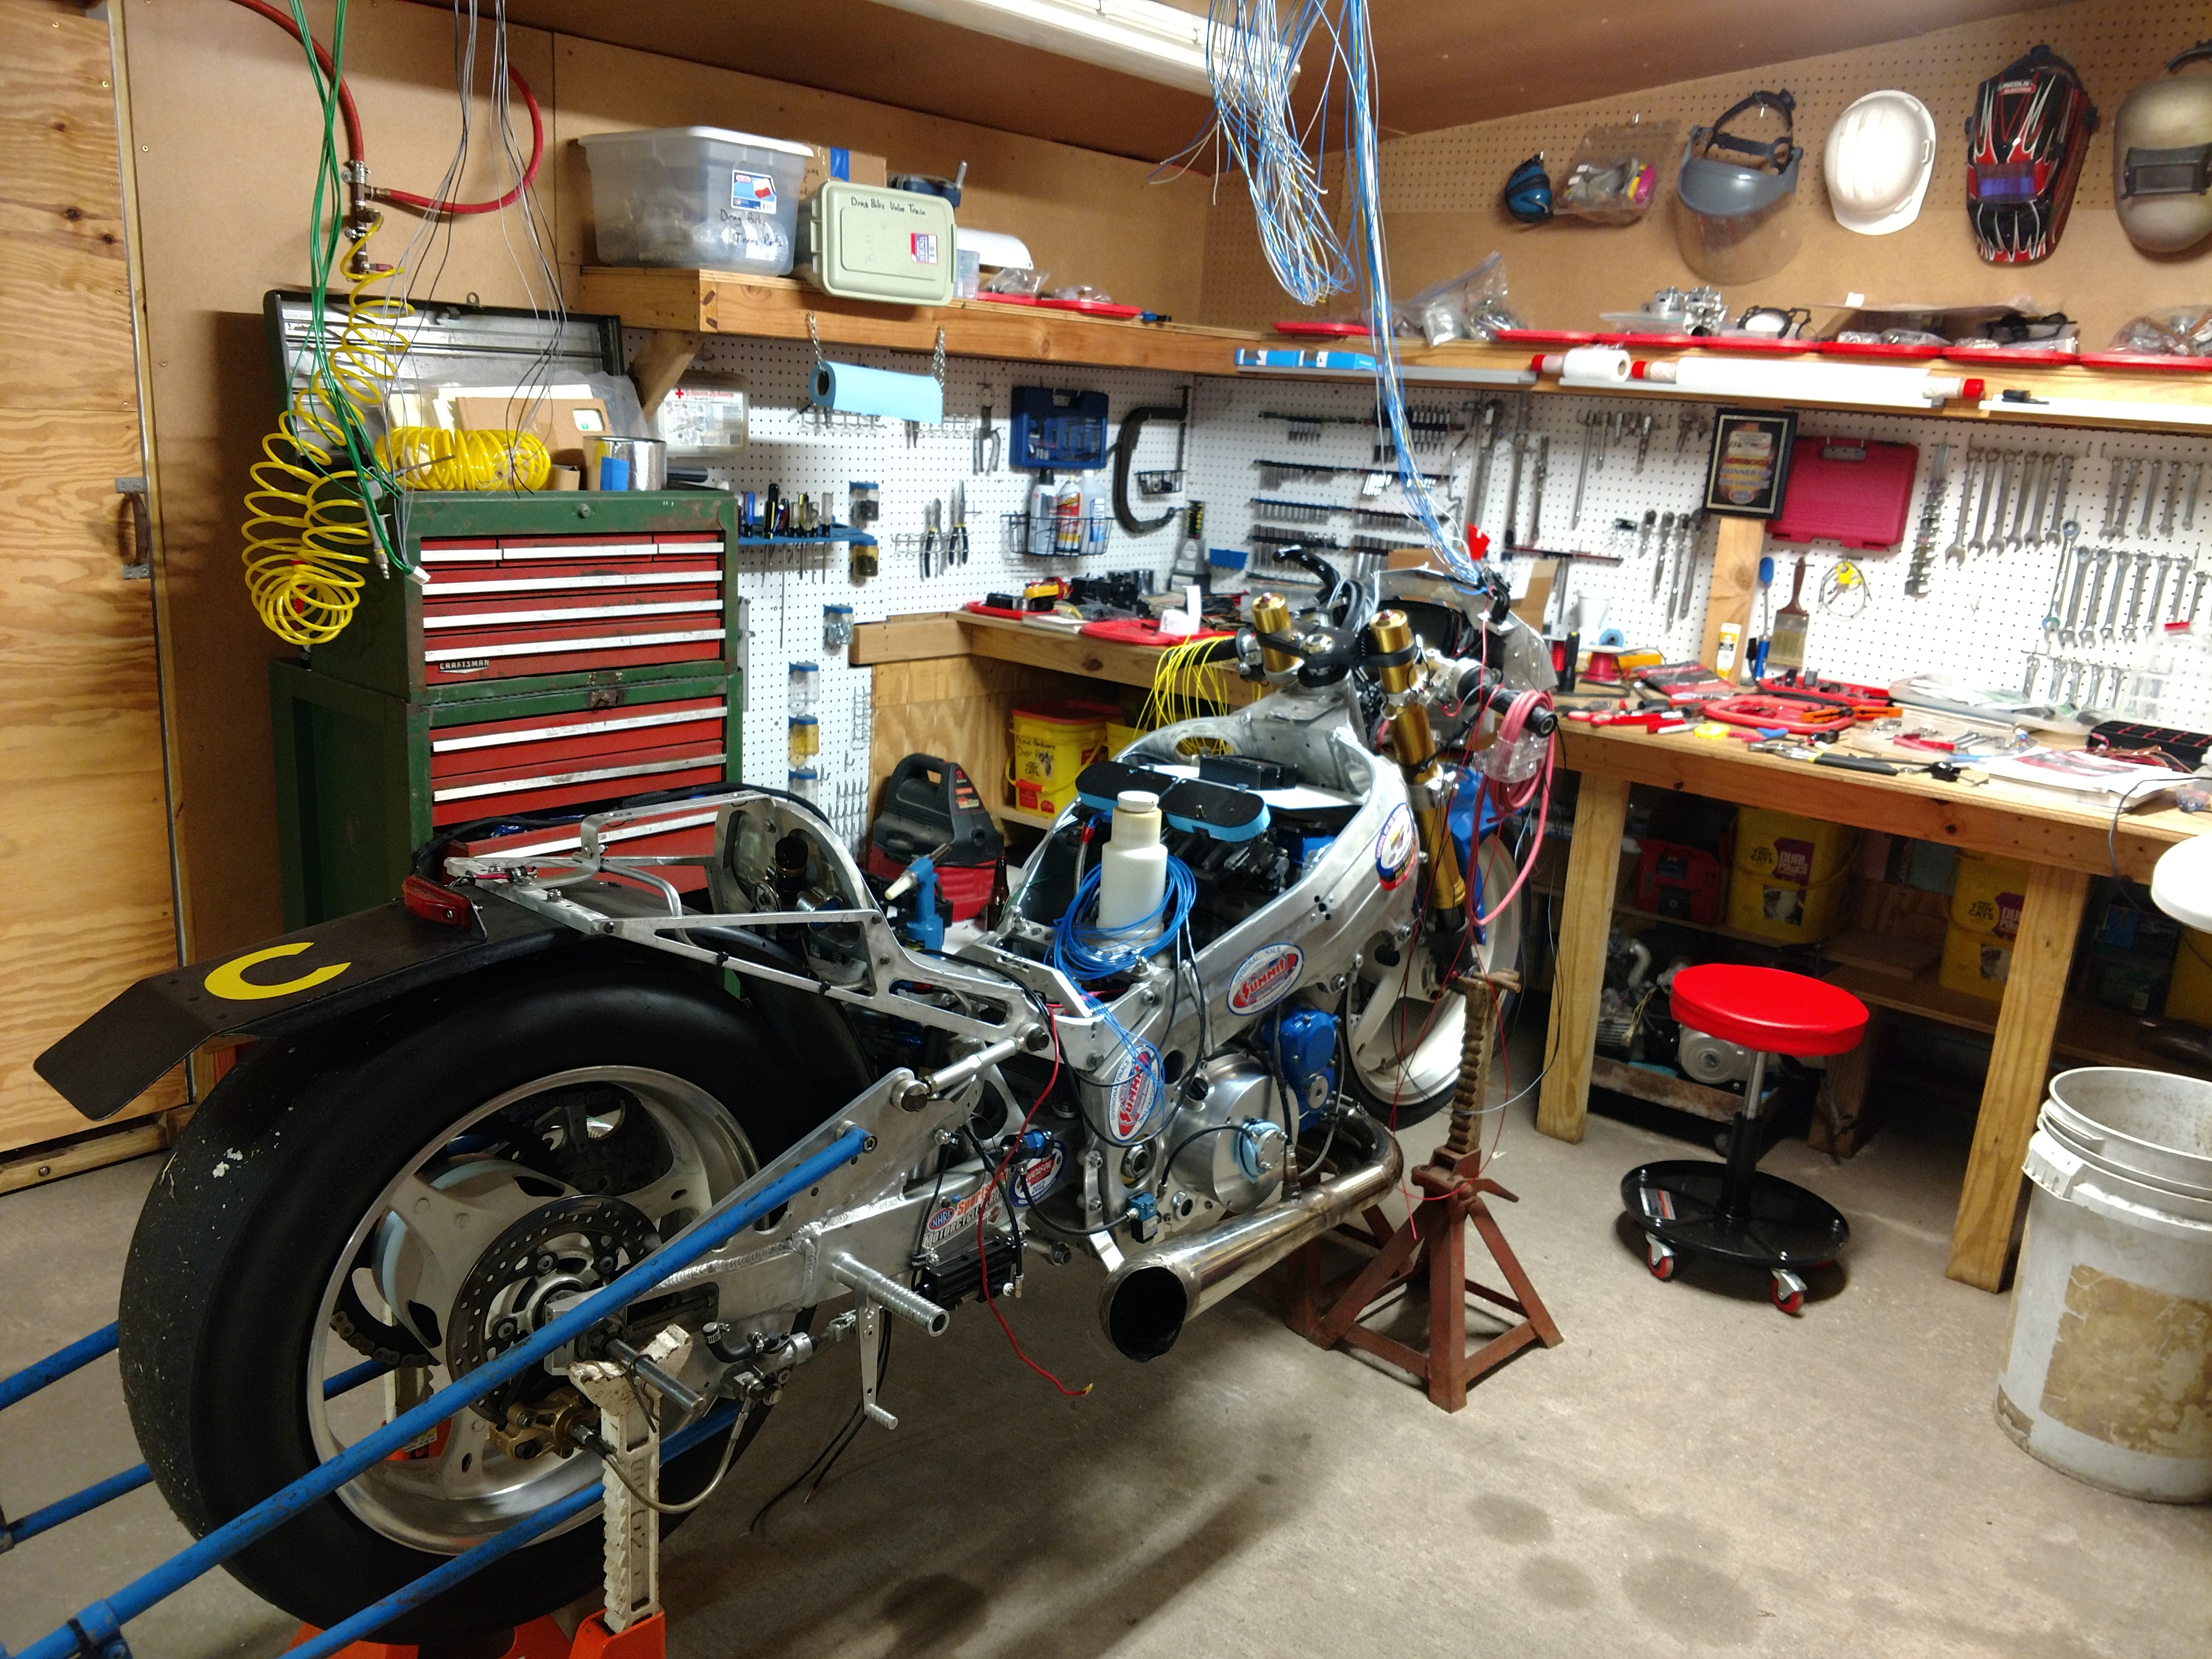
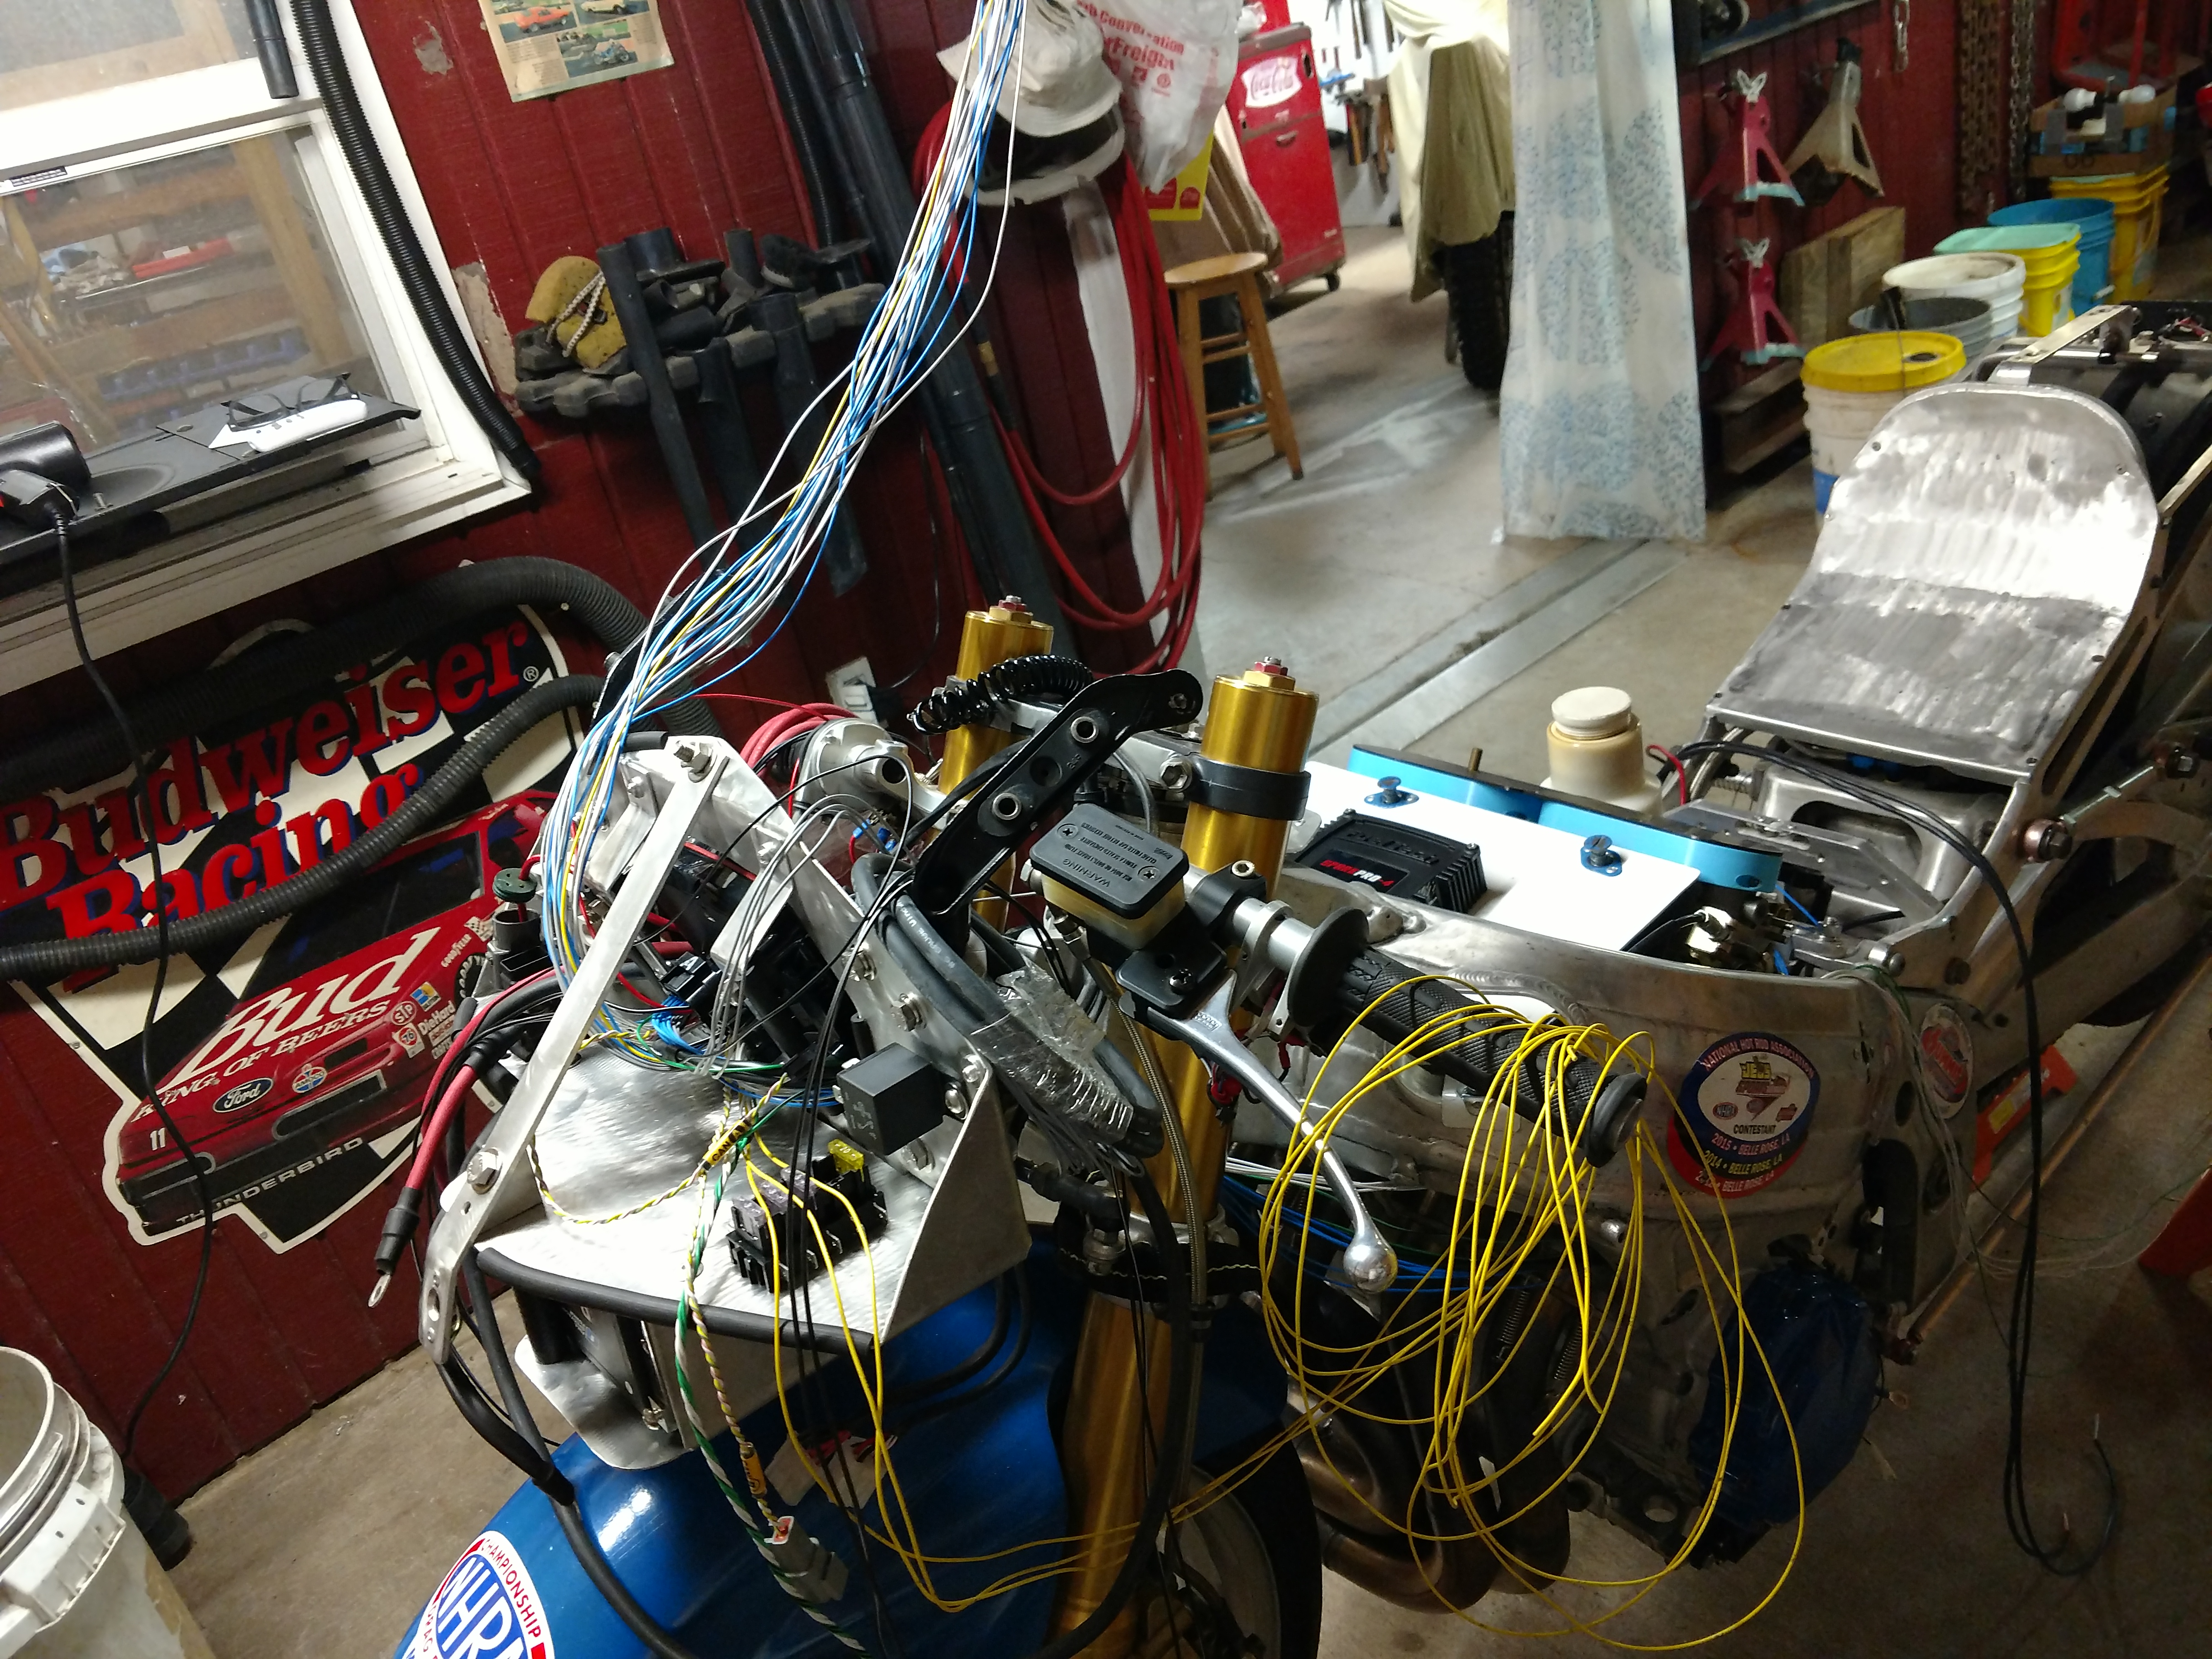
The ECU was mounted in the new bracket
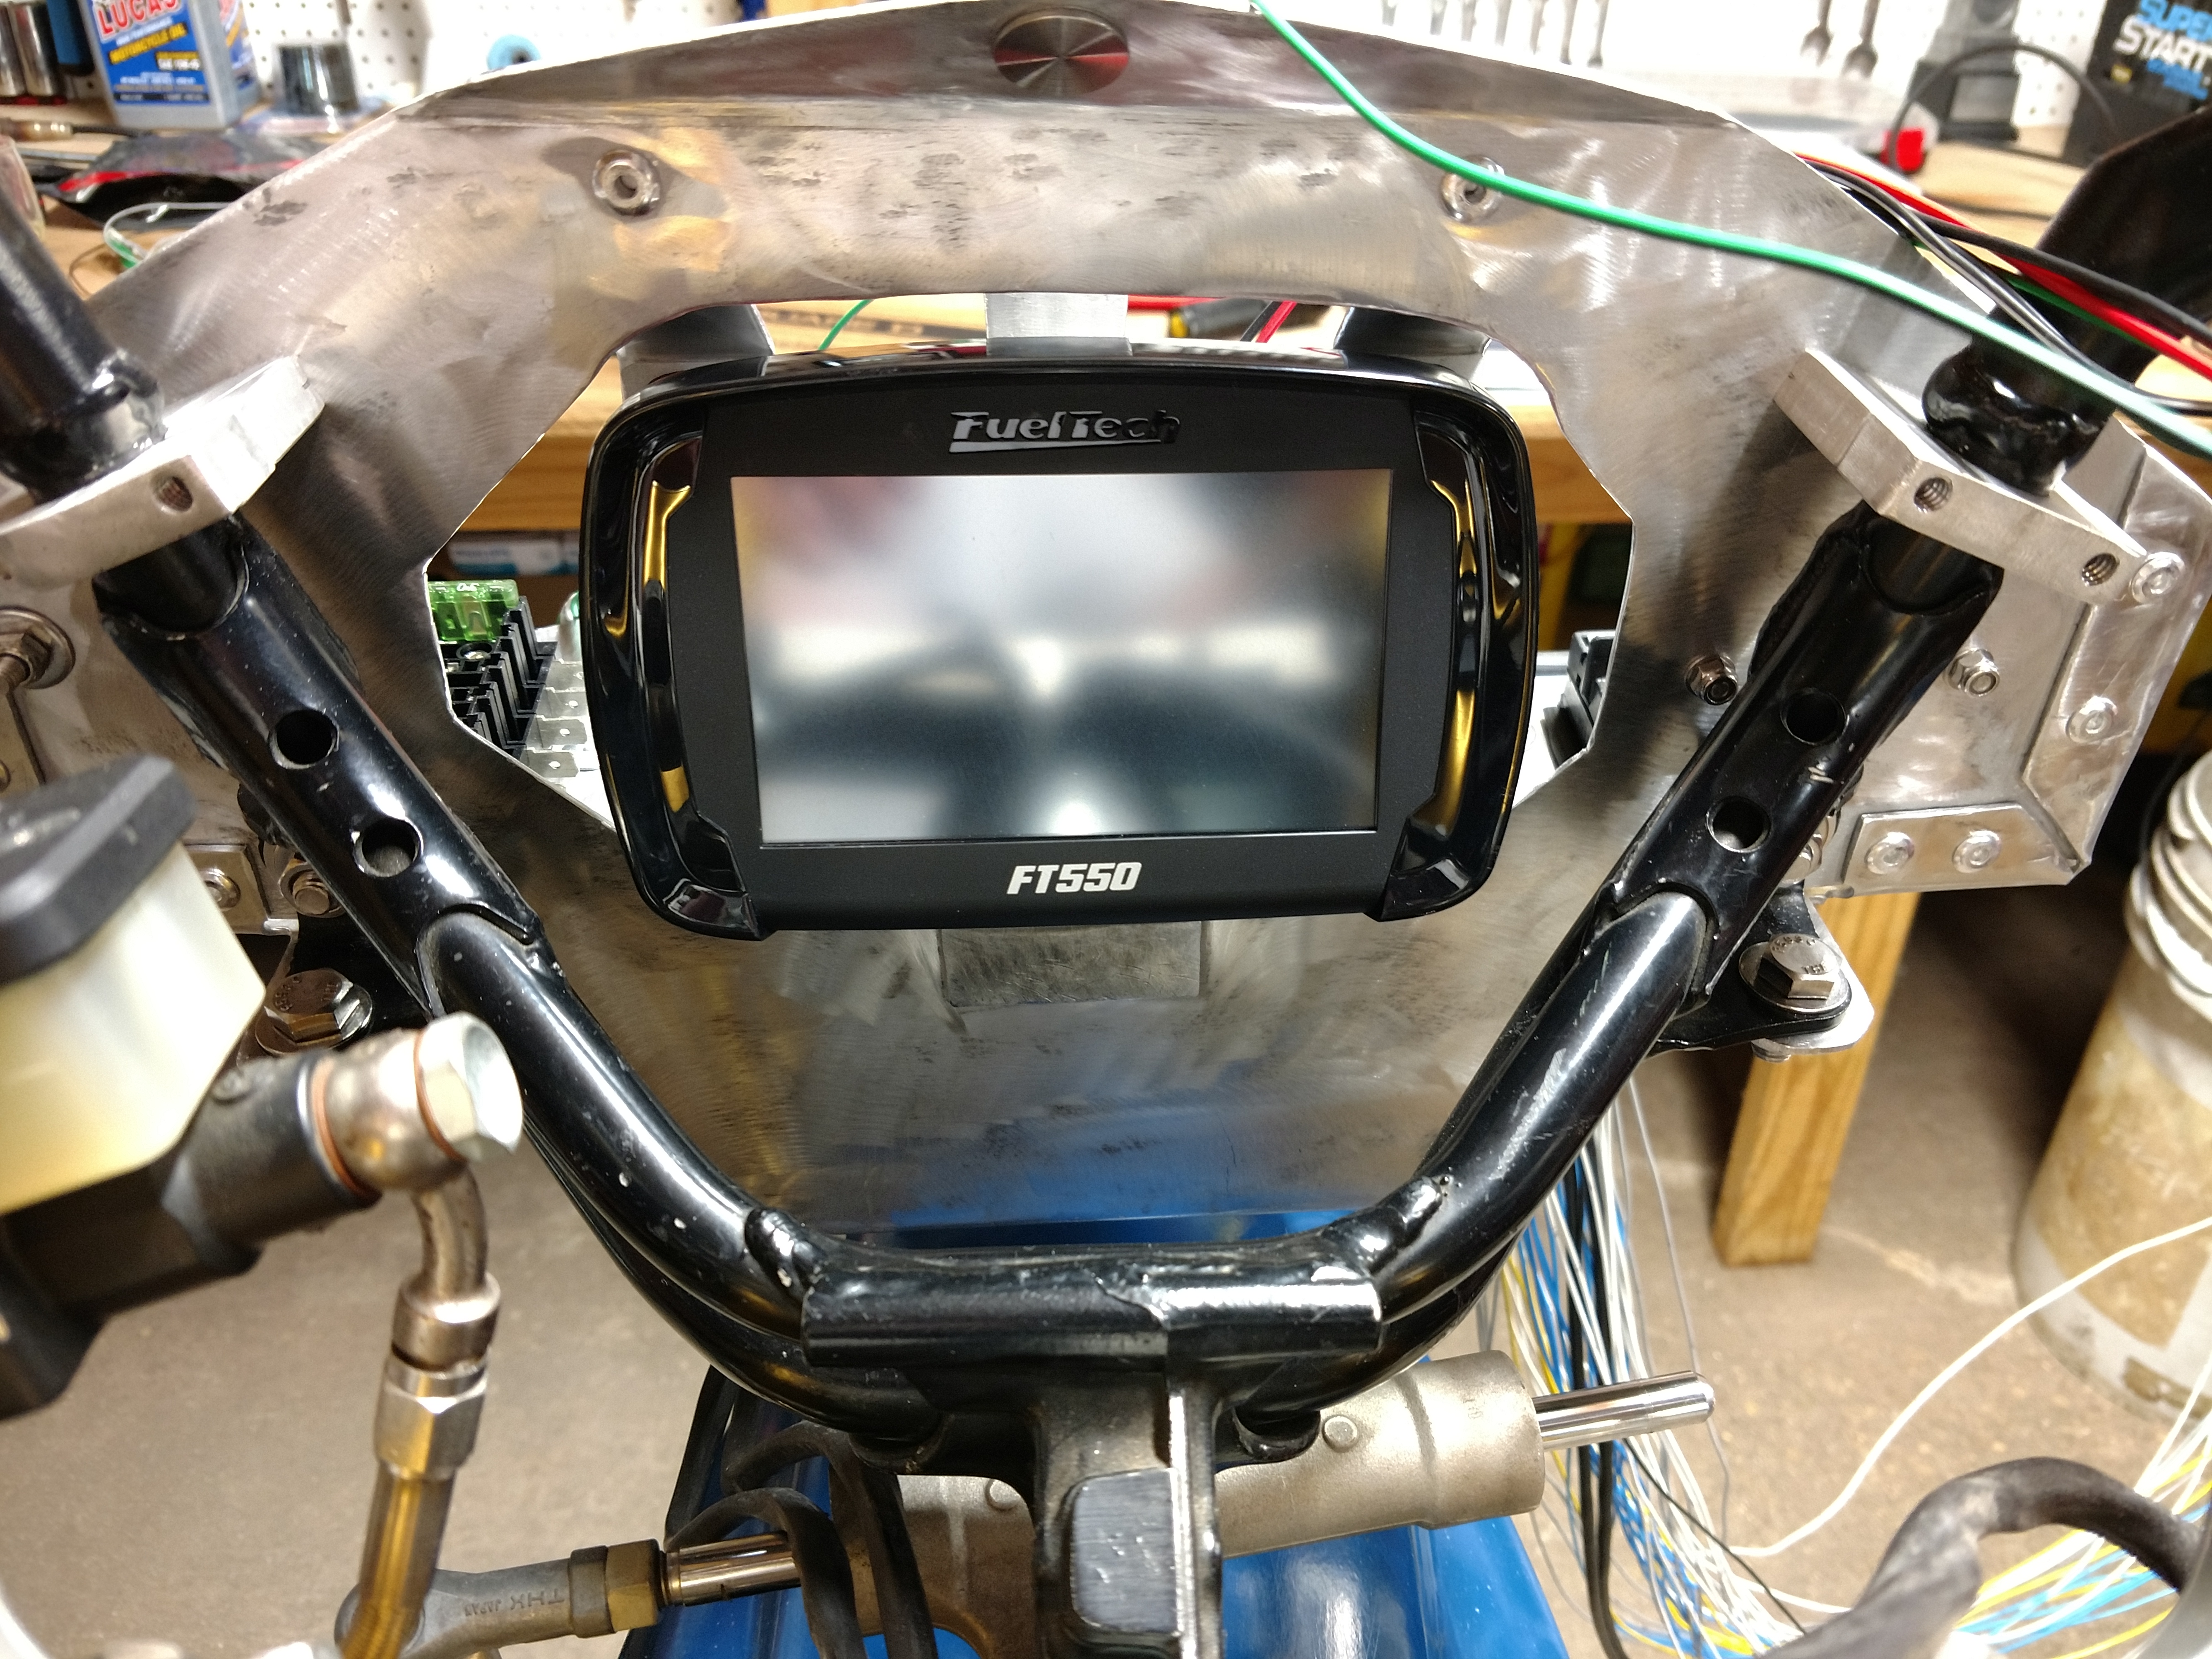
Before anything could be run, the ECU wires had to be sorted
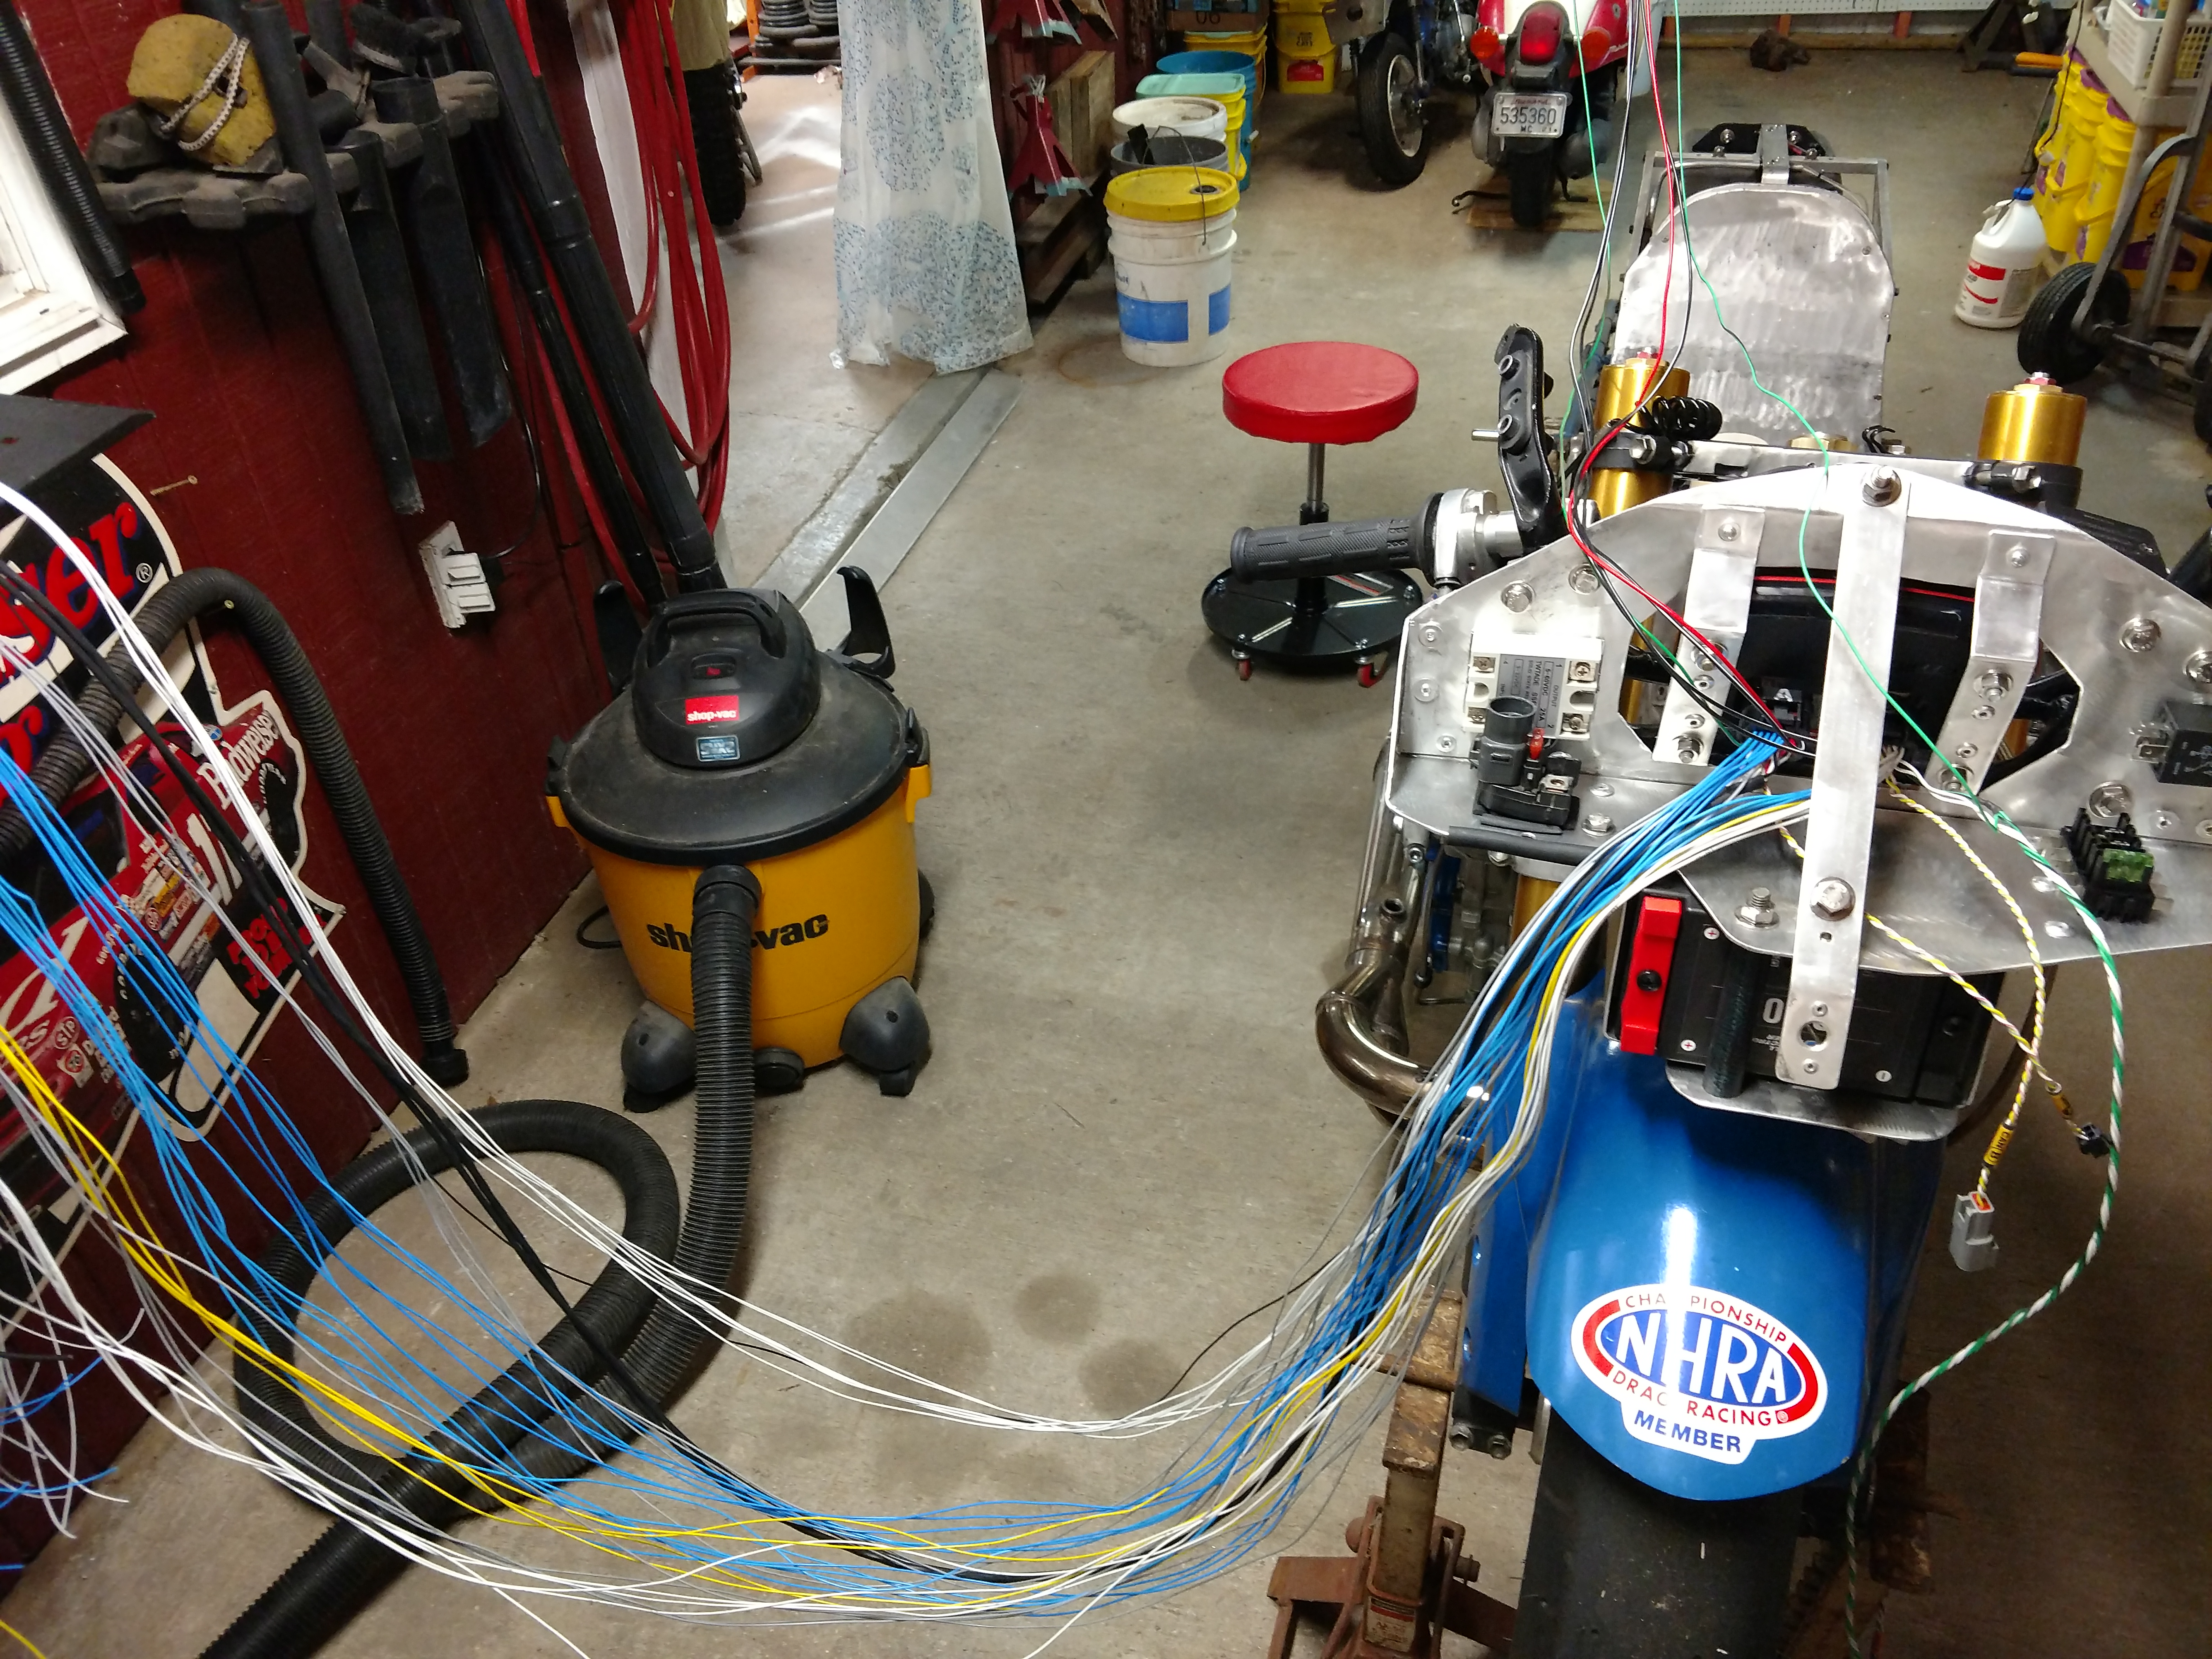
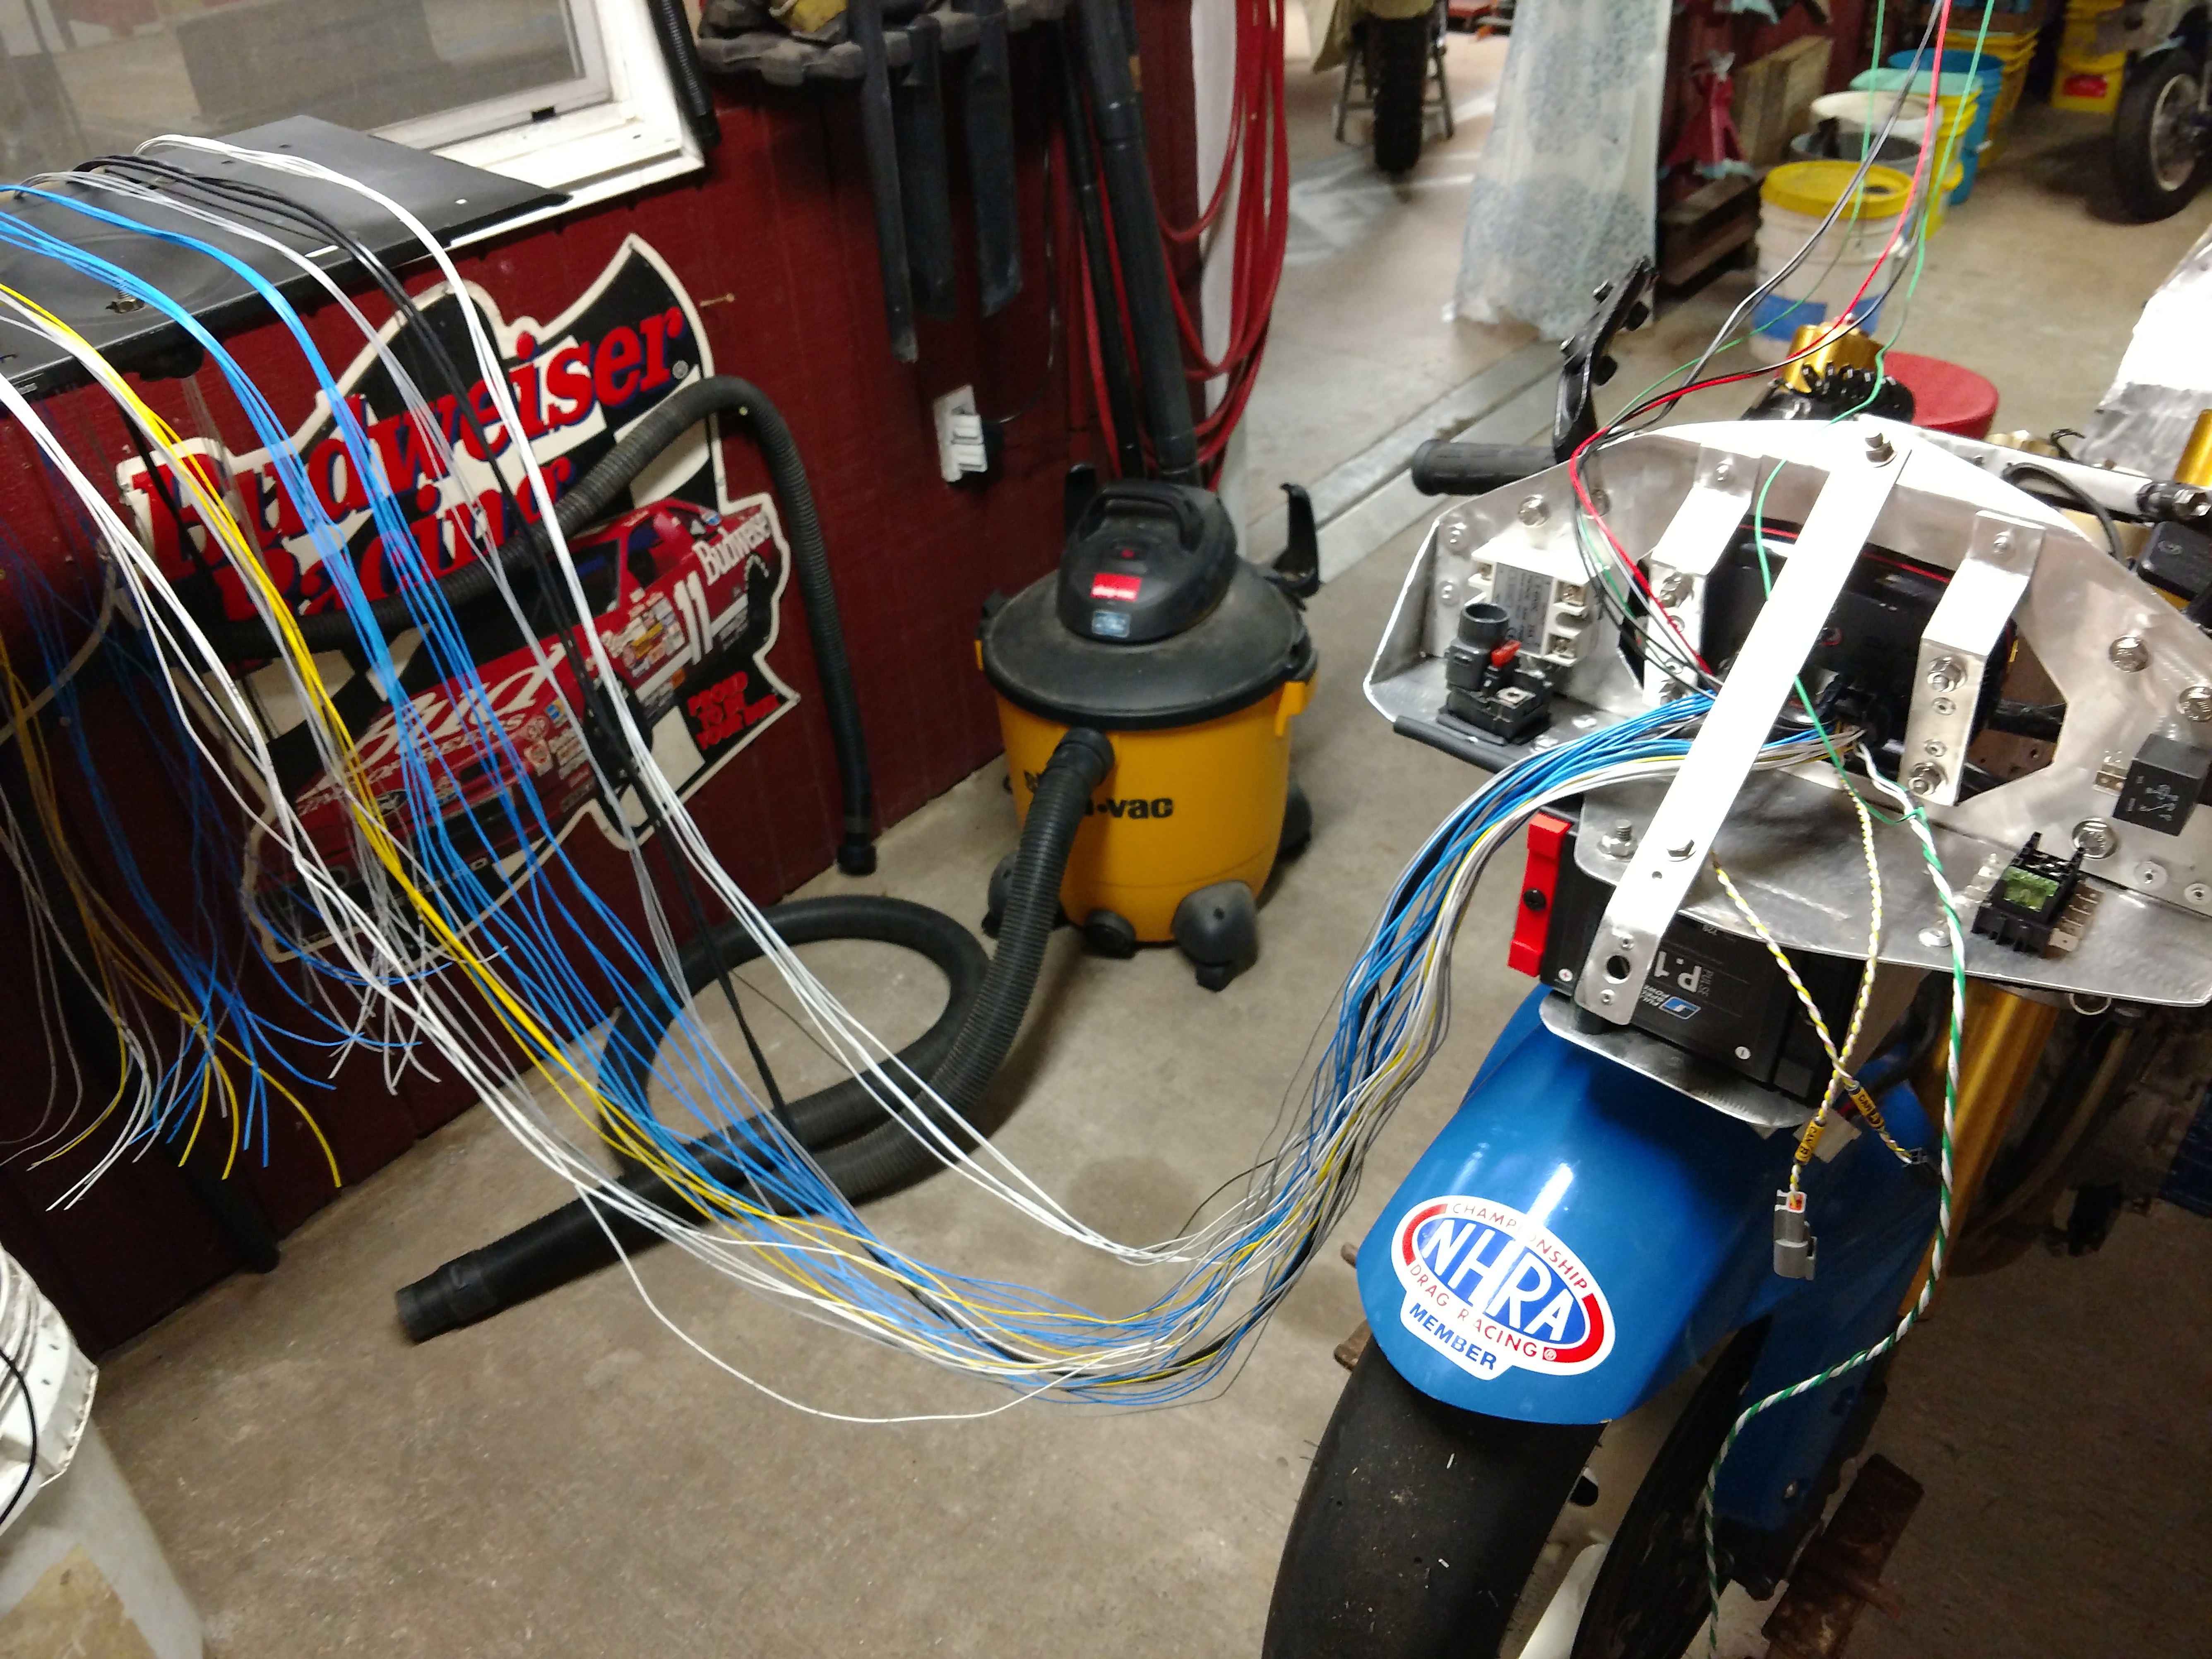
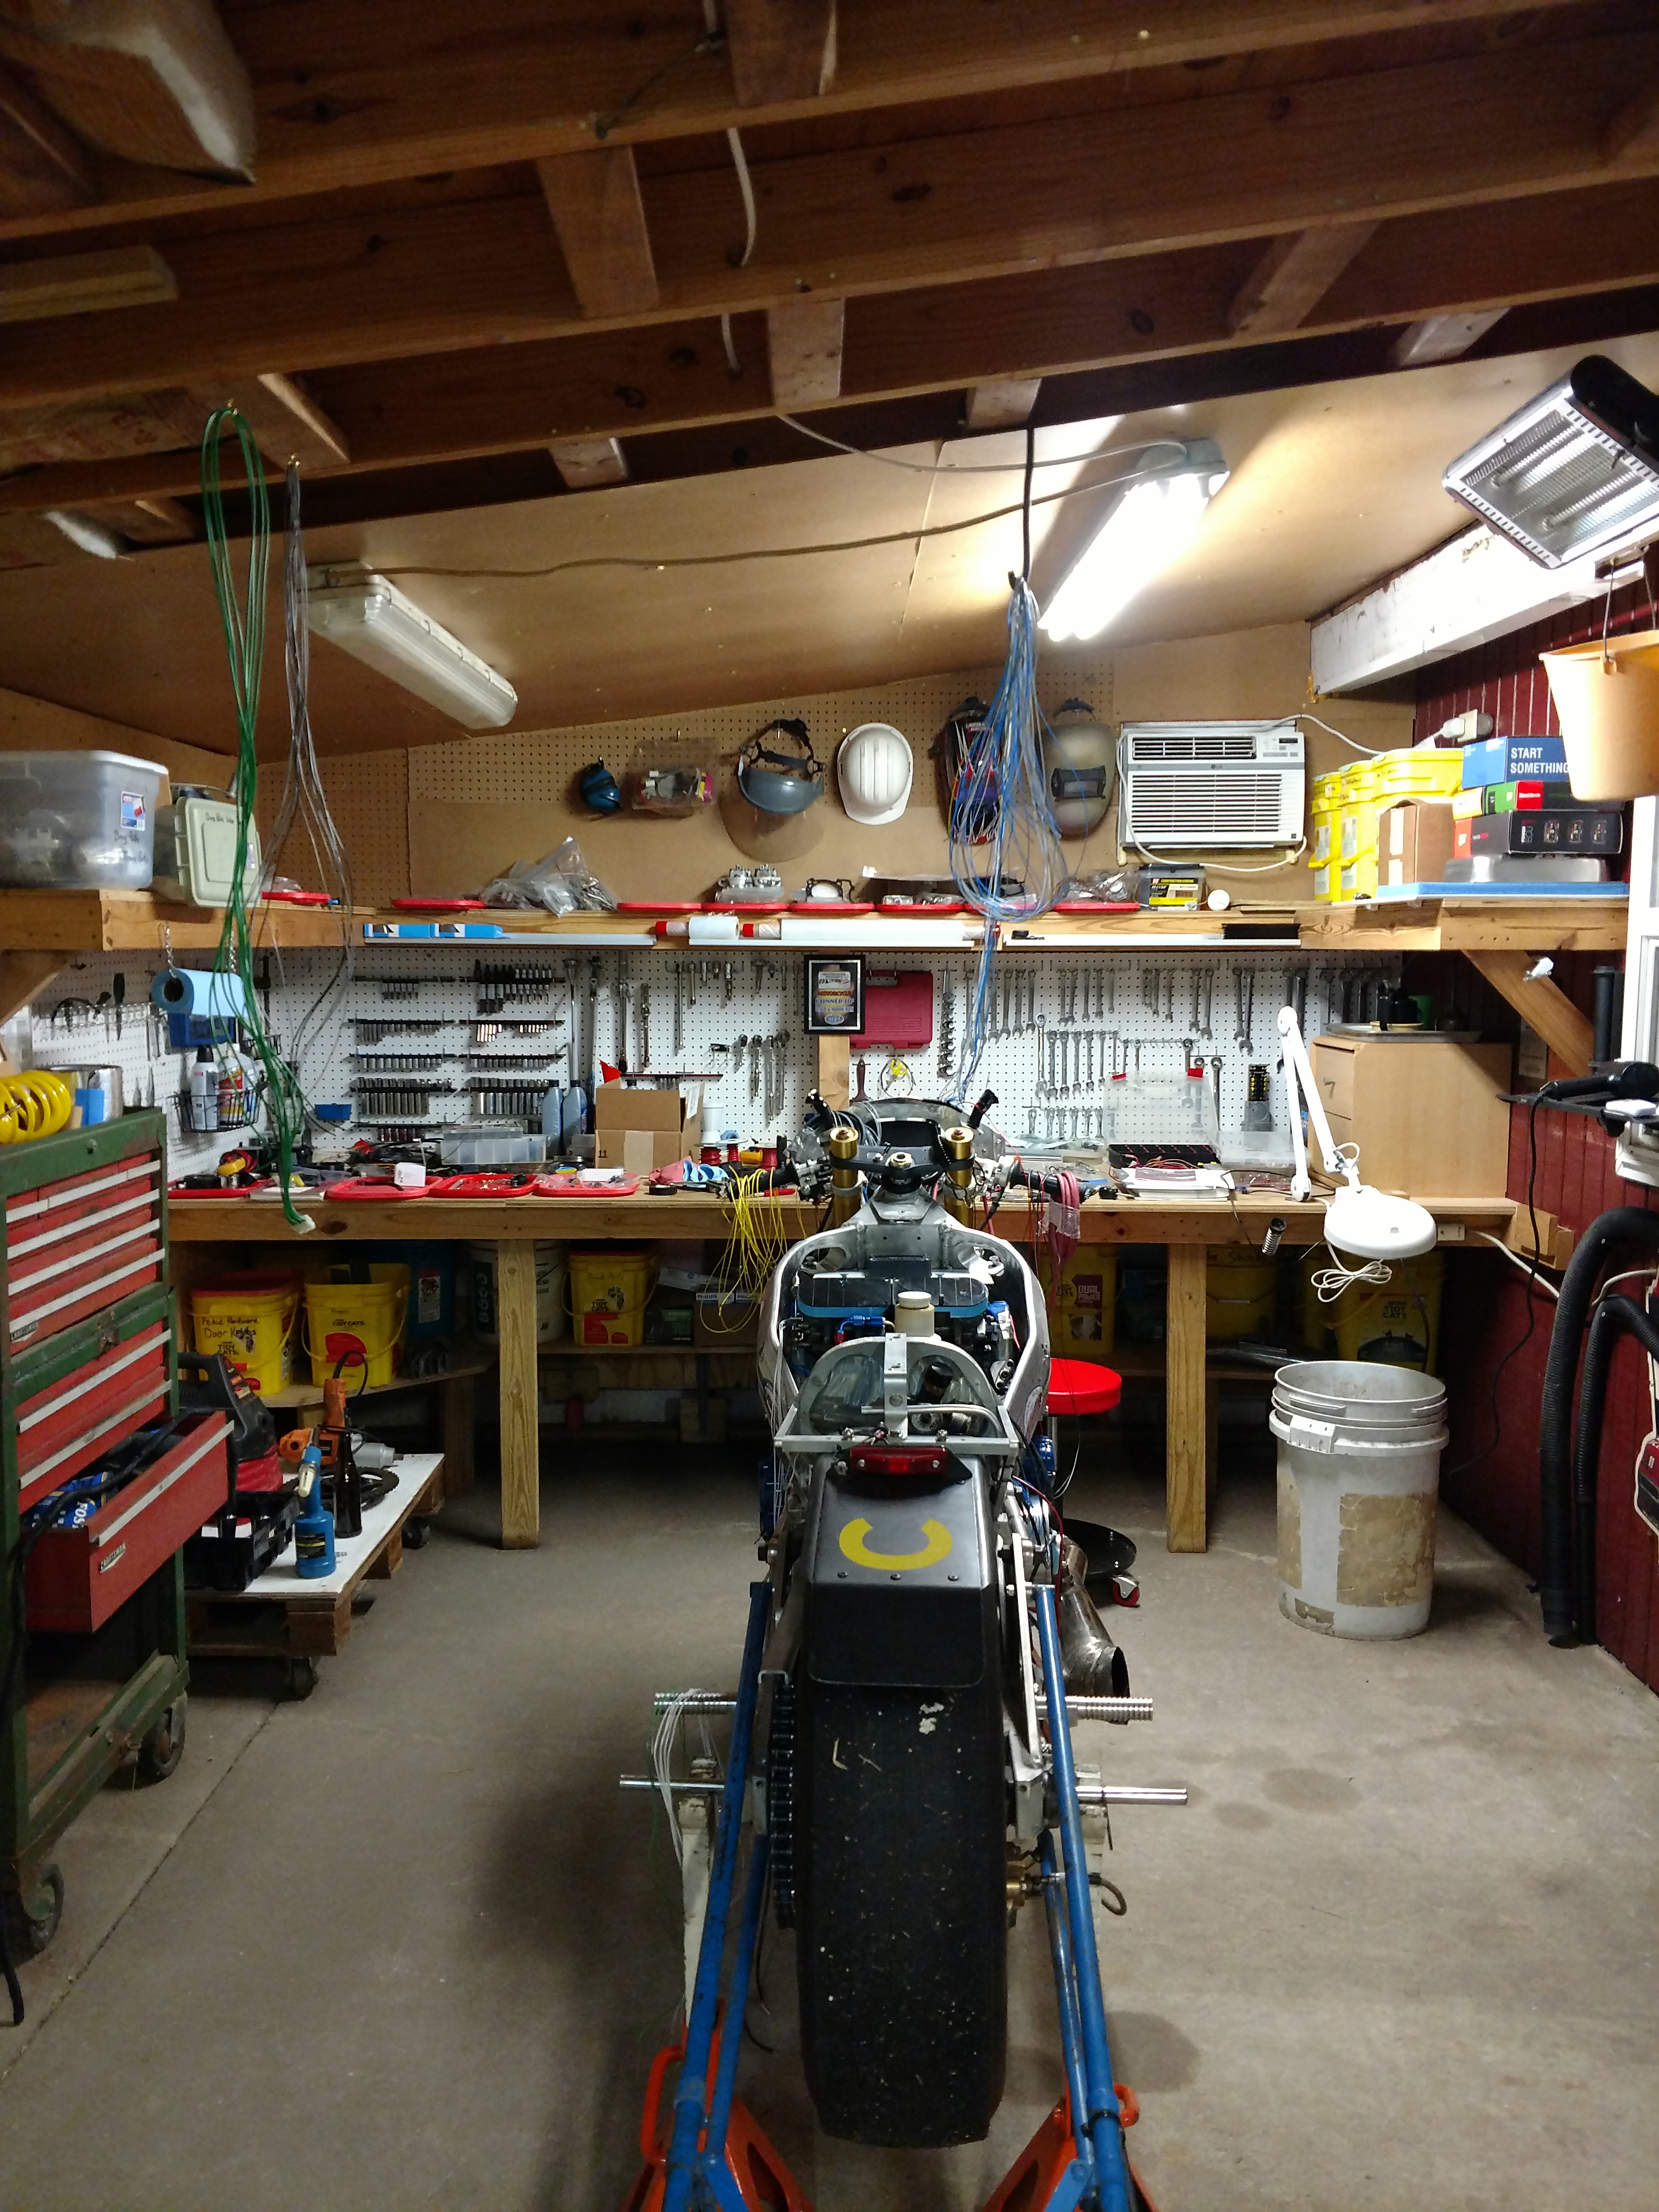
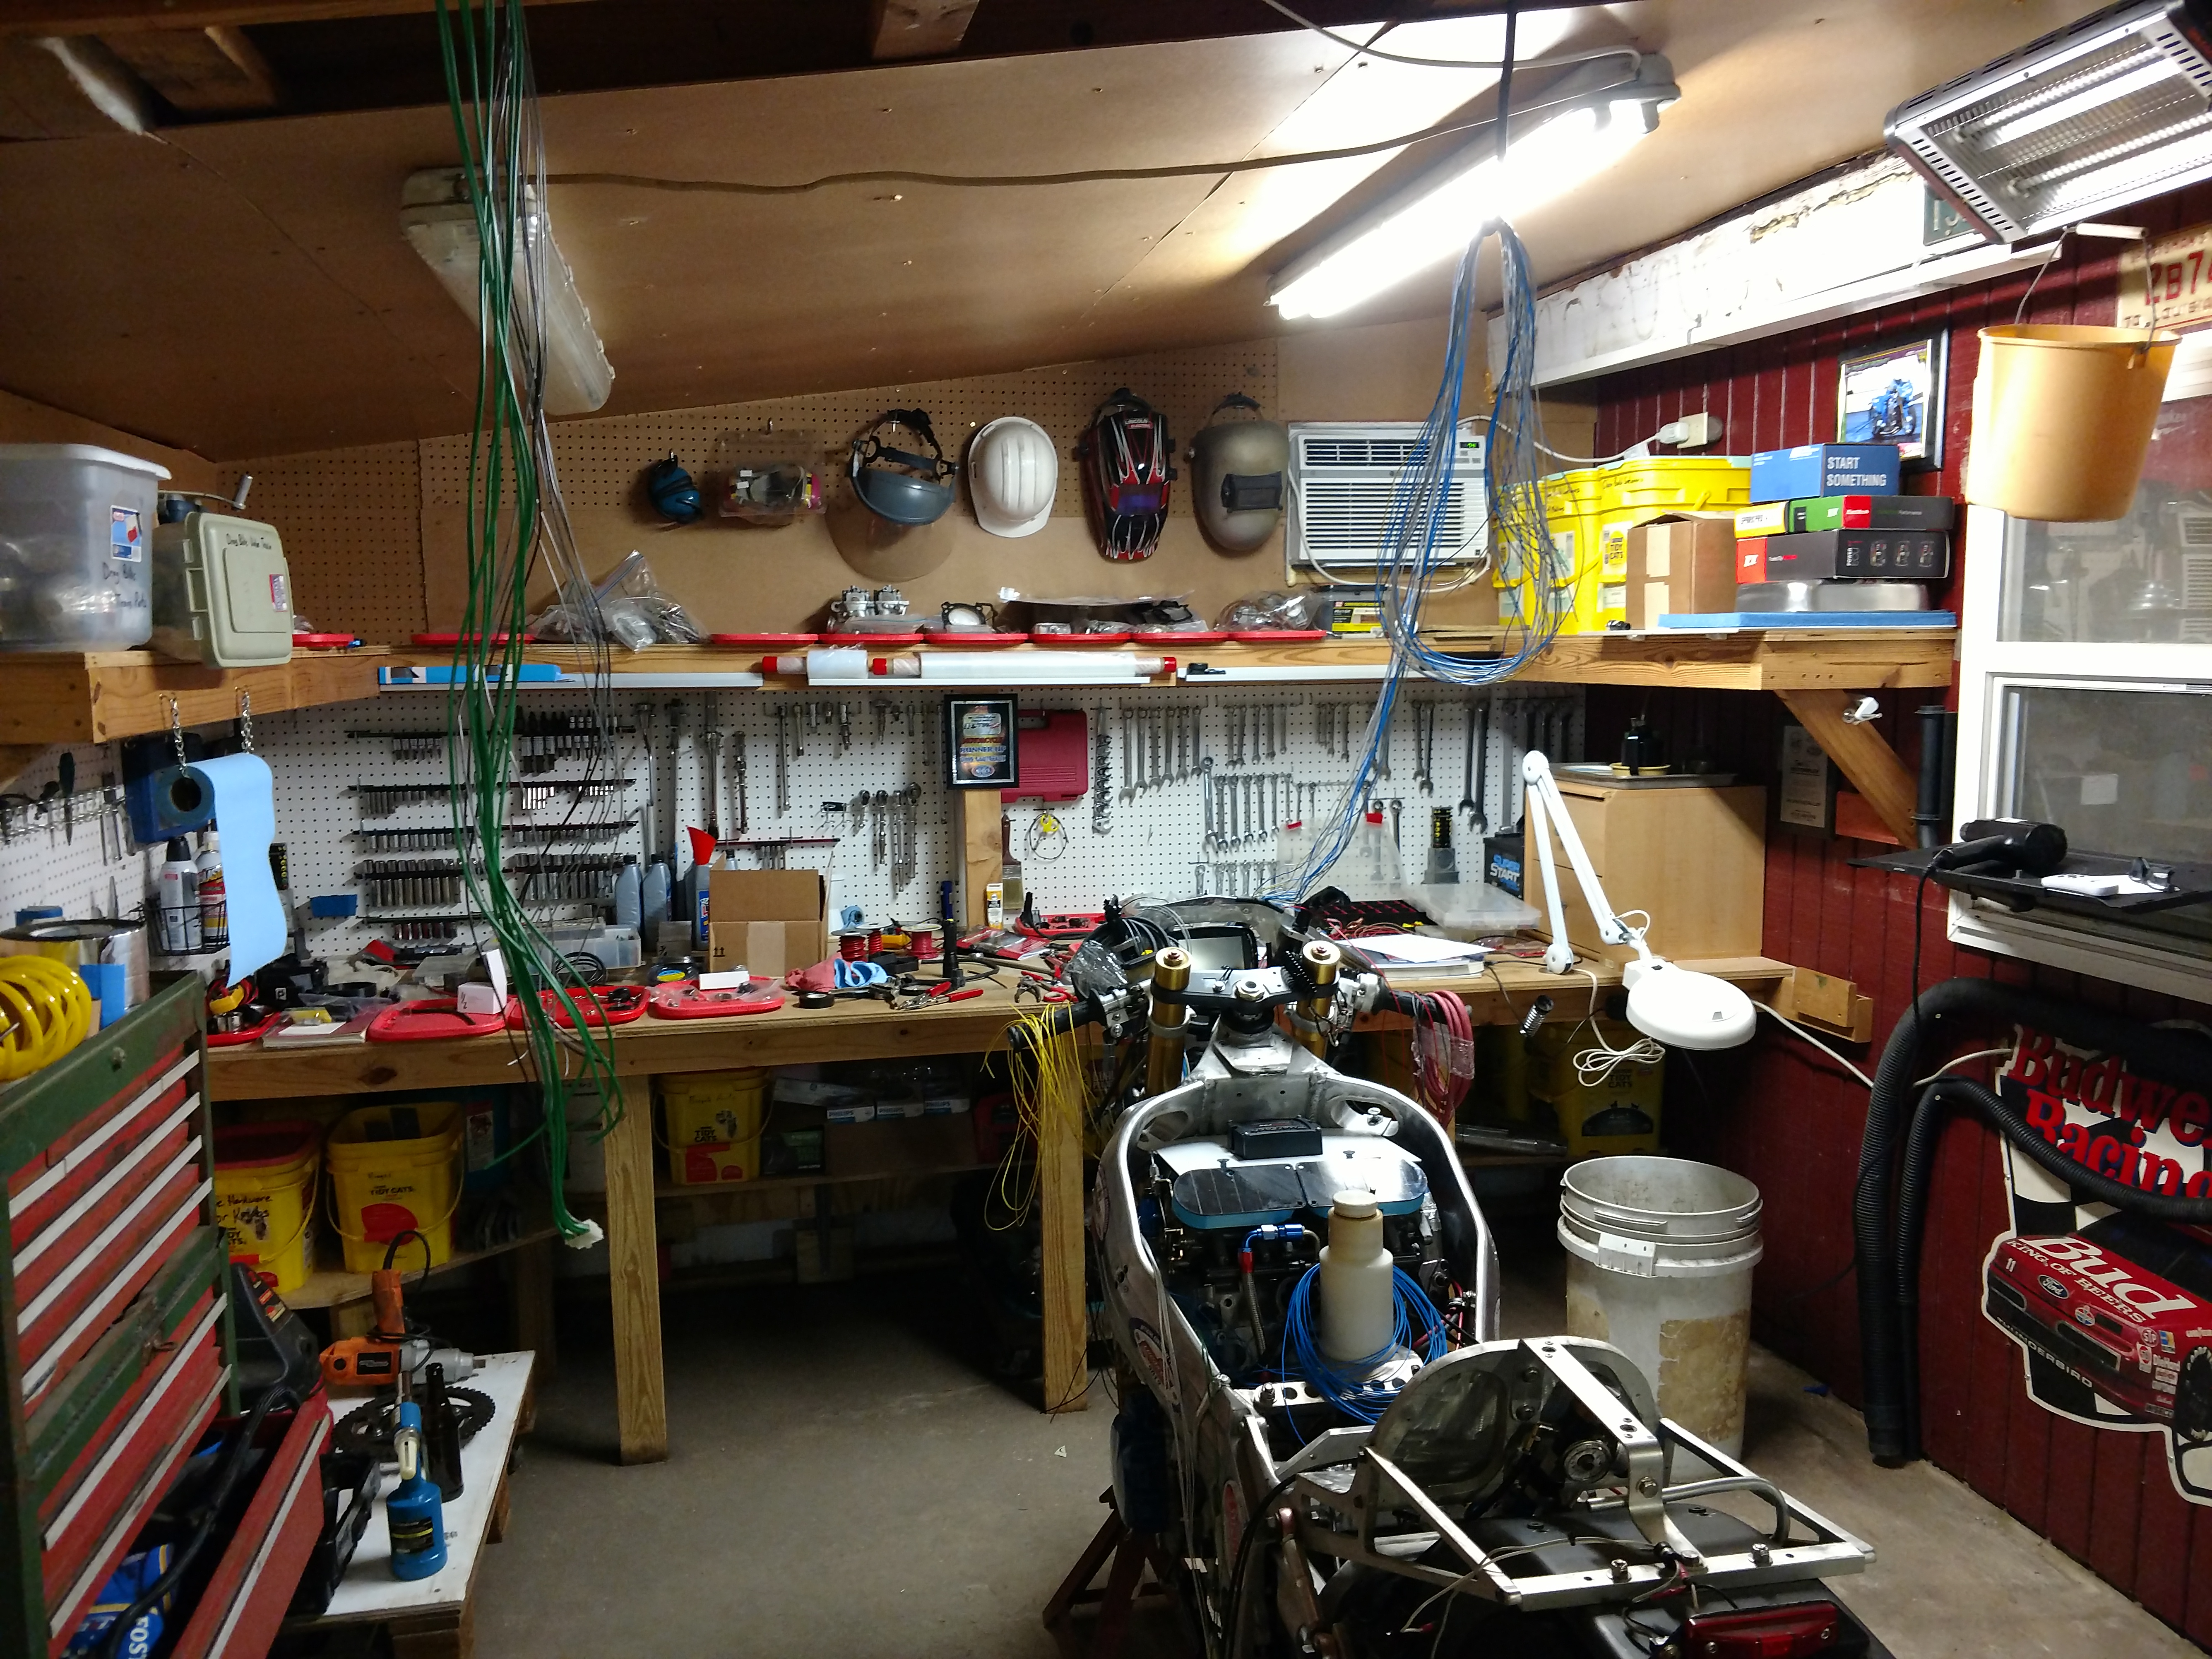
Once the wires were sorted, the unused conductors were removed, and
everything hung up out of the way.
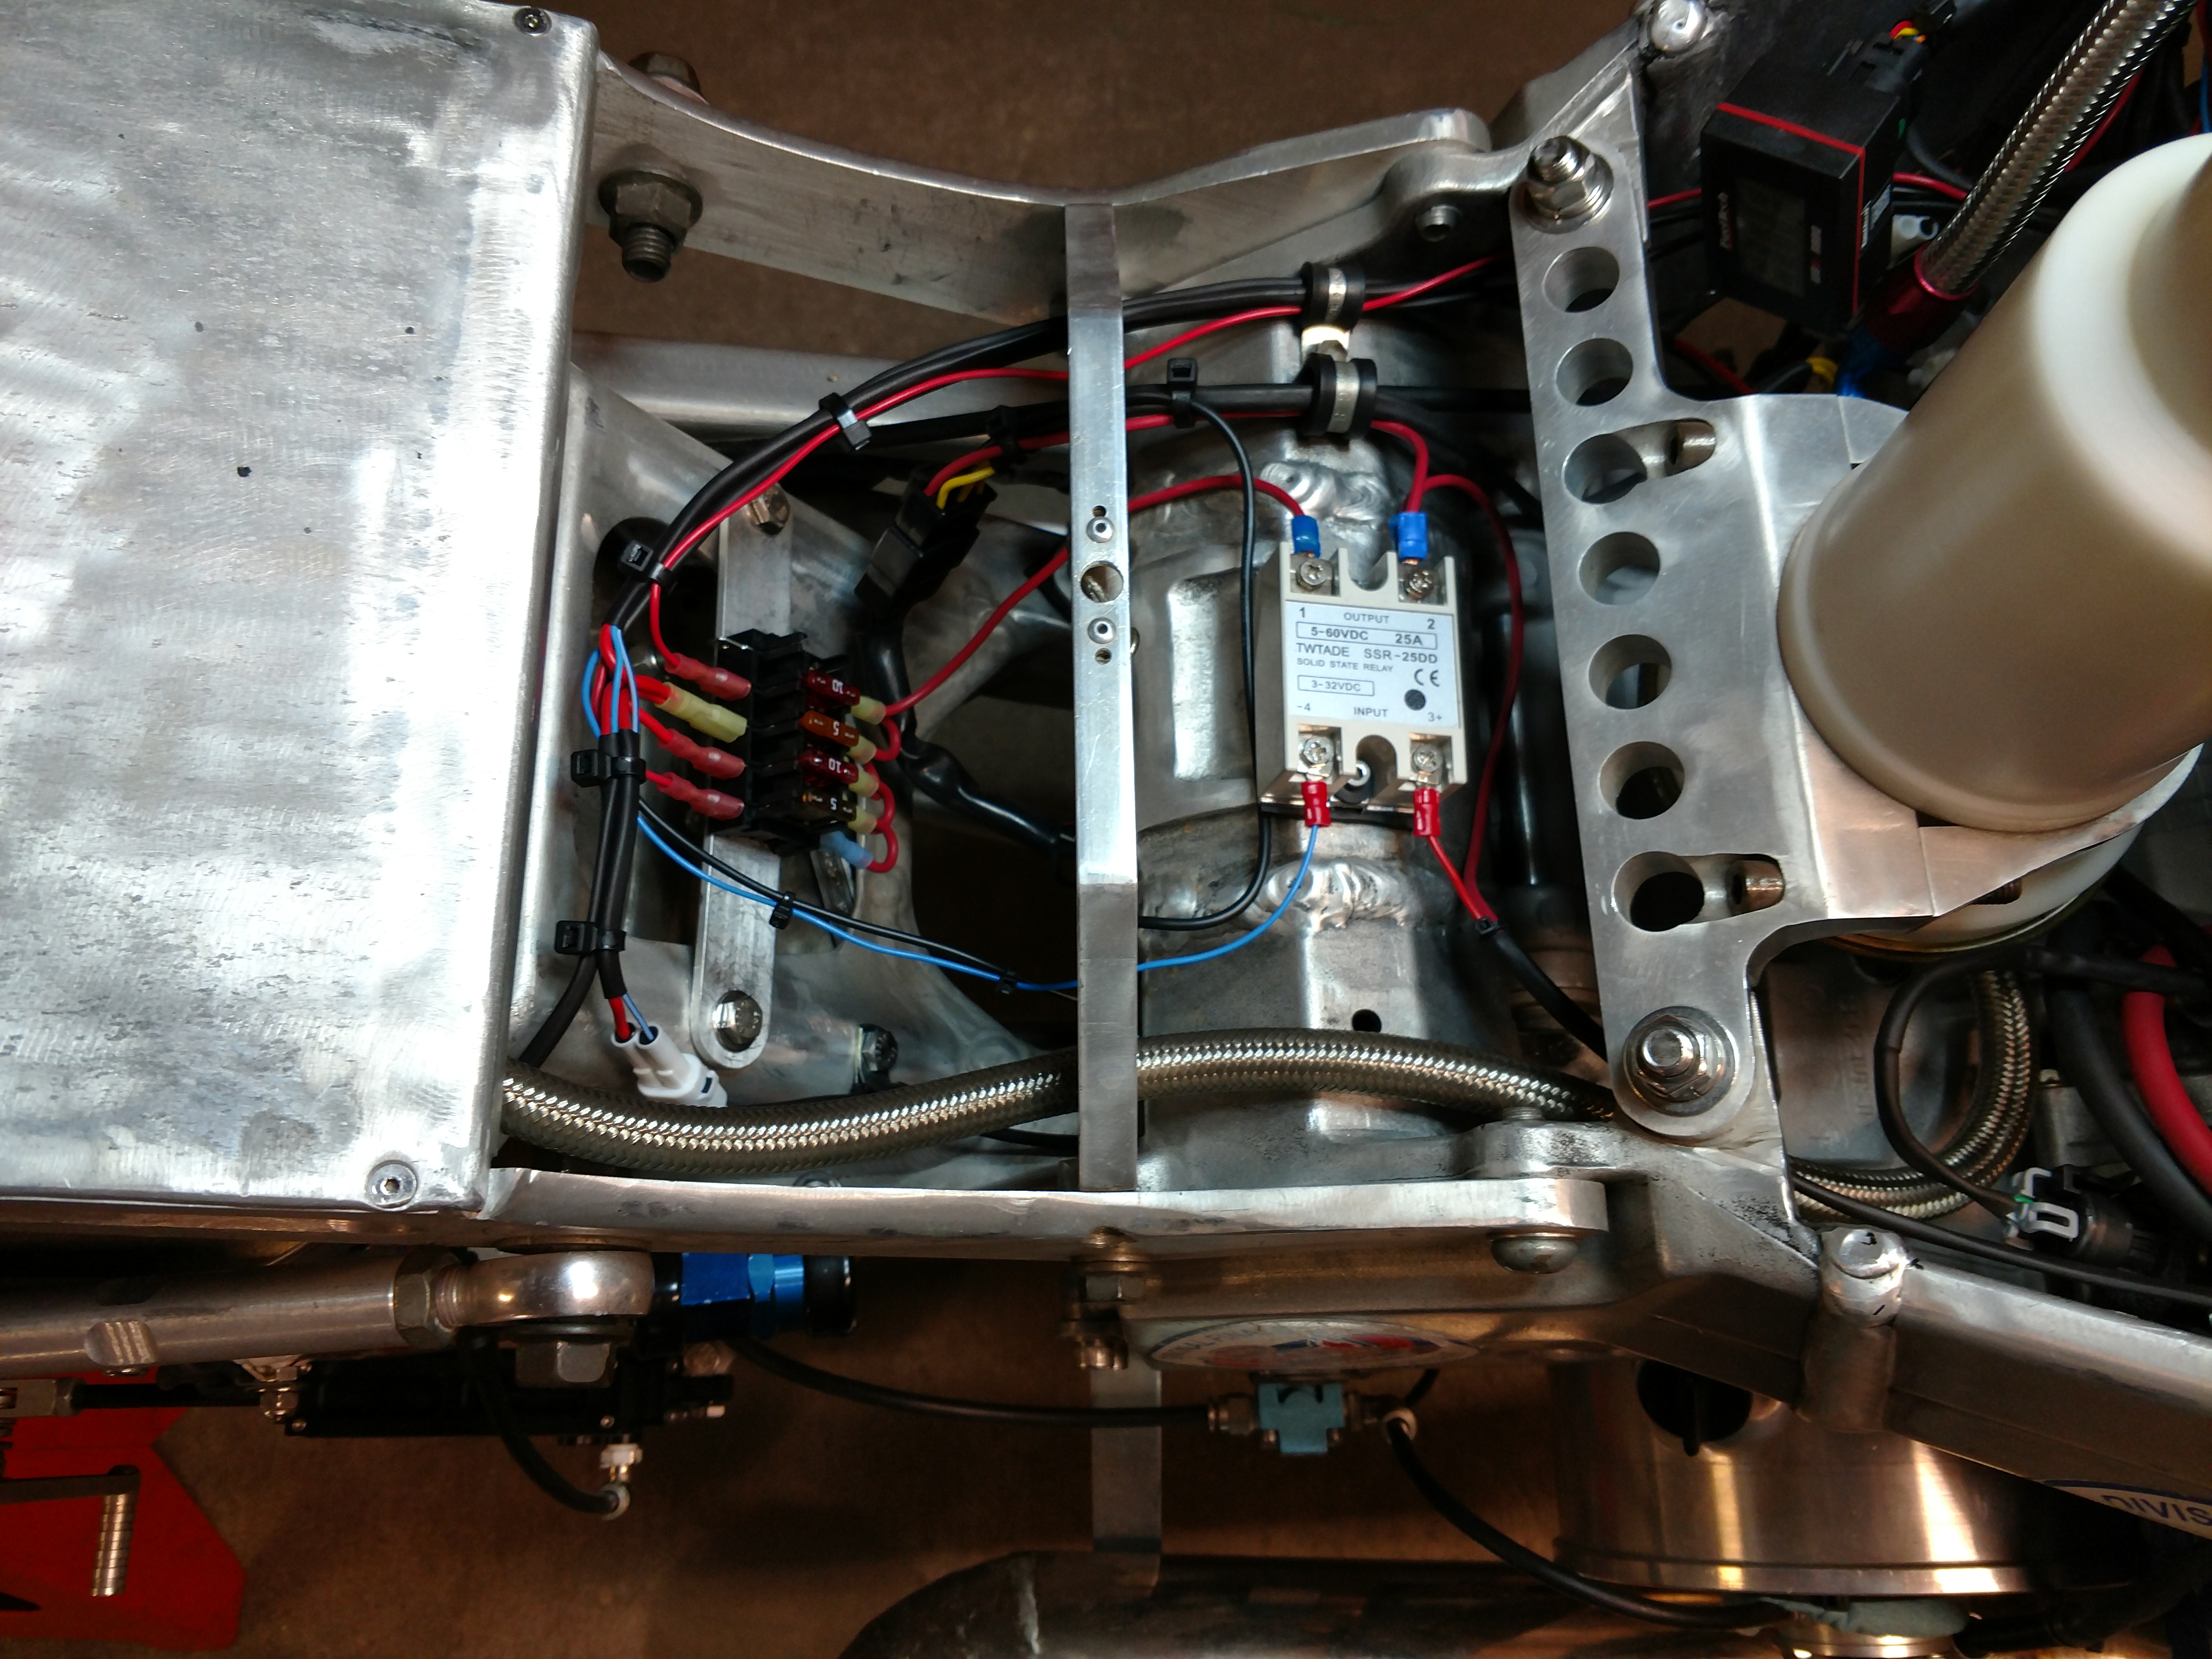
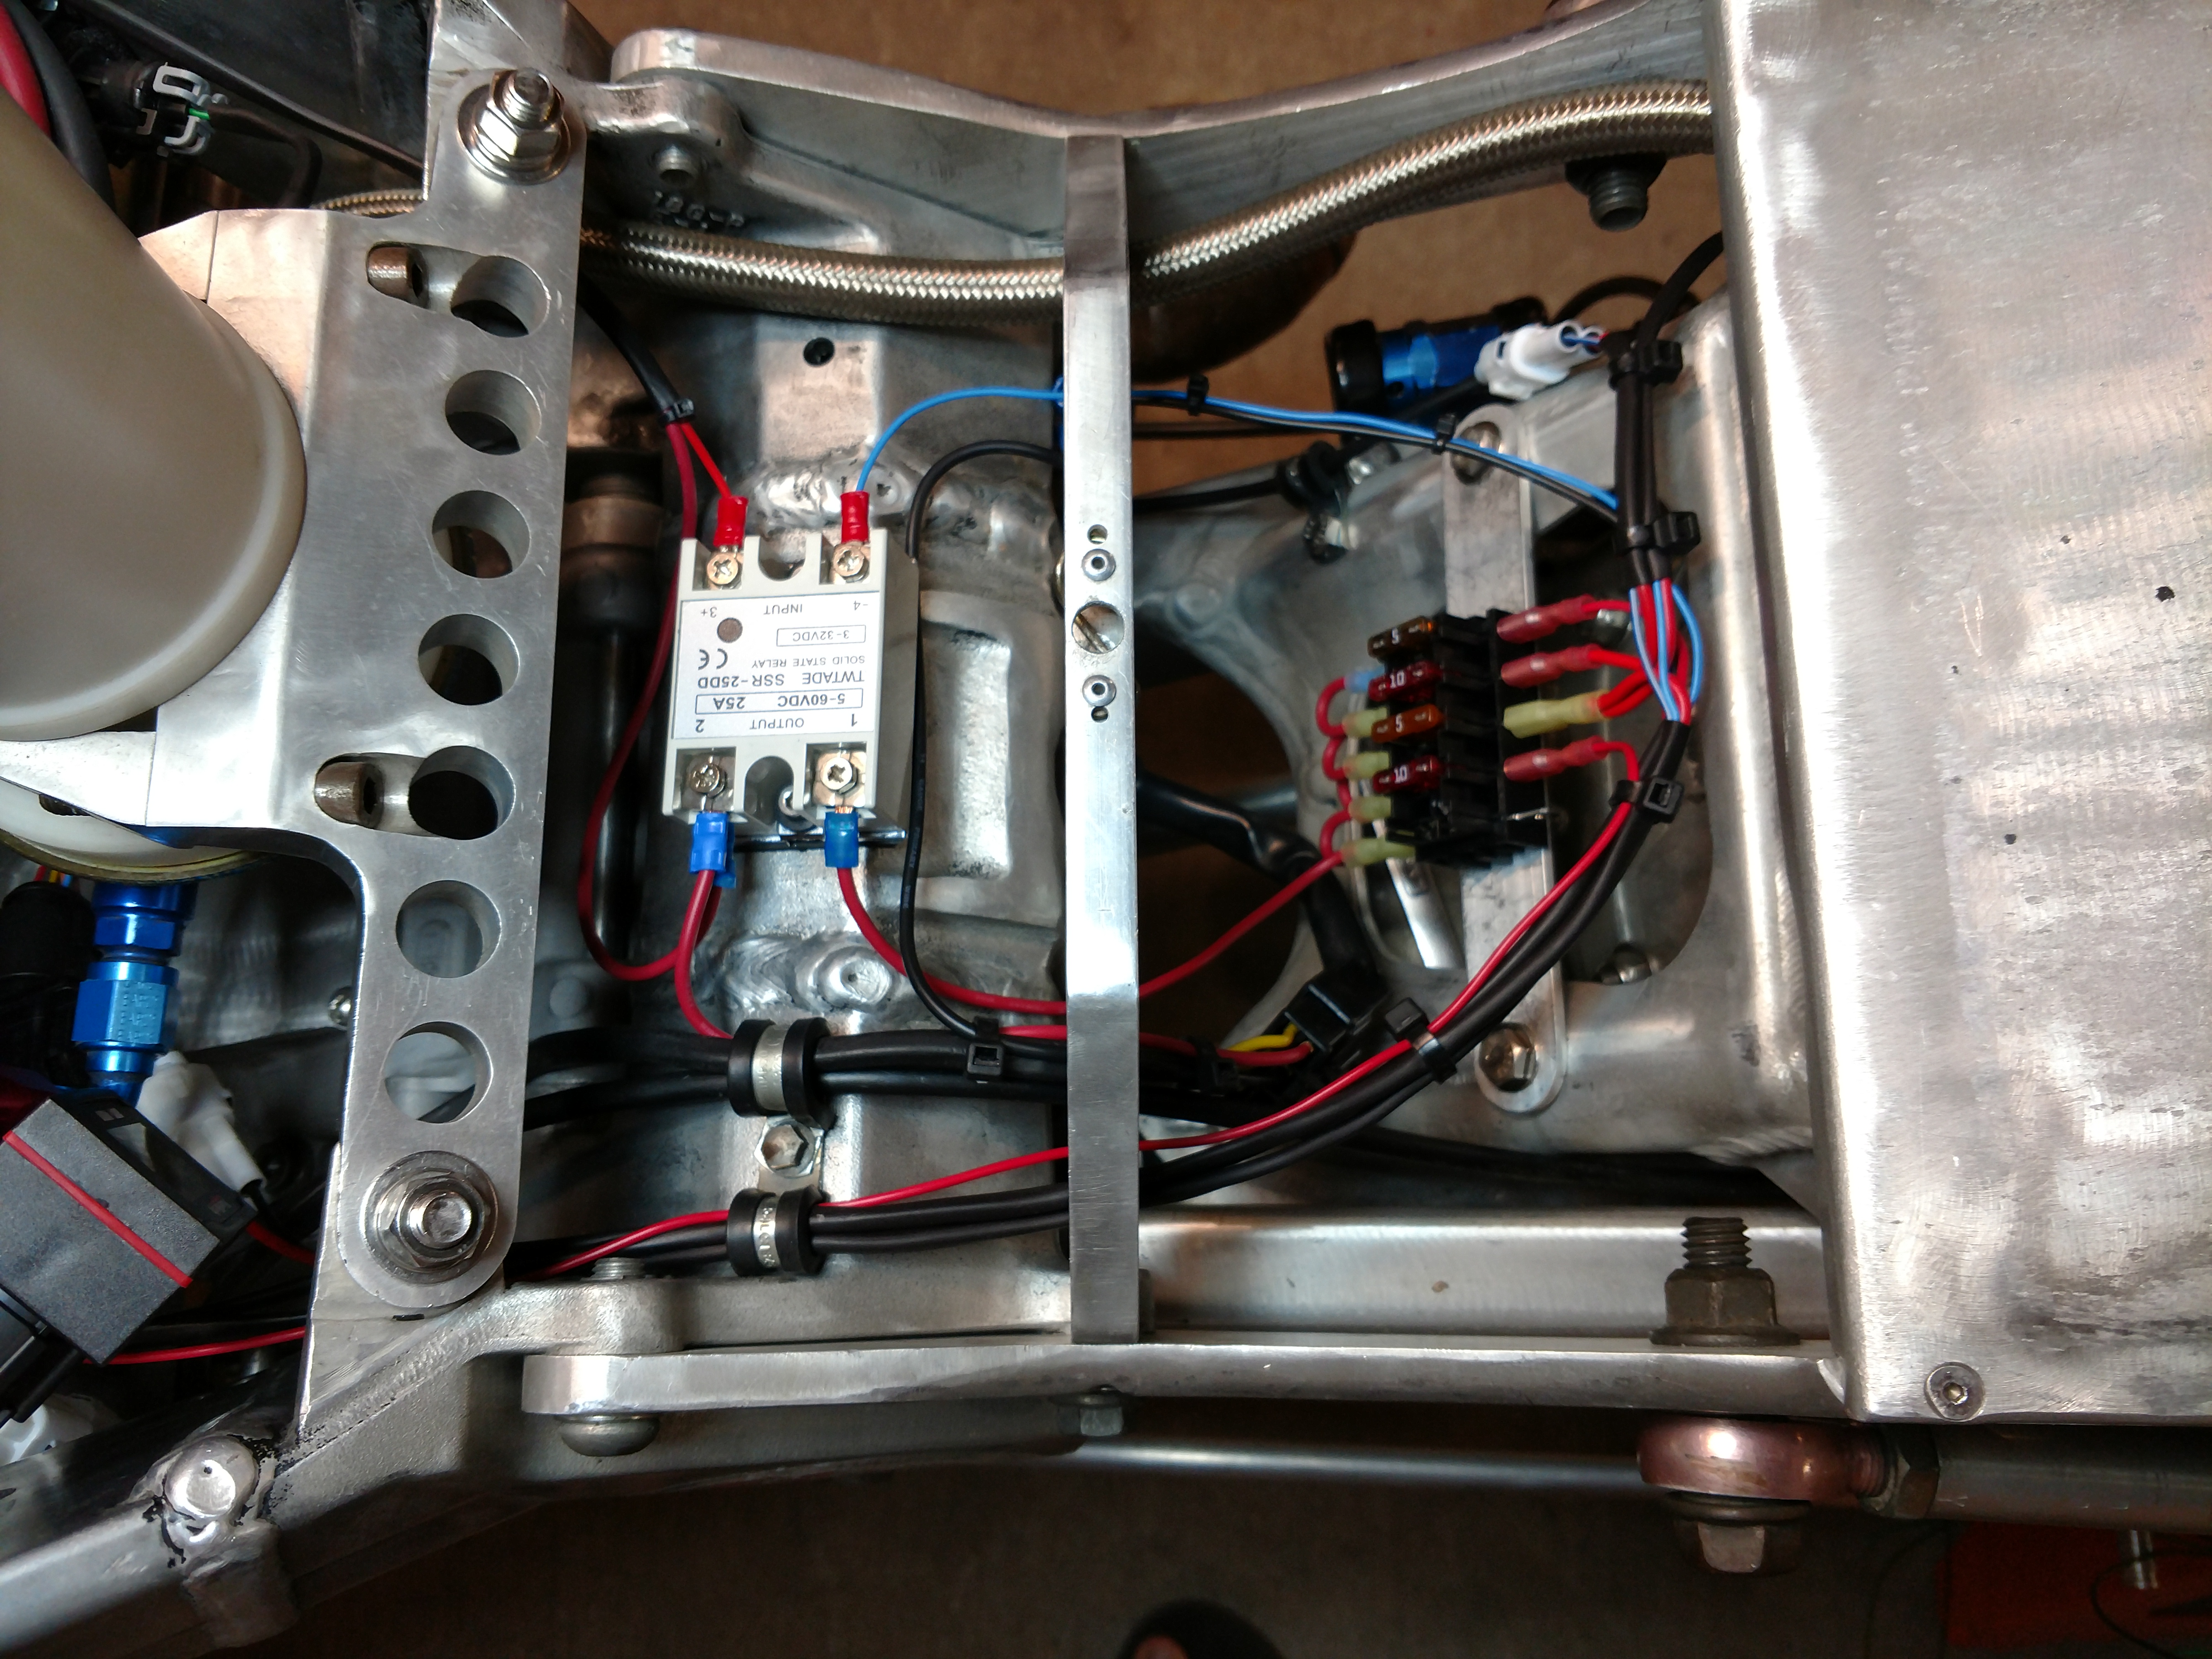
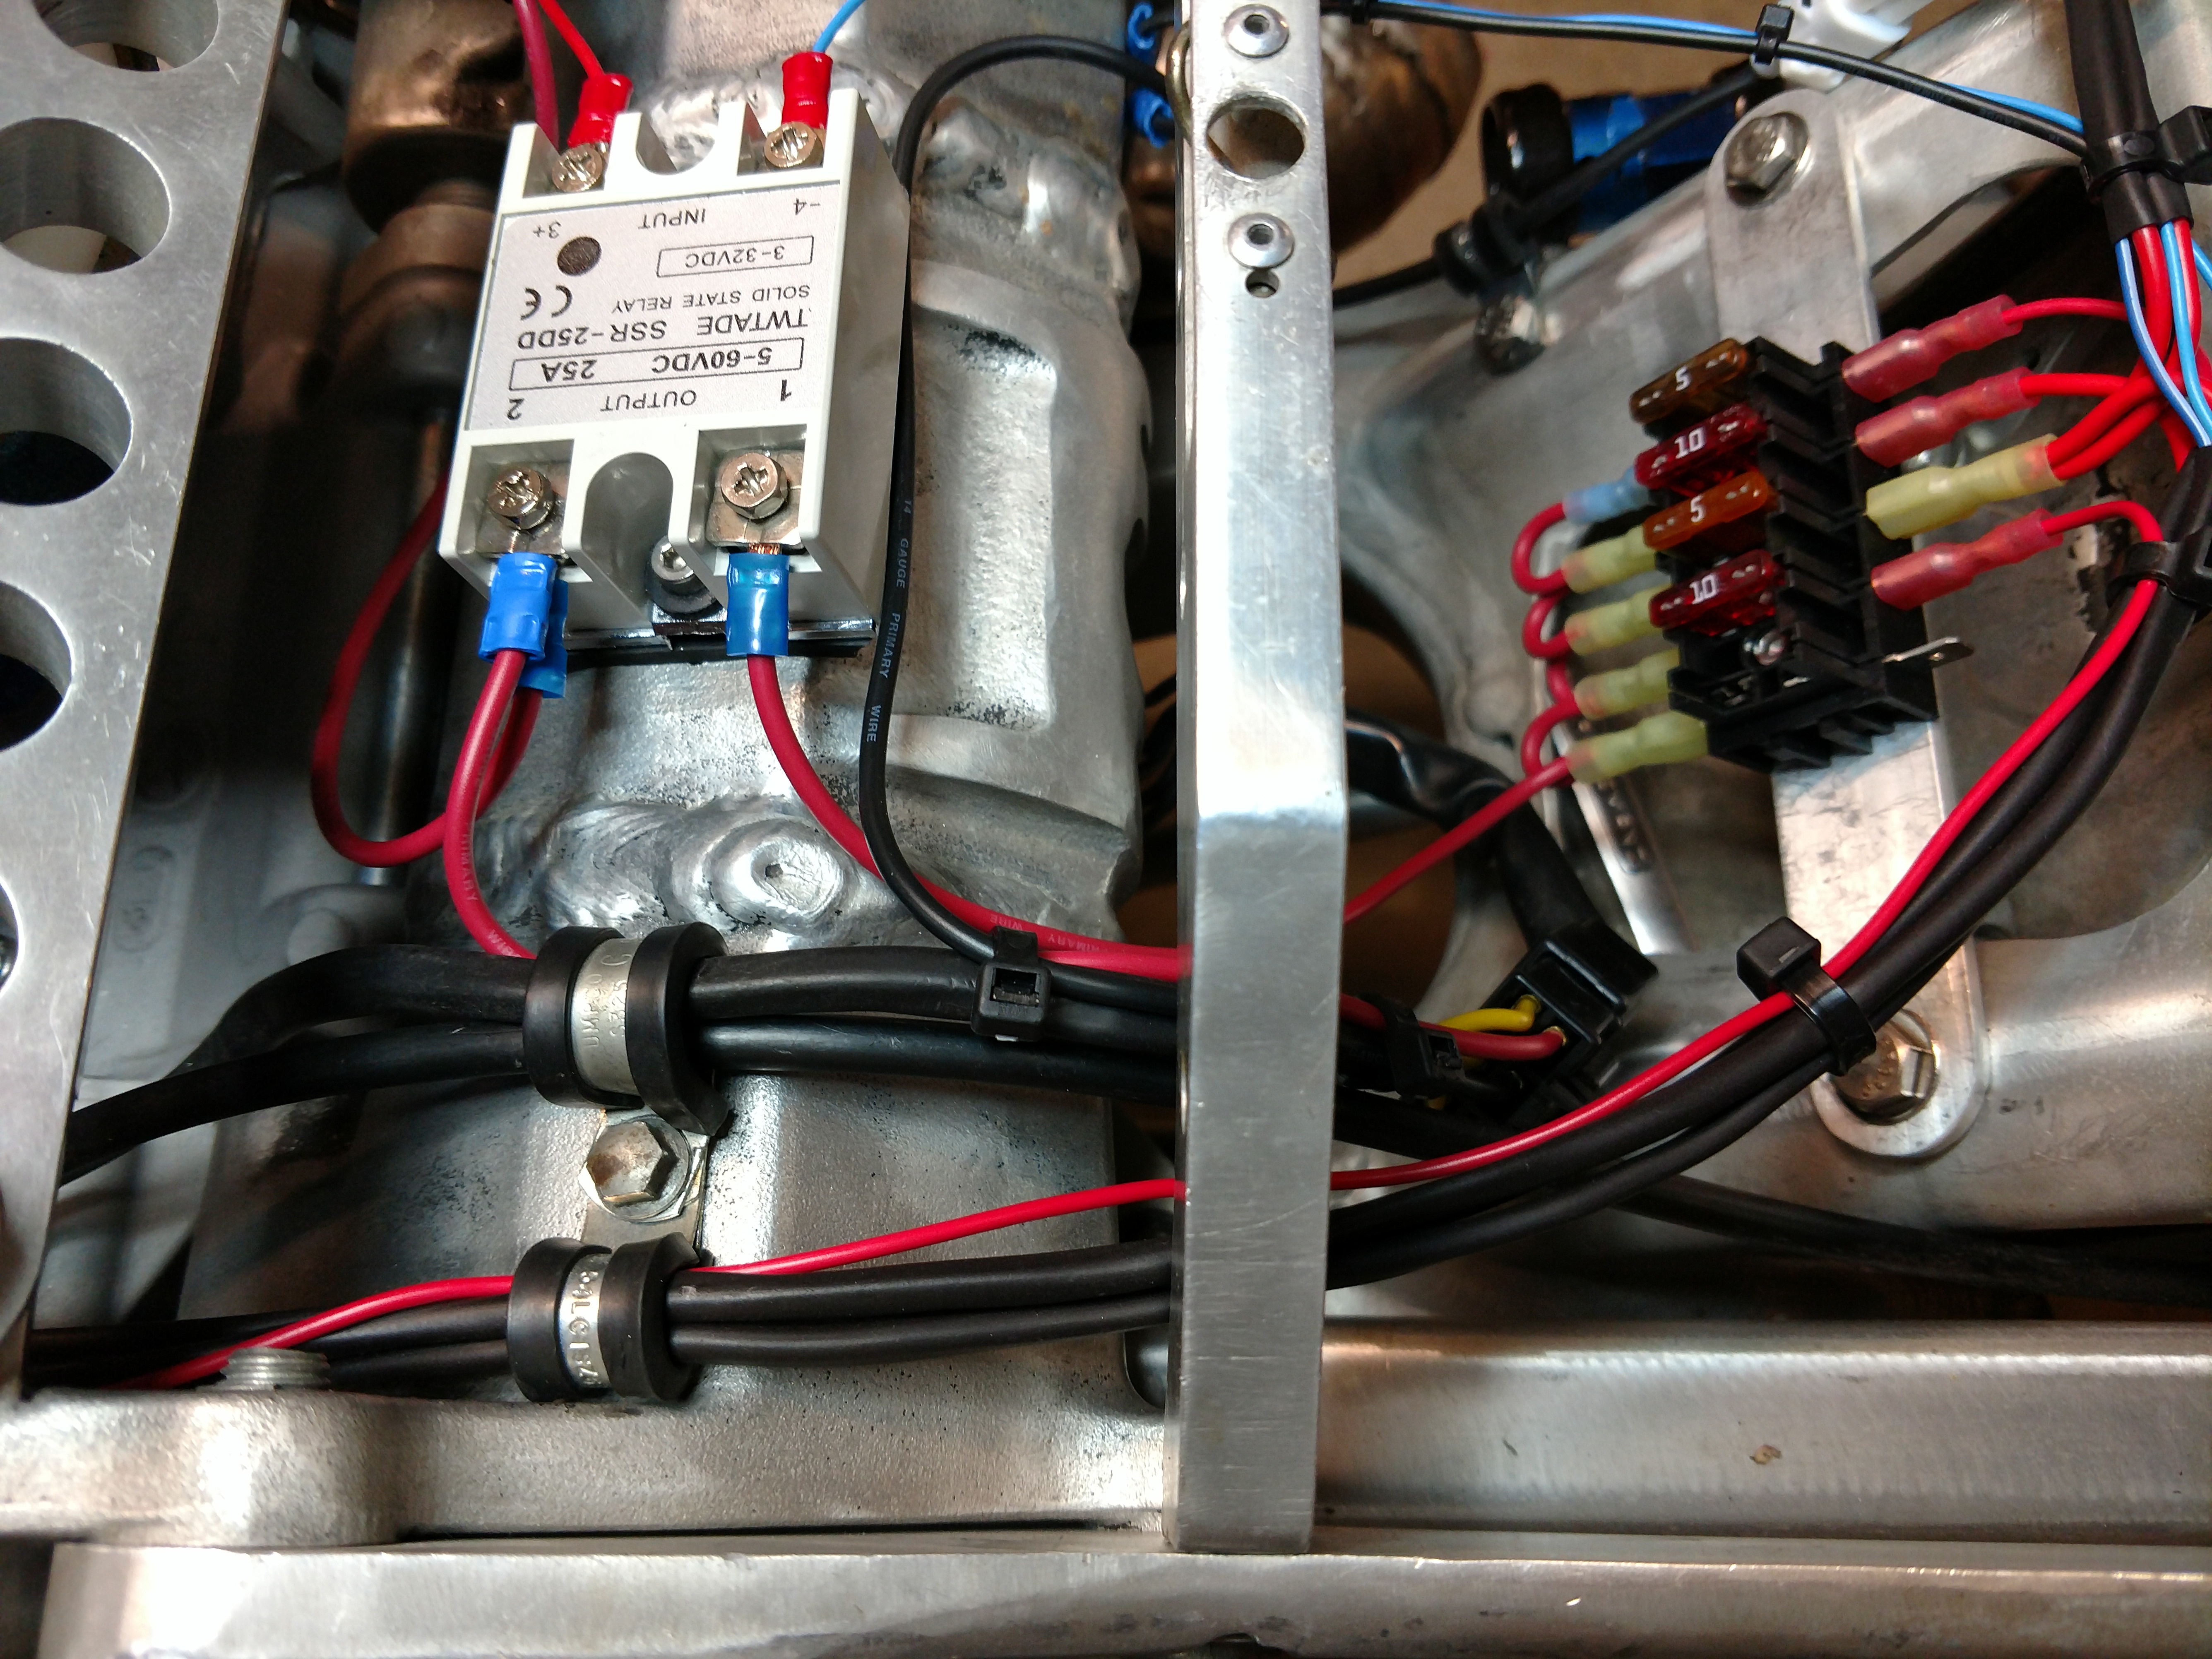
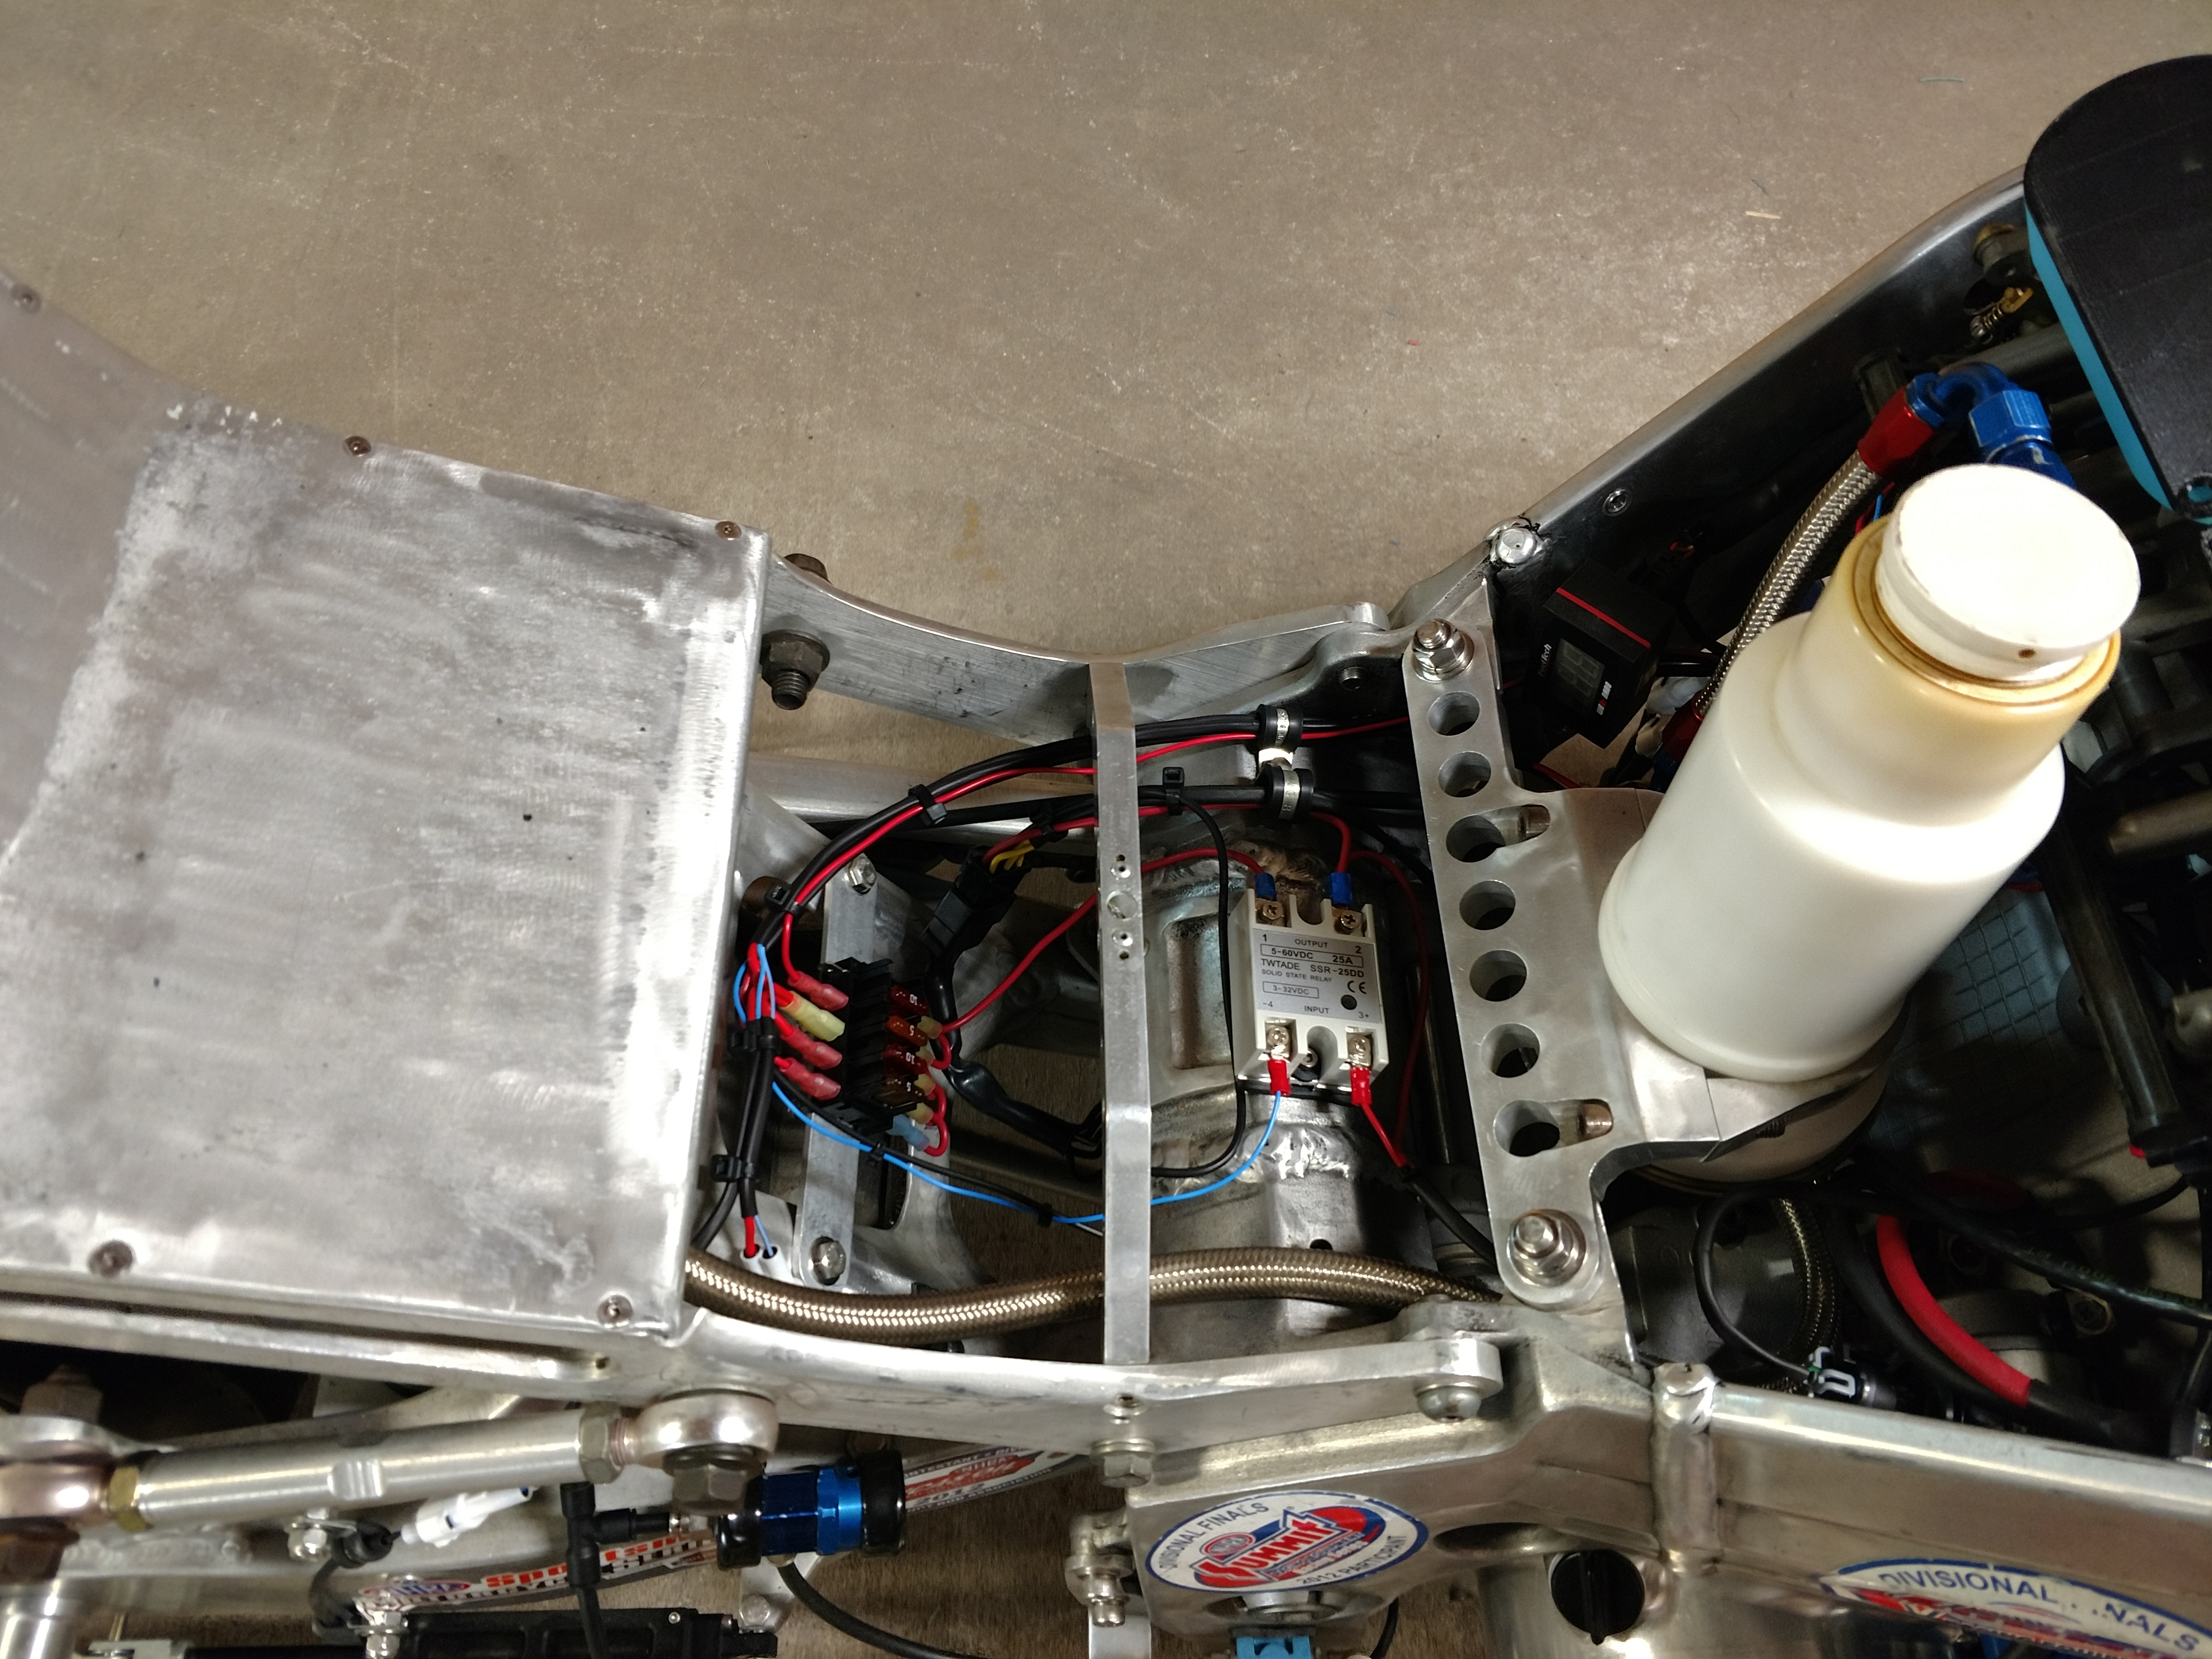
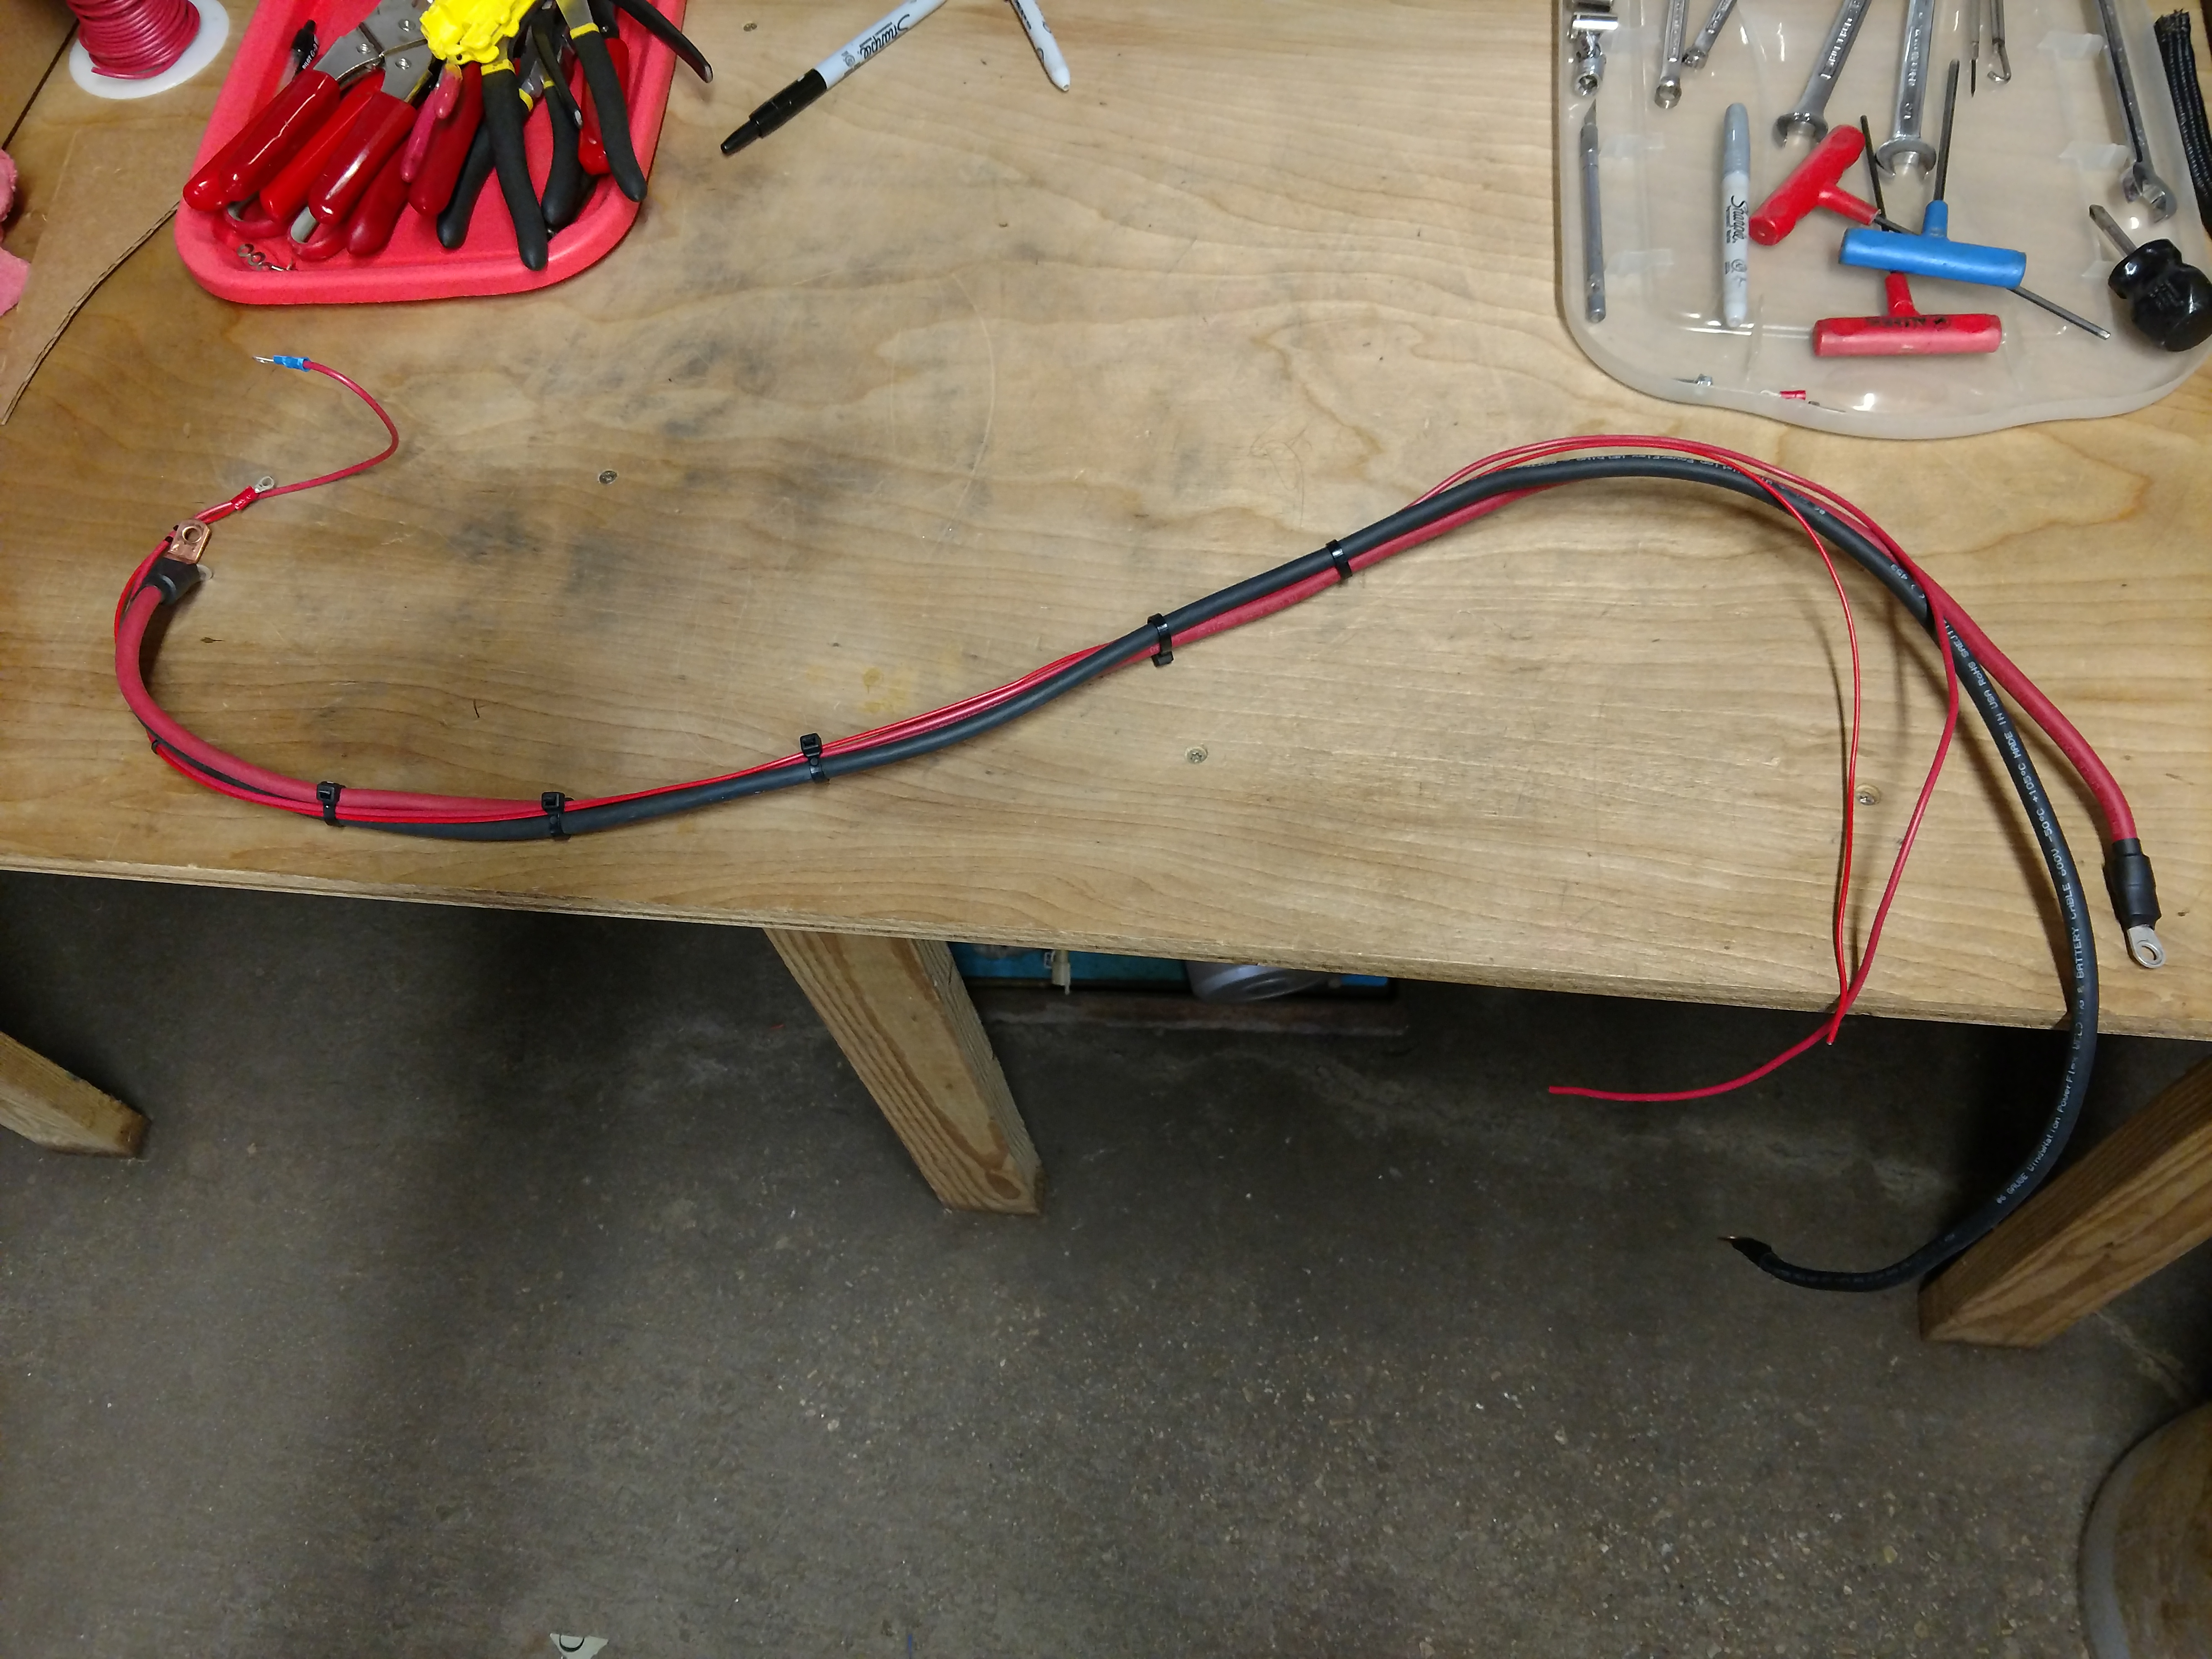
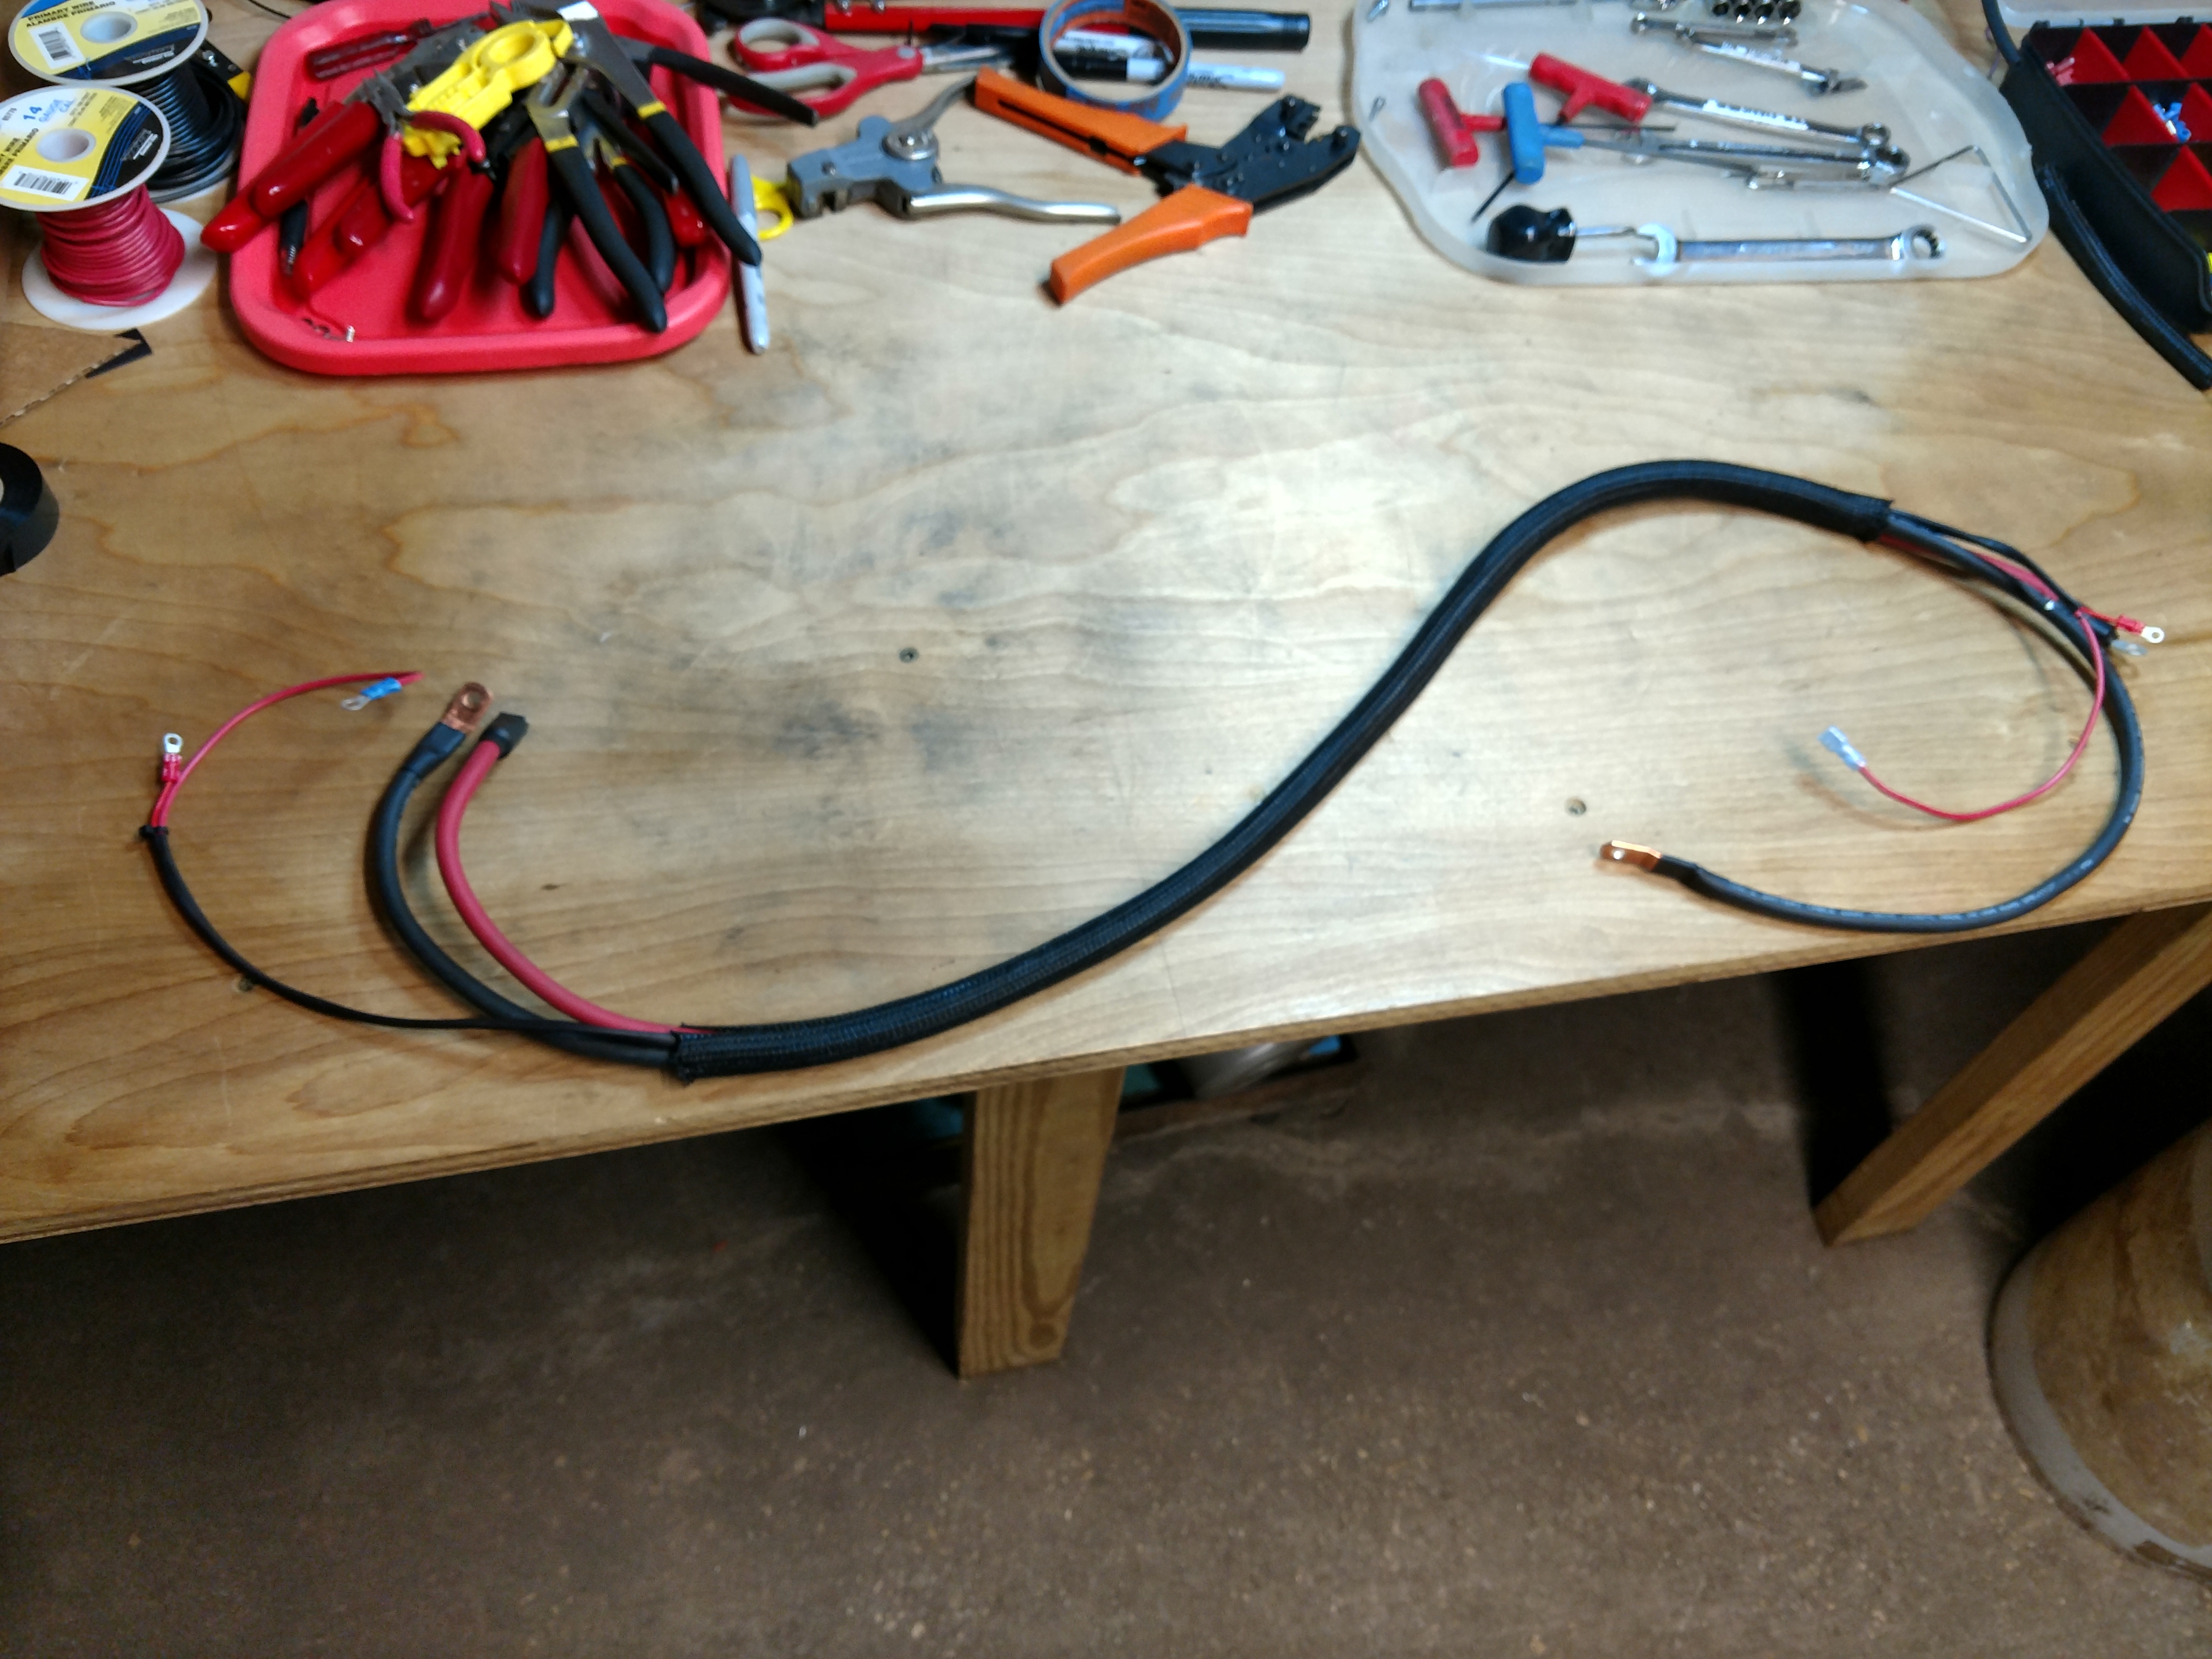
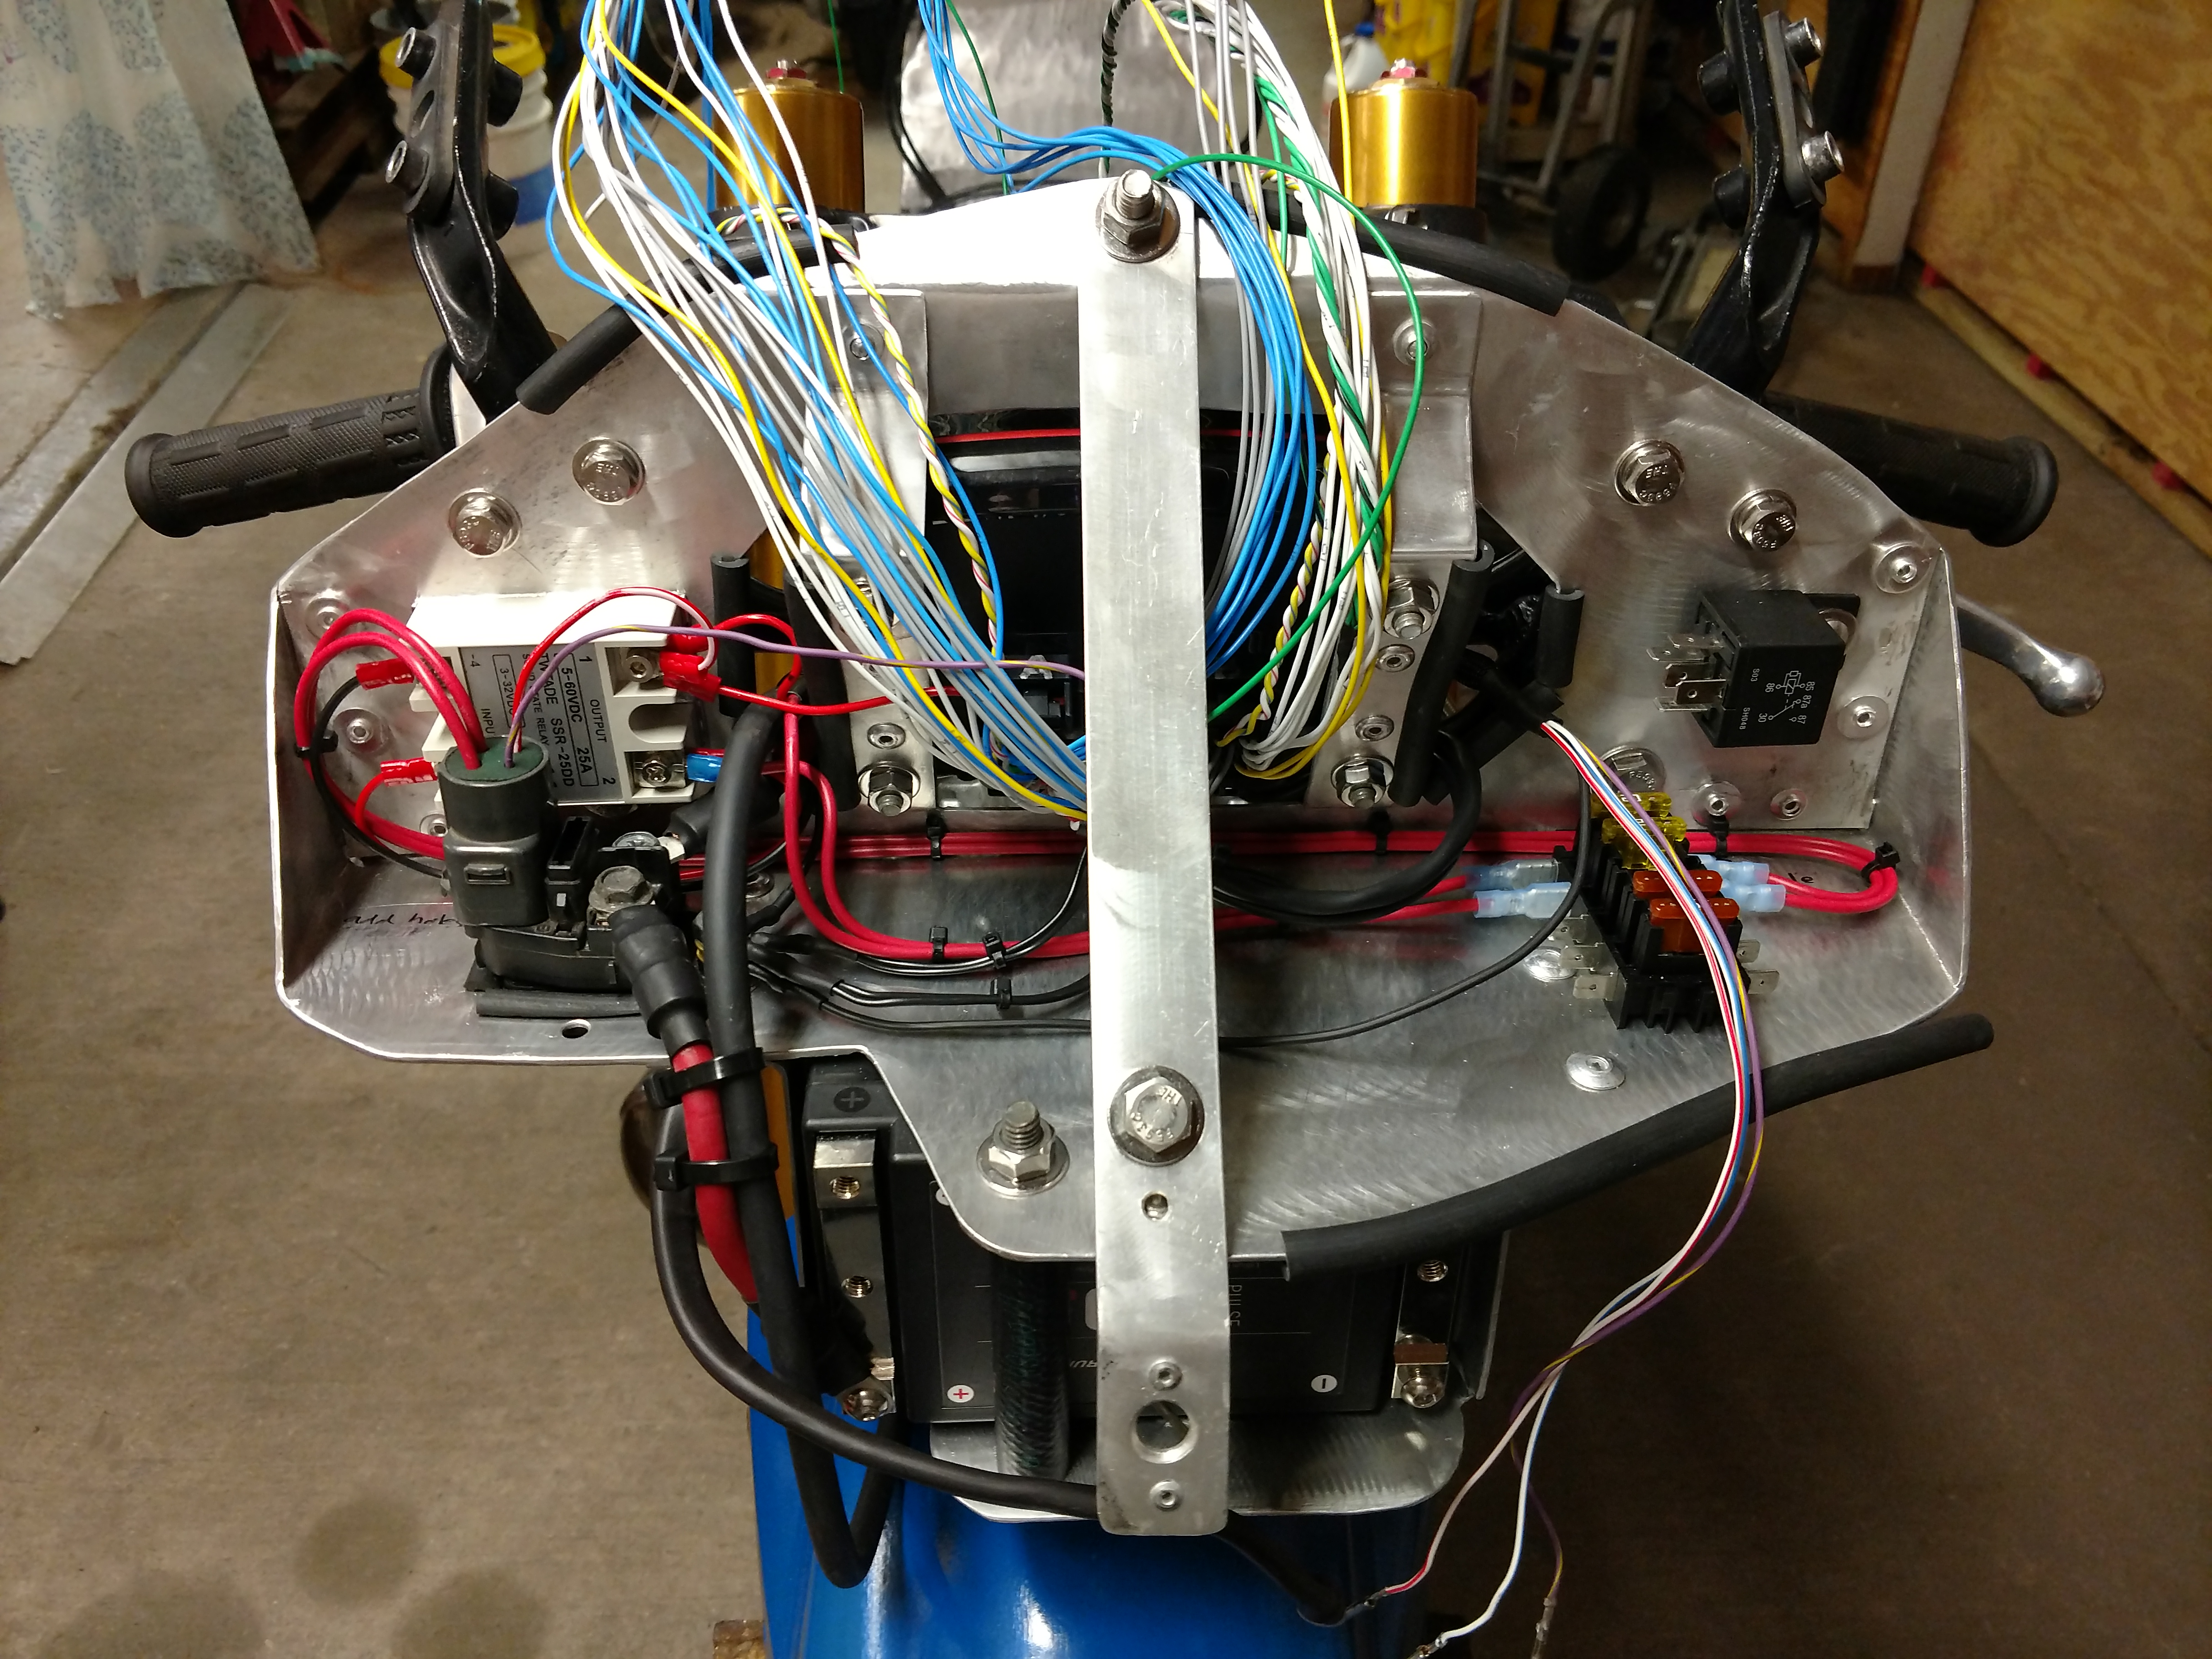
The main power run from the nose to the middle of the frame contains
the heavy gauge wires for the starter and power & trigger for the
relay that switches the rear circuits; fuel pump, injectors, and
air rams.
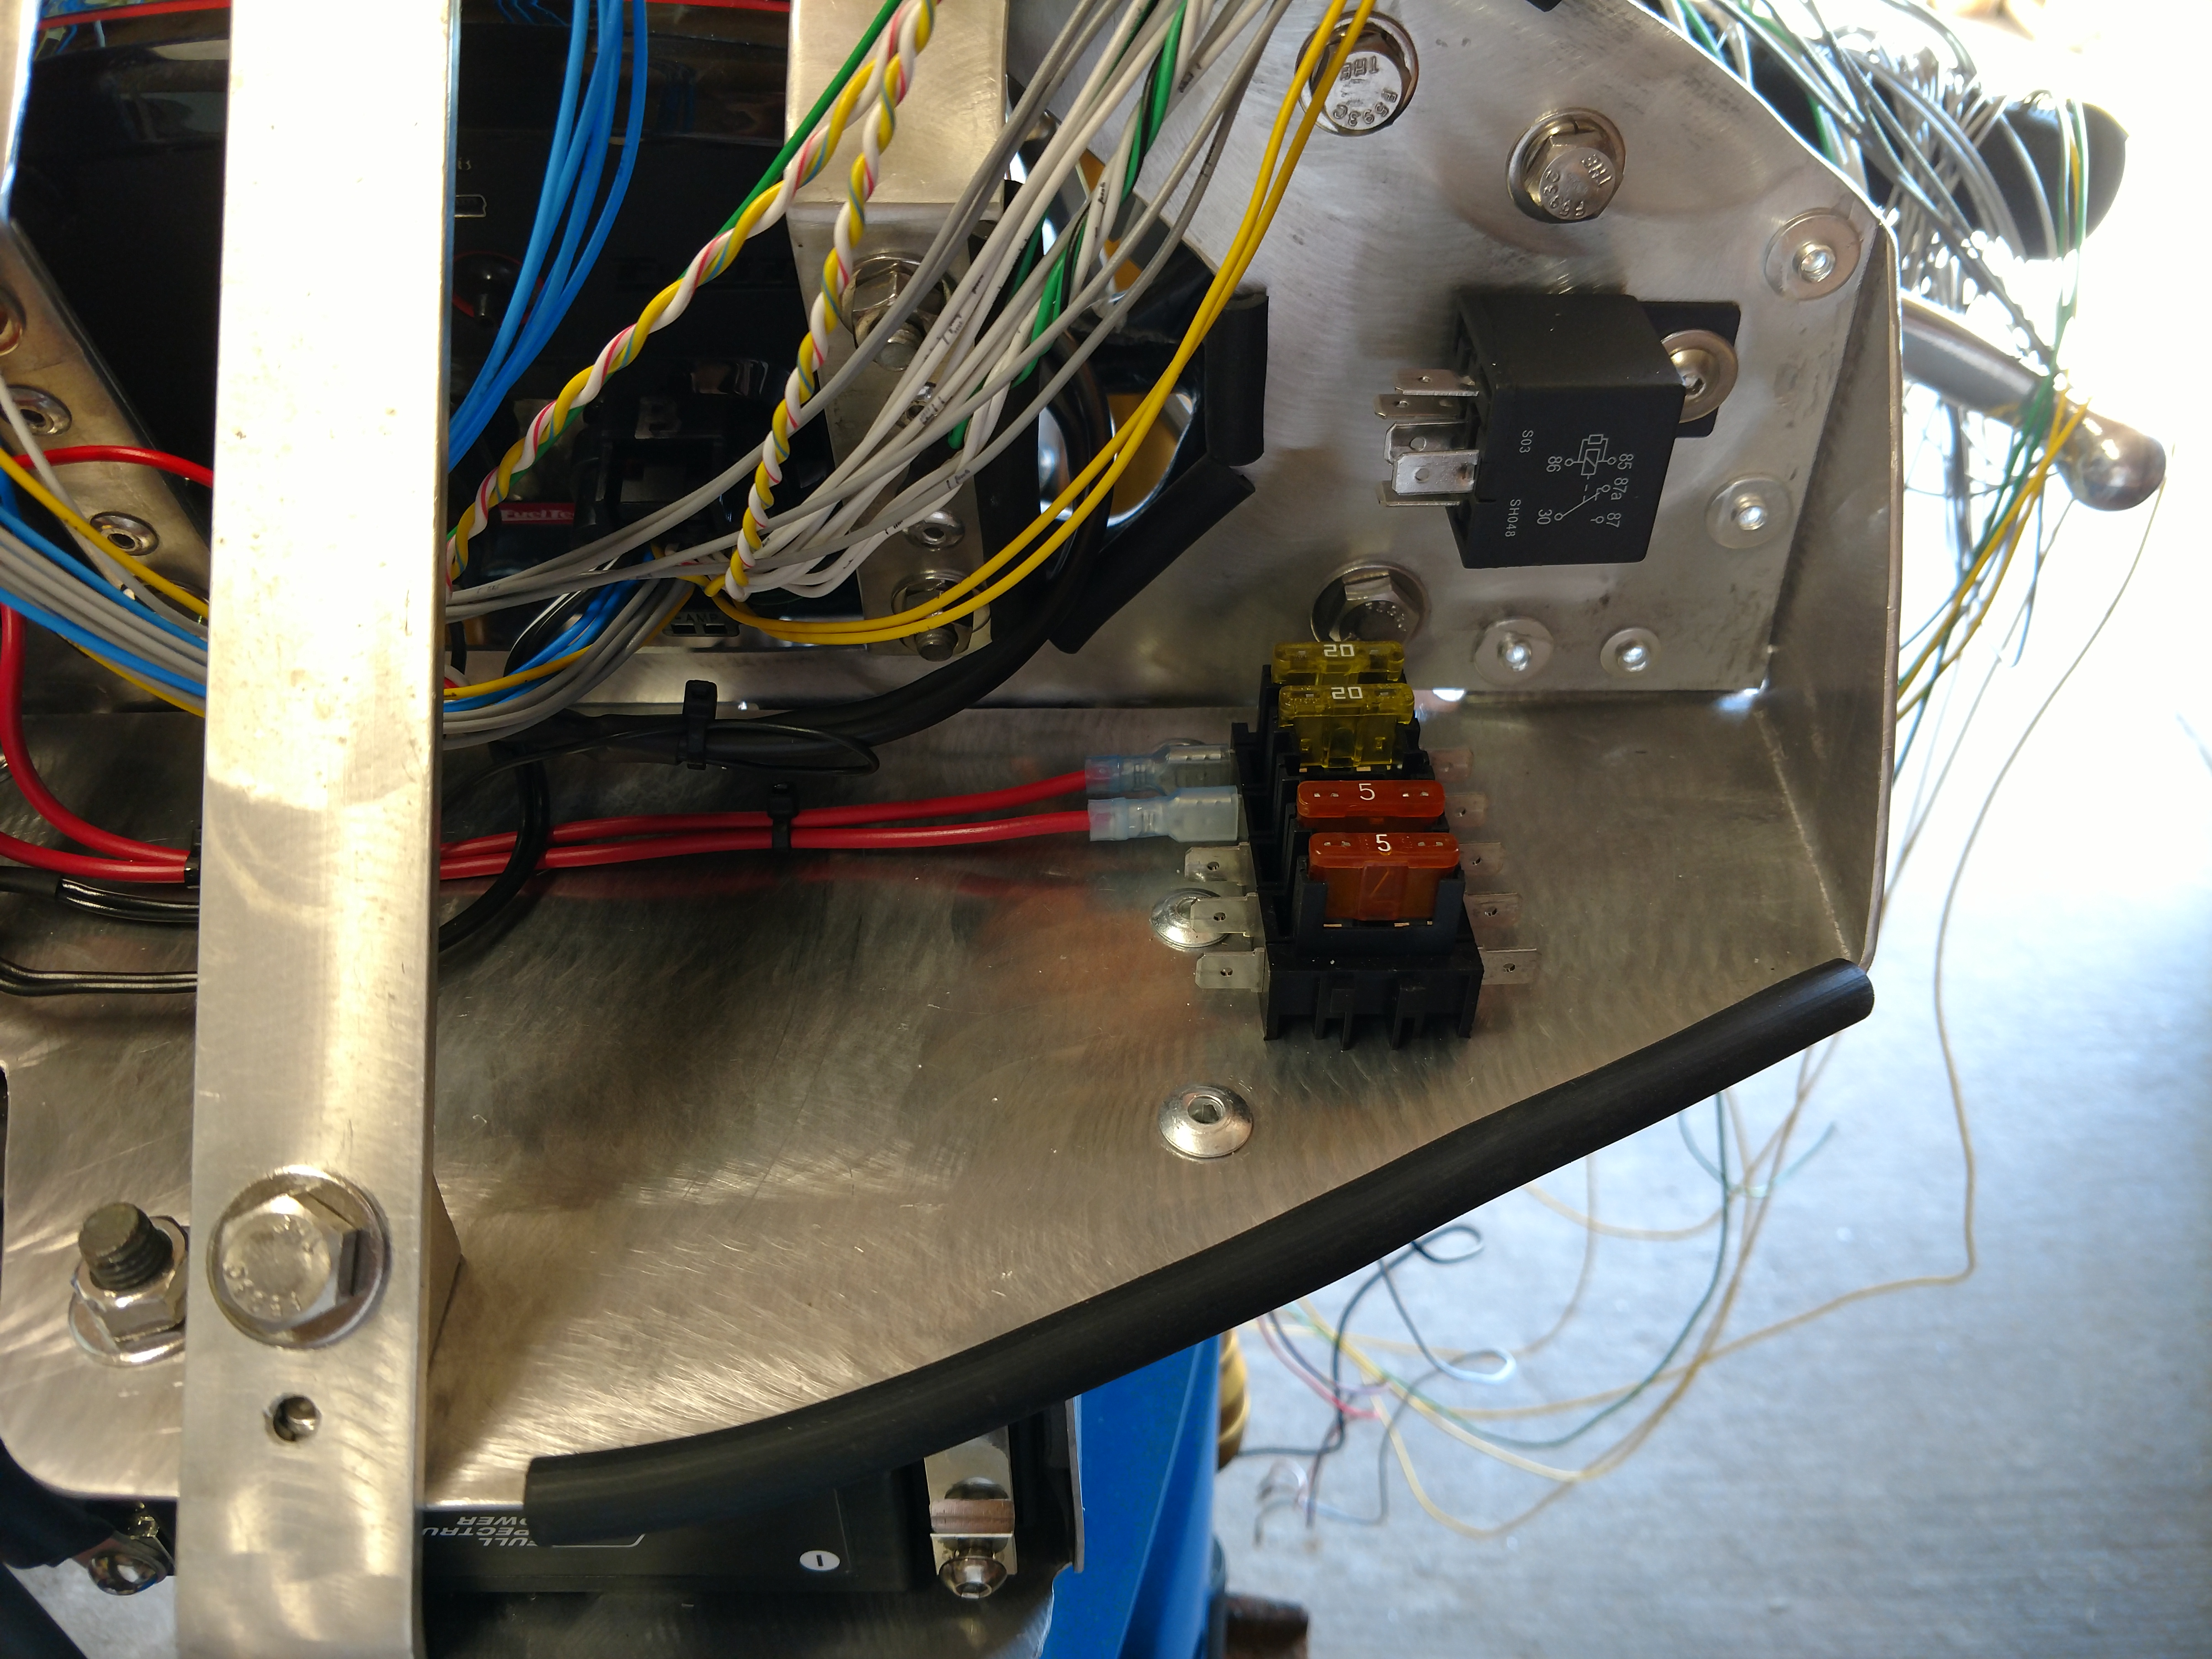
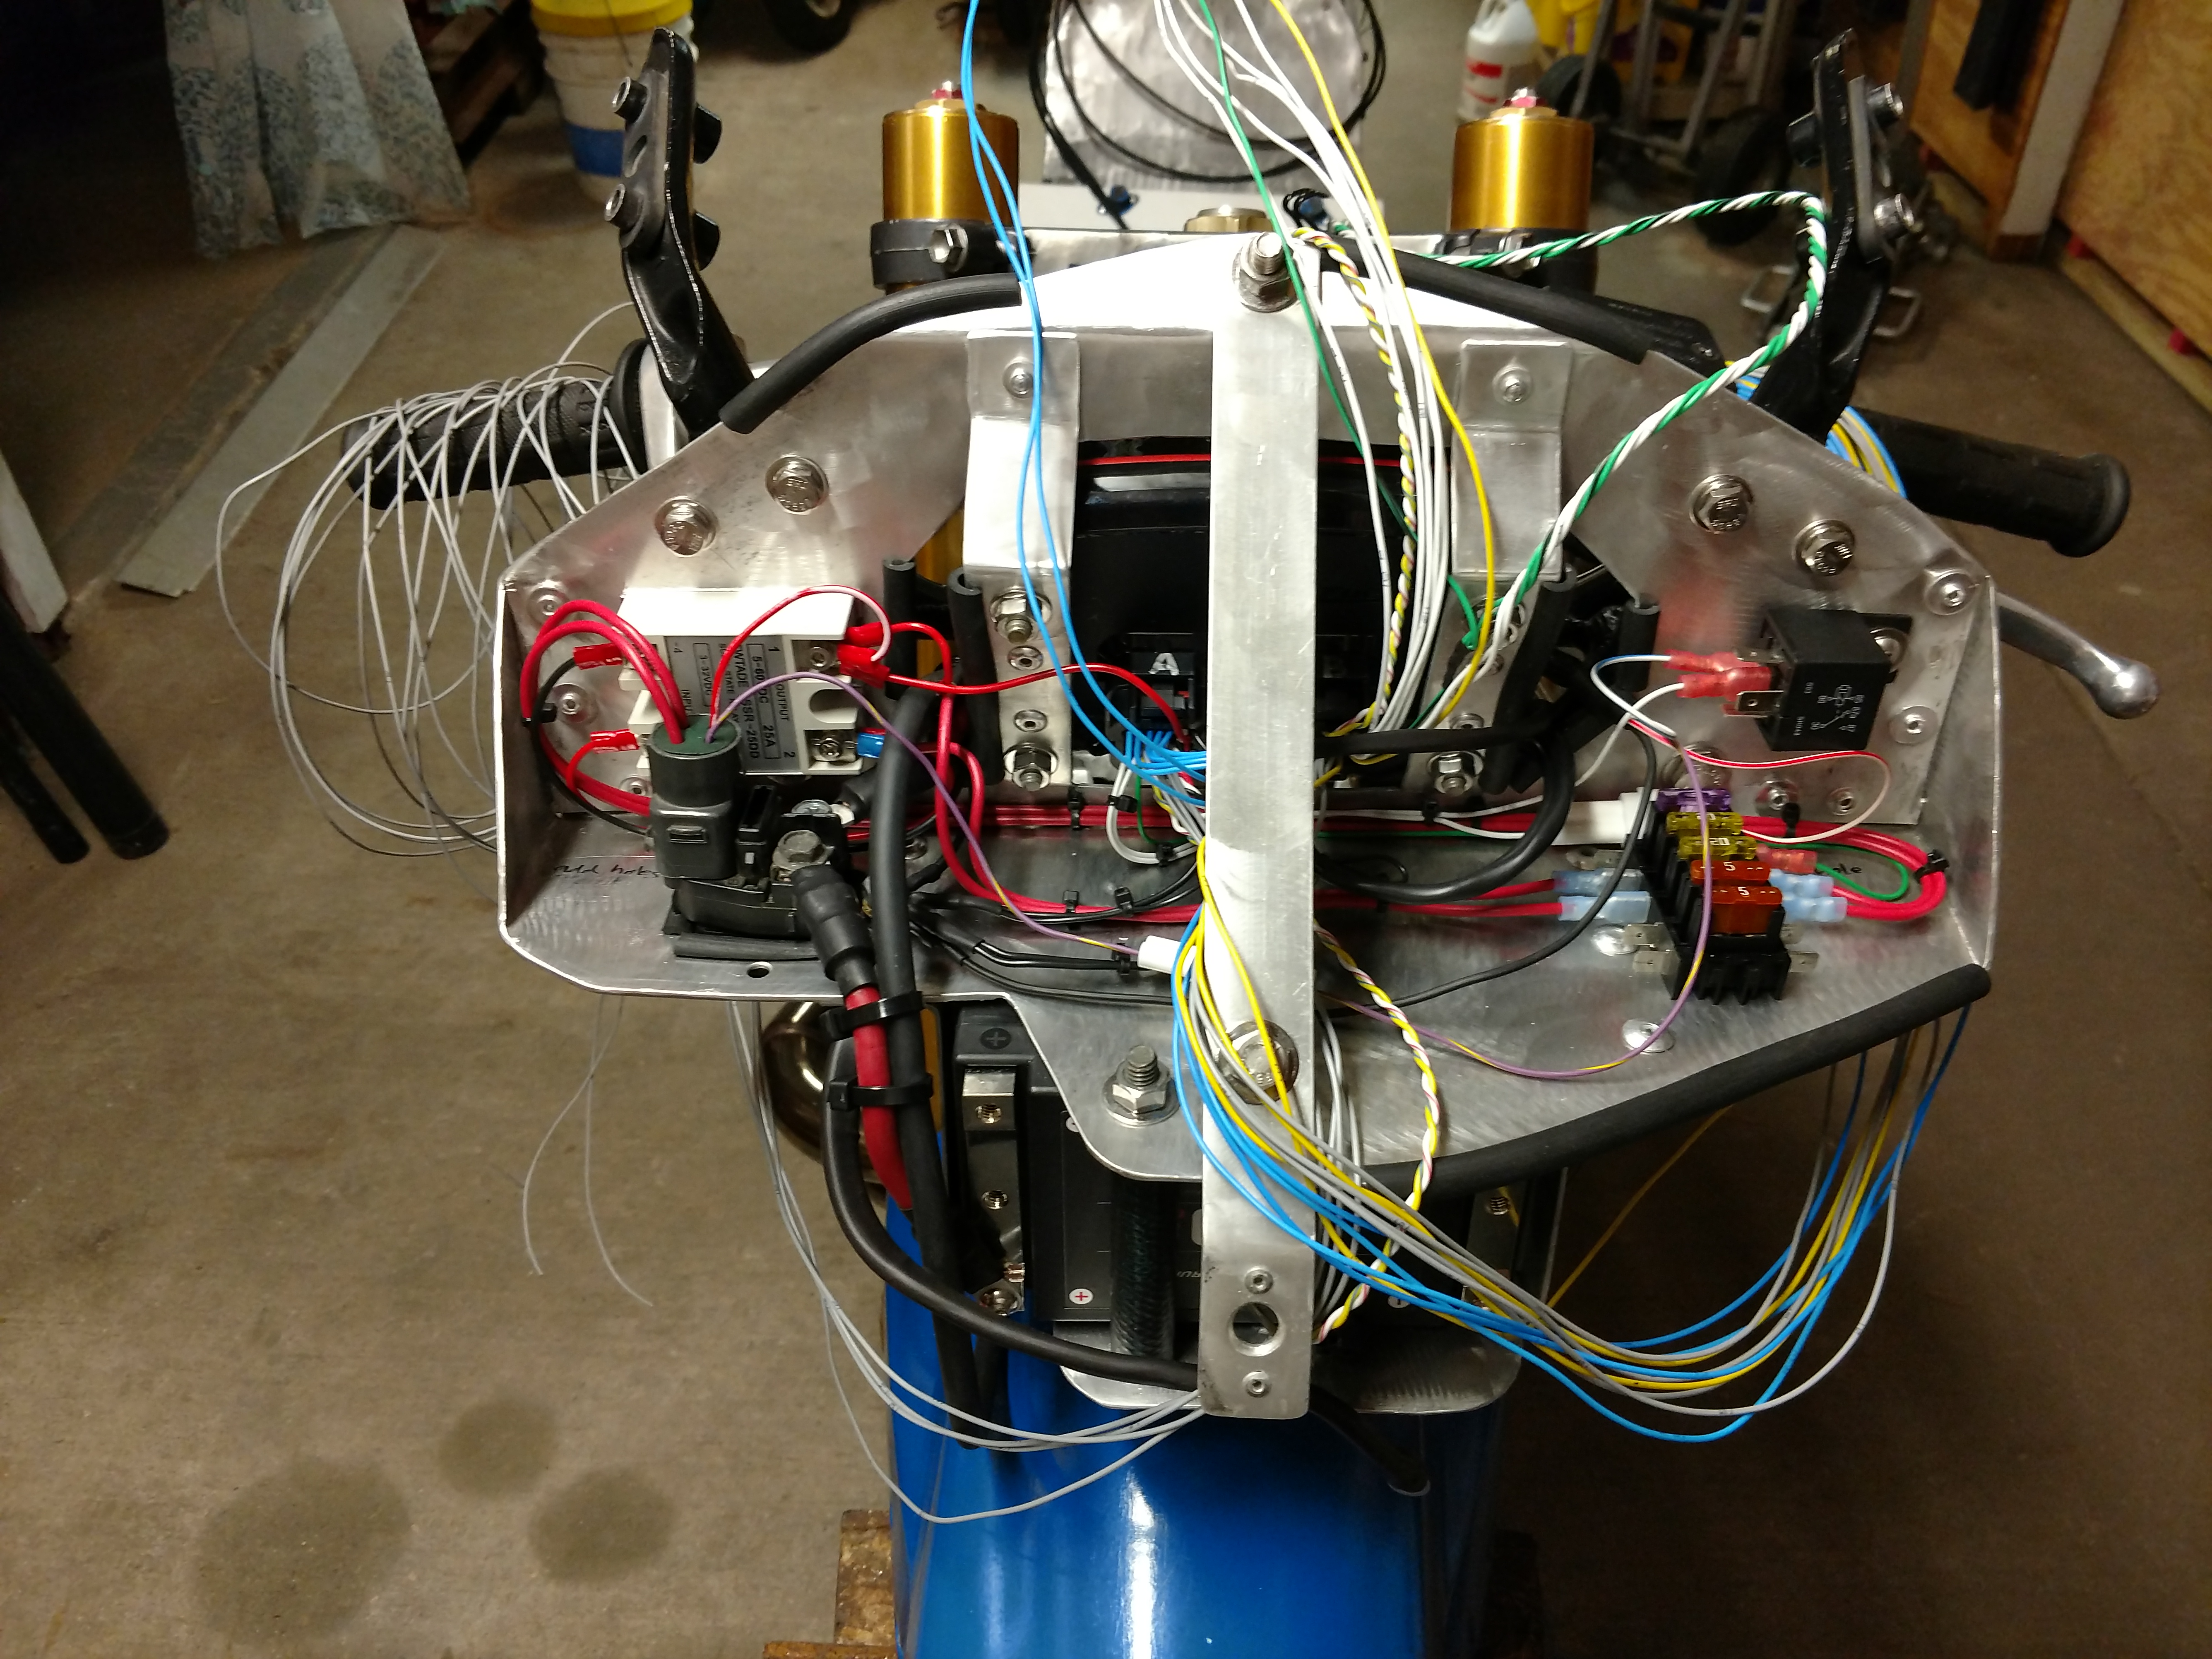
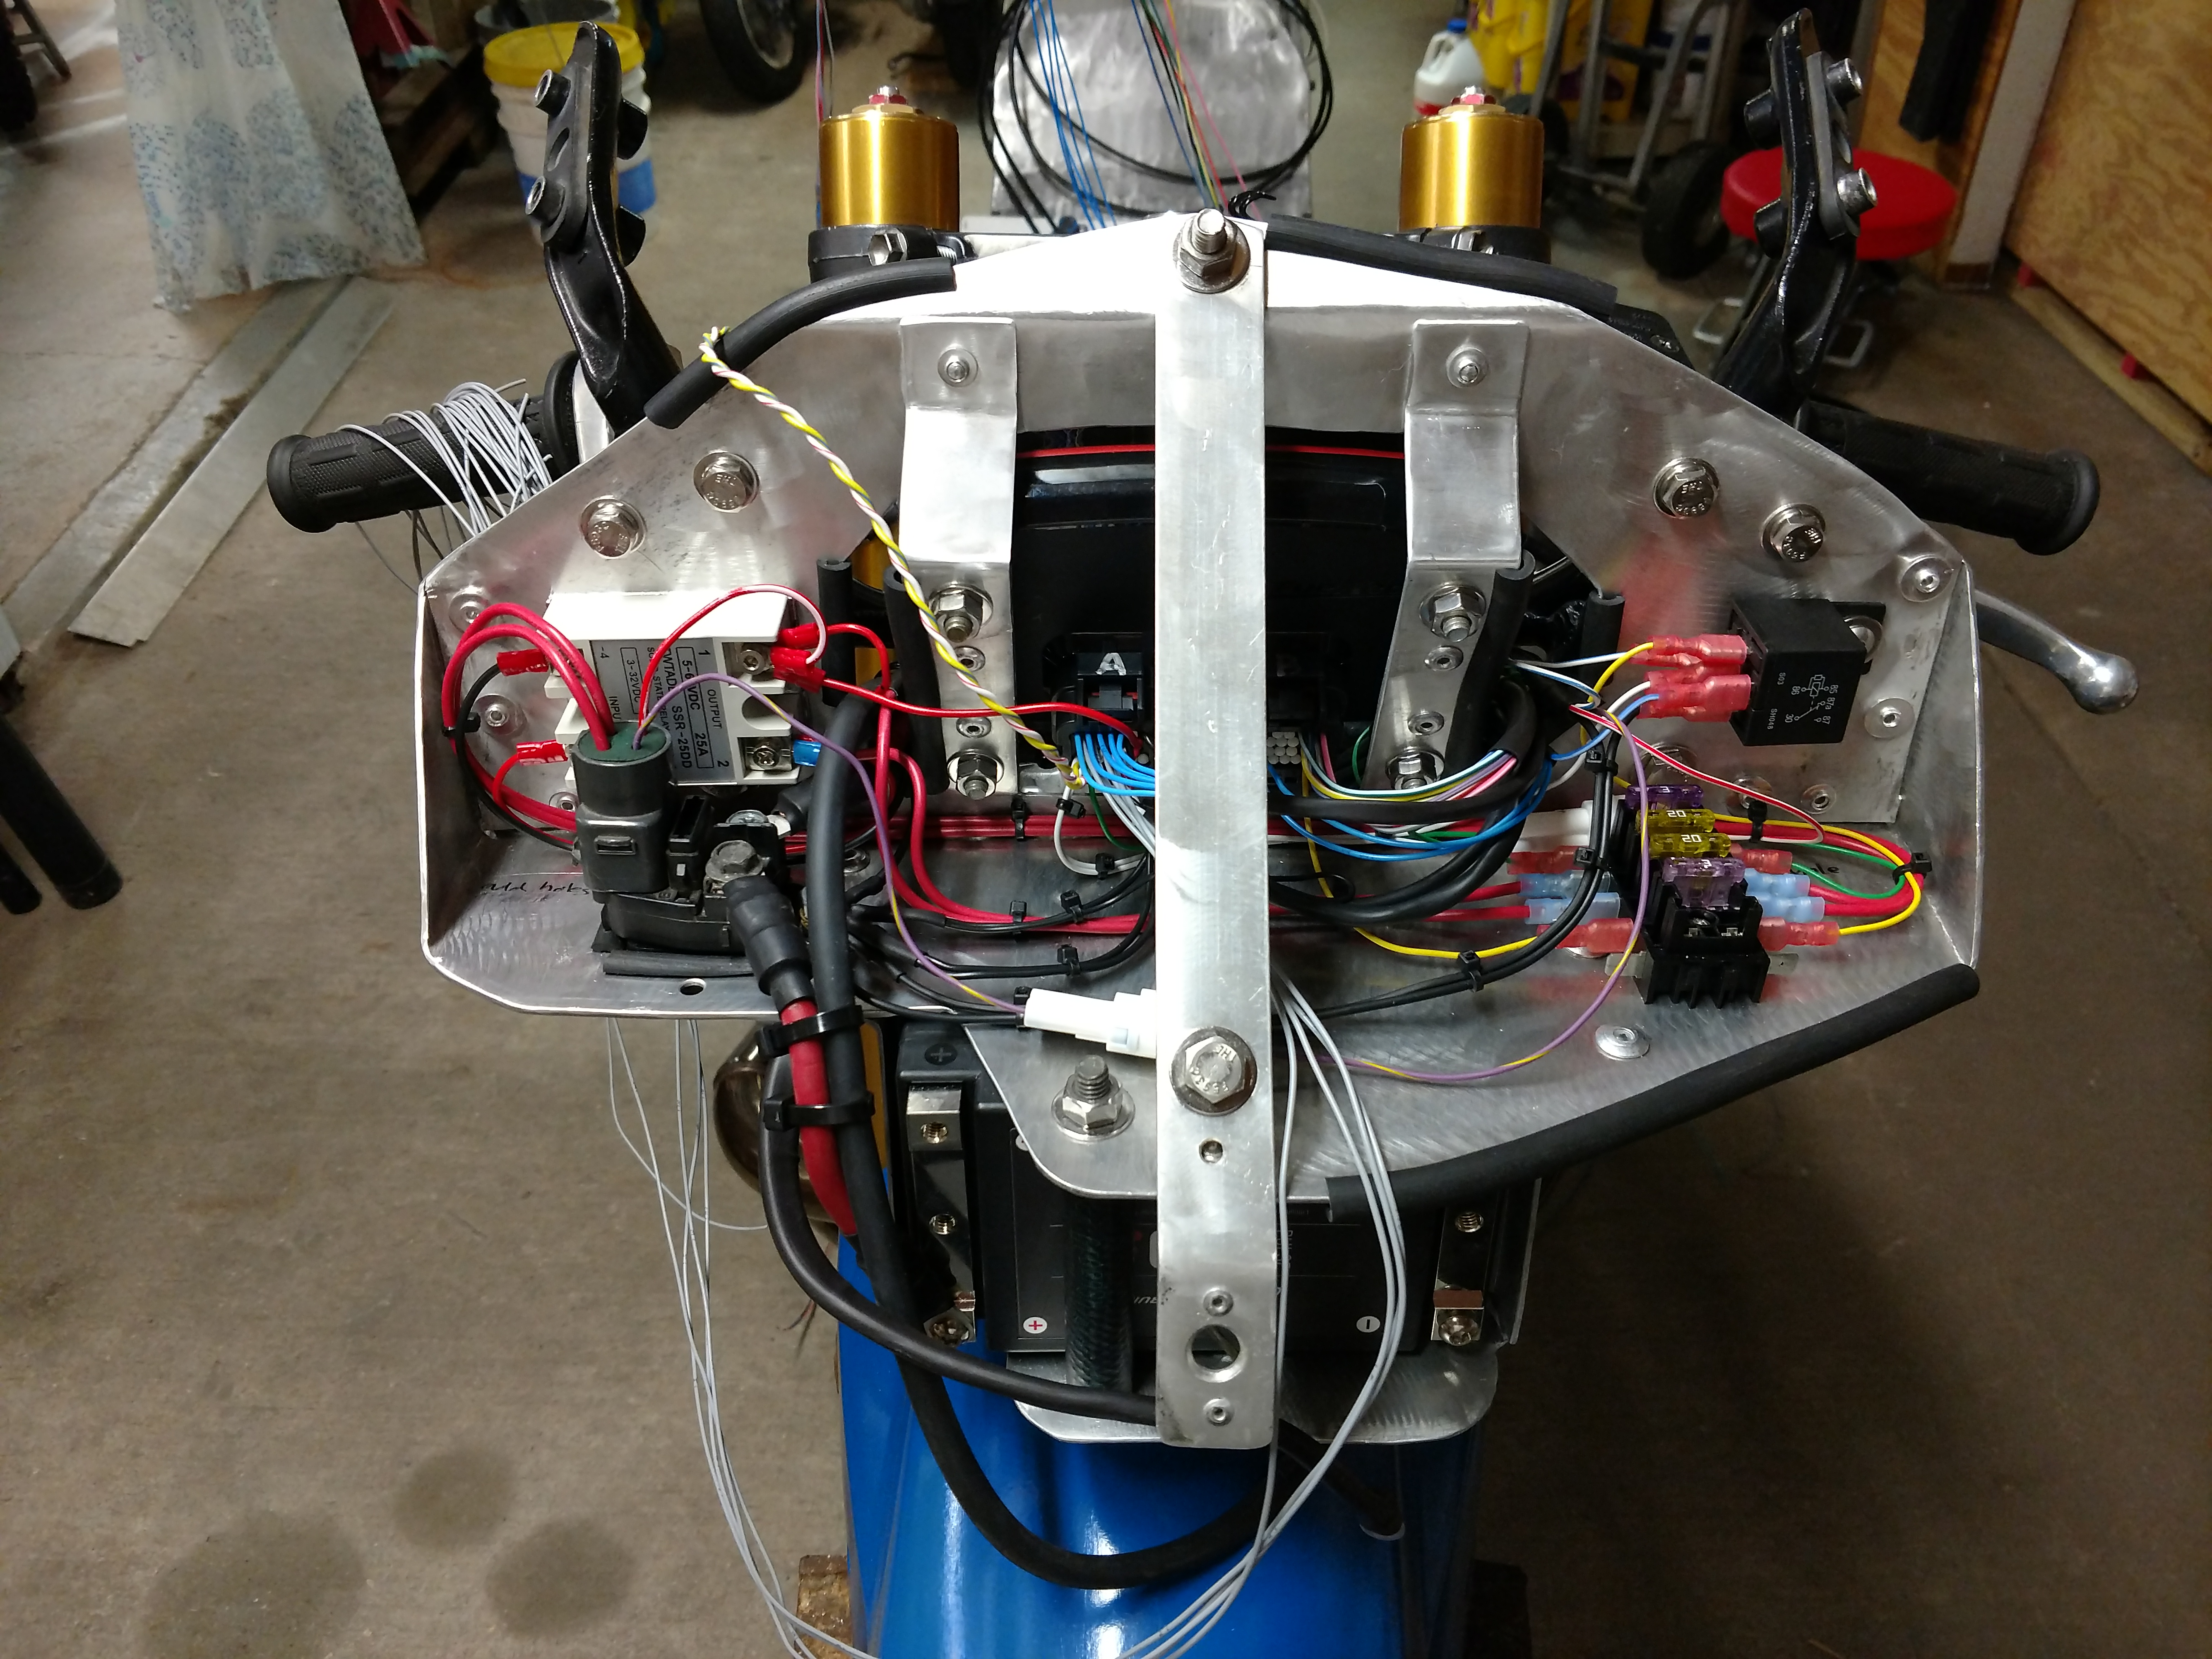
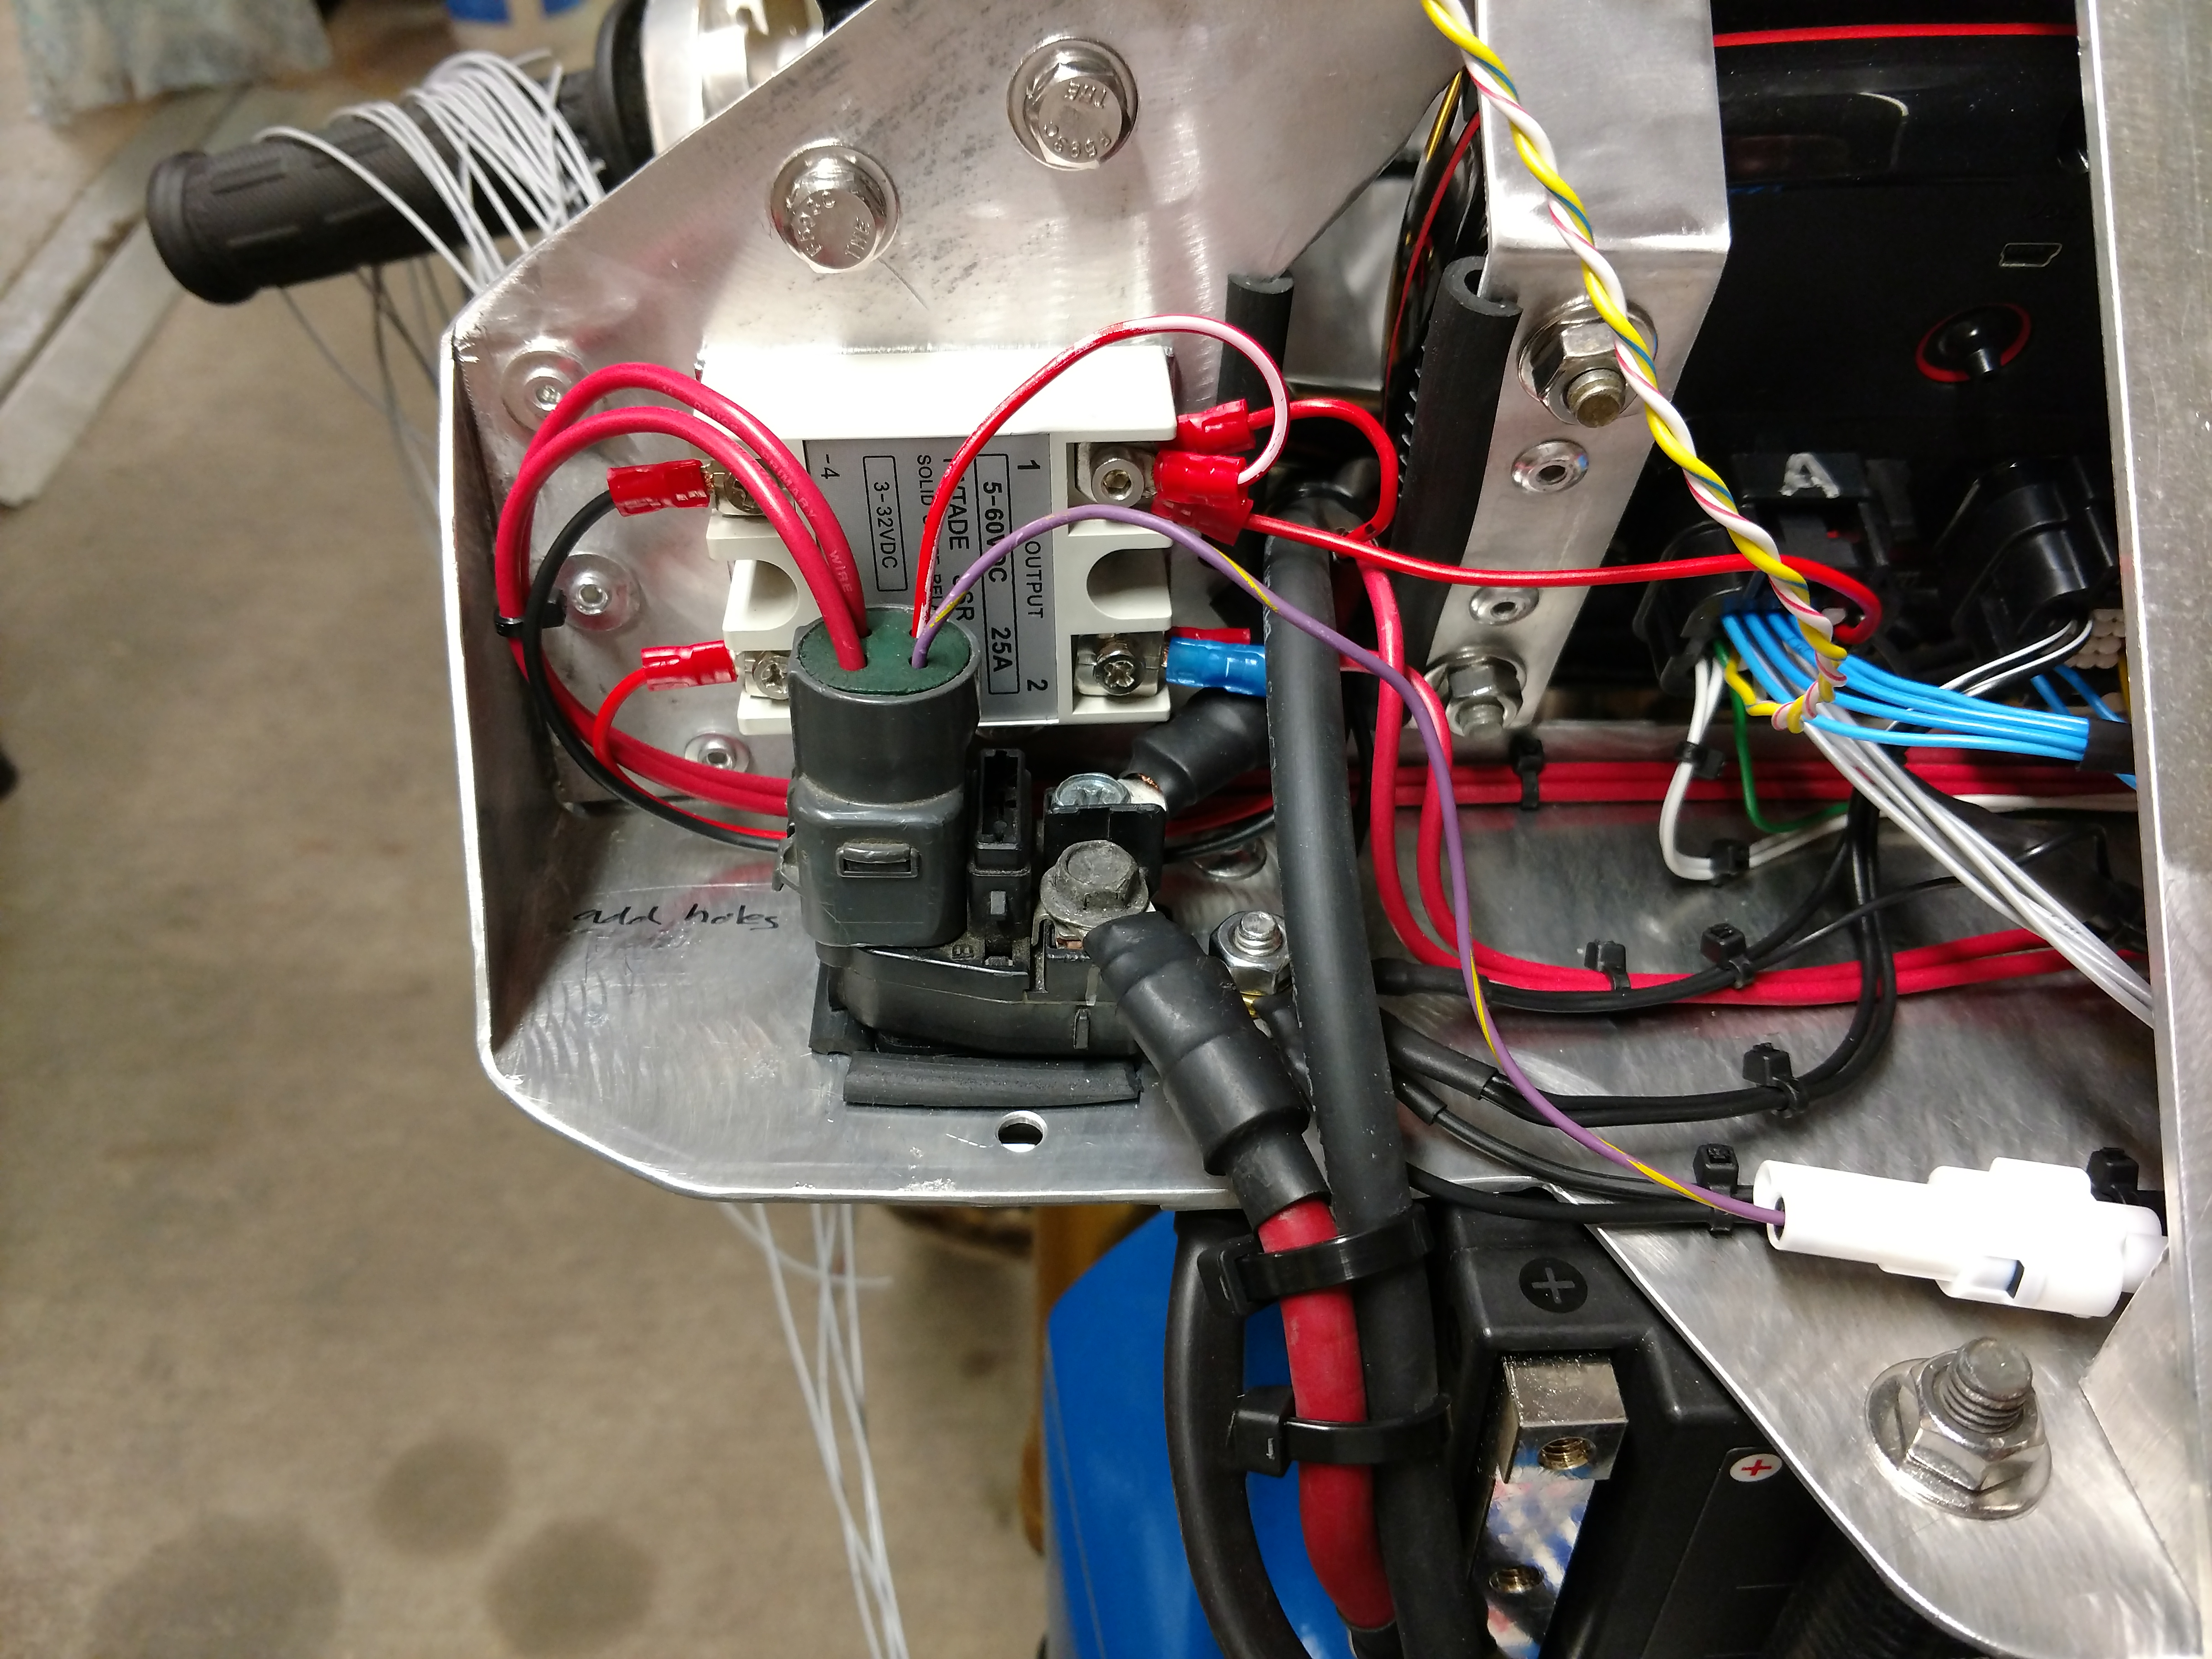
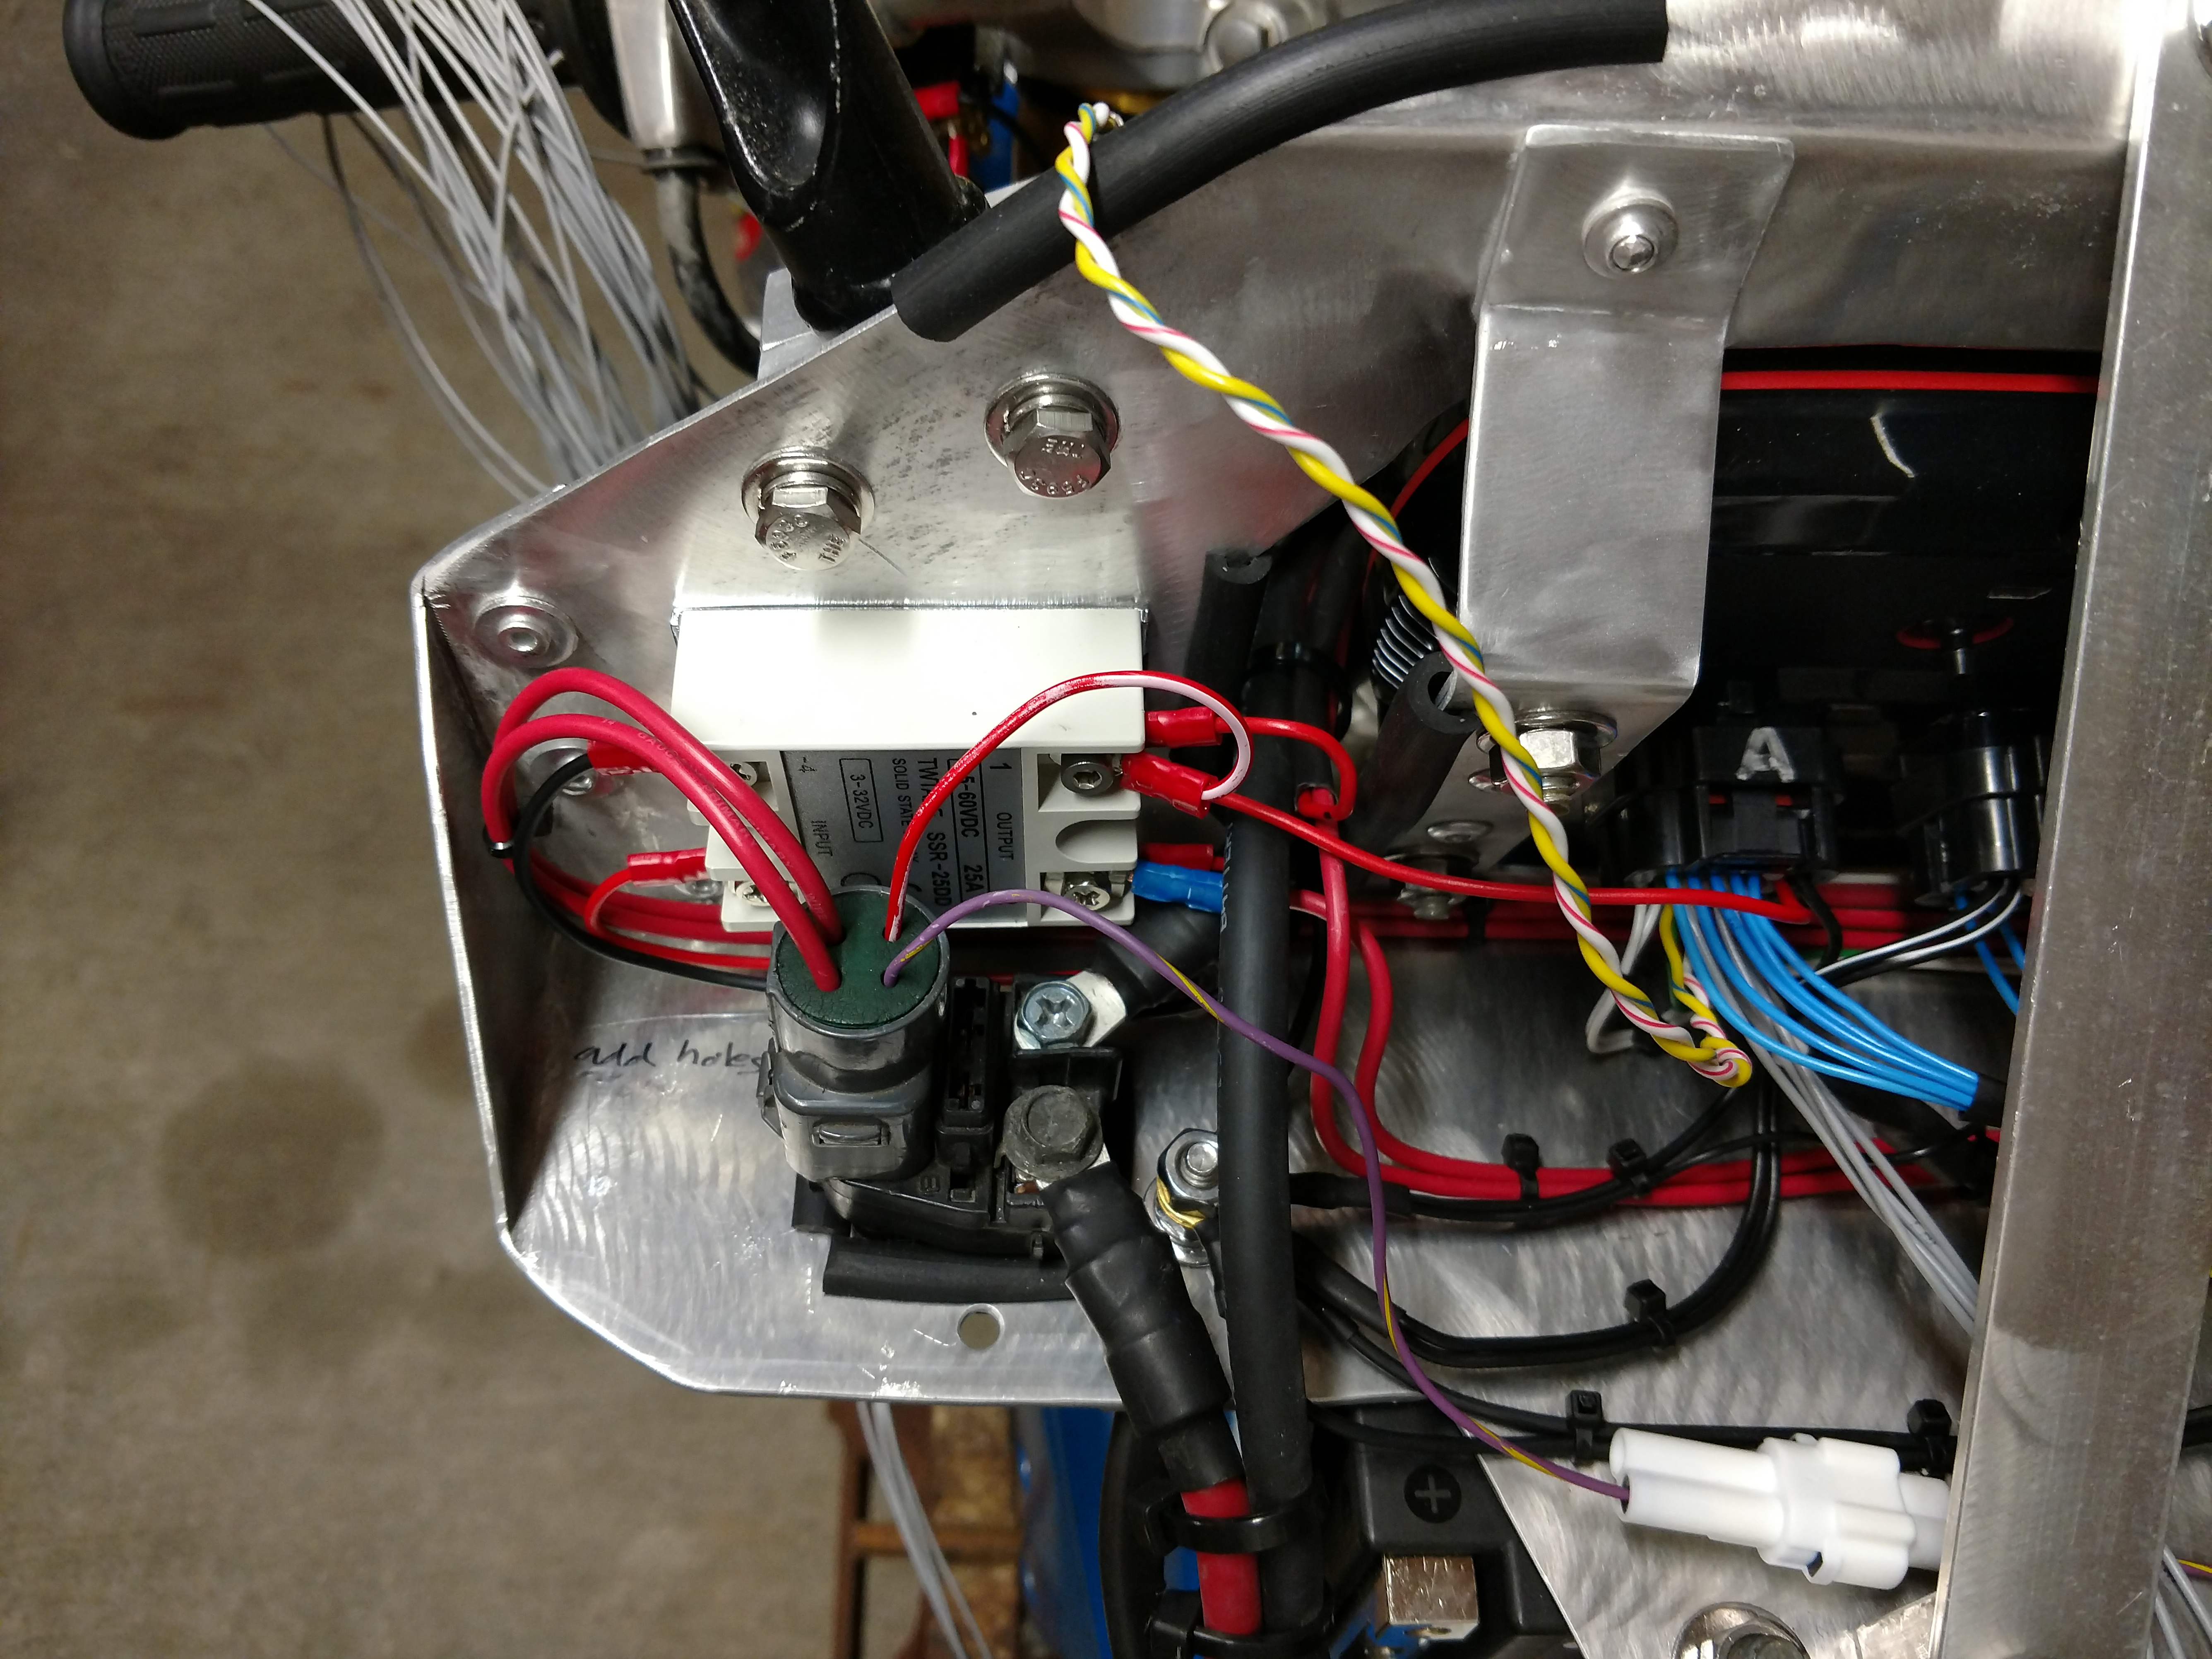
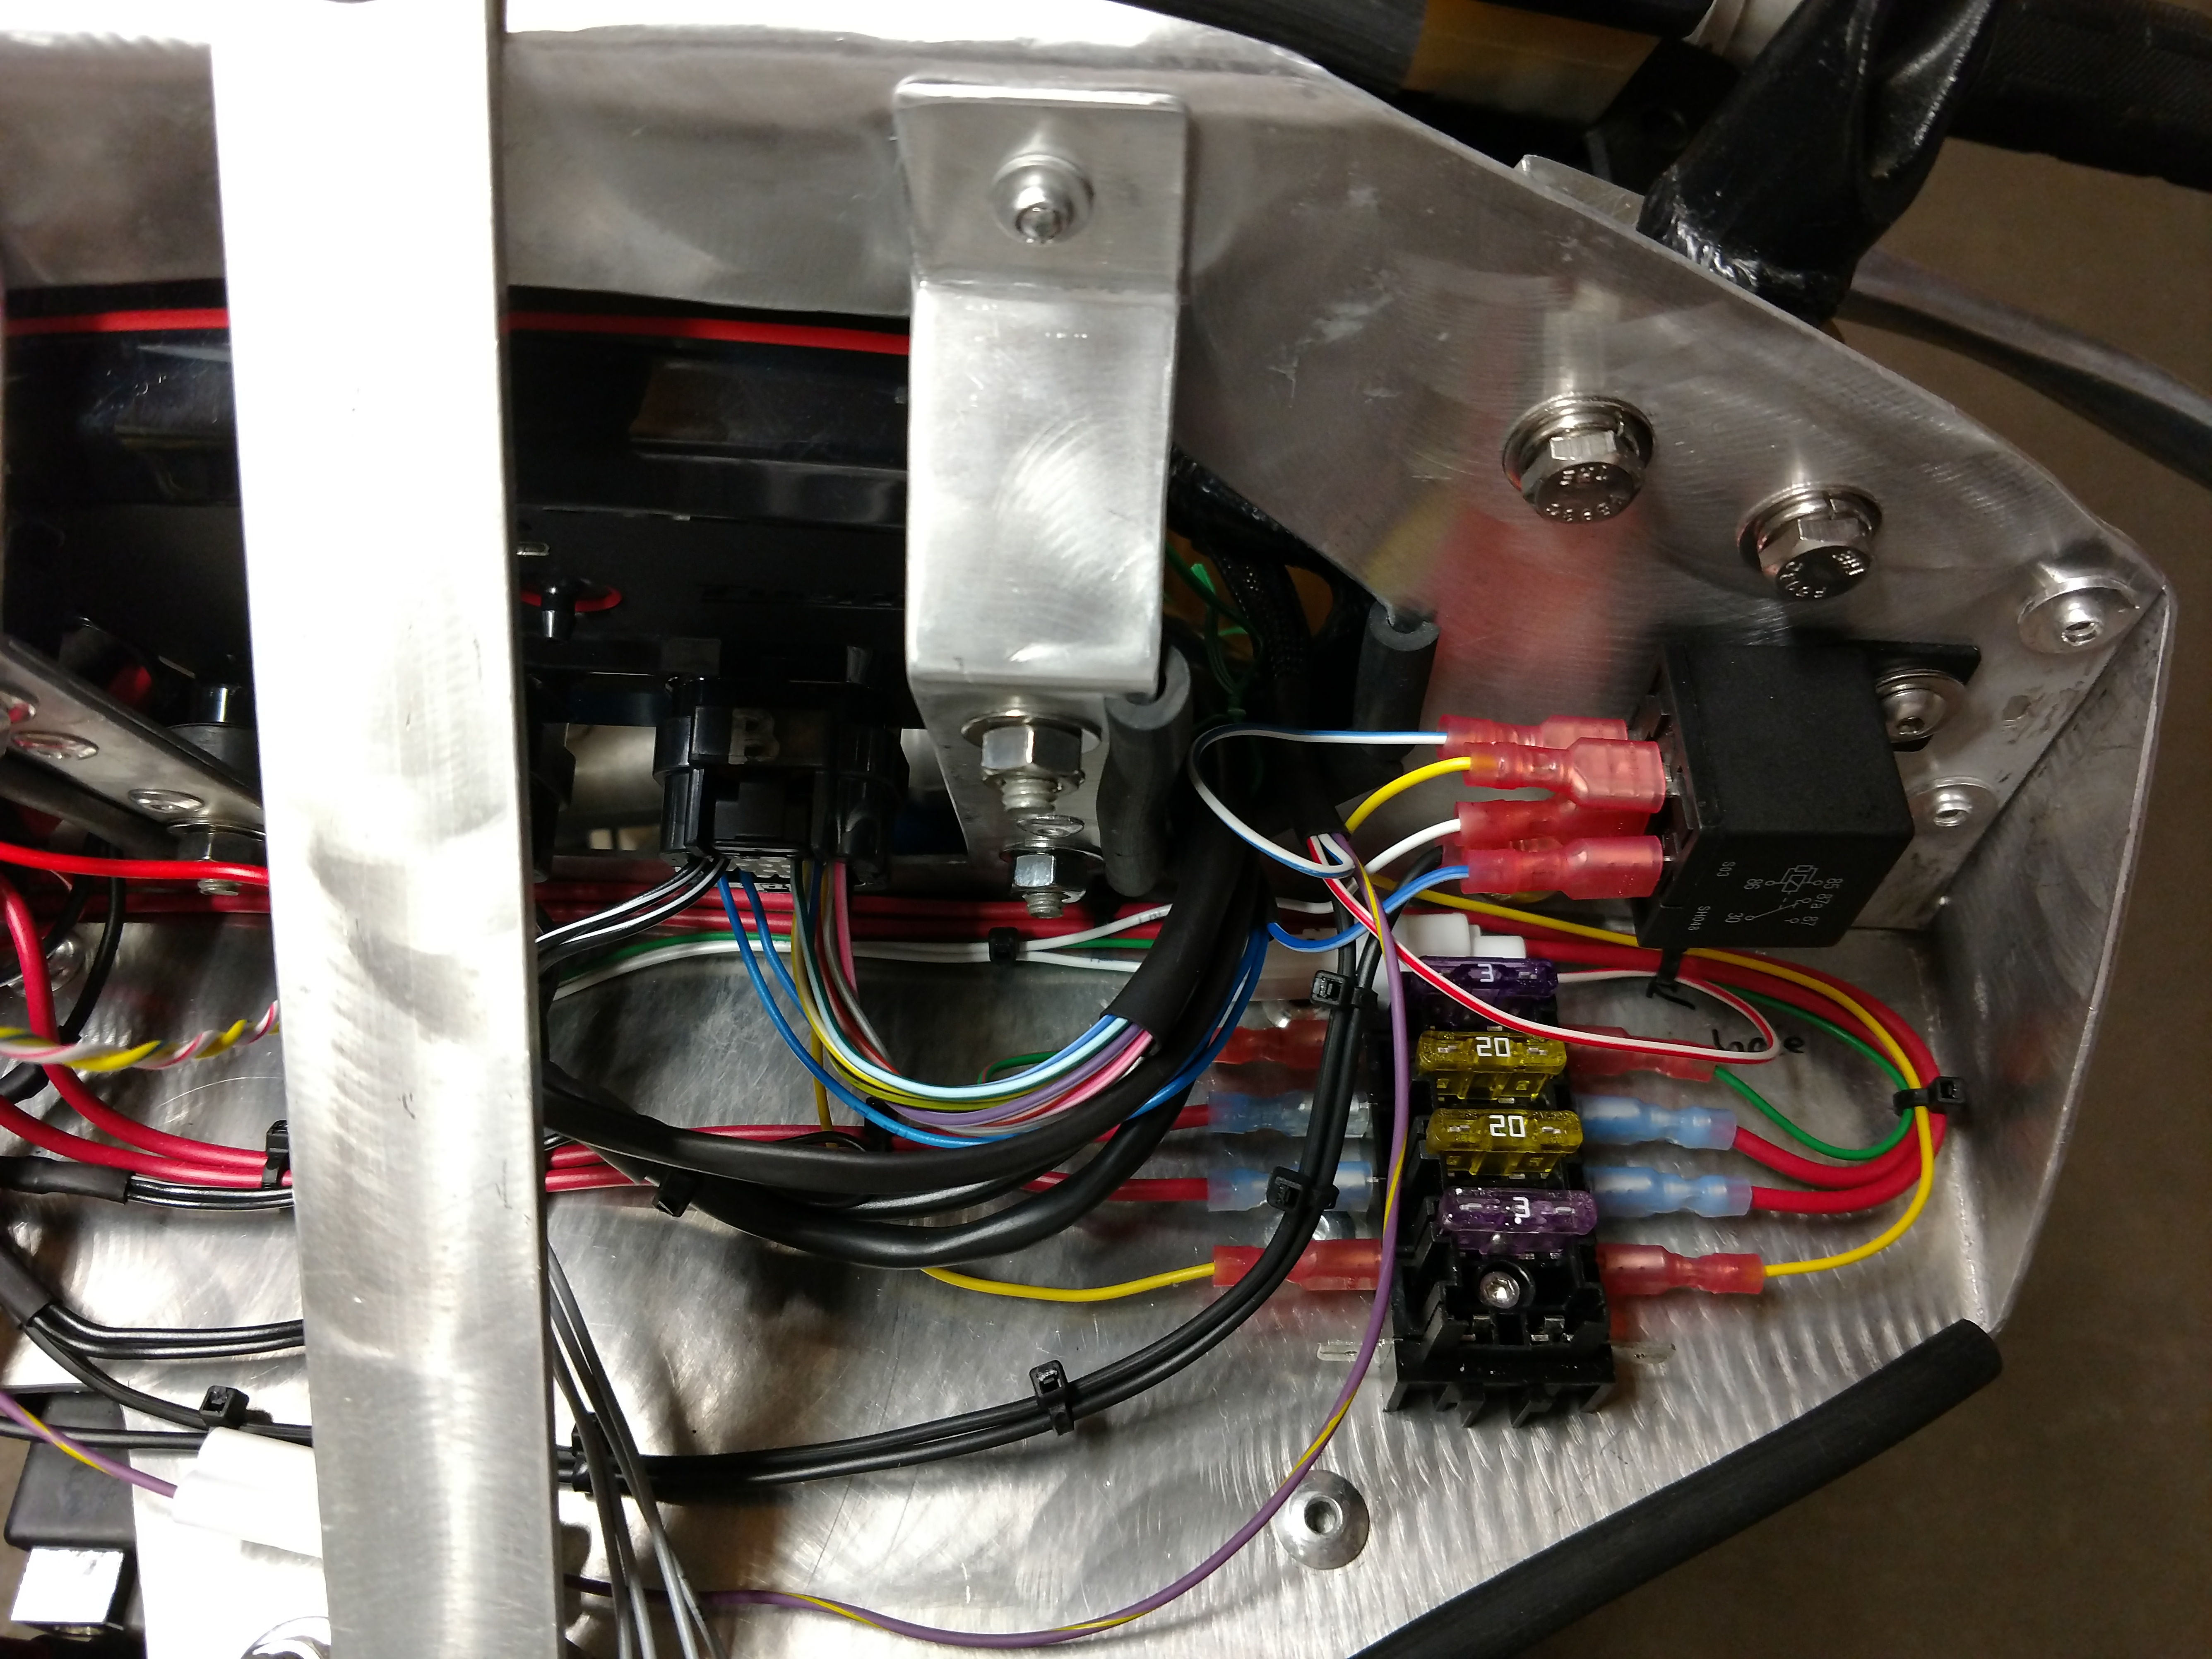
The first iteration of the power circuits in the nose was good, but
not great. I rethought this later for better distribution of the
available fuse slots.
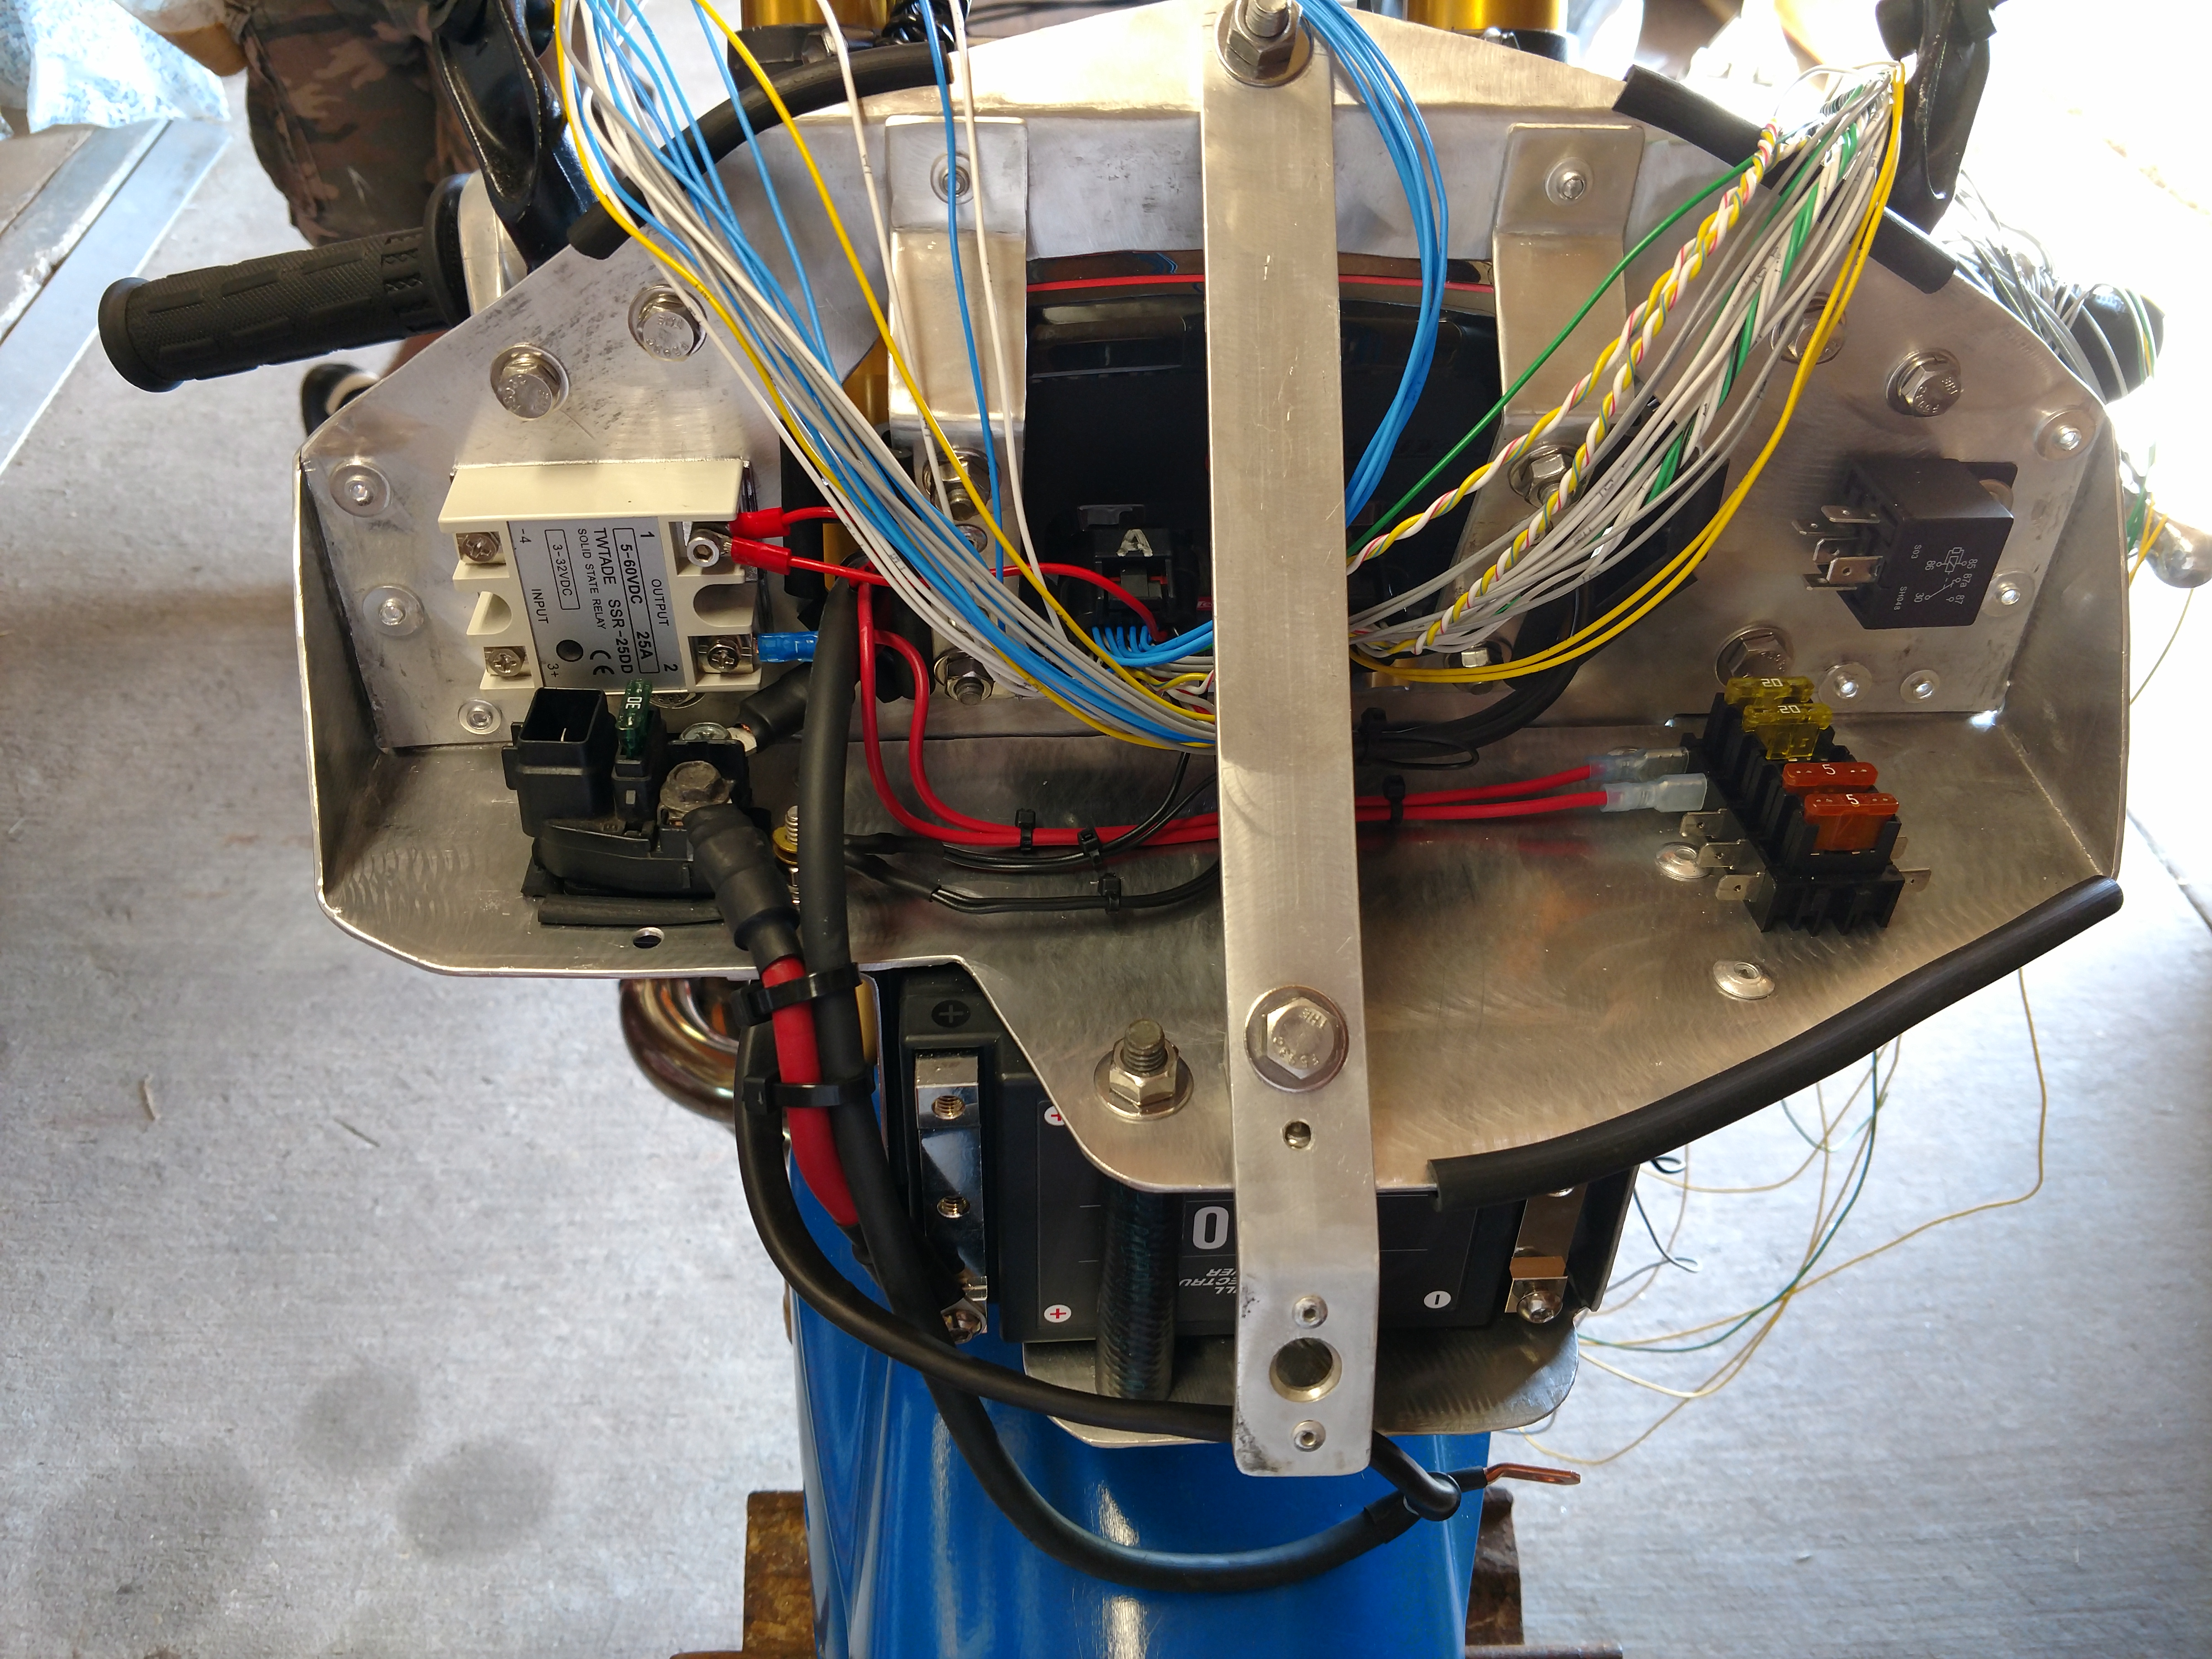
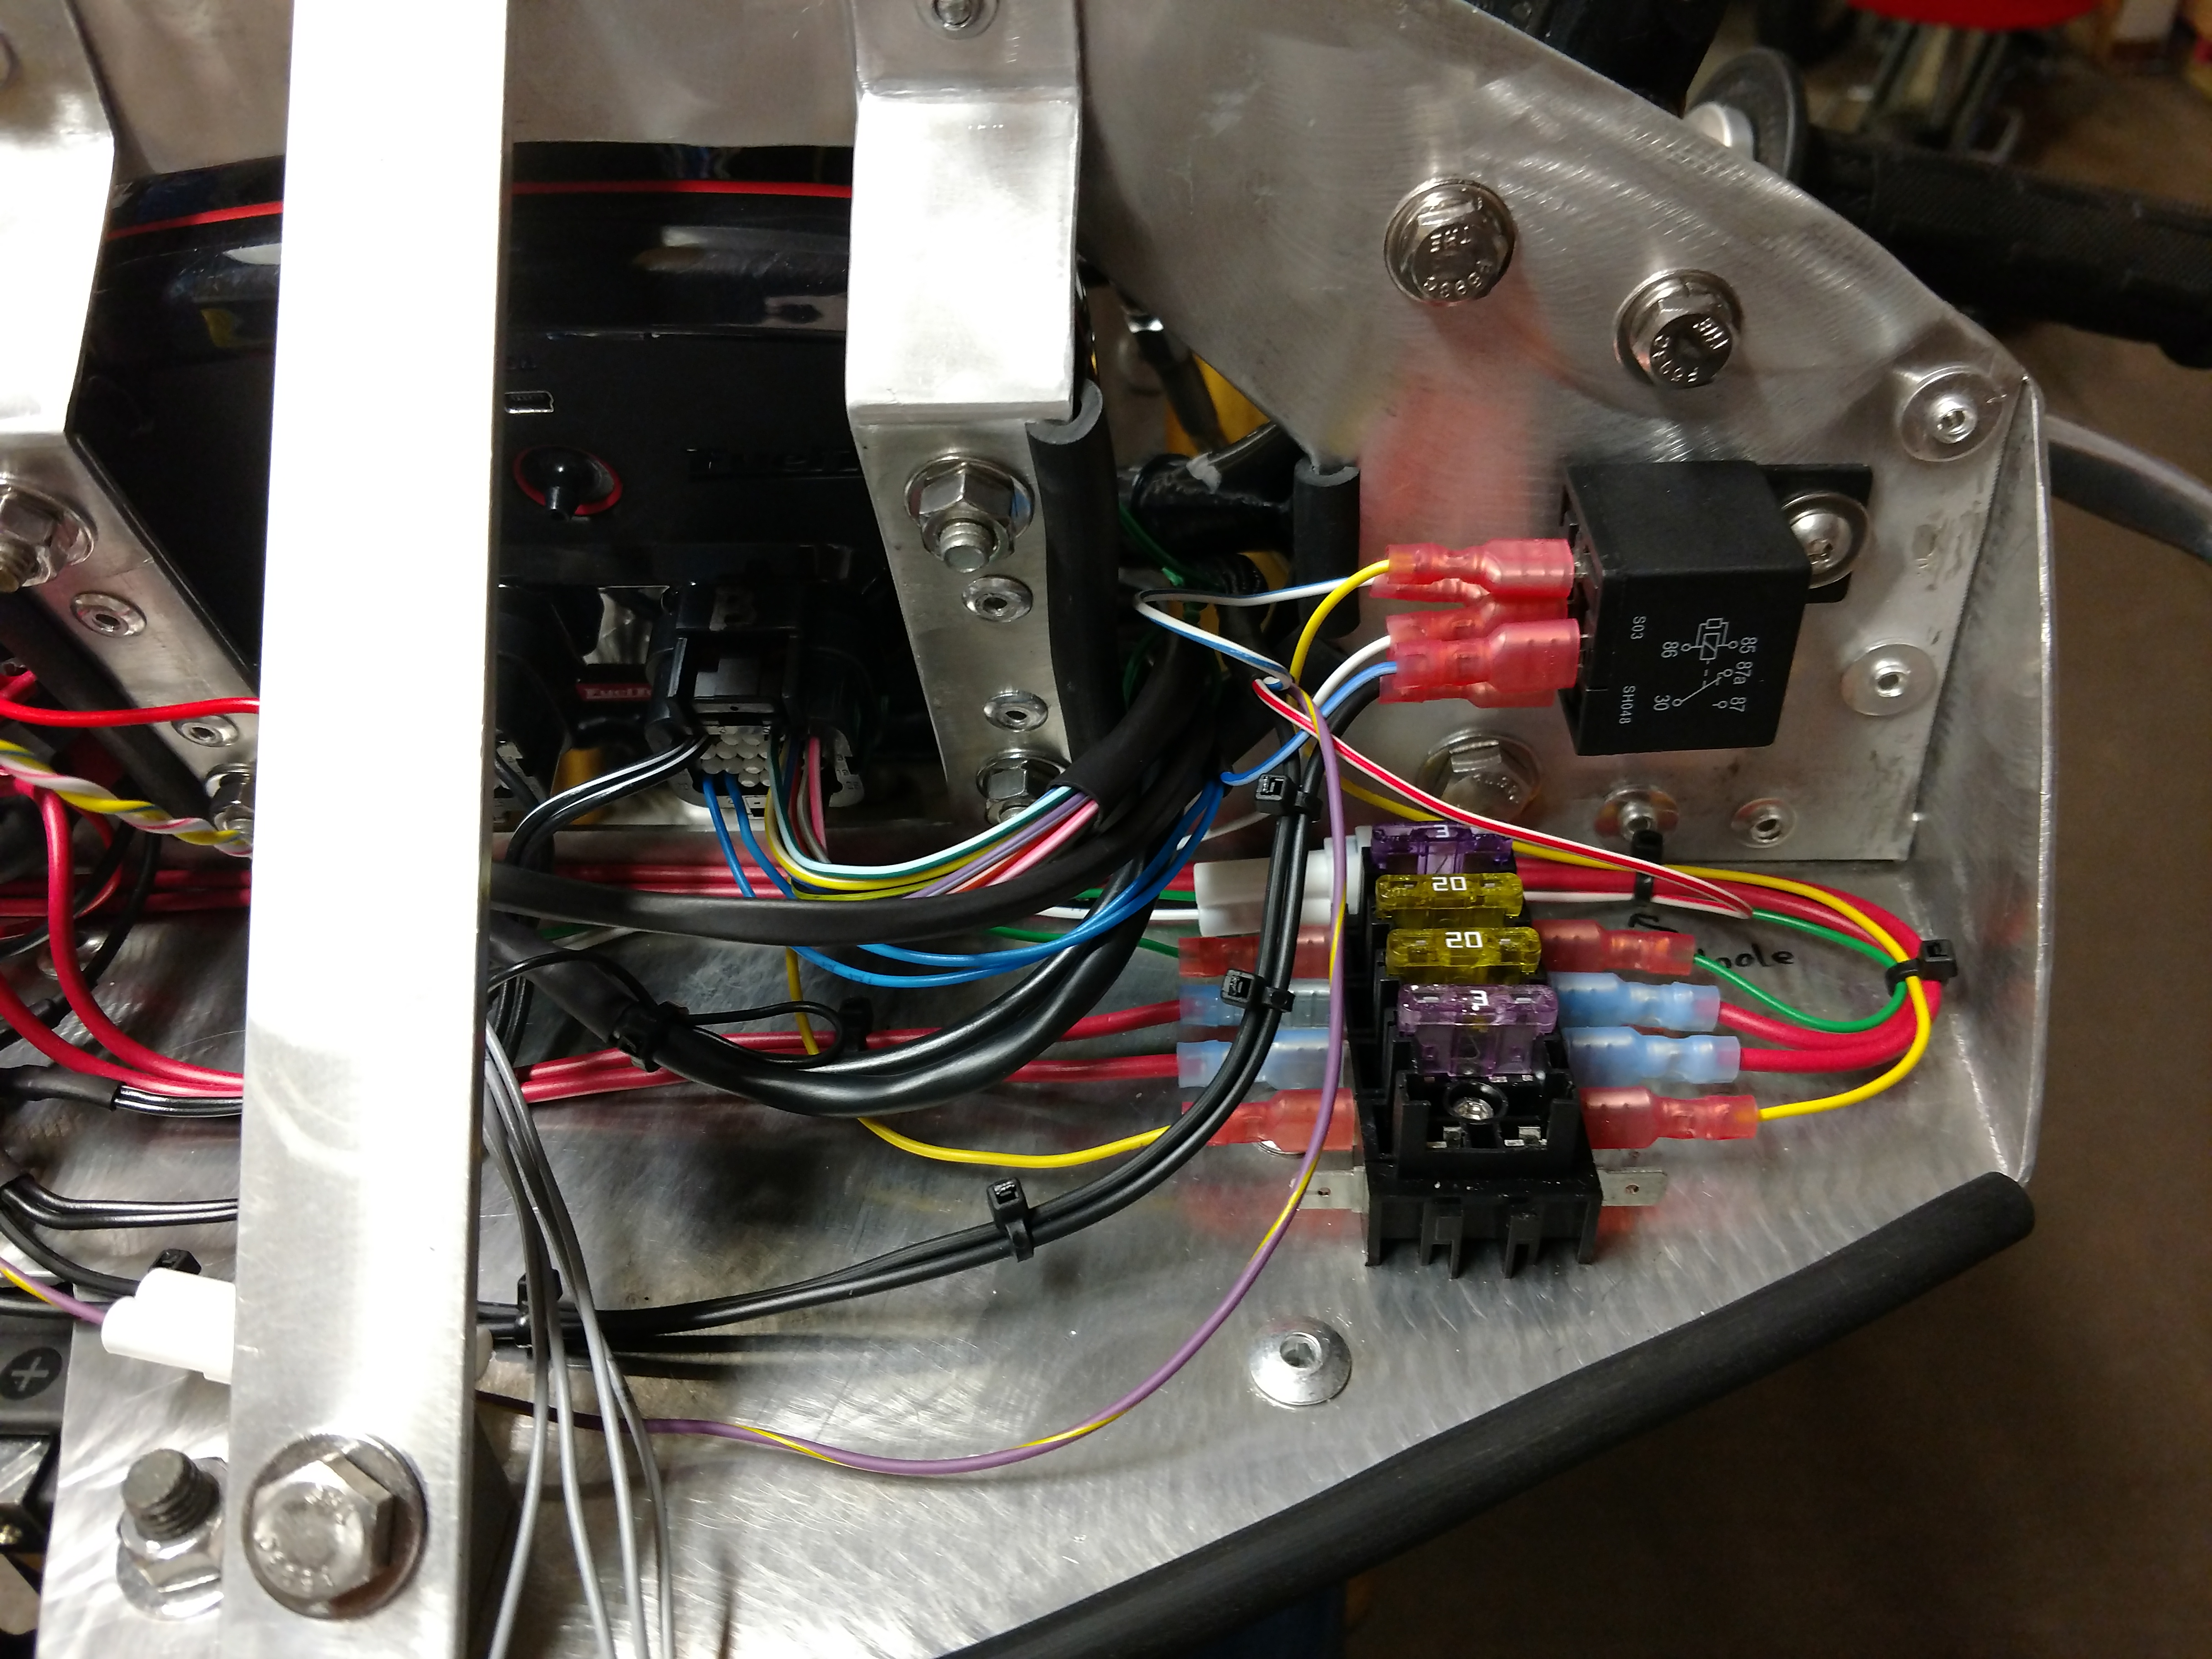
A relay in the dash switches the function of the only button on the
bike between launch control and ride back trigger.
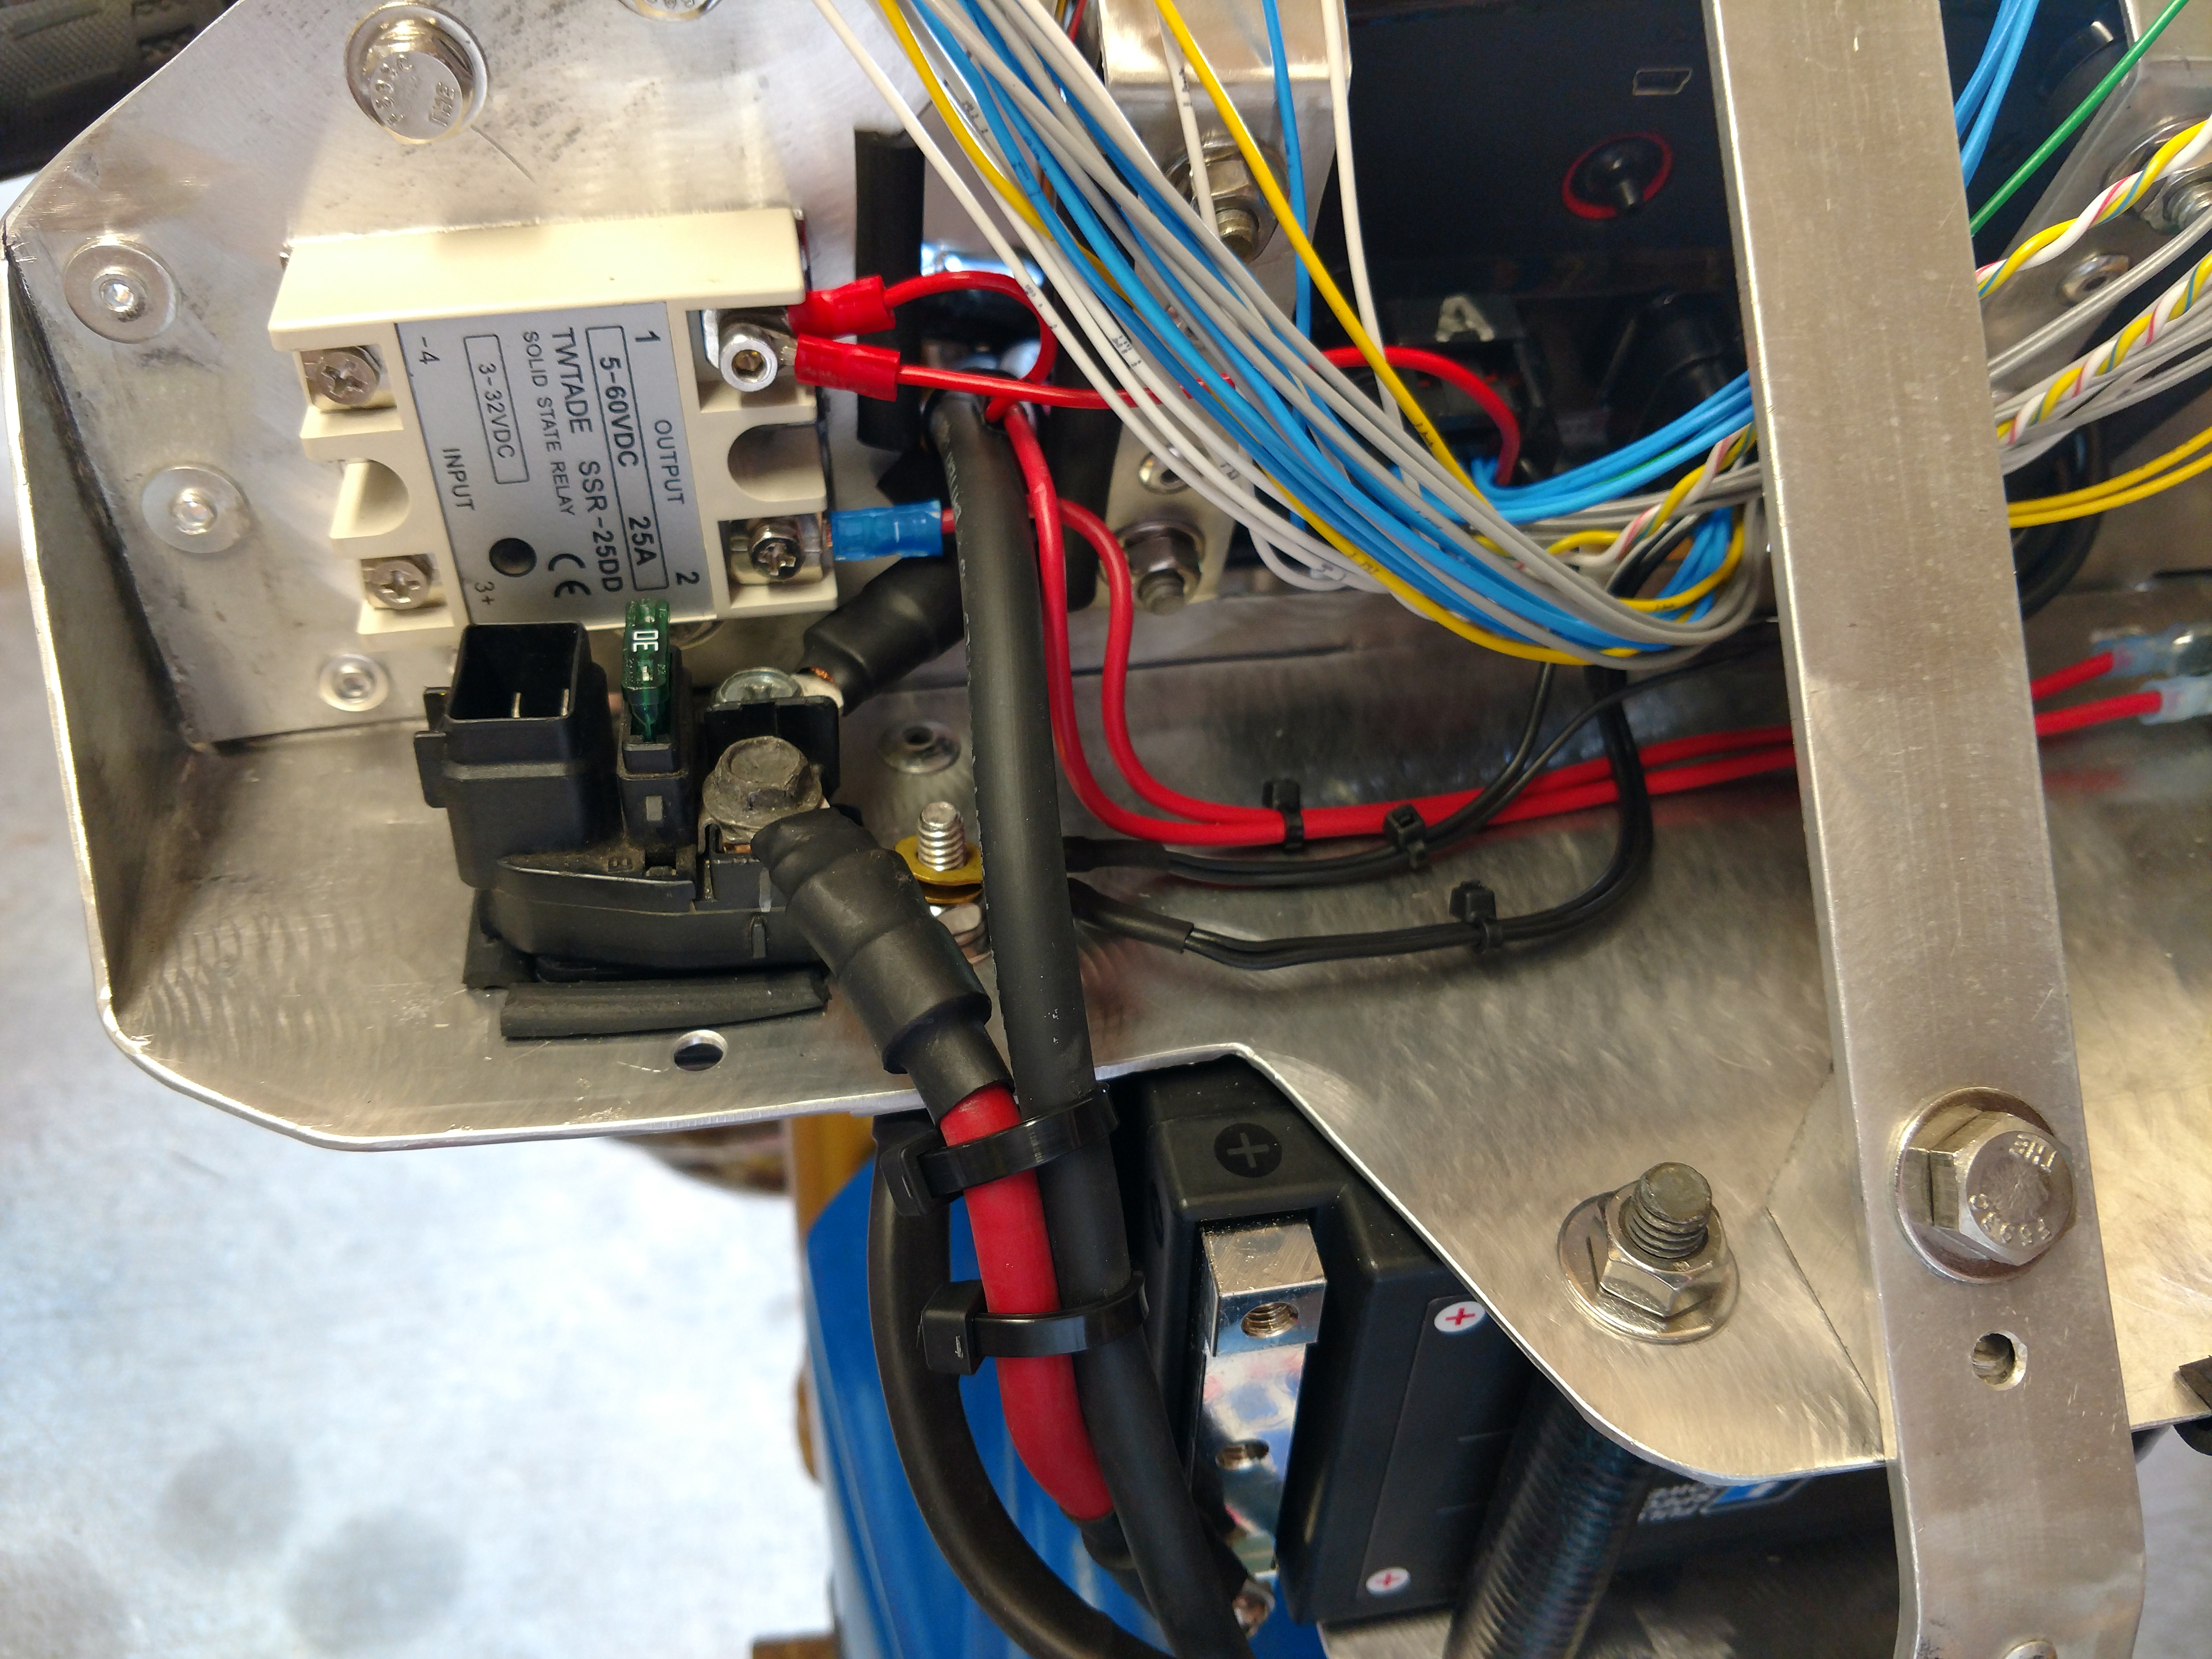
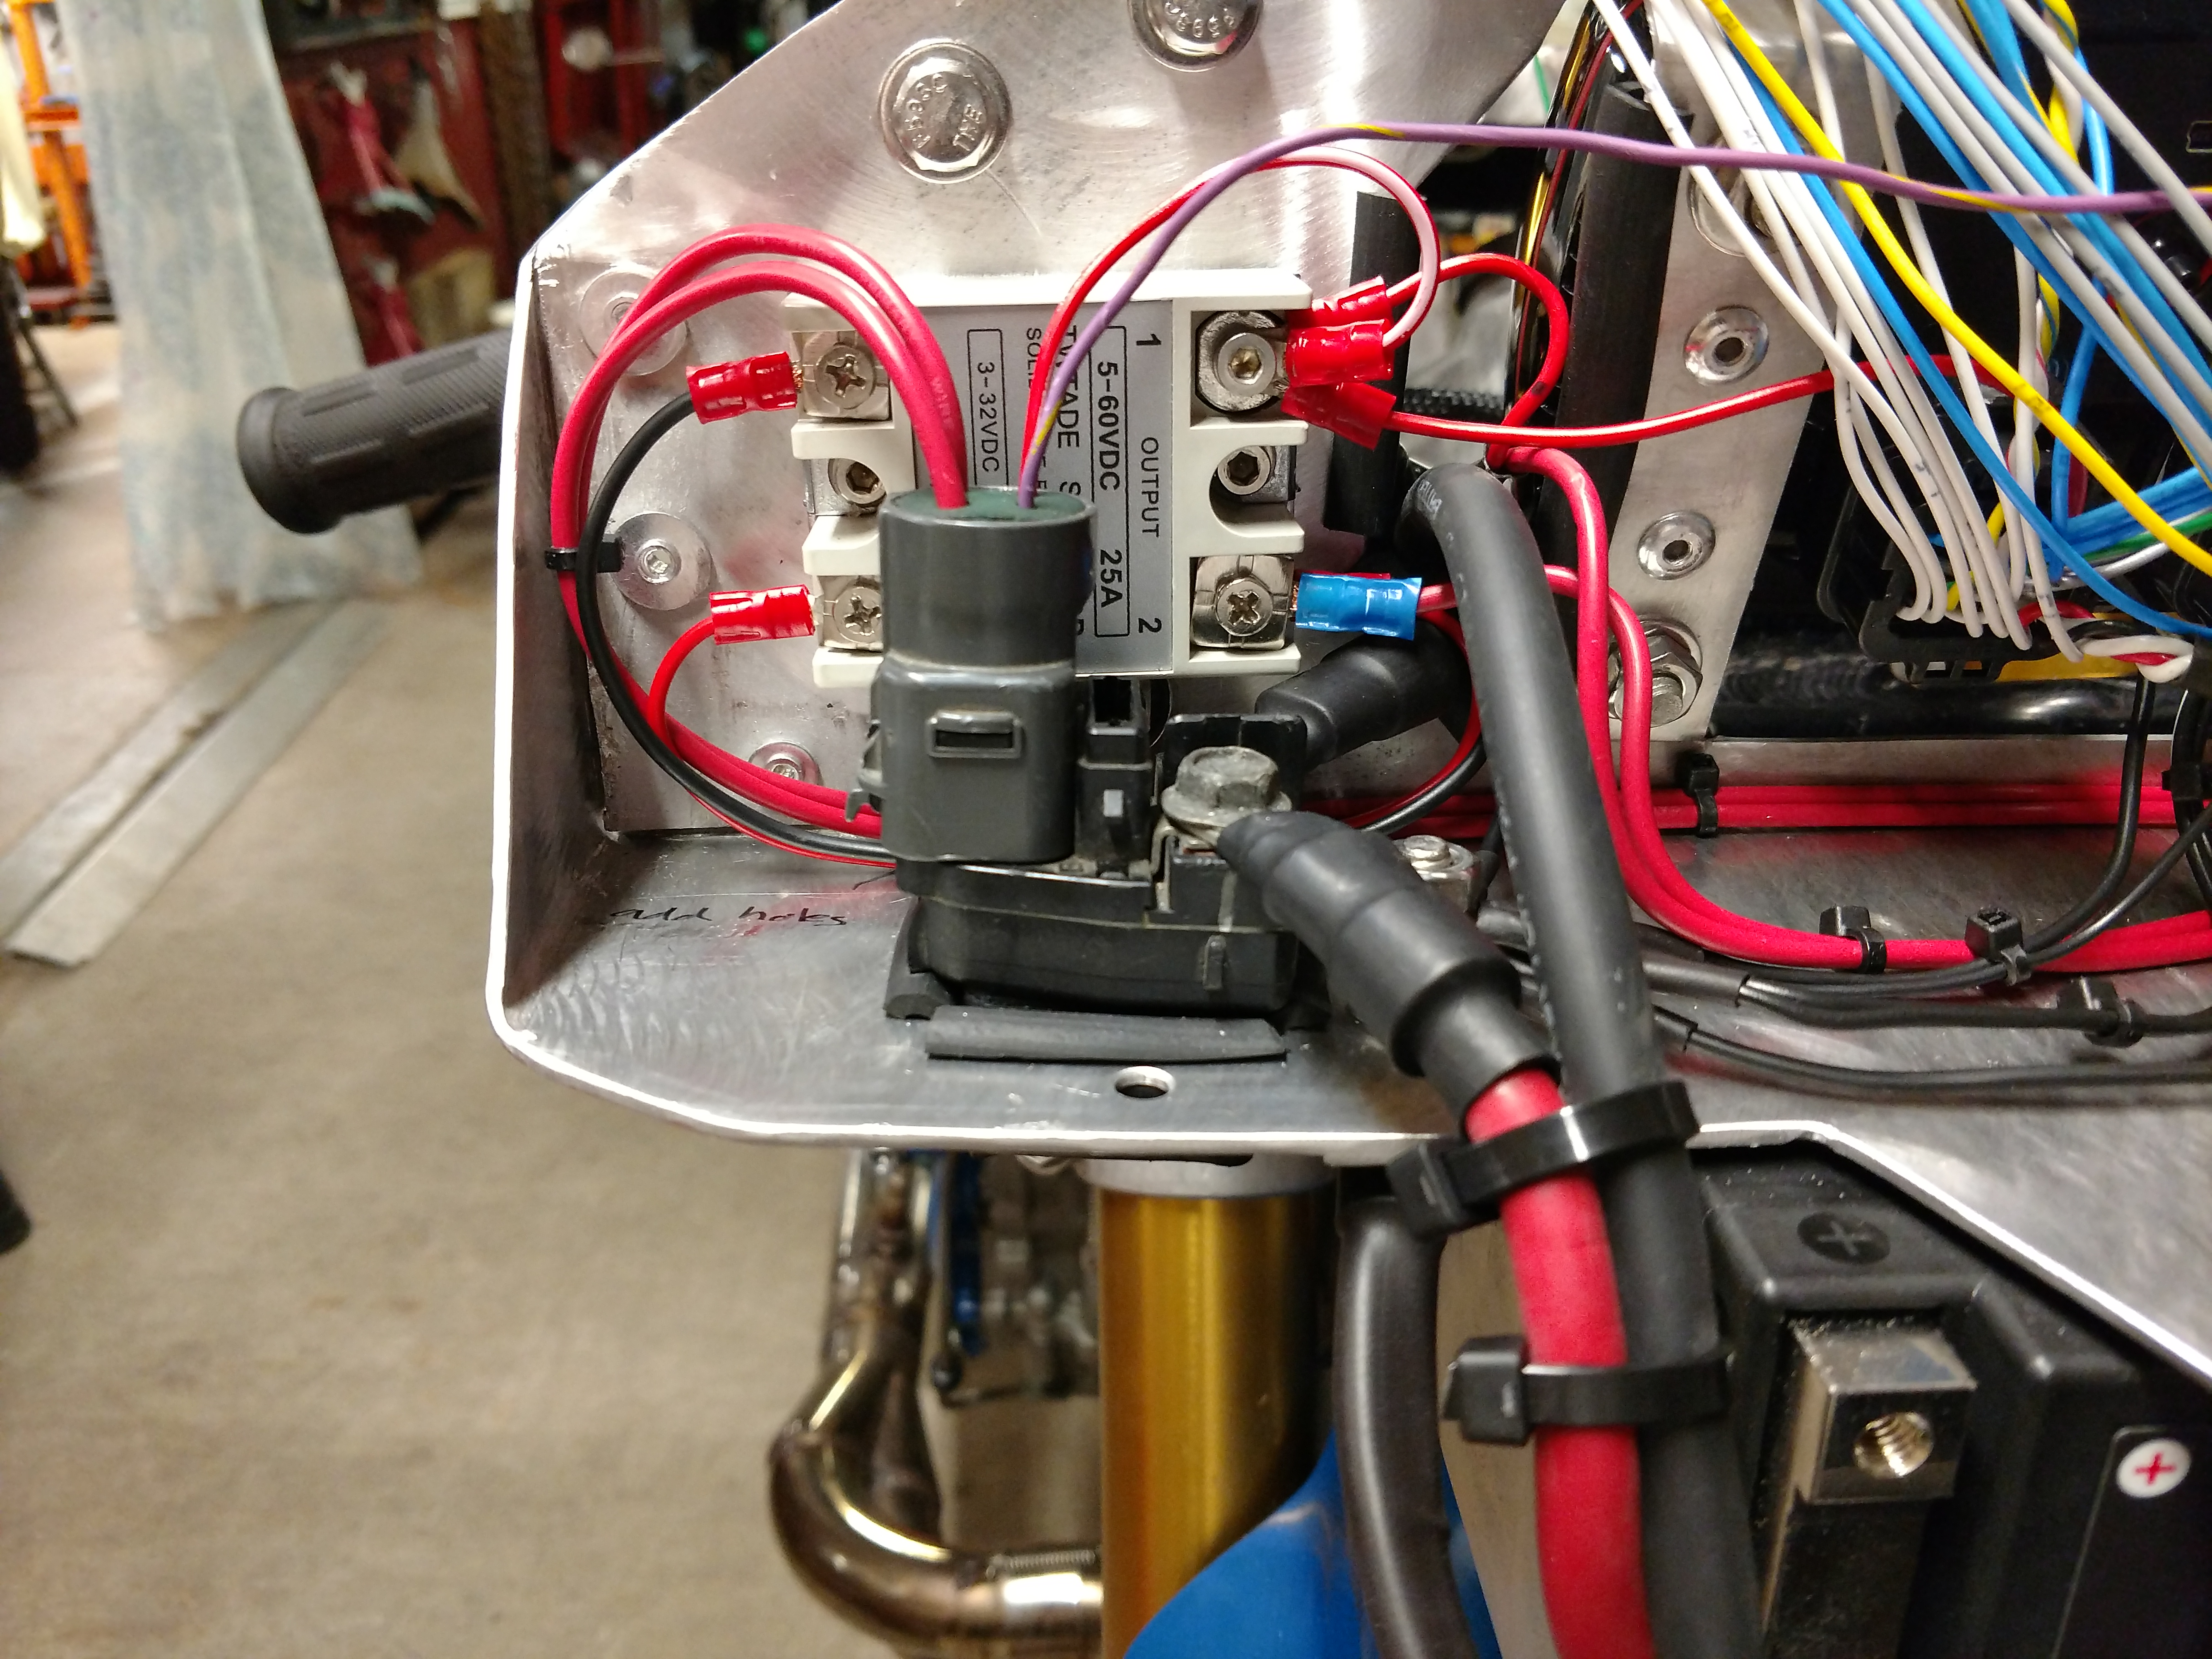
The OEM solenoid works well and provides a good starting point
for 12V distribution.
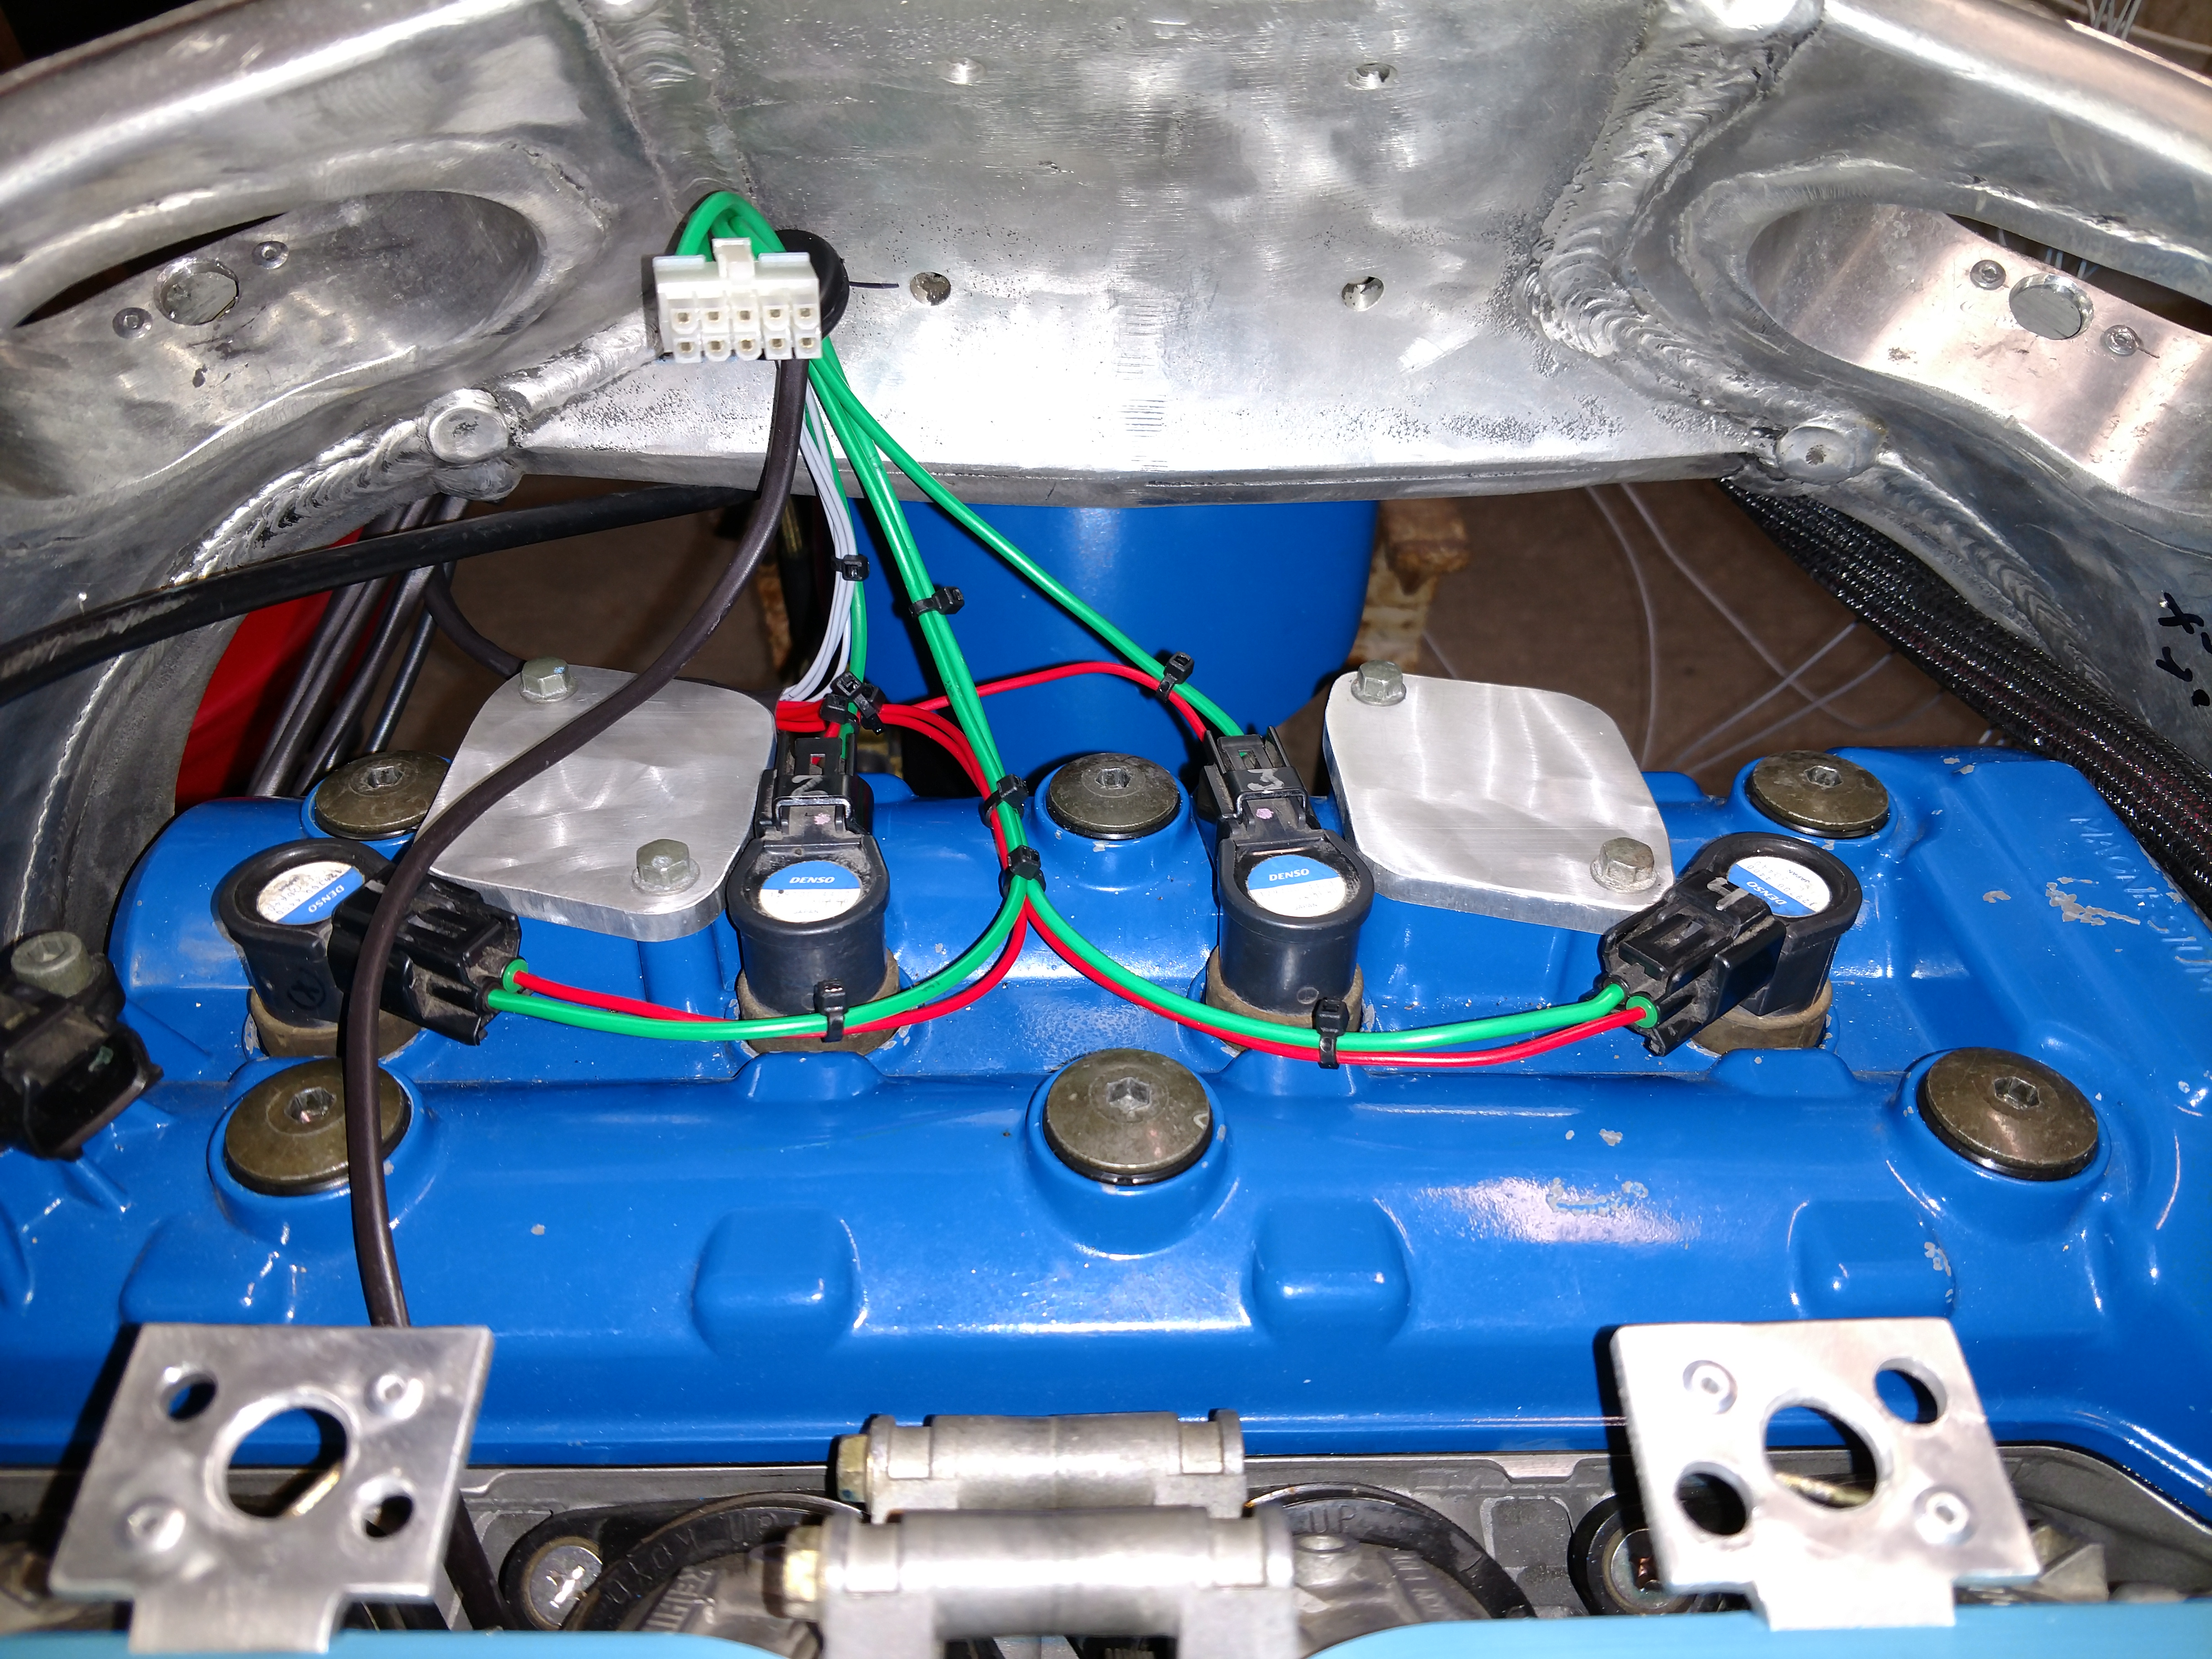
The coils require FuelTech's Spark Pro ignitor which will be
mounted on the airbox tray.
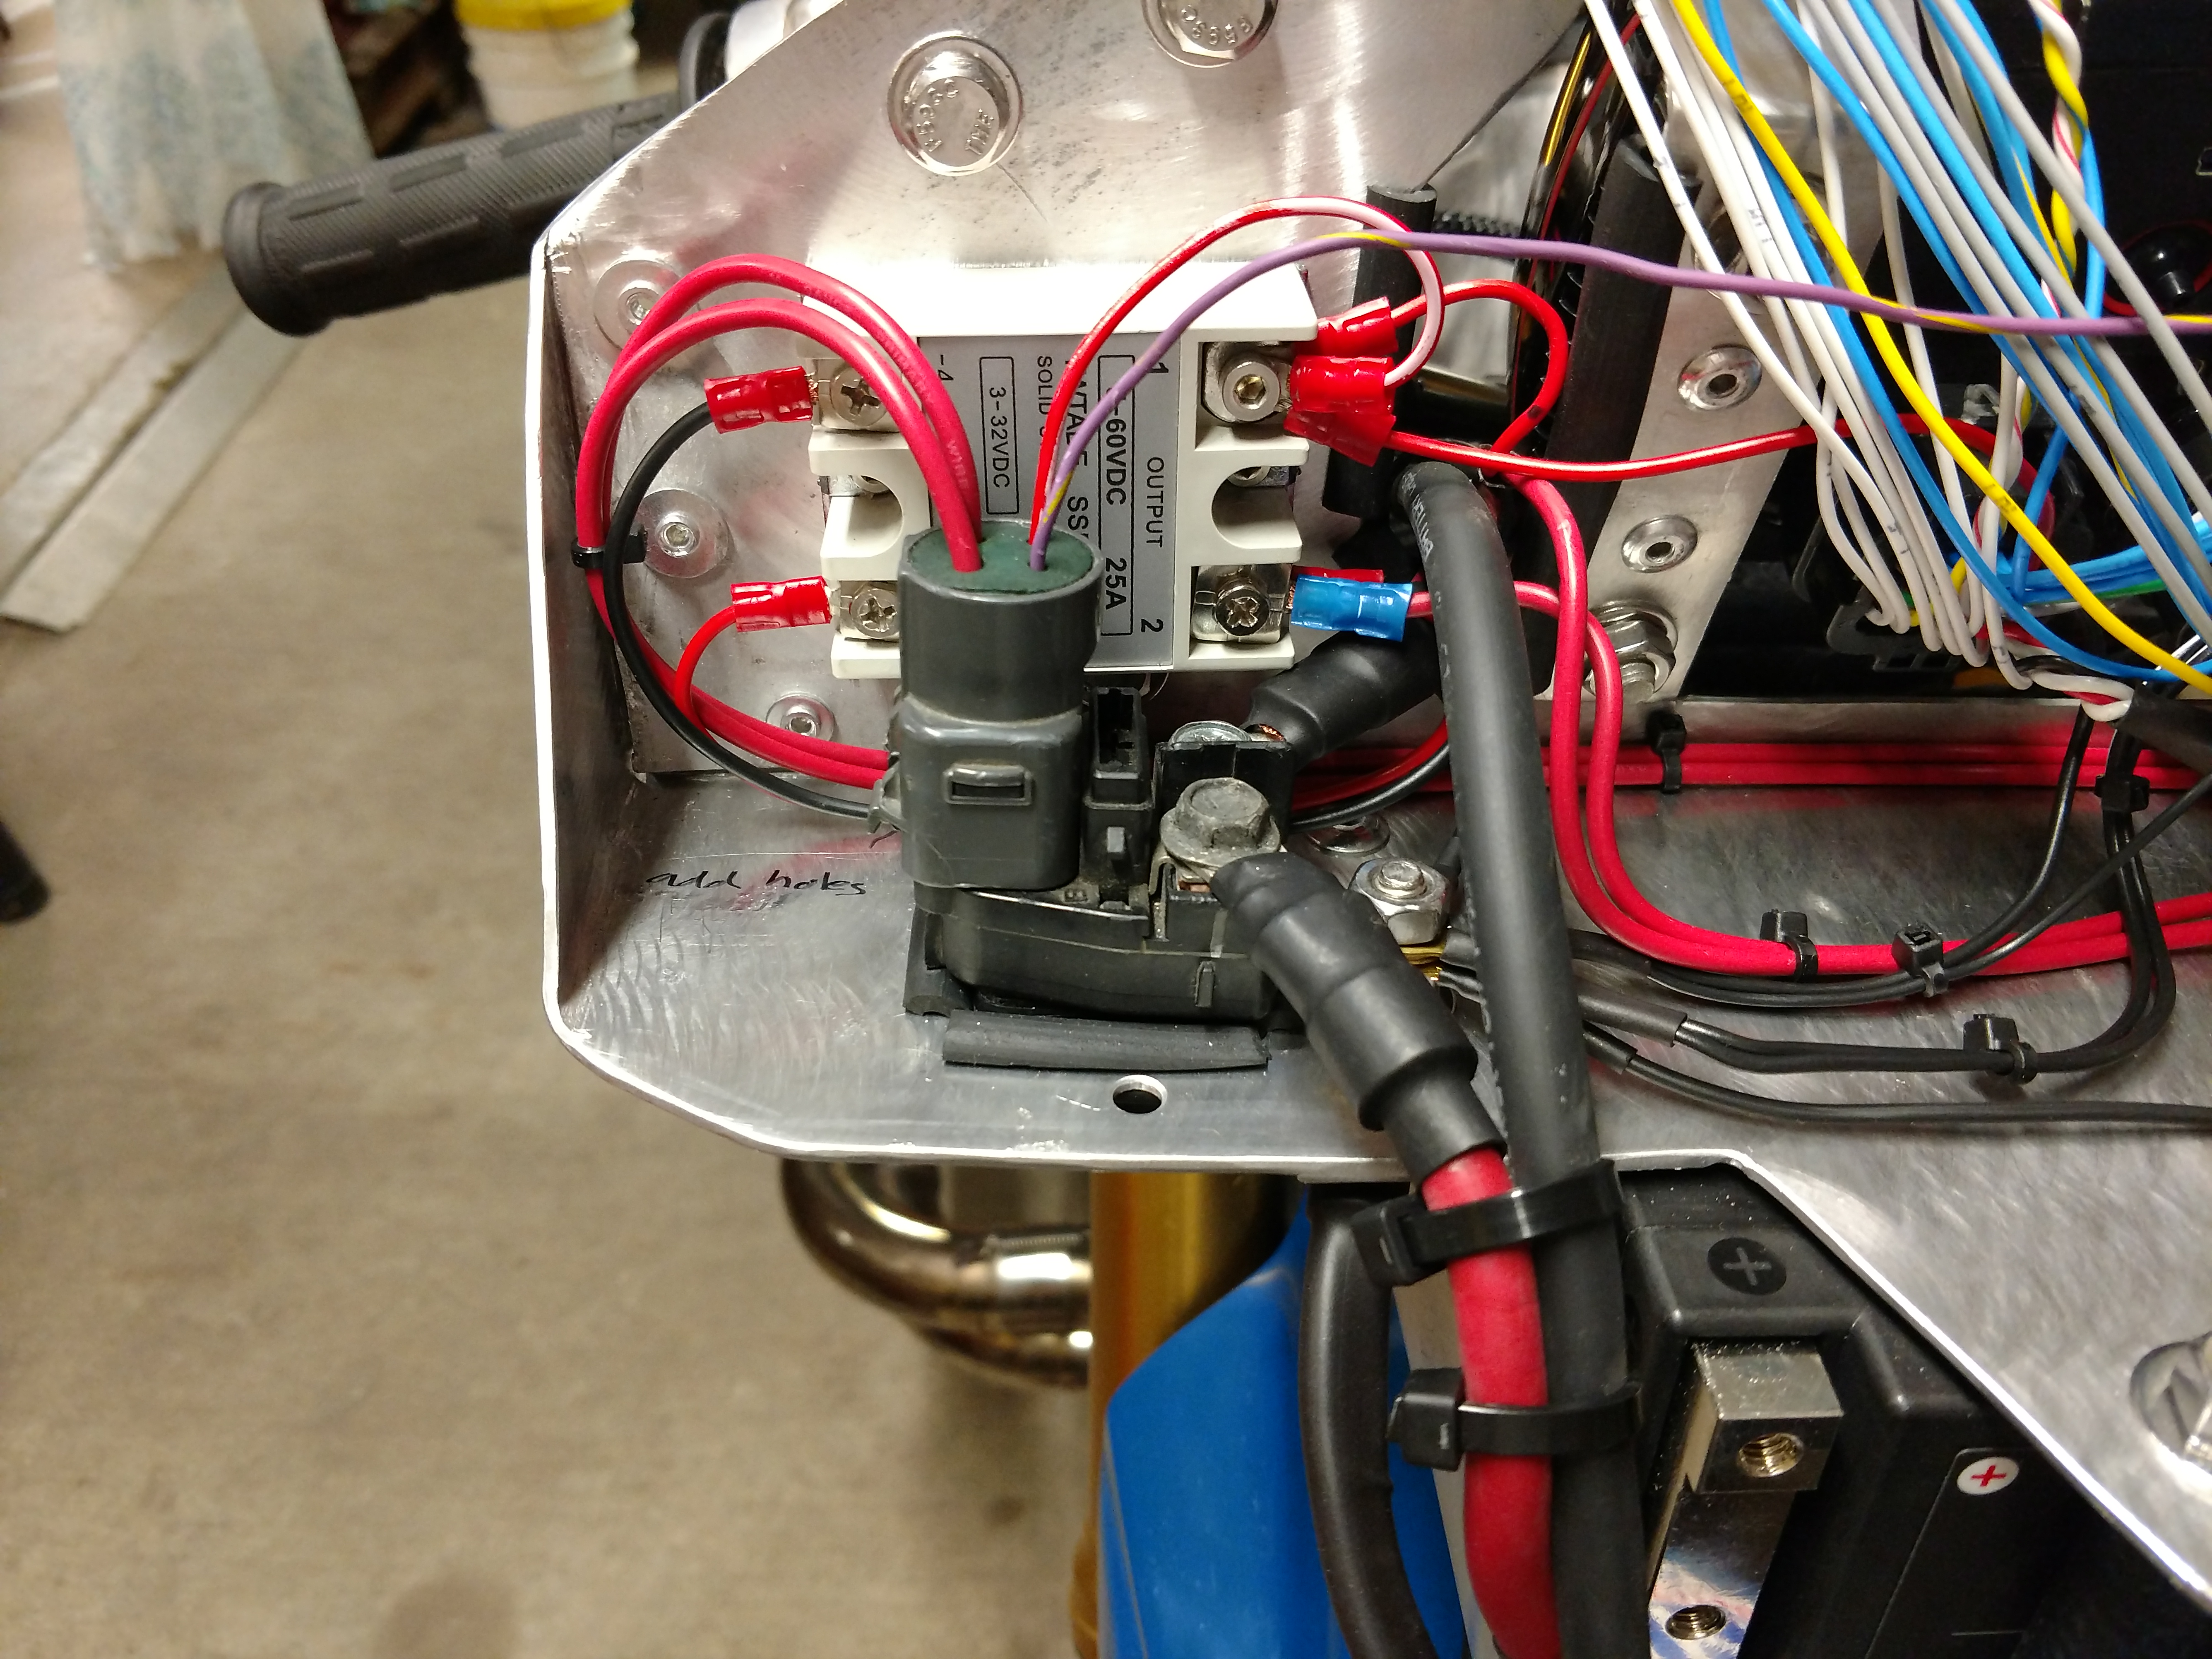
The first layout of the nose wiring had a few circuits that I
later rearranged.
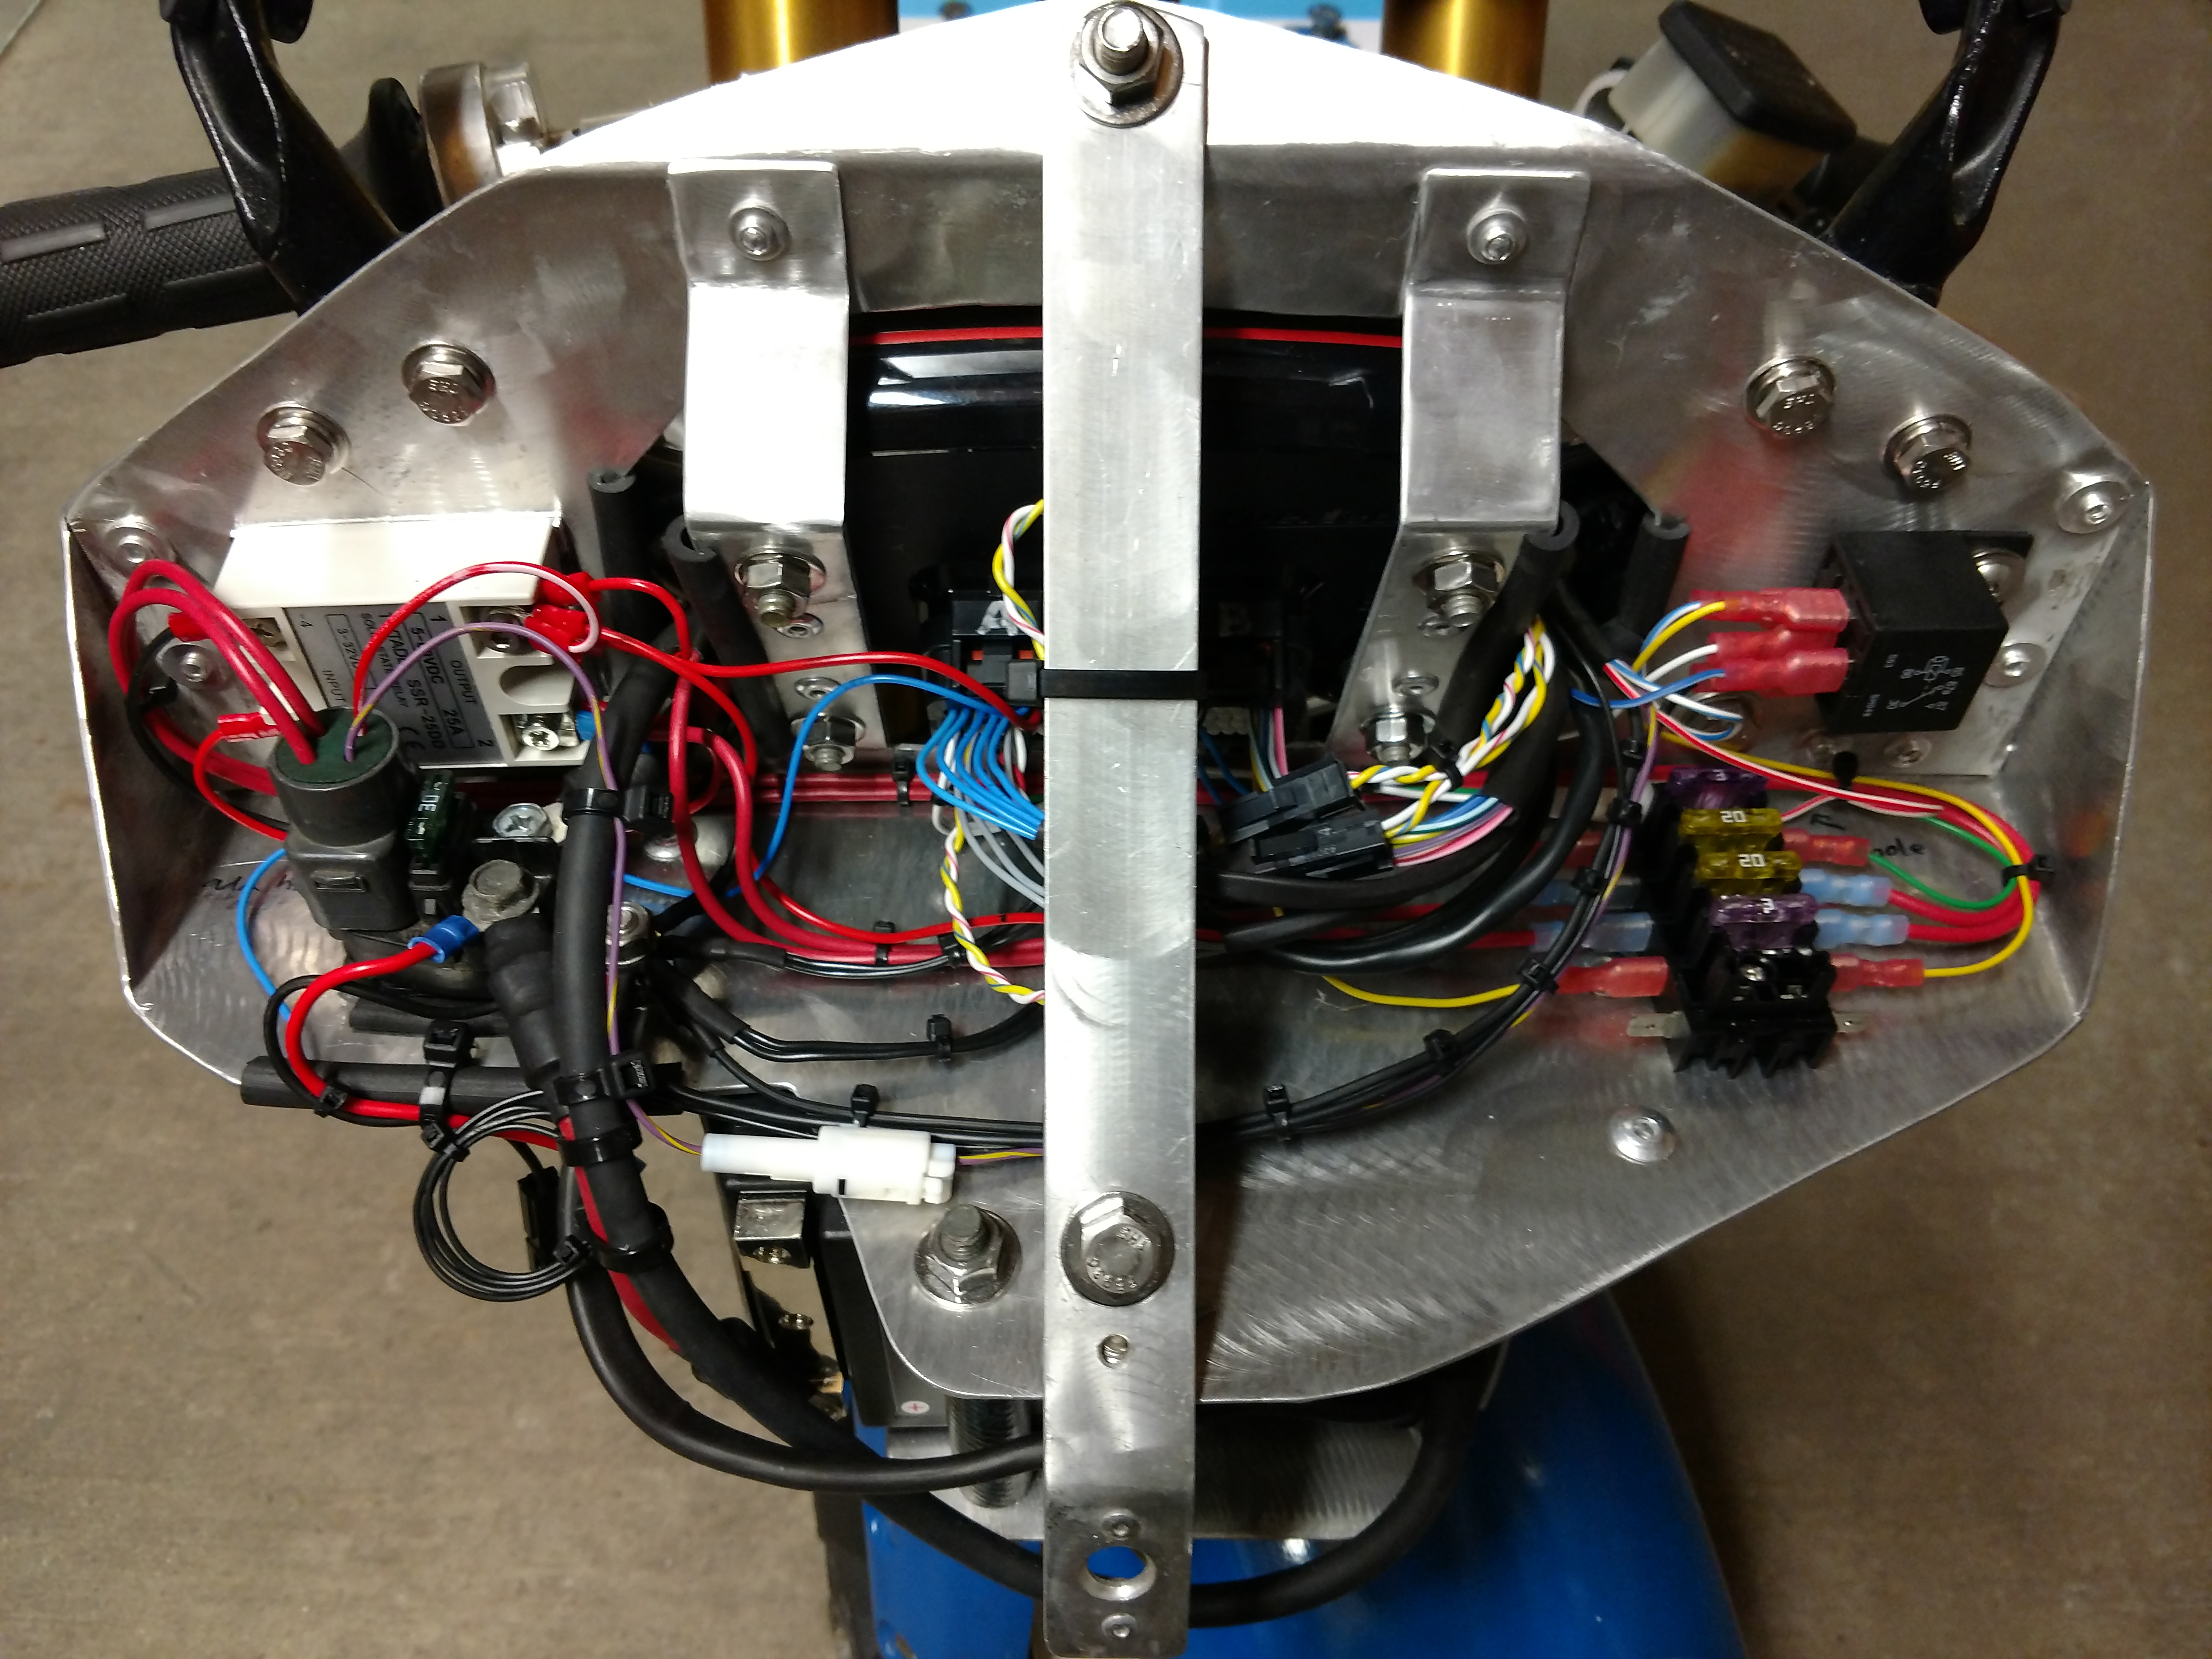
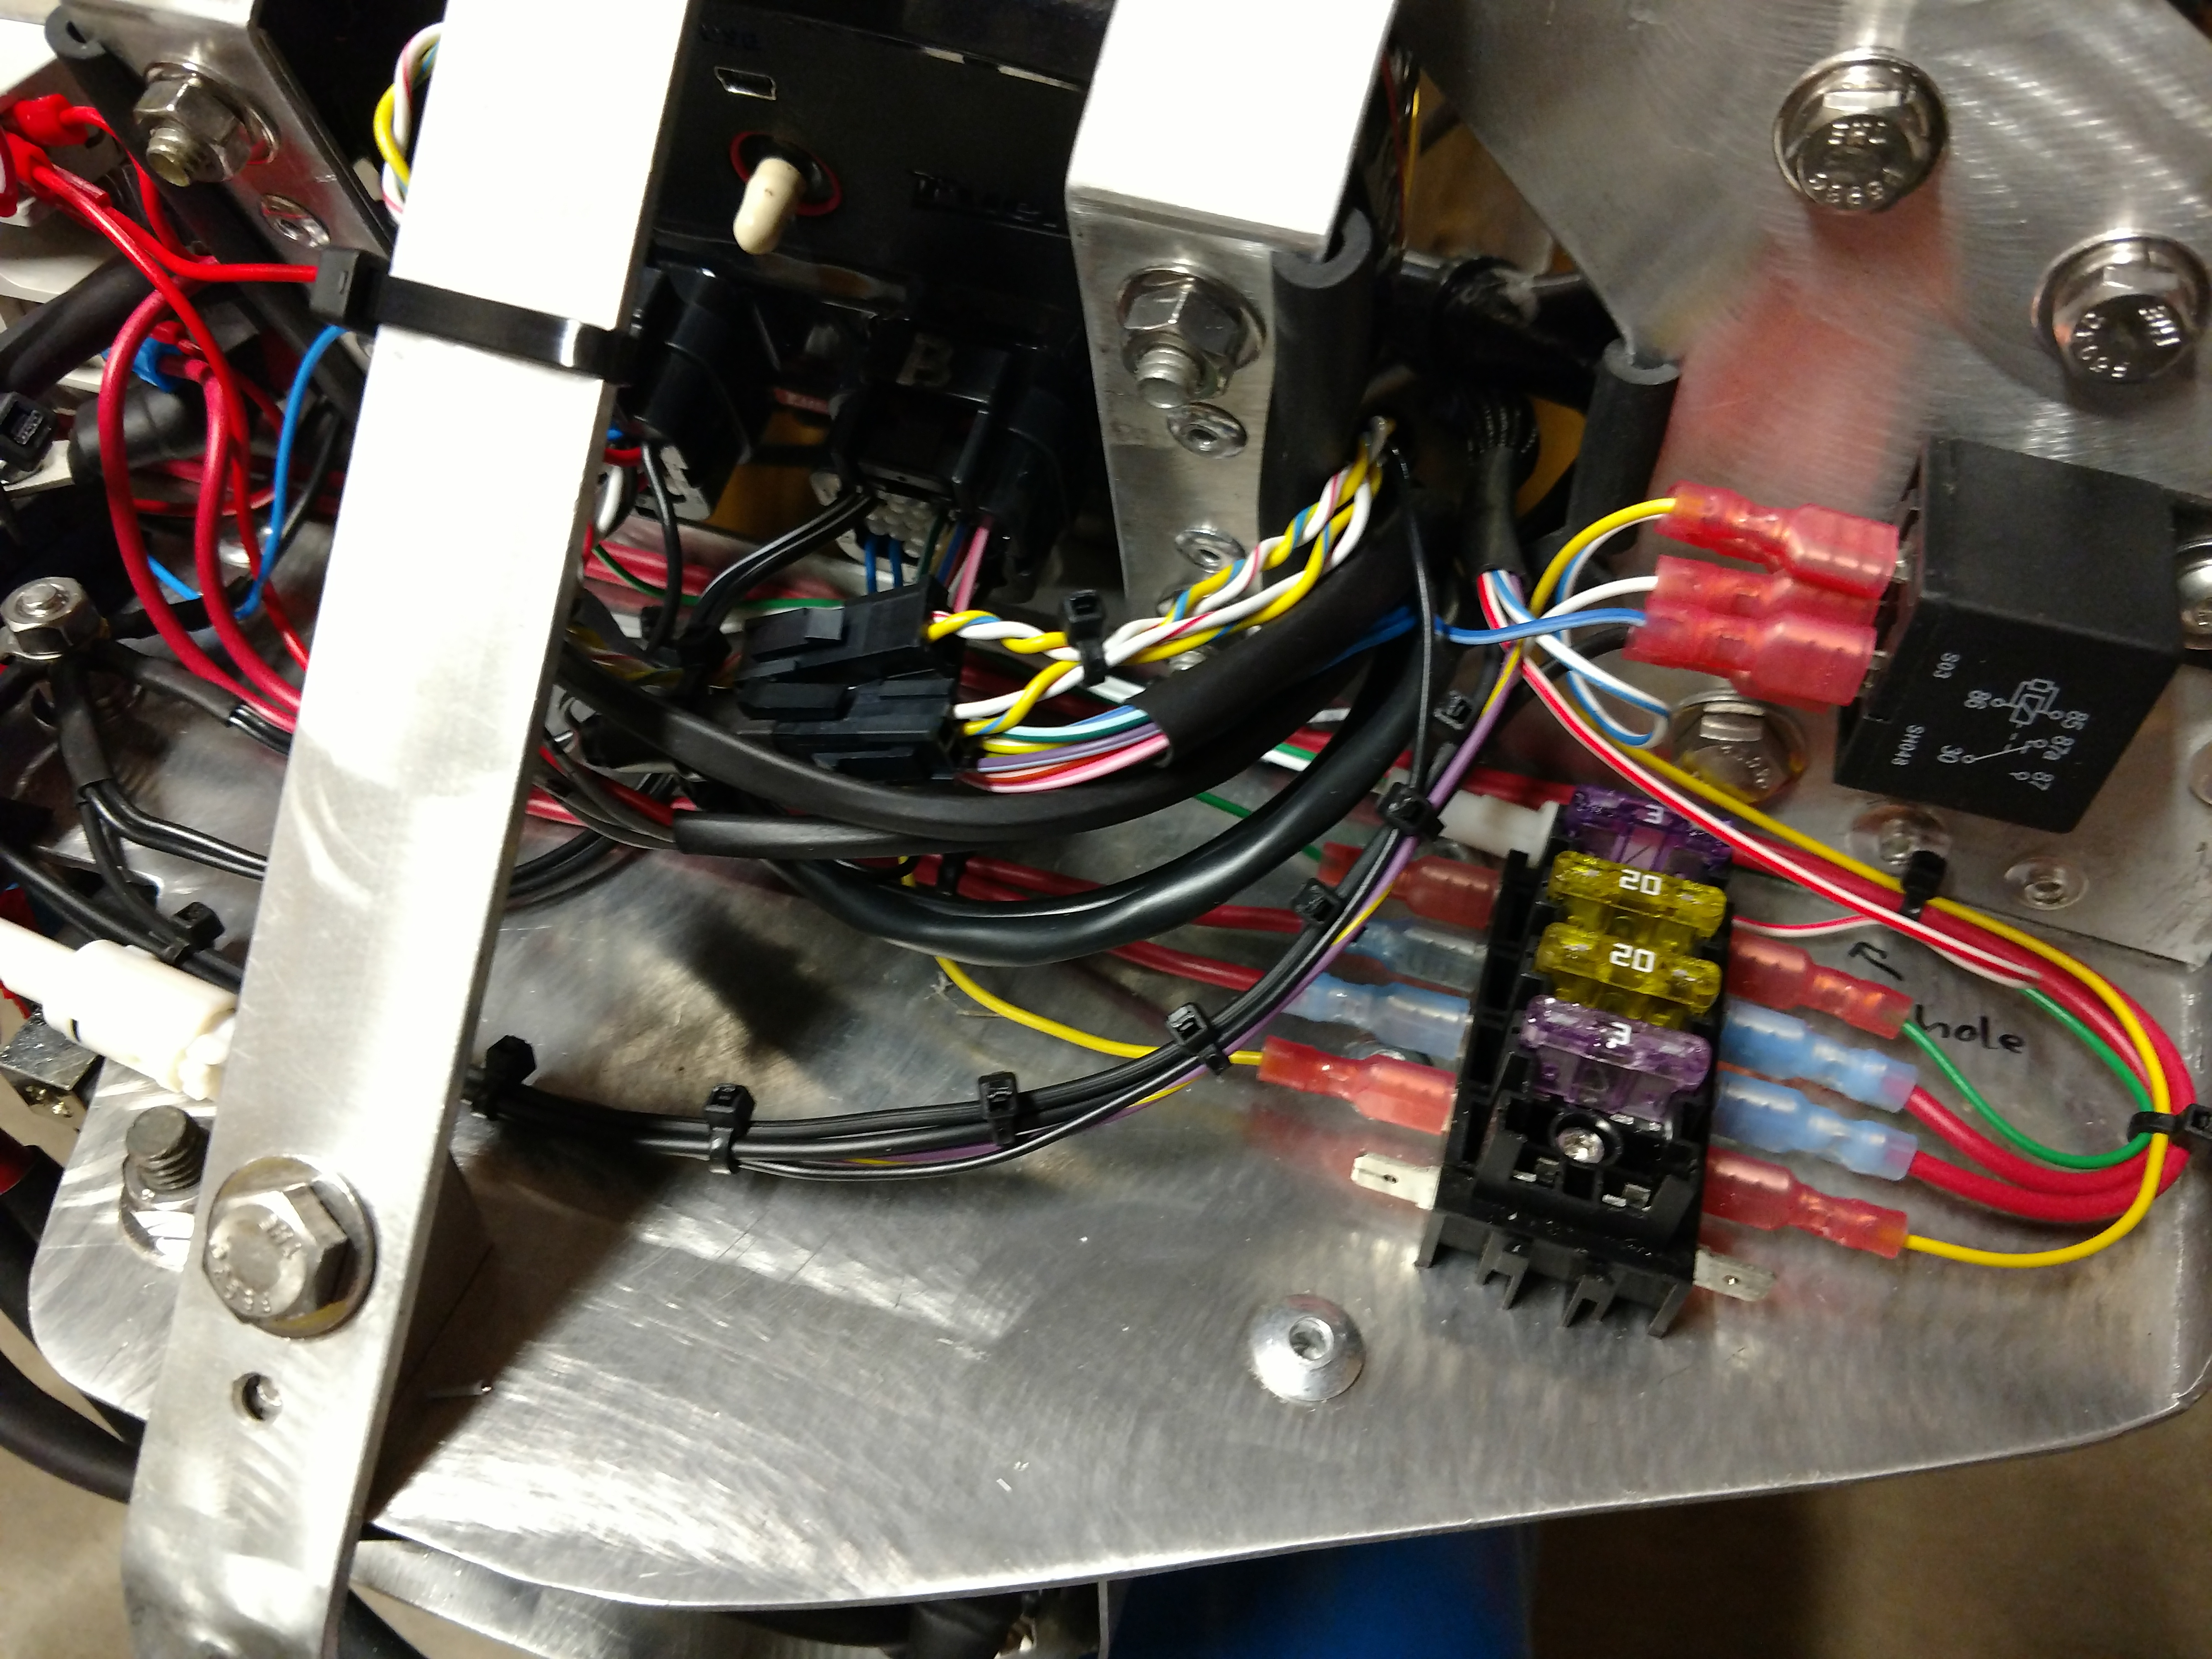
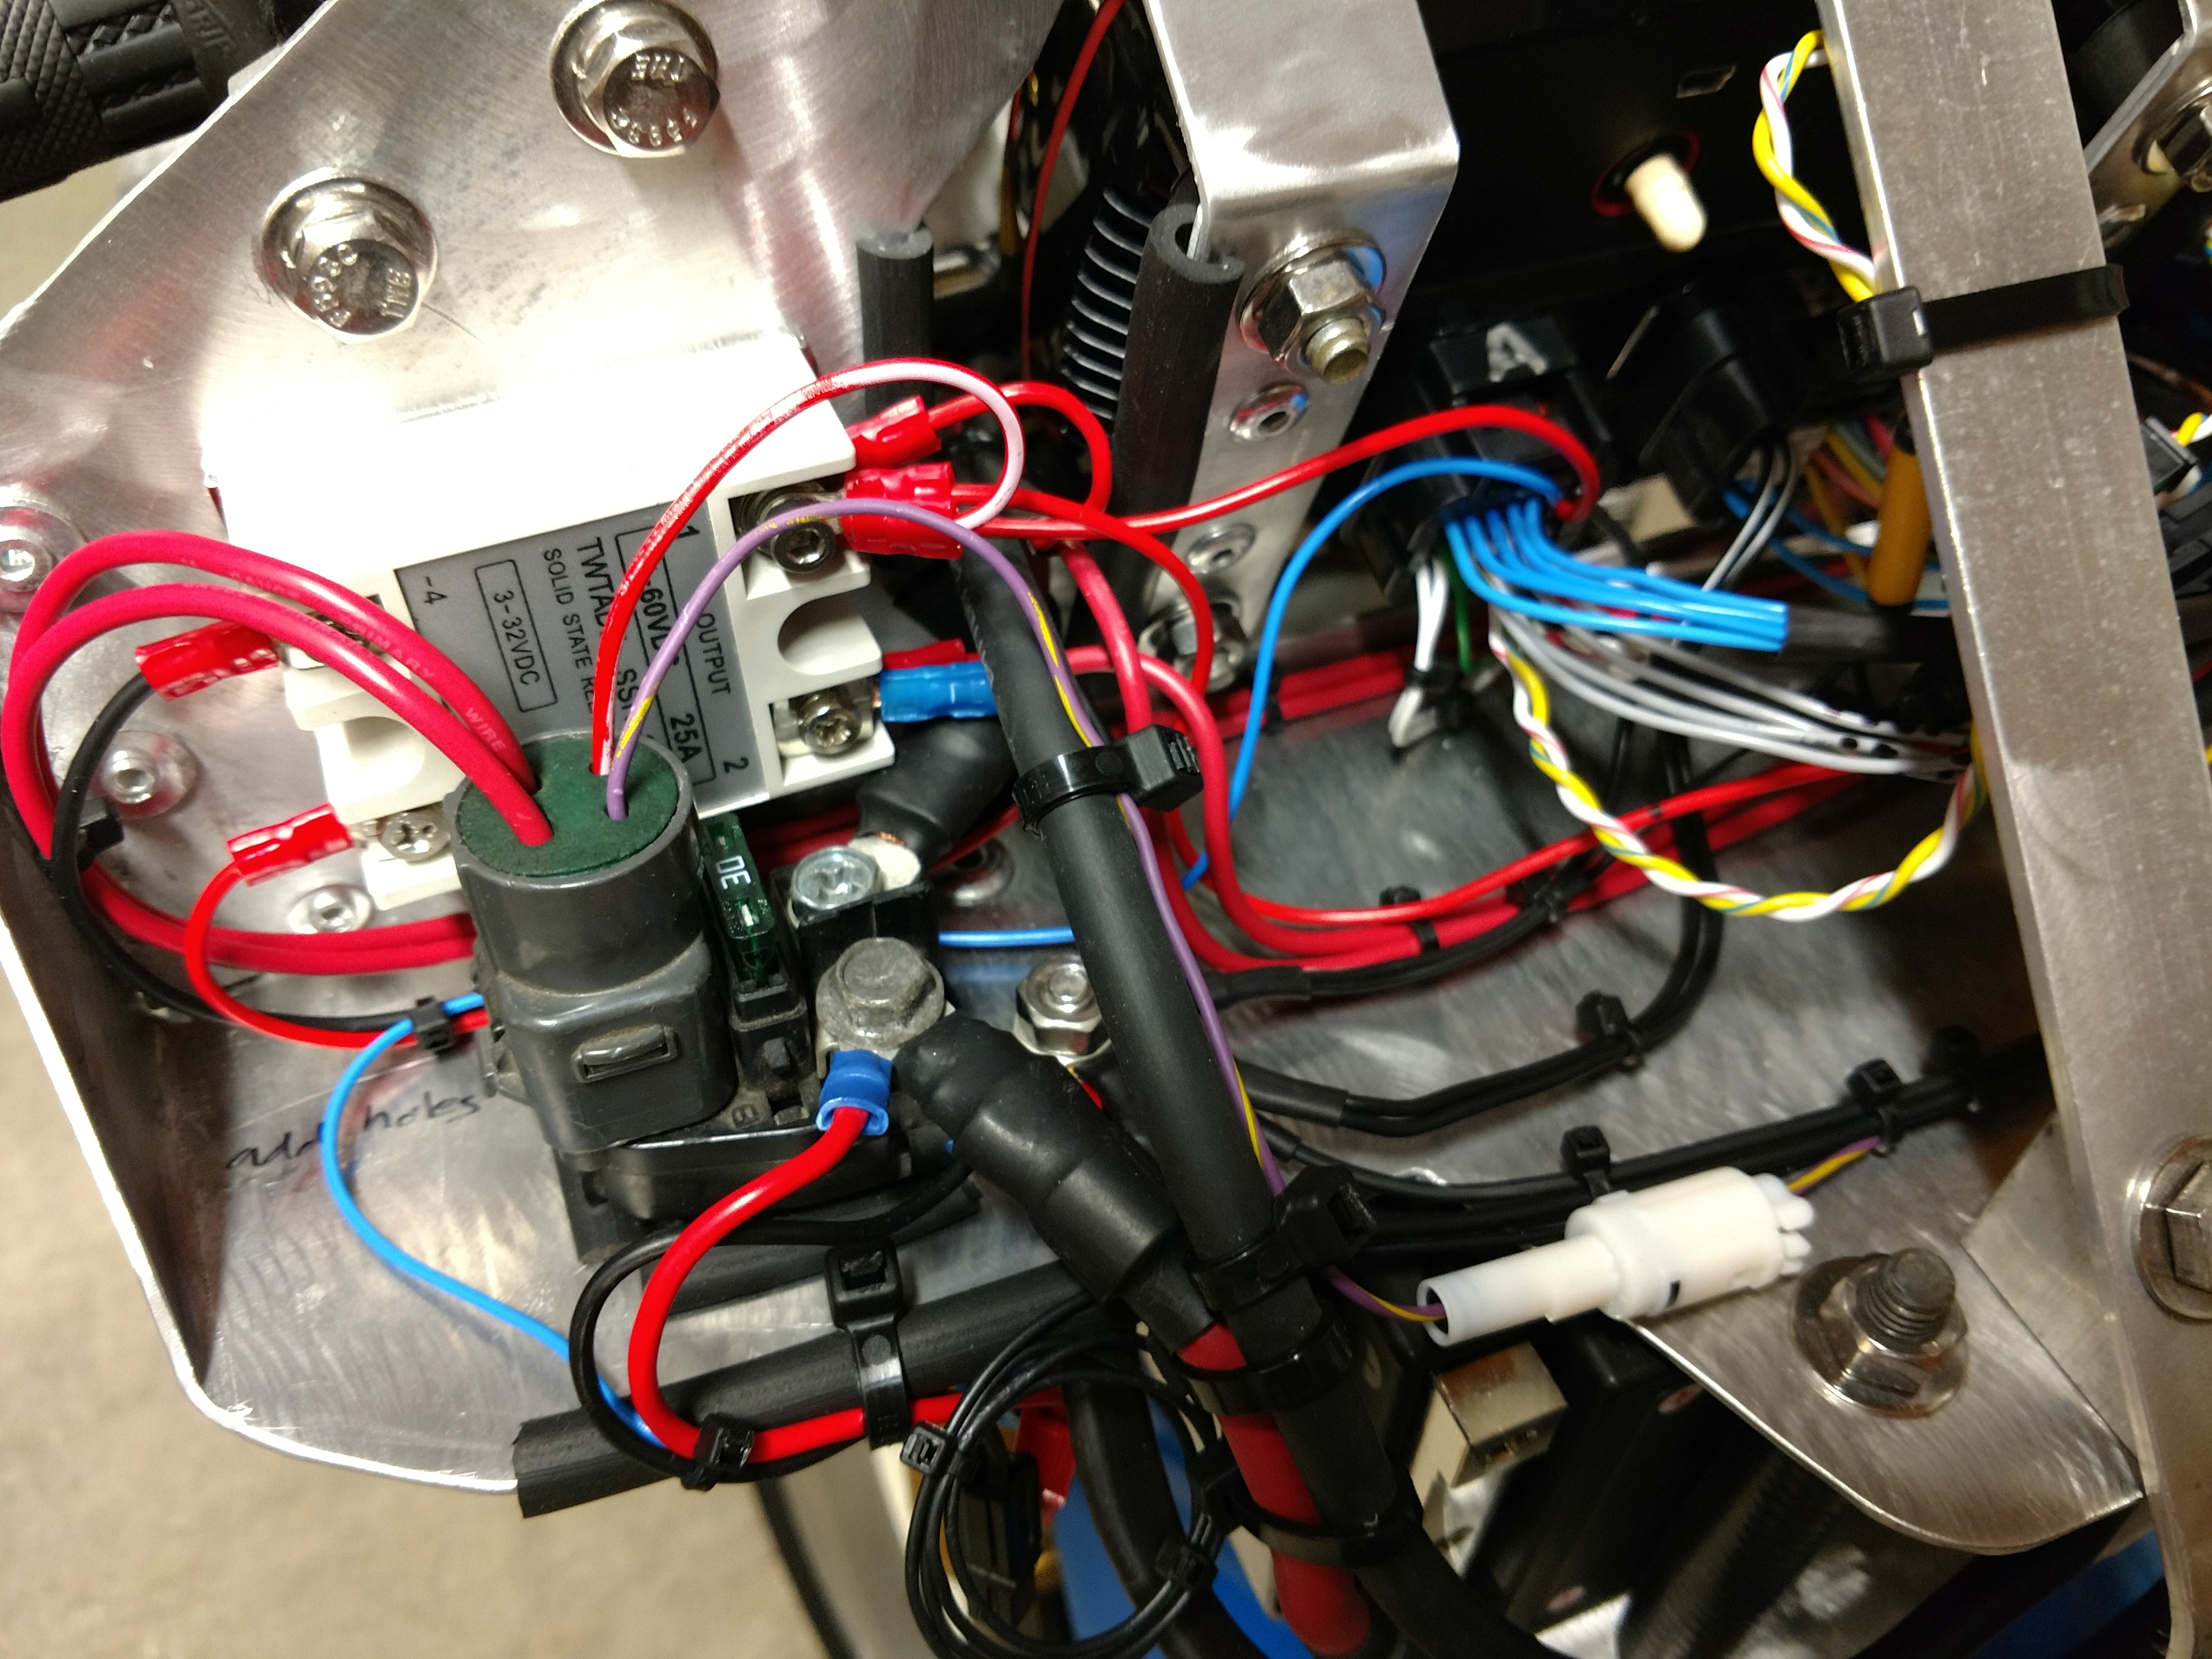
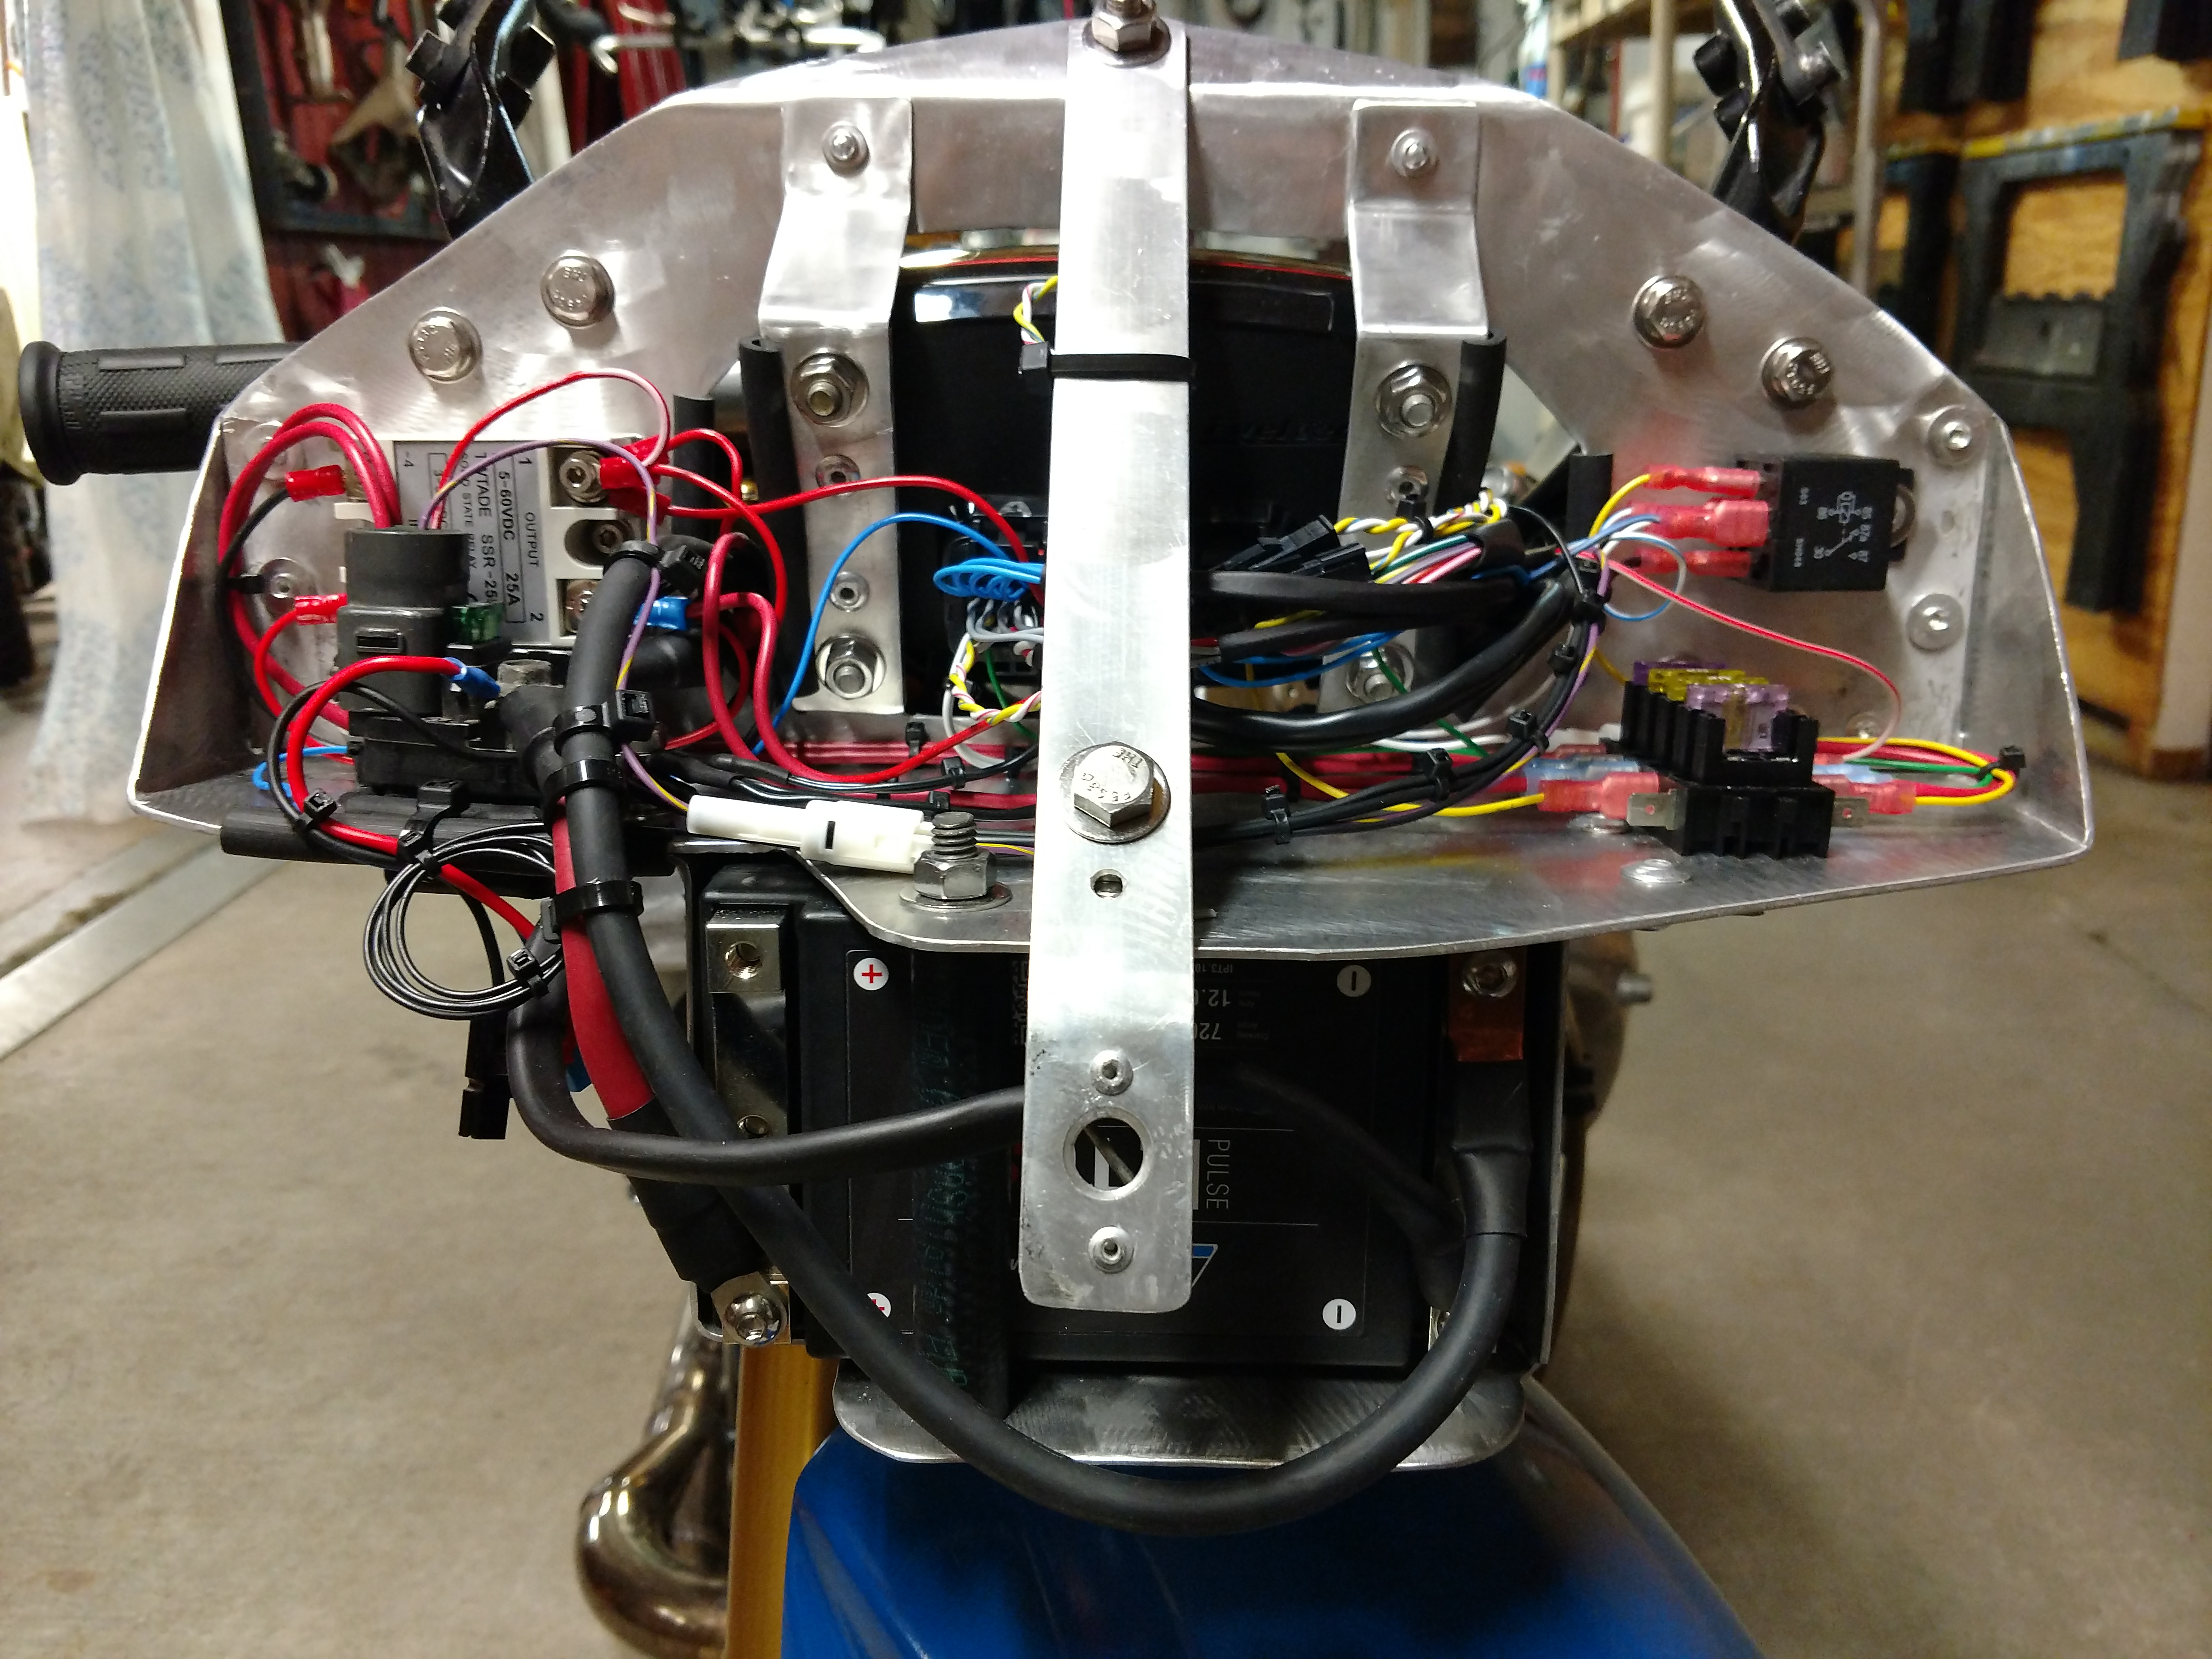
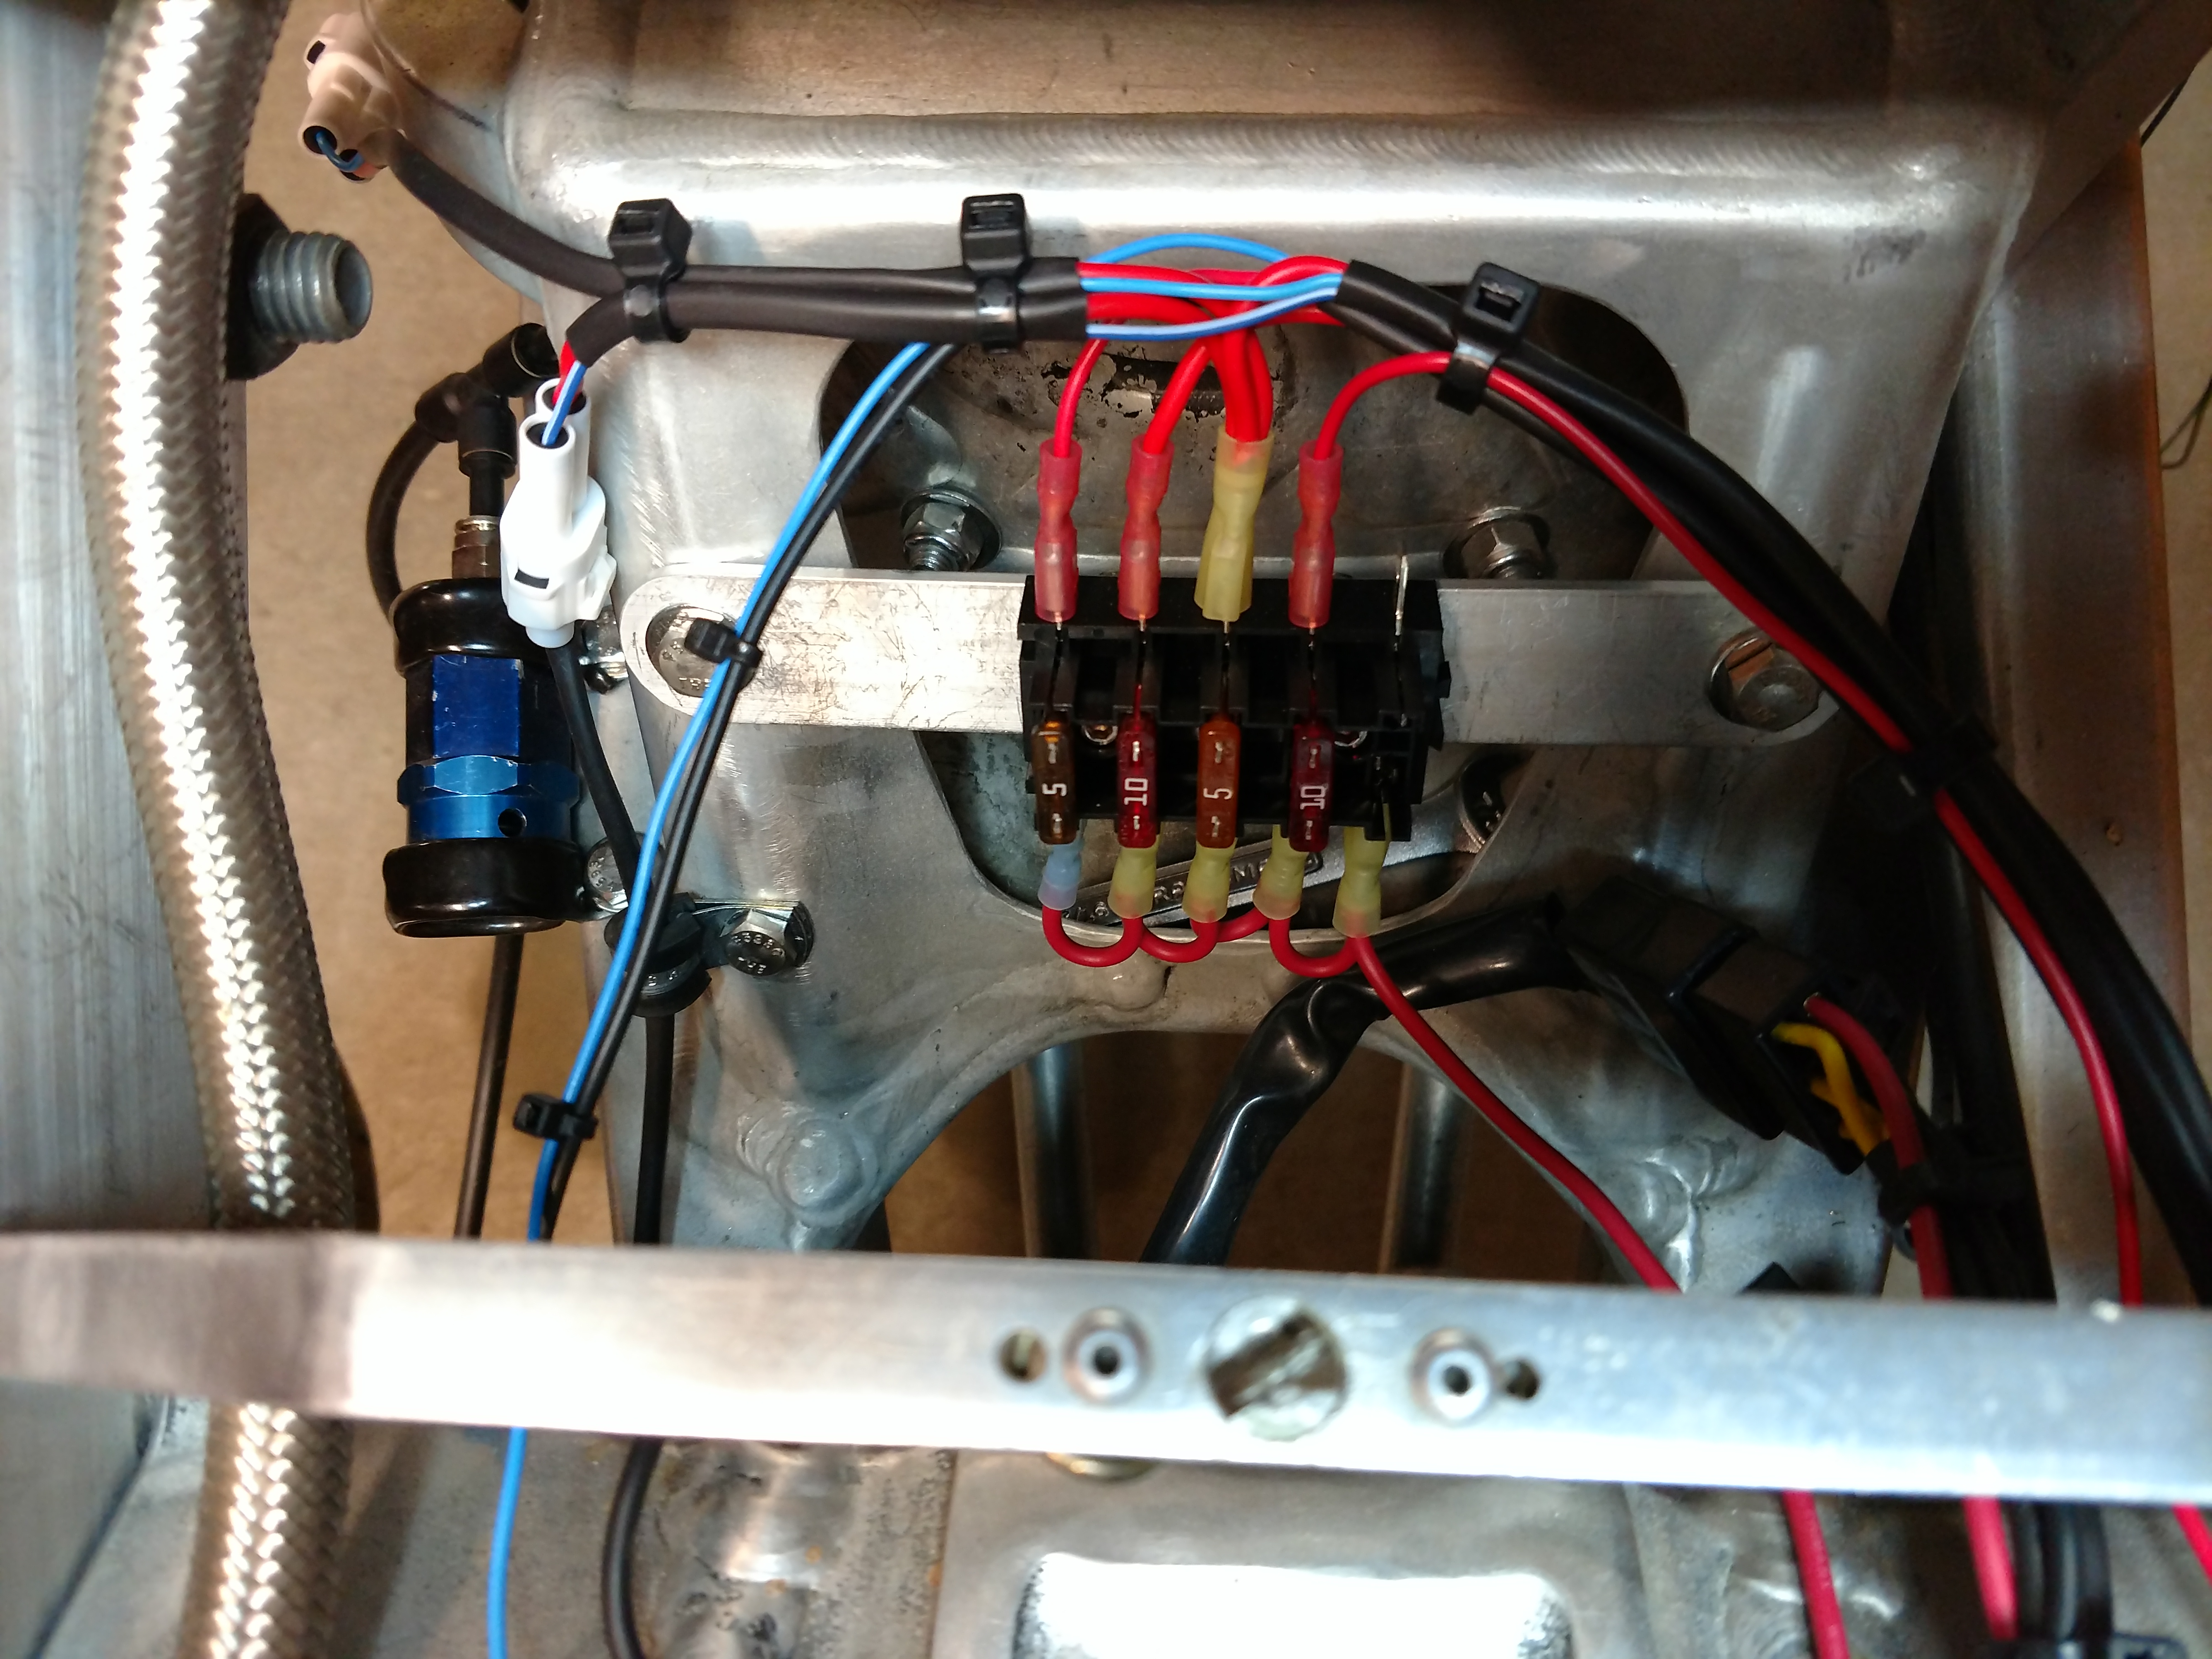
The rear solid-state relay and fuse block distribute power to the
fuel pump, injectors, air rams, and the FuelTech NANO O2
sensor interpreter. However, this meant the NANO turned off
between fuel pump priming and starting. In order to allow
preheating of the O2 sensor for accurate data on startup, I later
moved this circuit to the nose relay and that allowed me to put
each ram on it's own fuse.