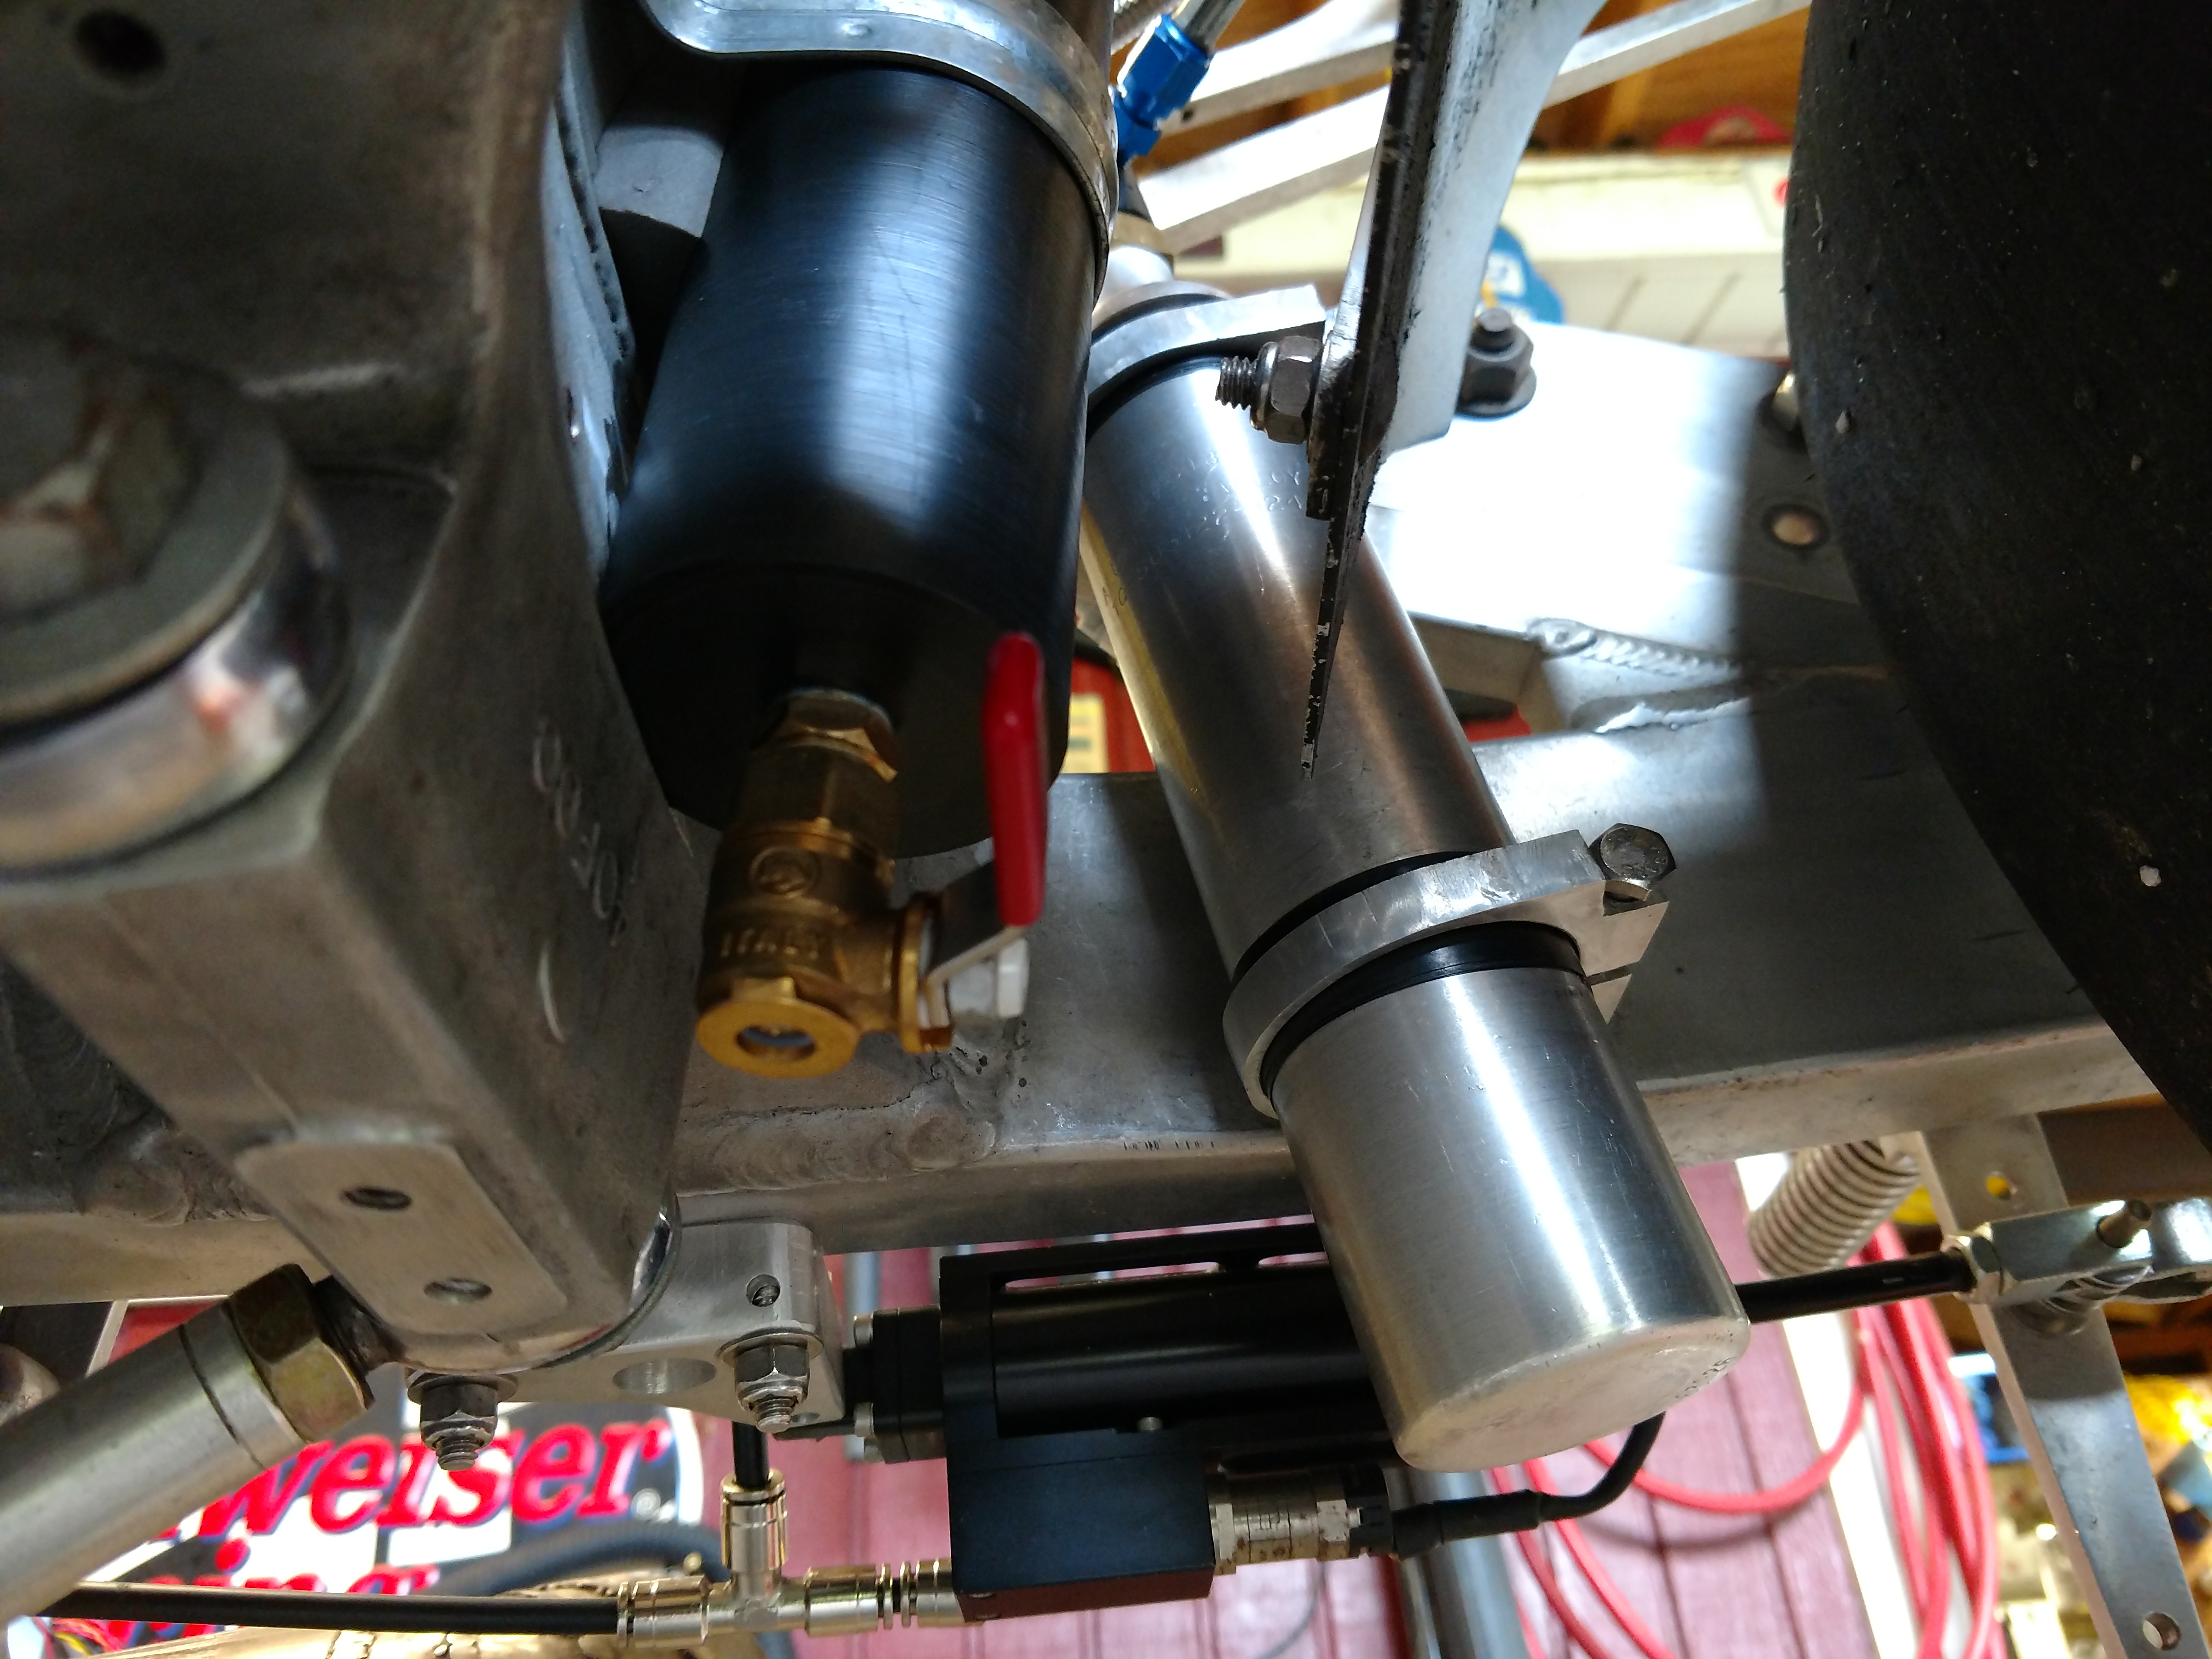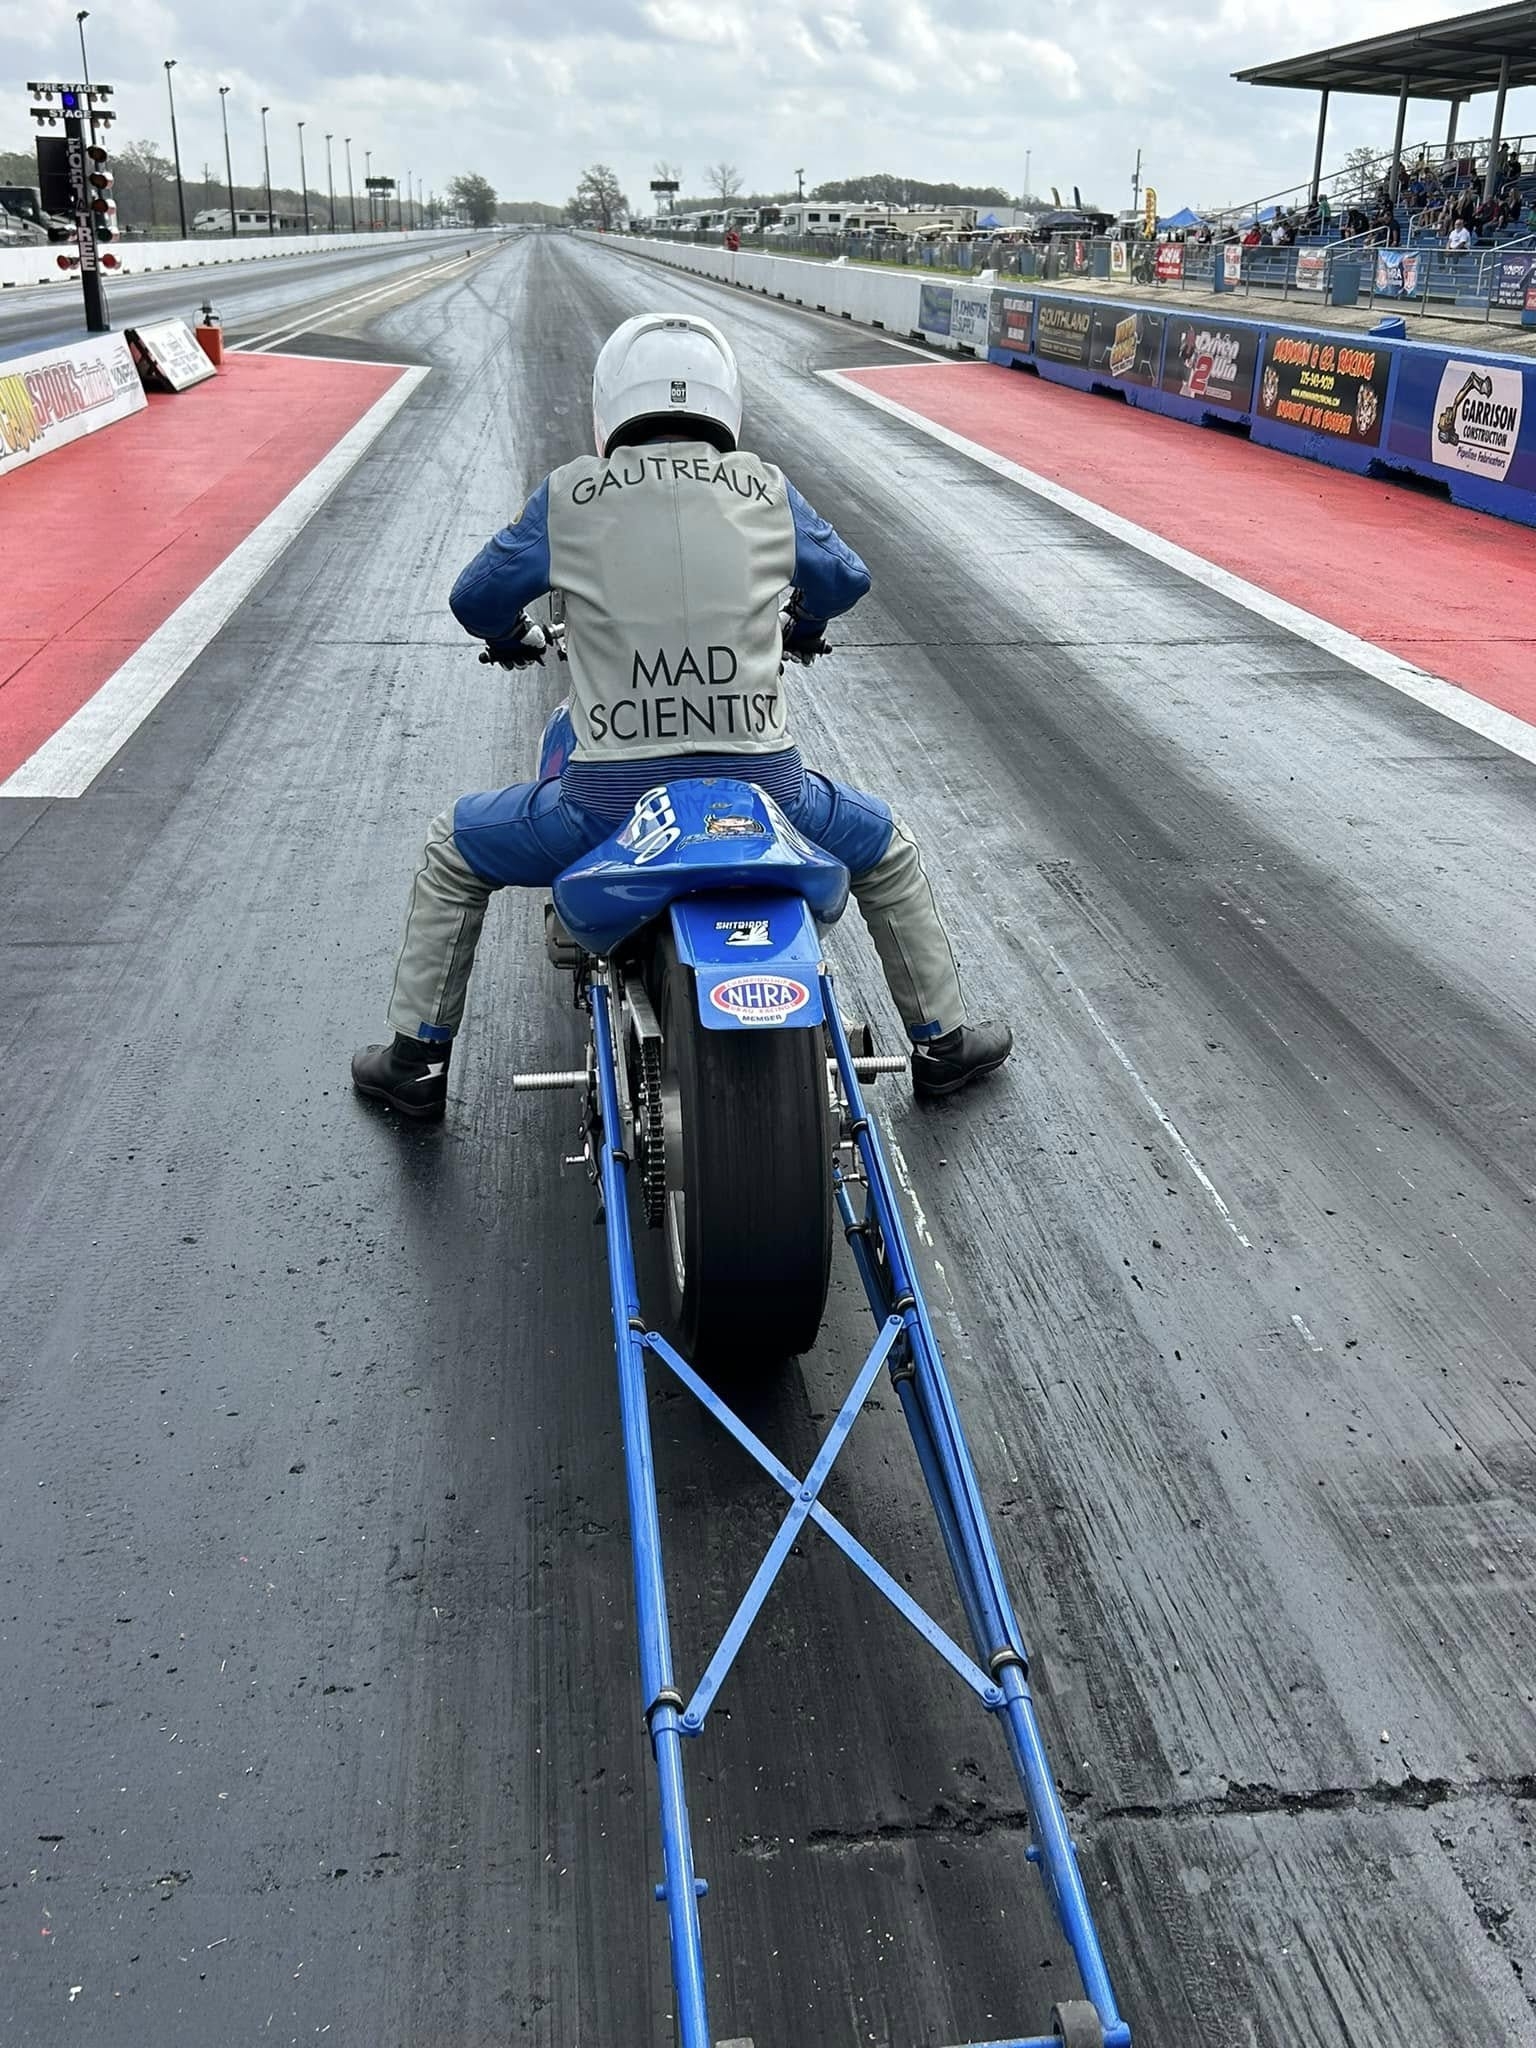
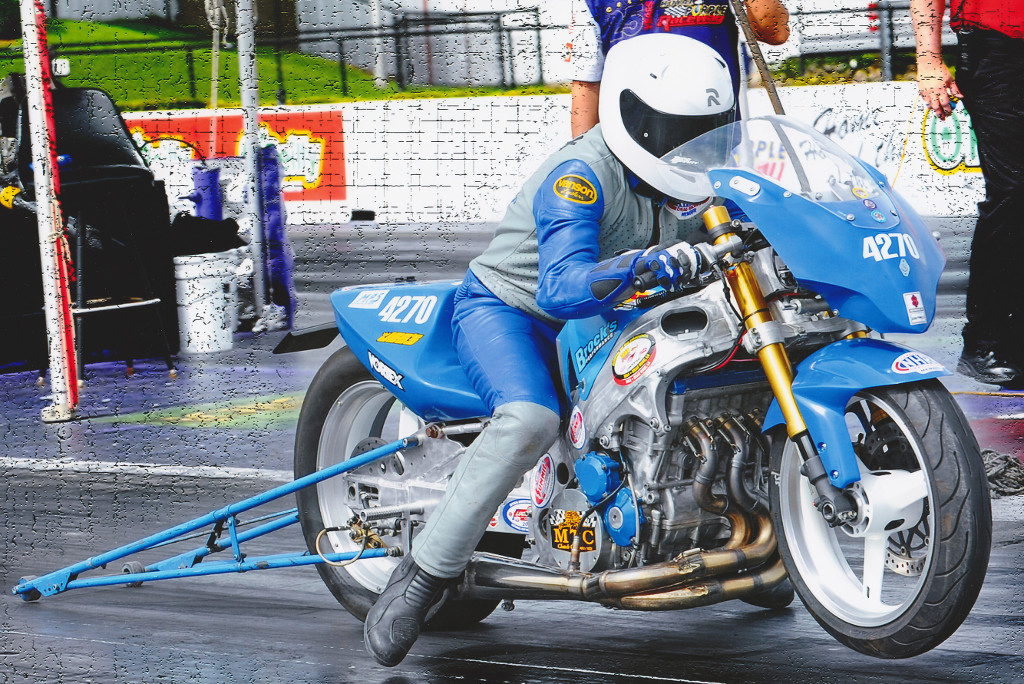
I needed a new puke tank setup for my crankcase vent. Space is
tight in my OEM frame, so it had to be pretty small. I had some
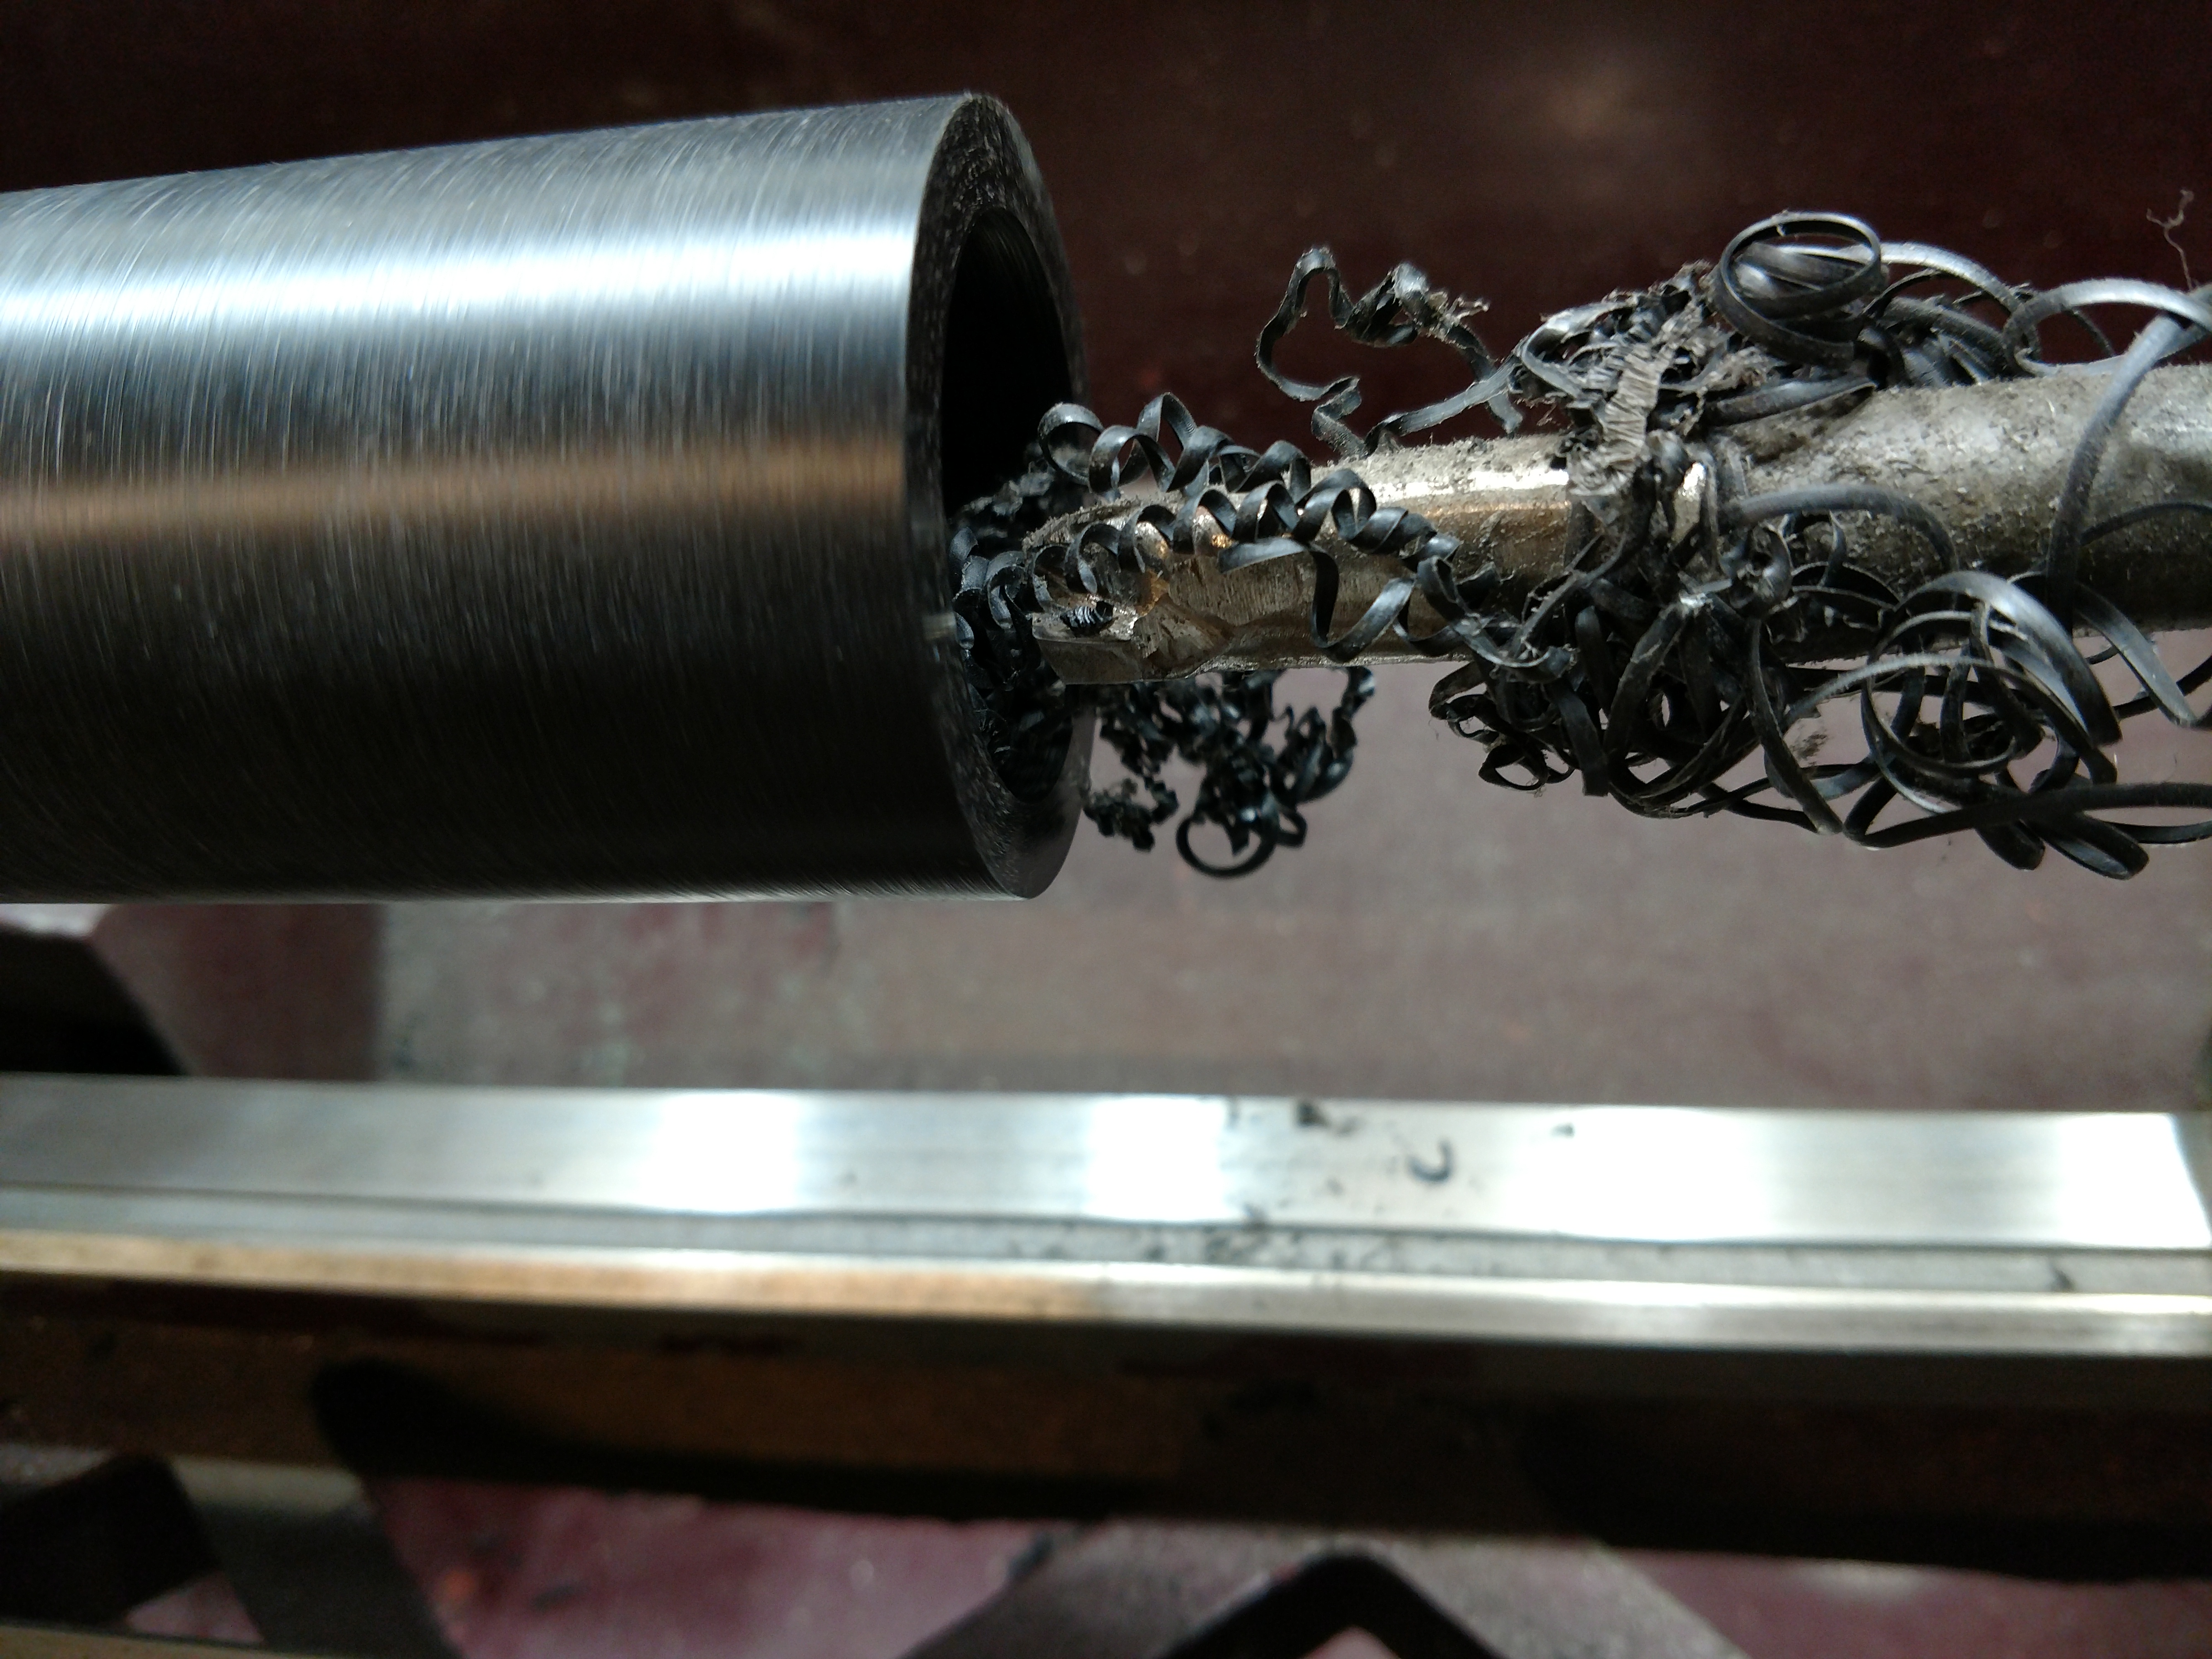
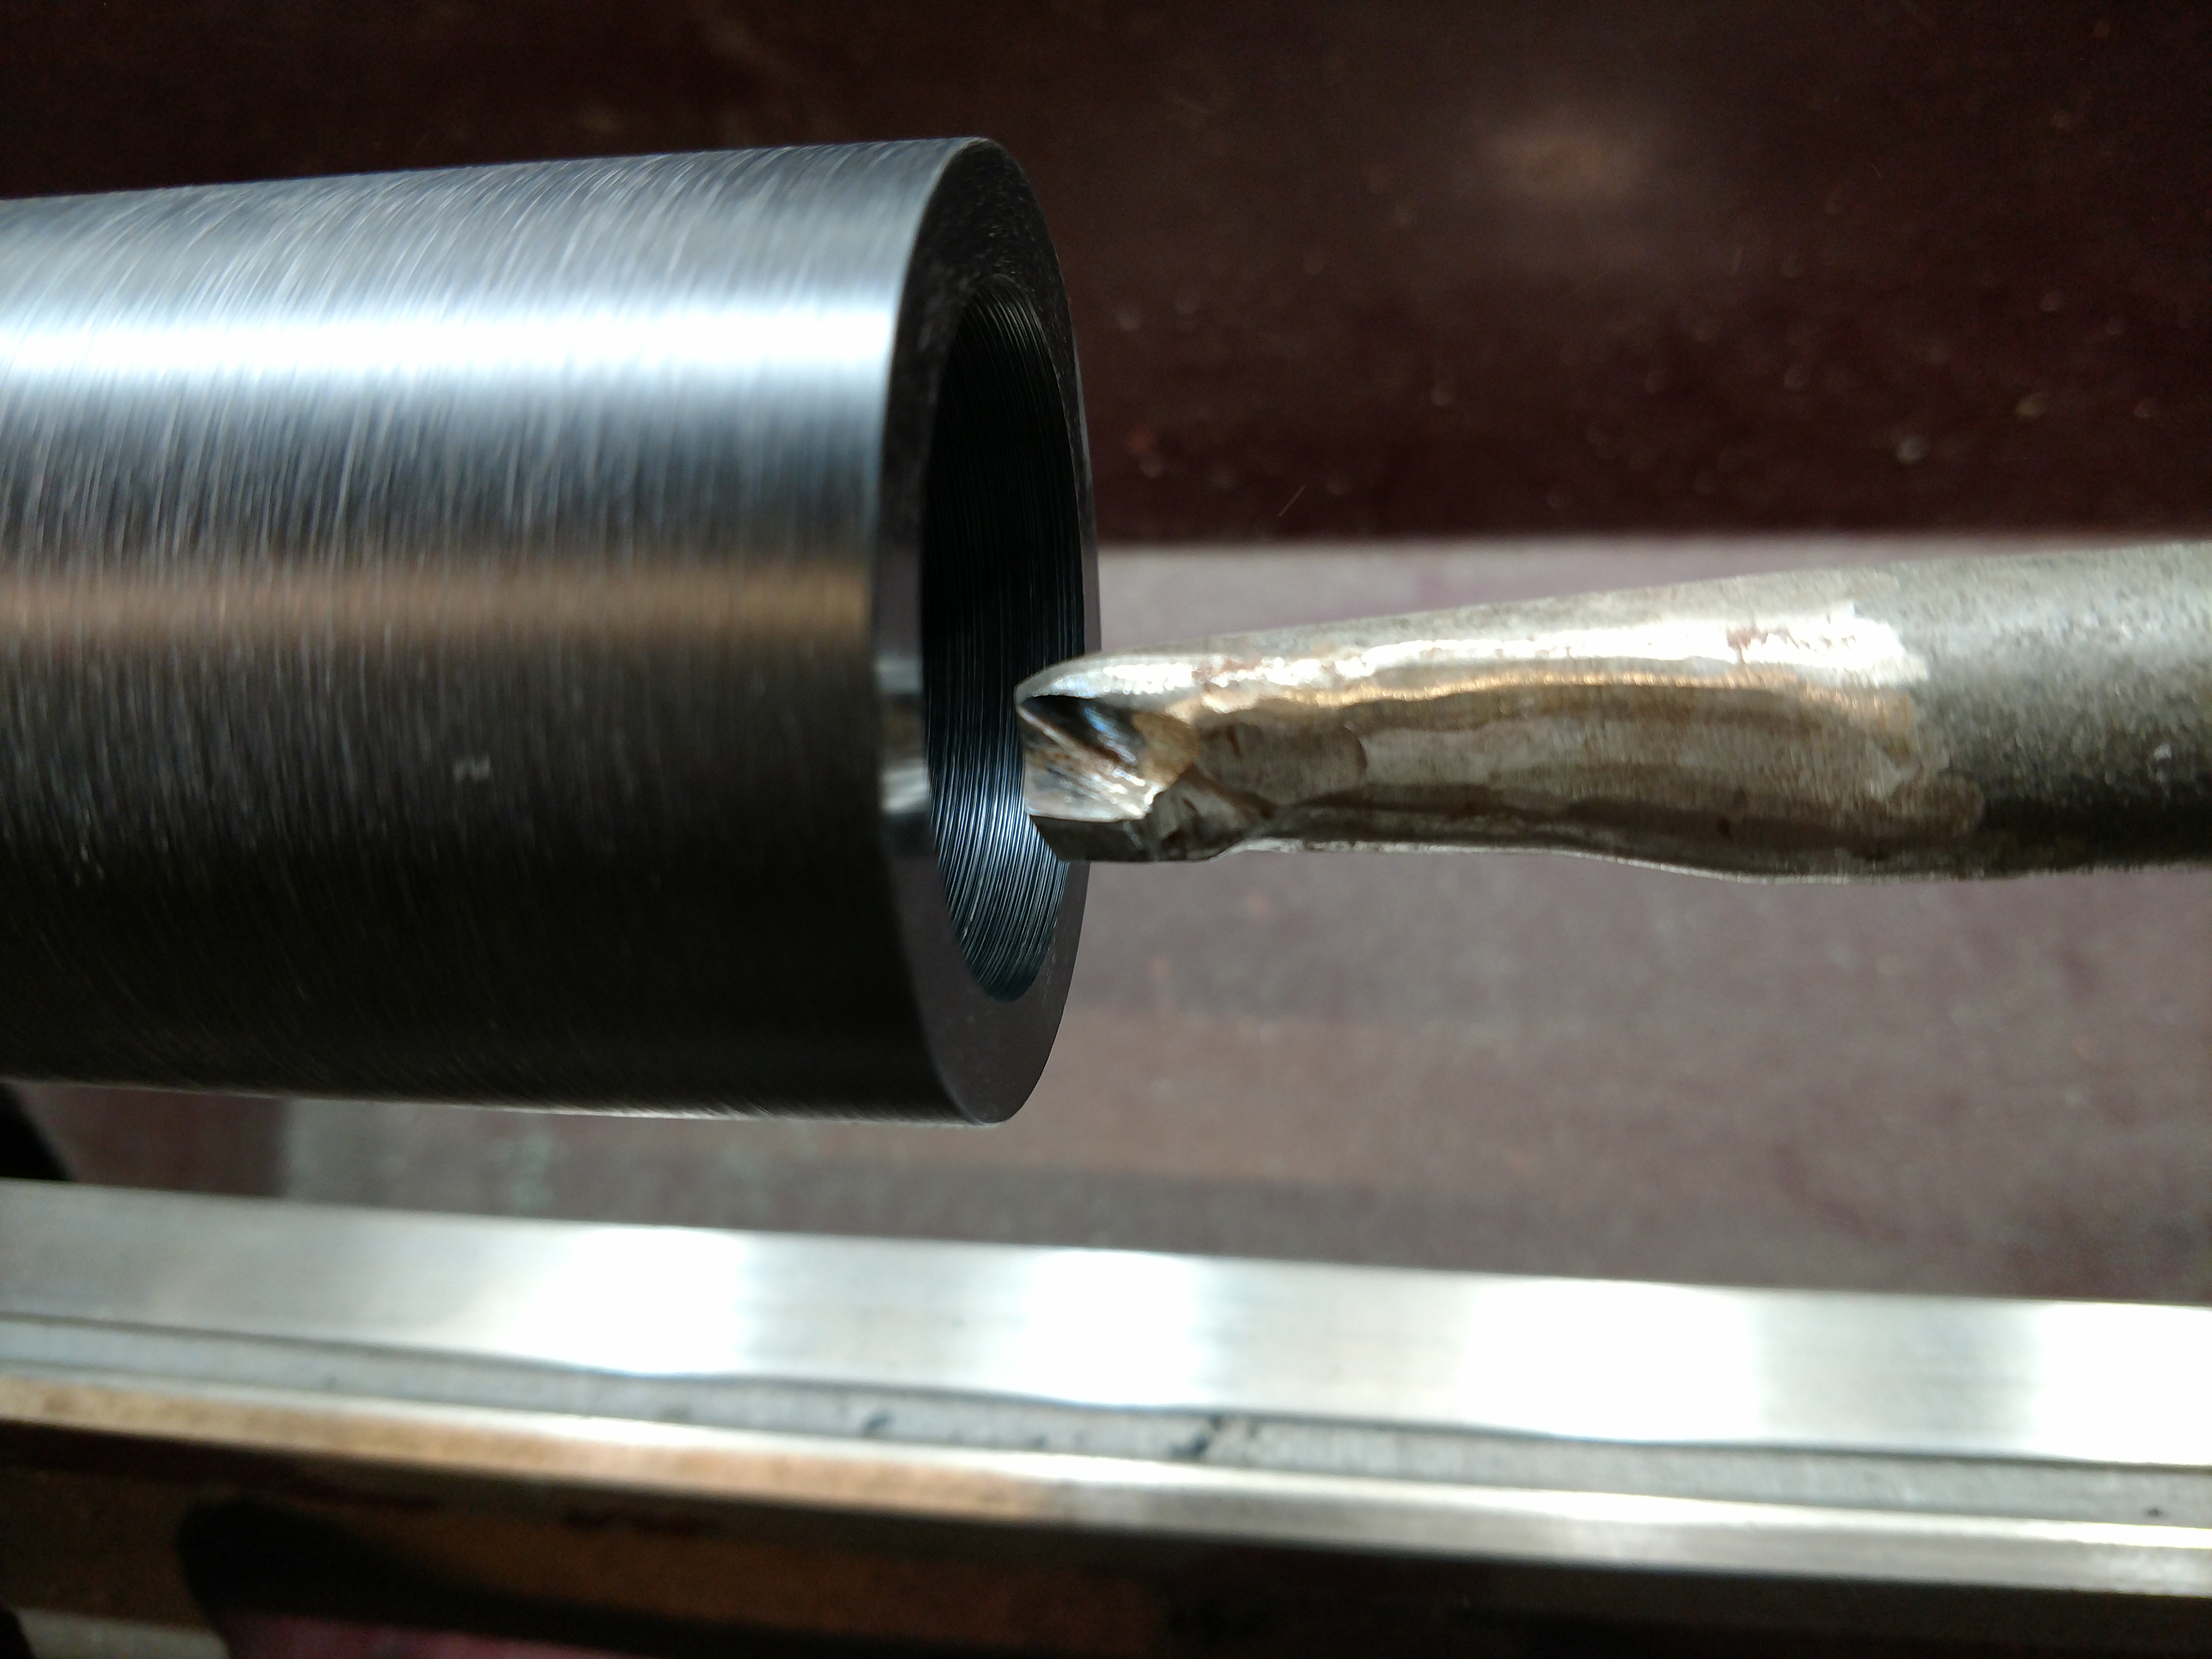
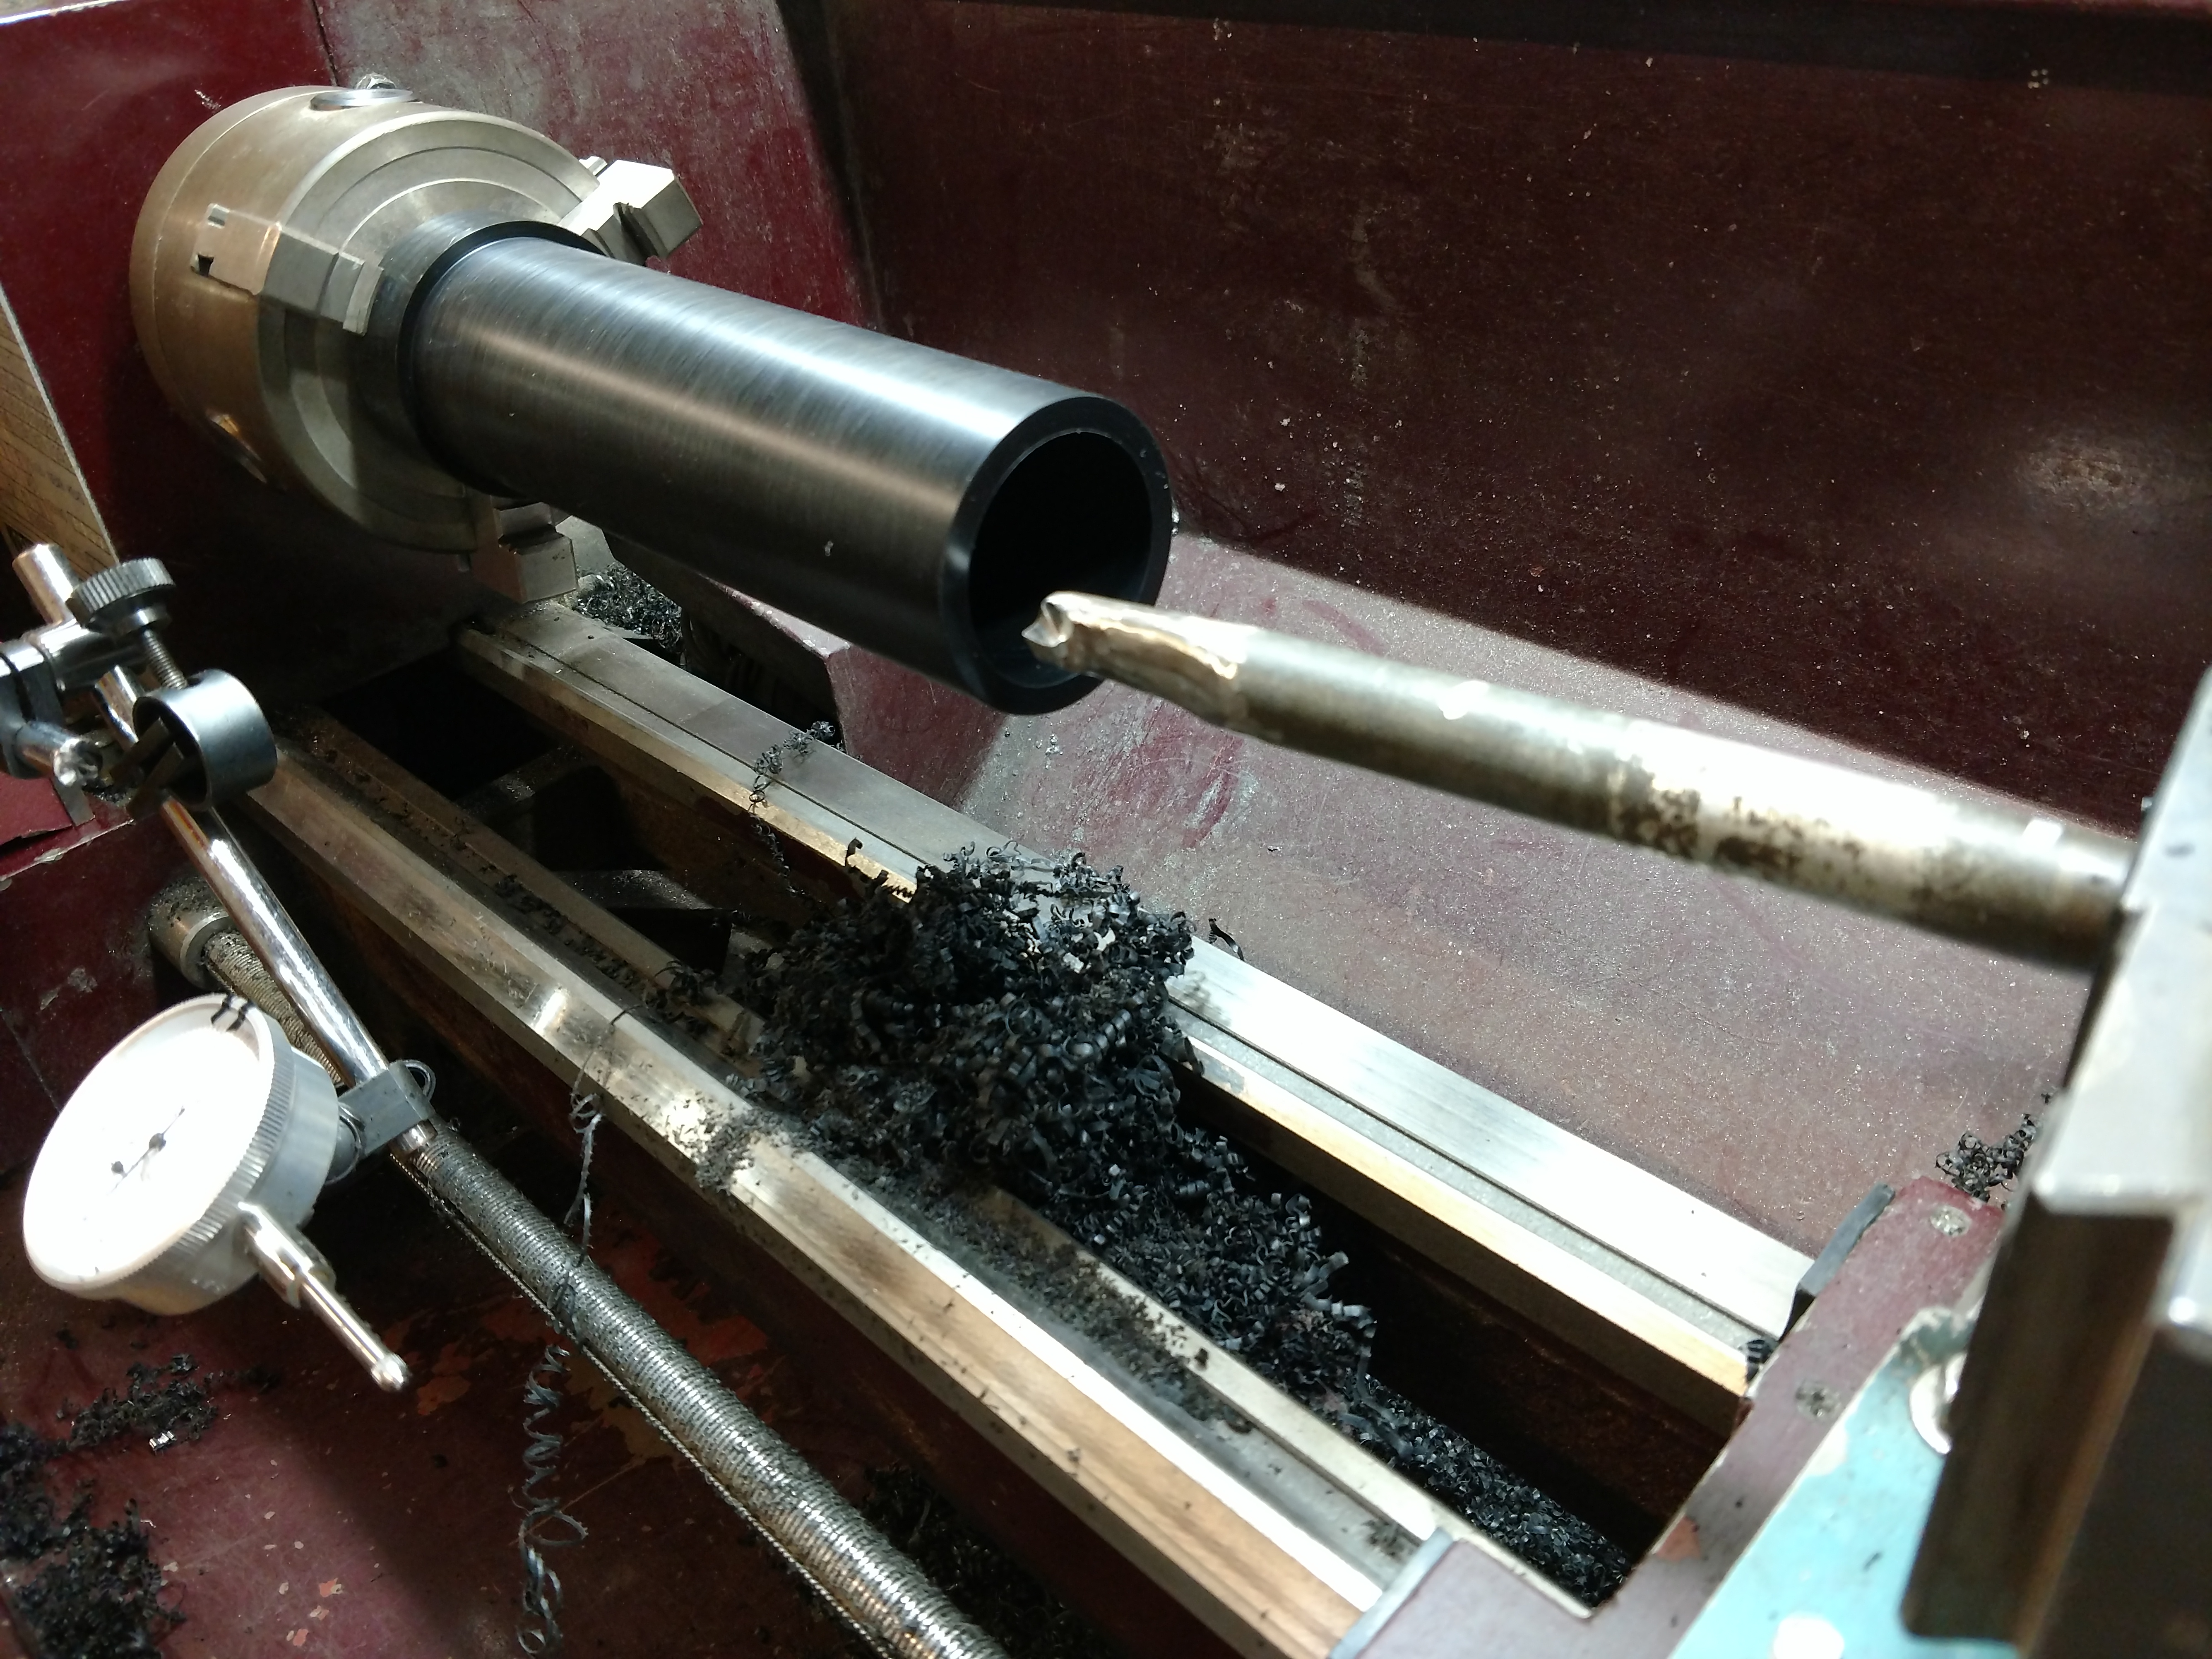
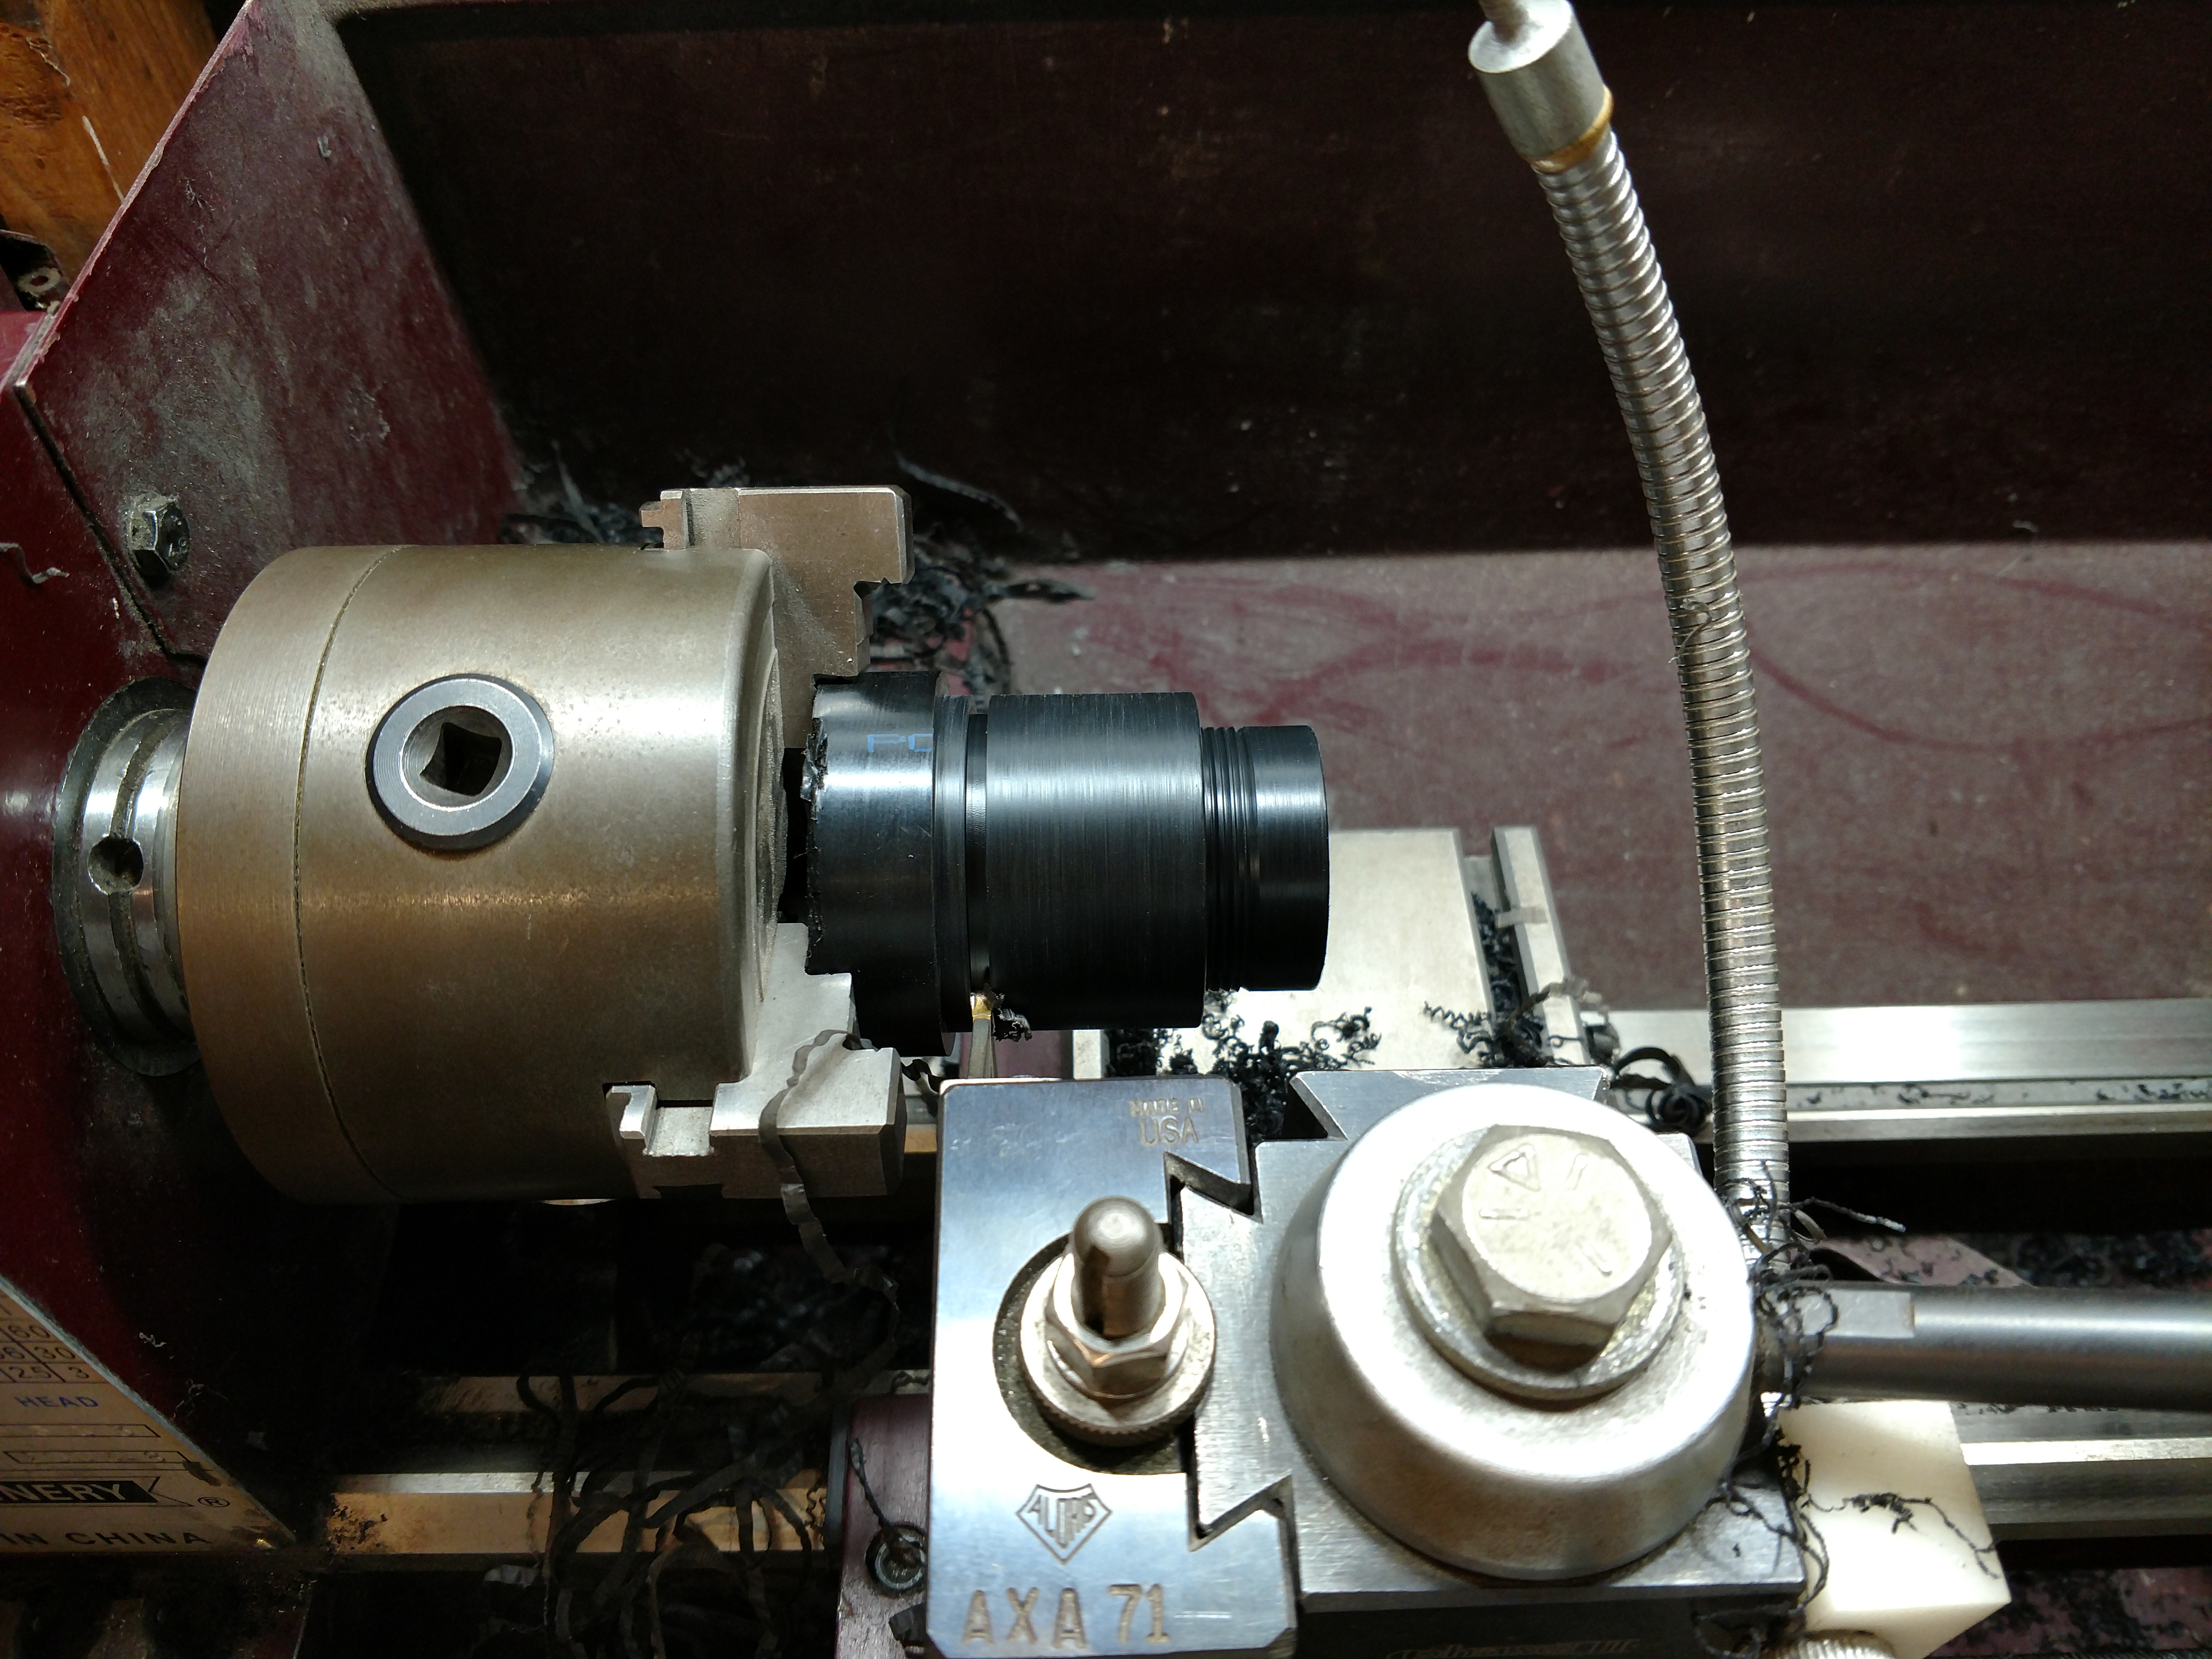
Delrin slugs in the bin, so I chucked one up in the lathe.
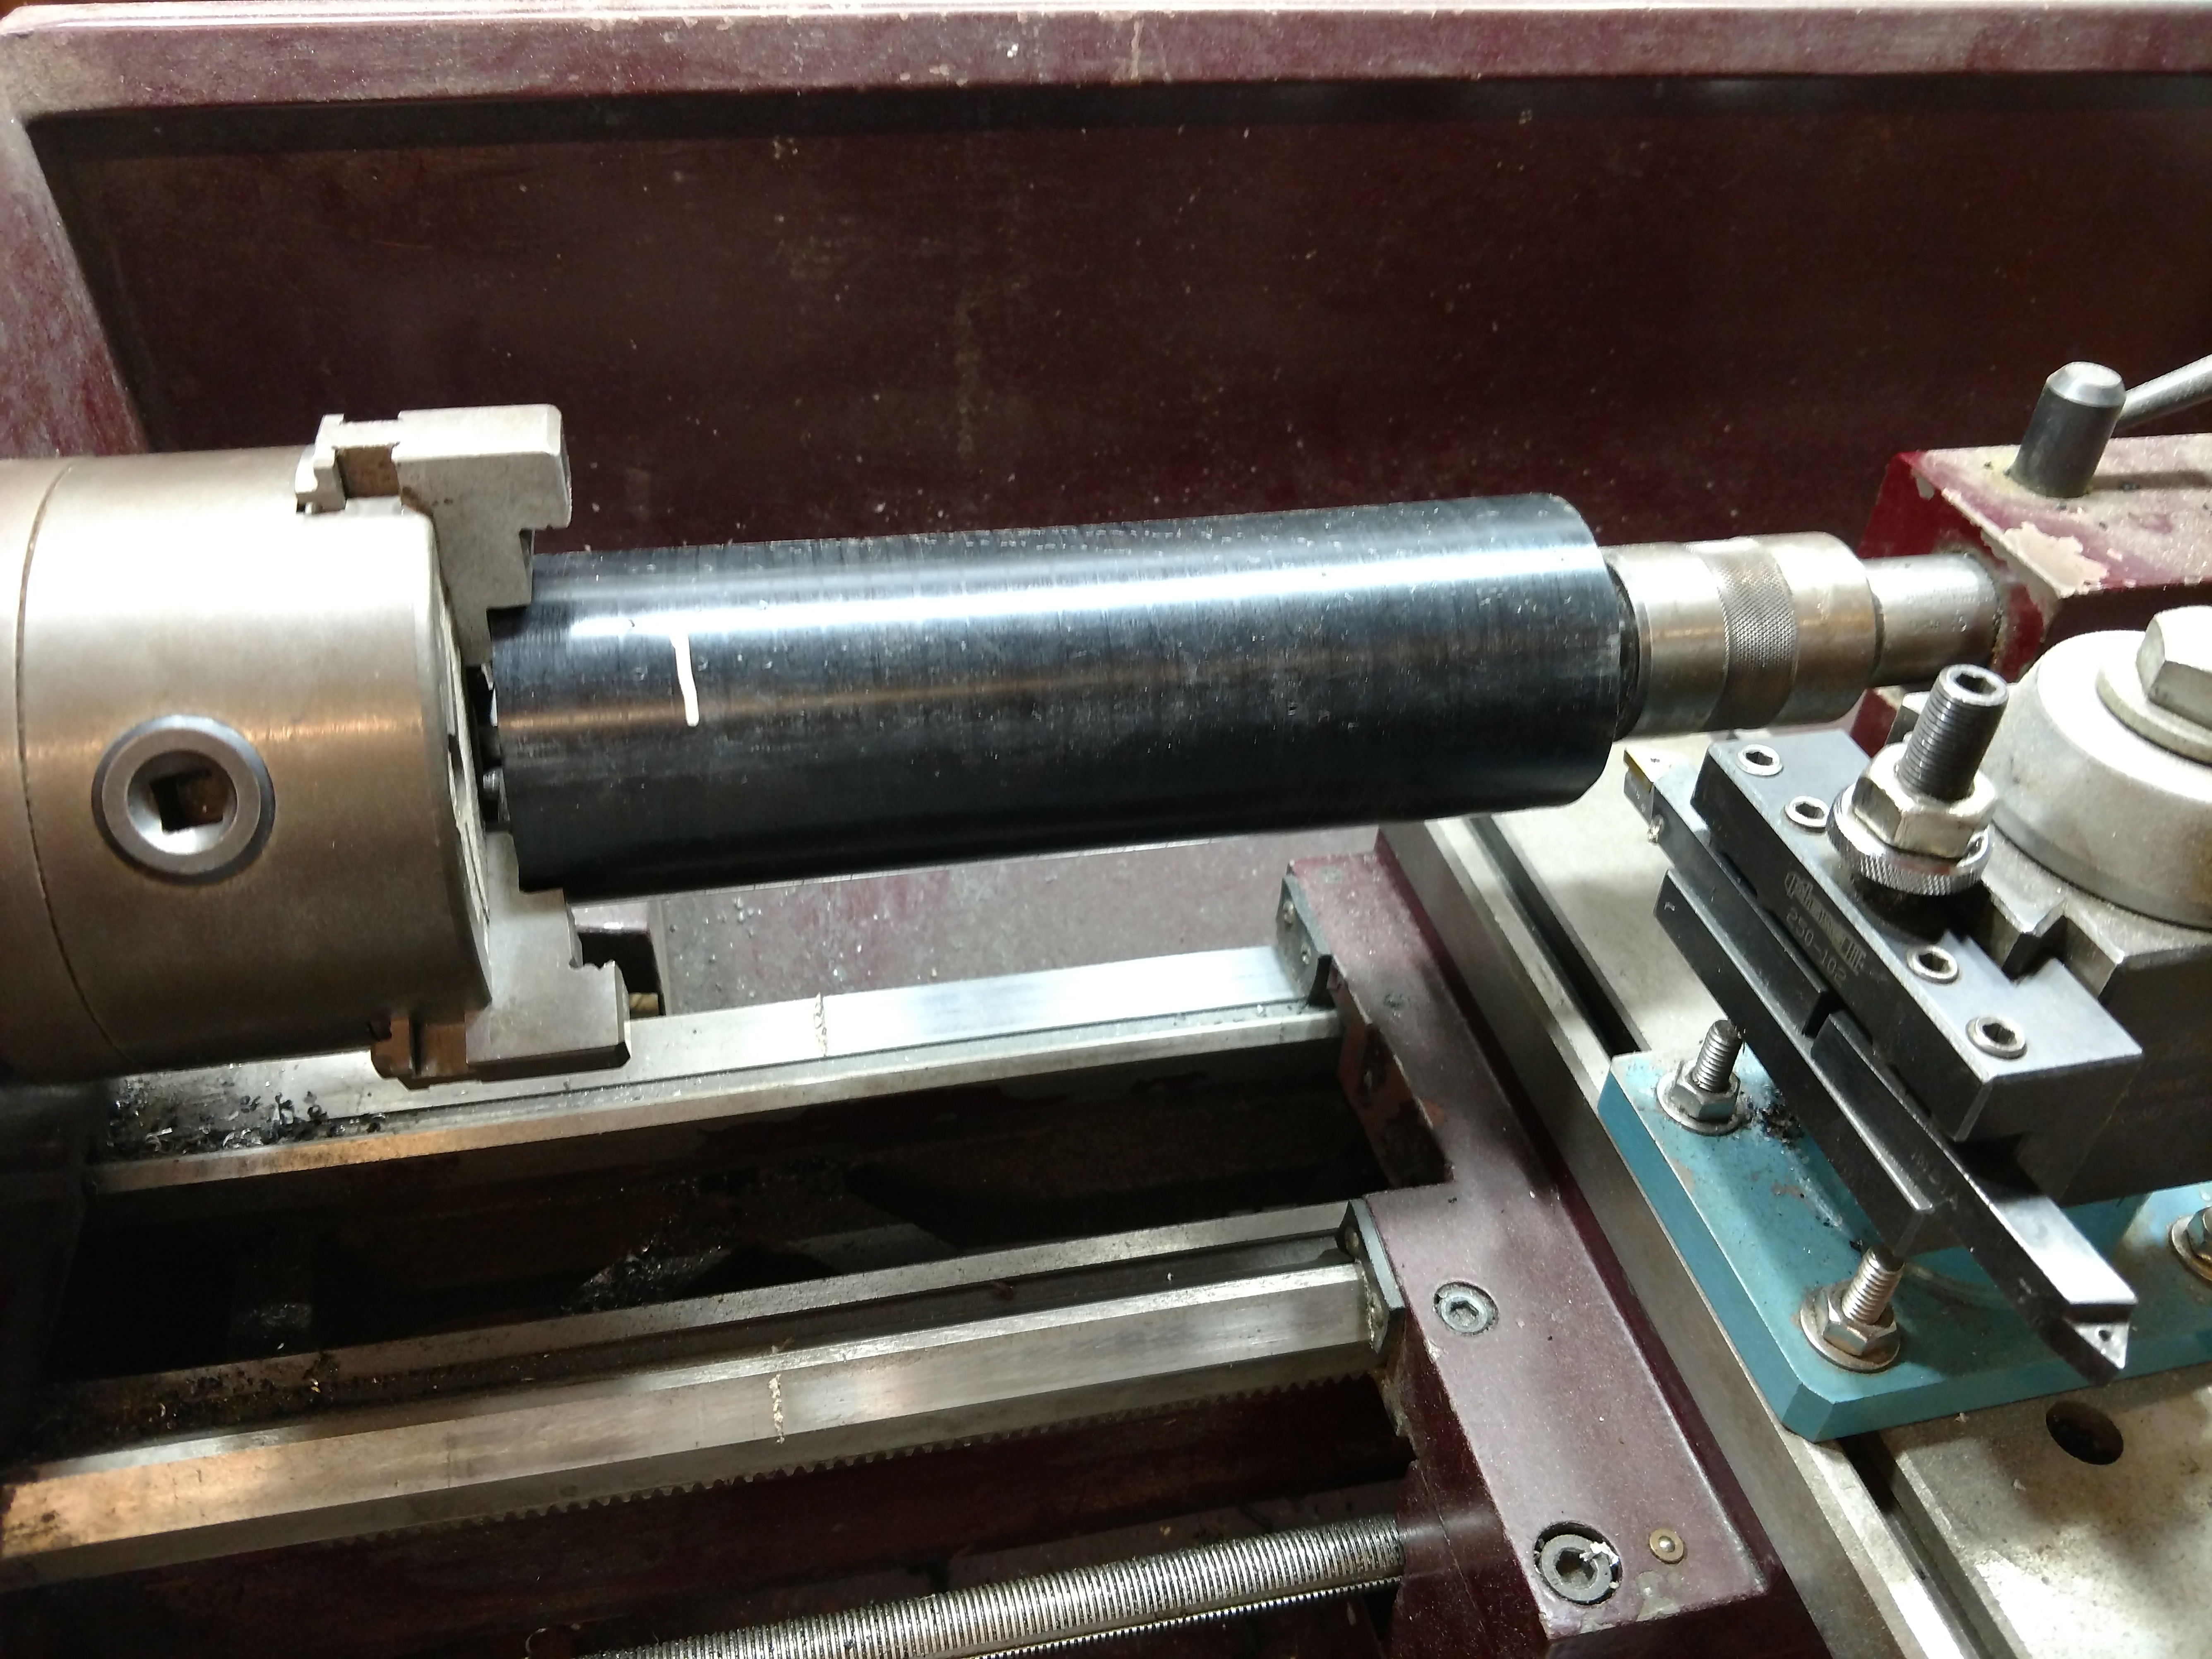
Shallow cuts in Delrin make quite the mess.
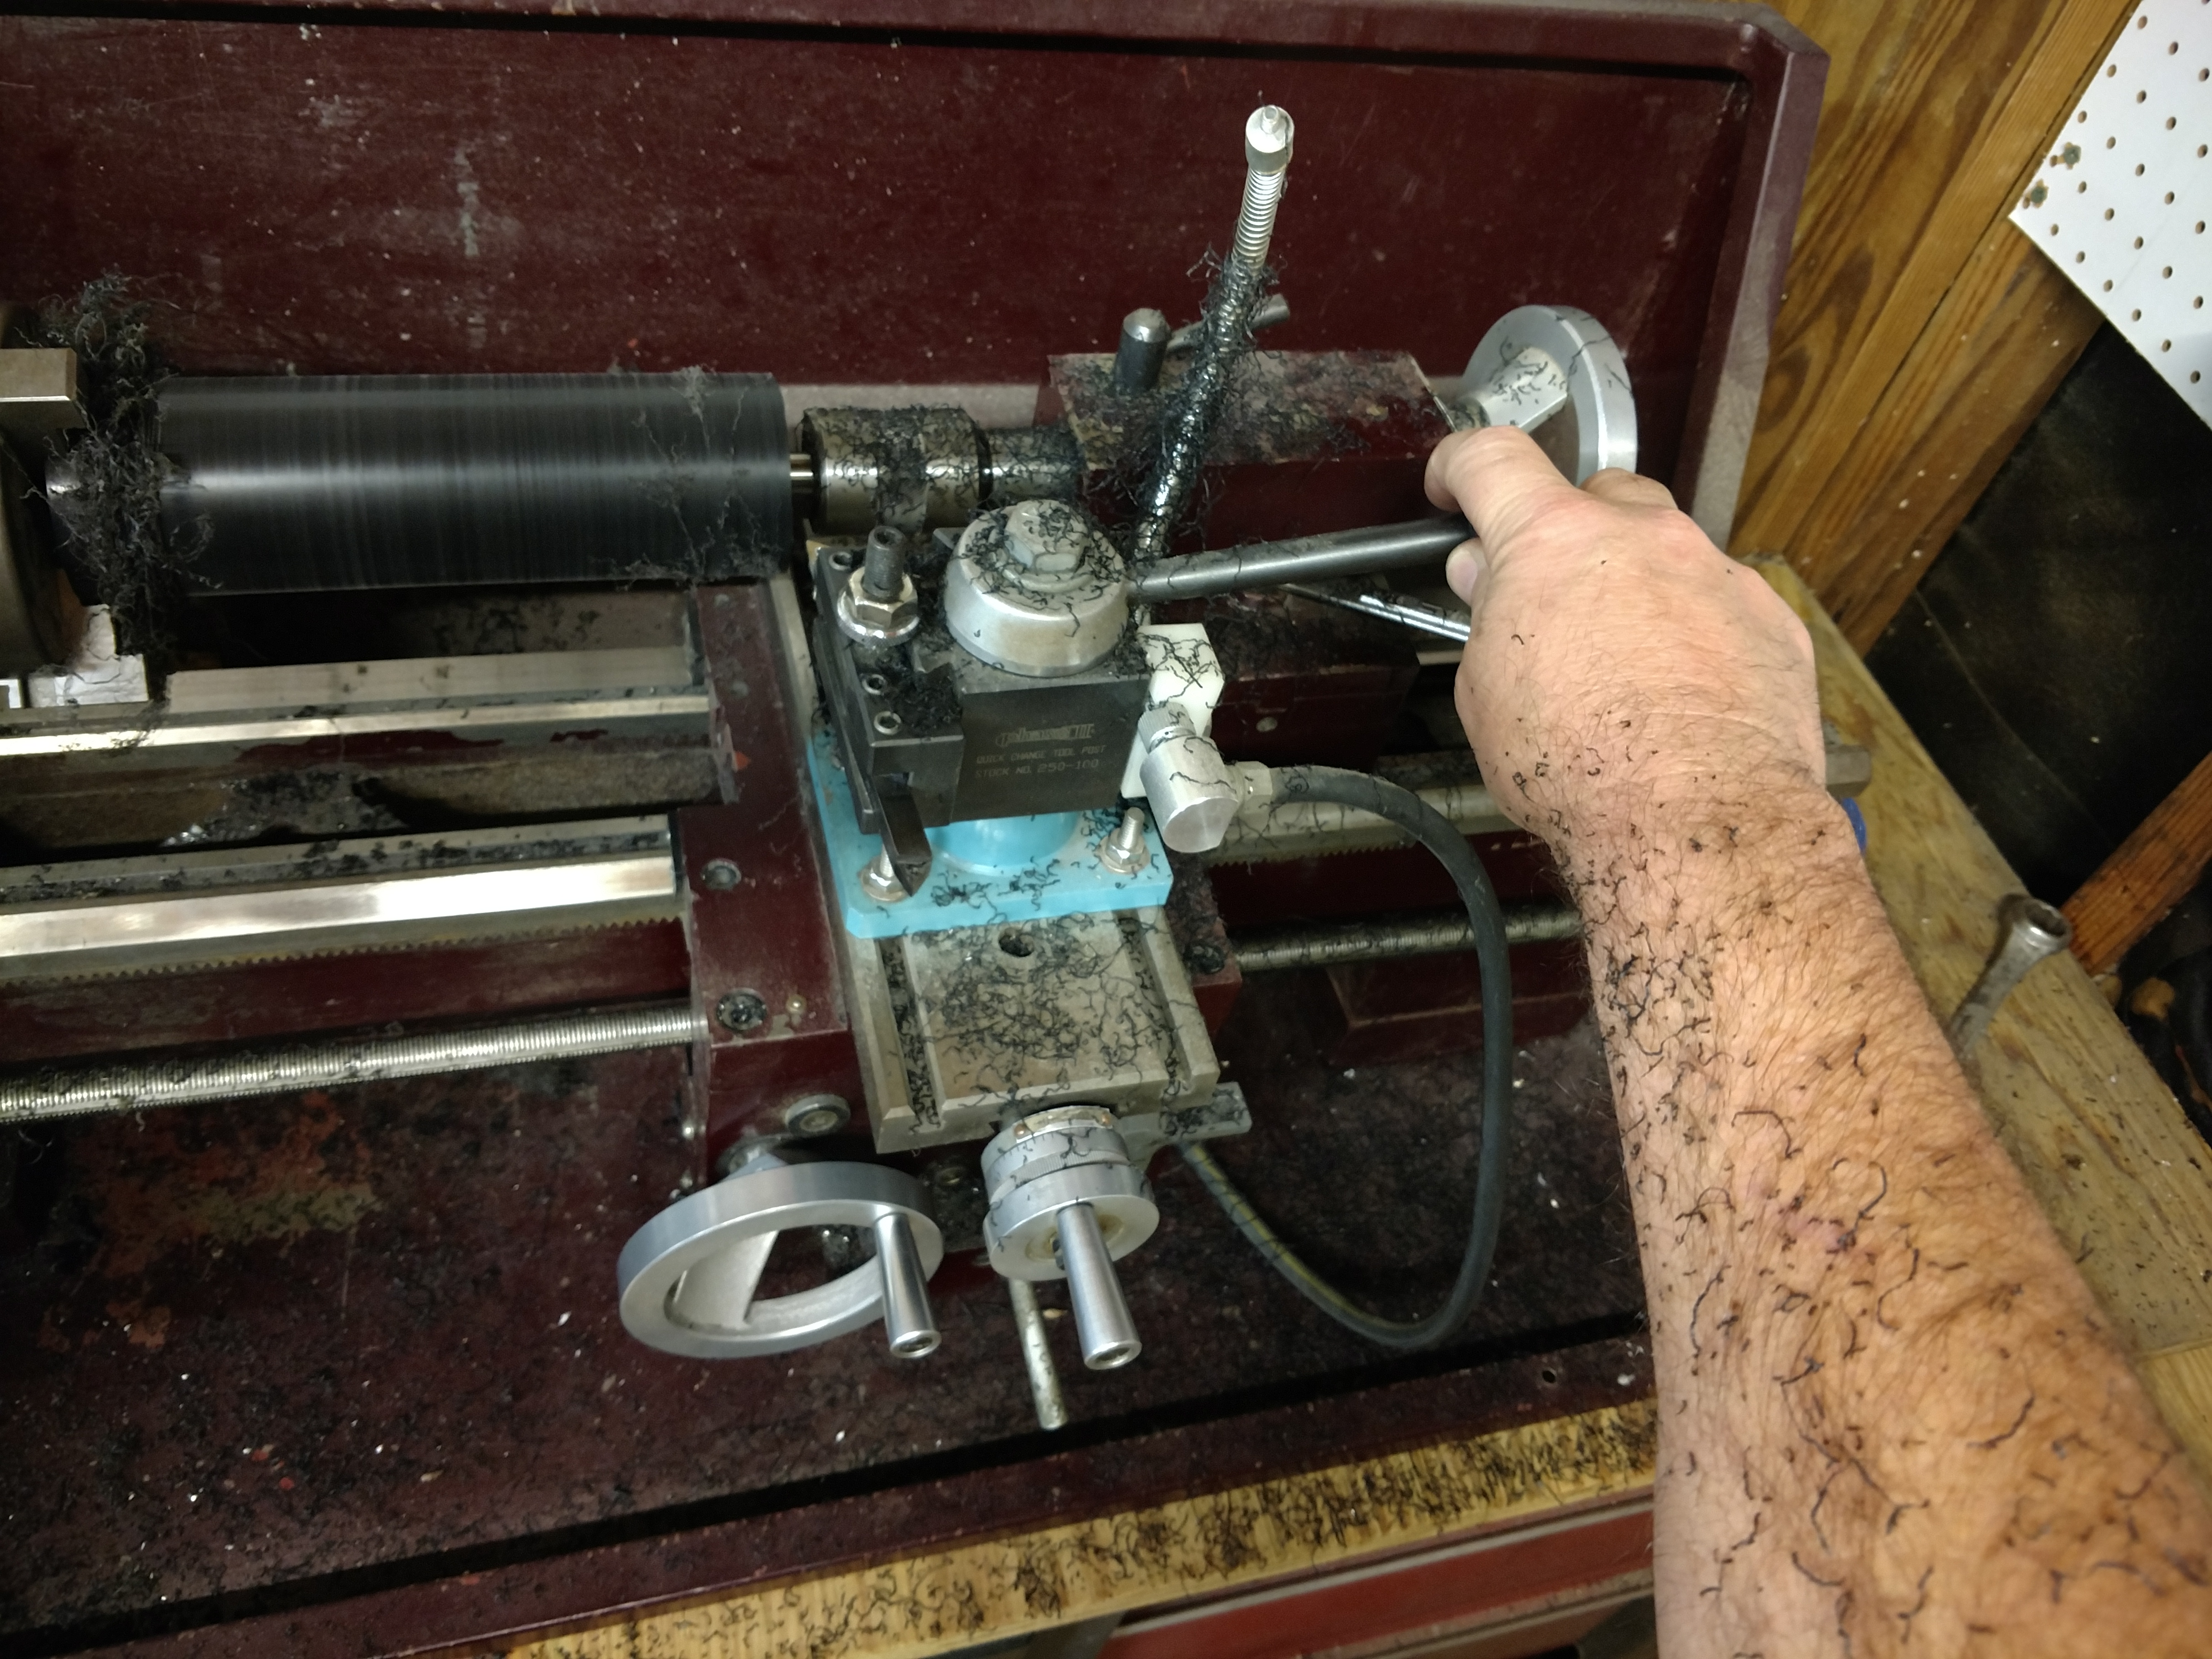
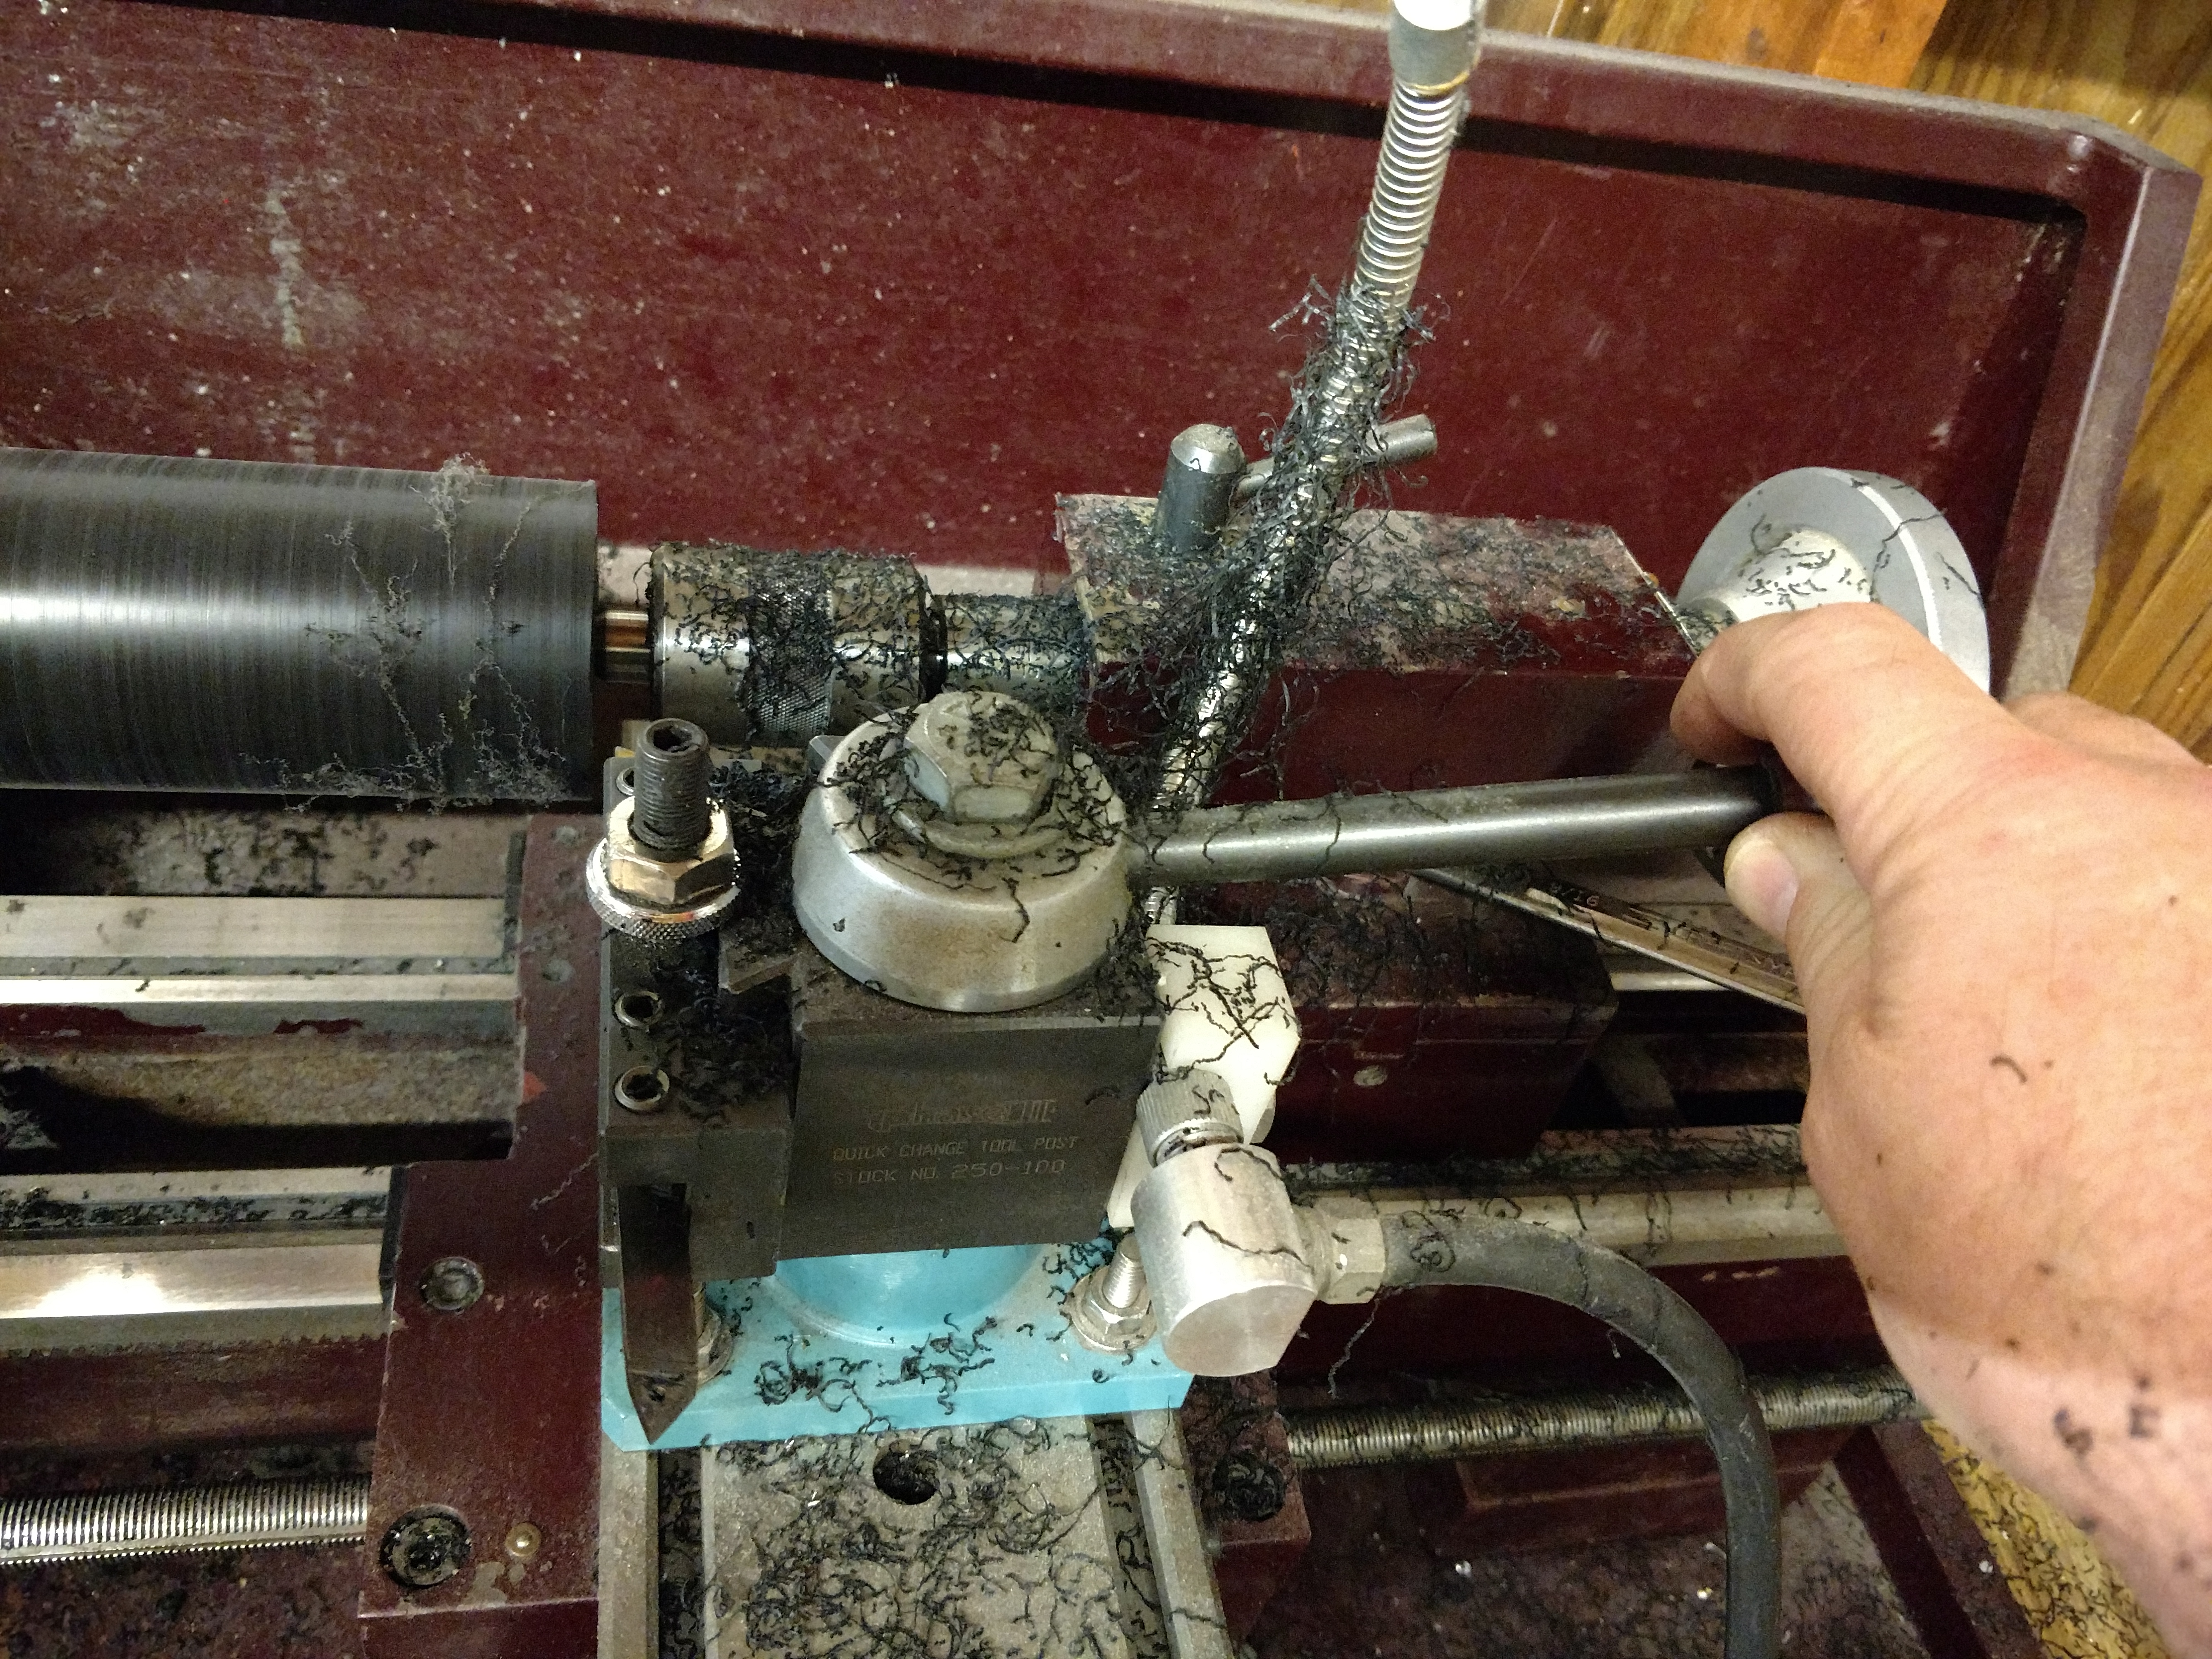
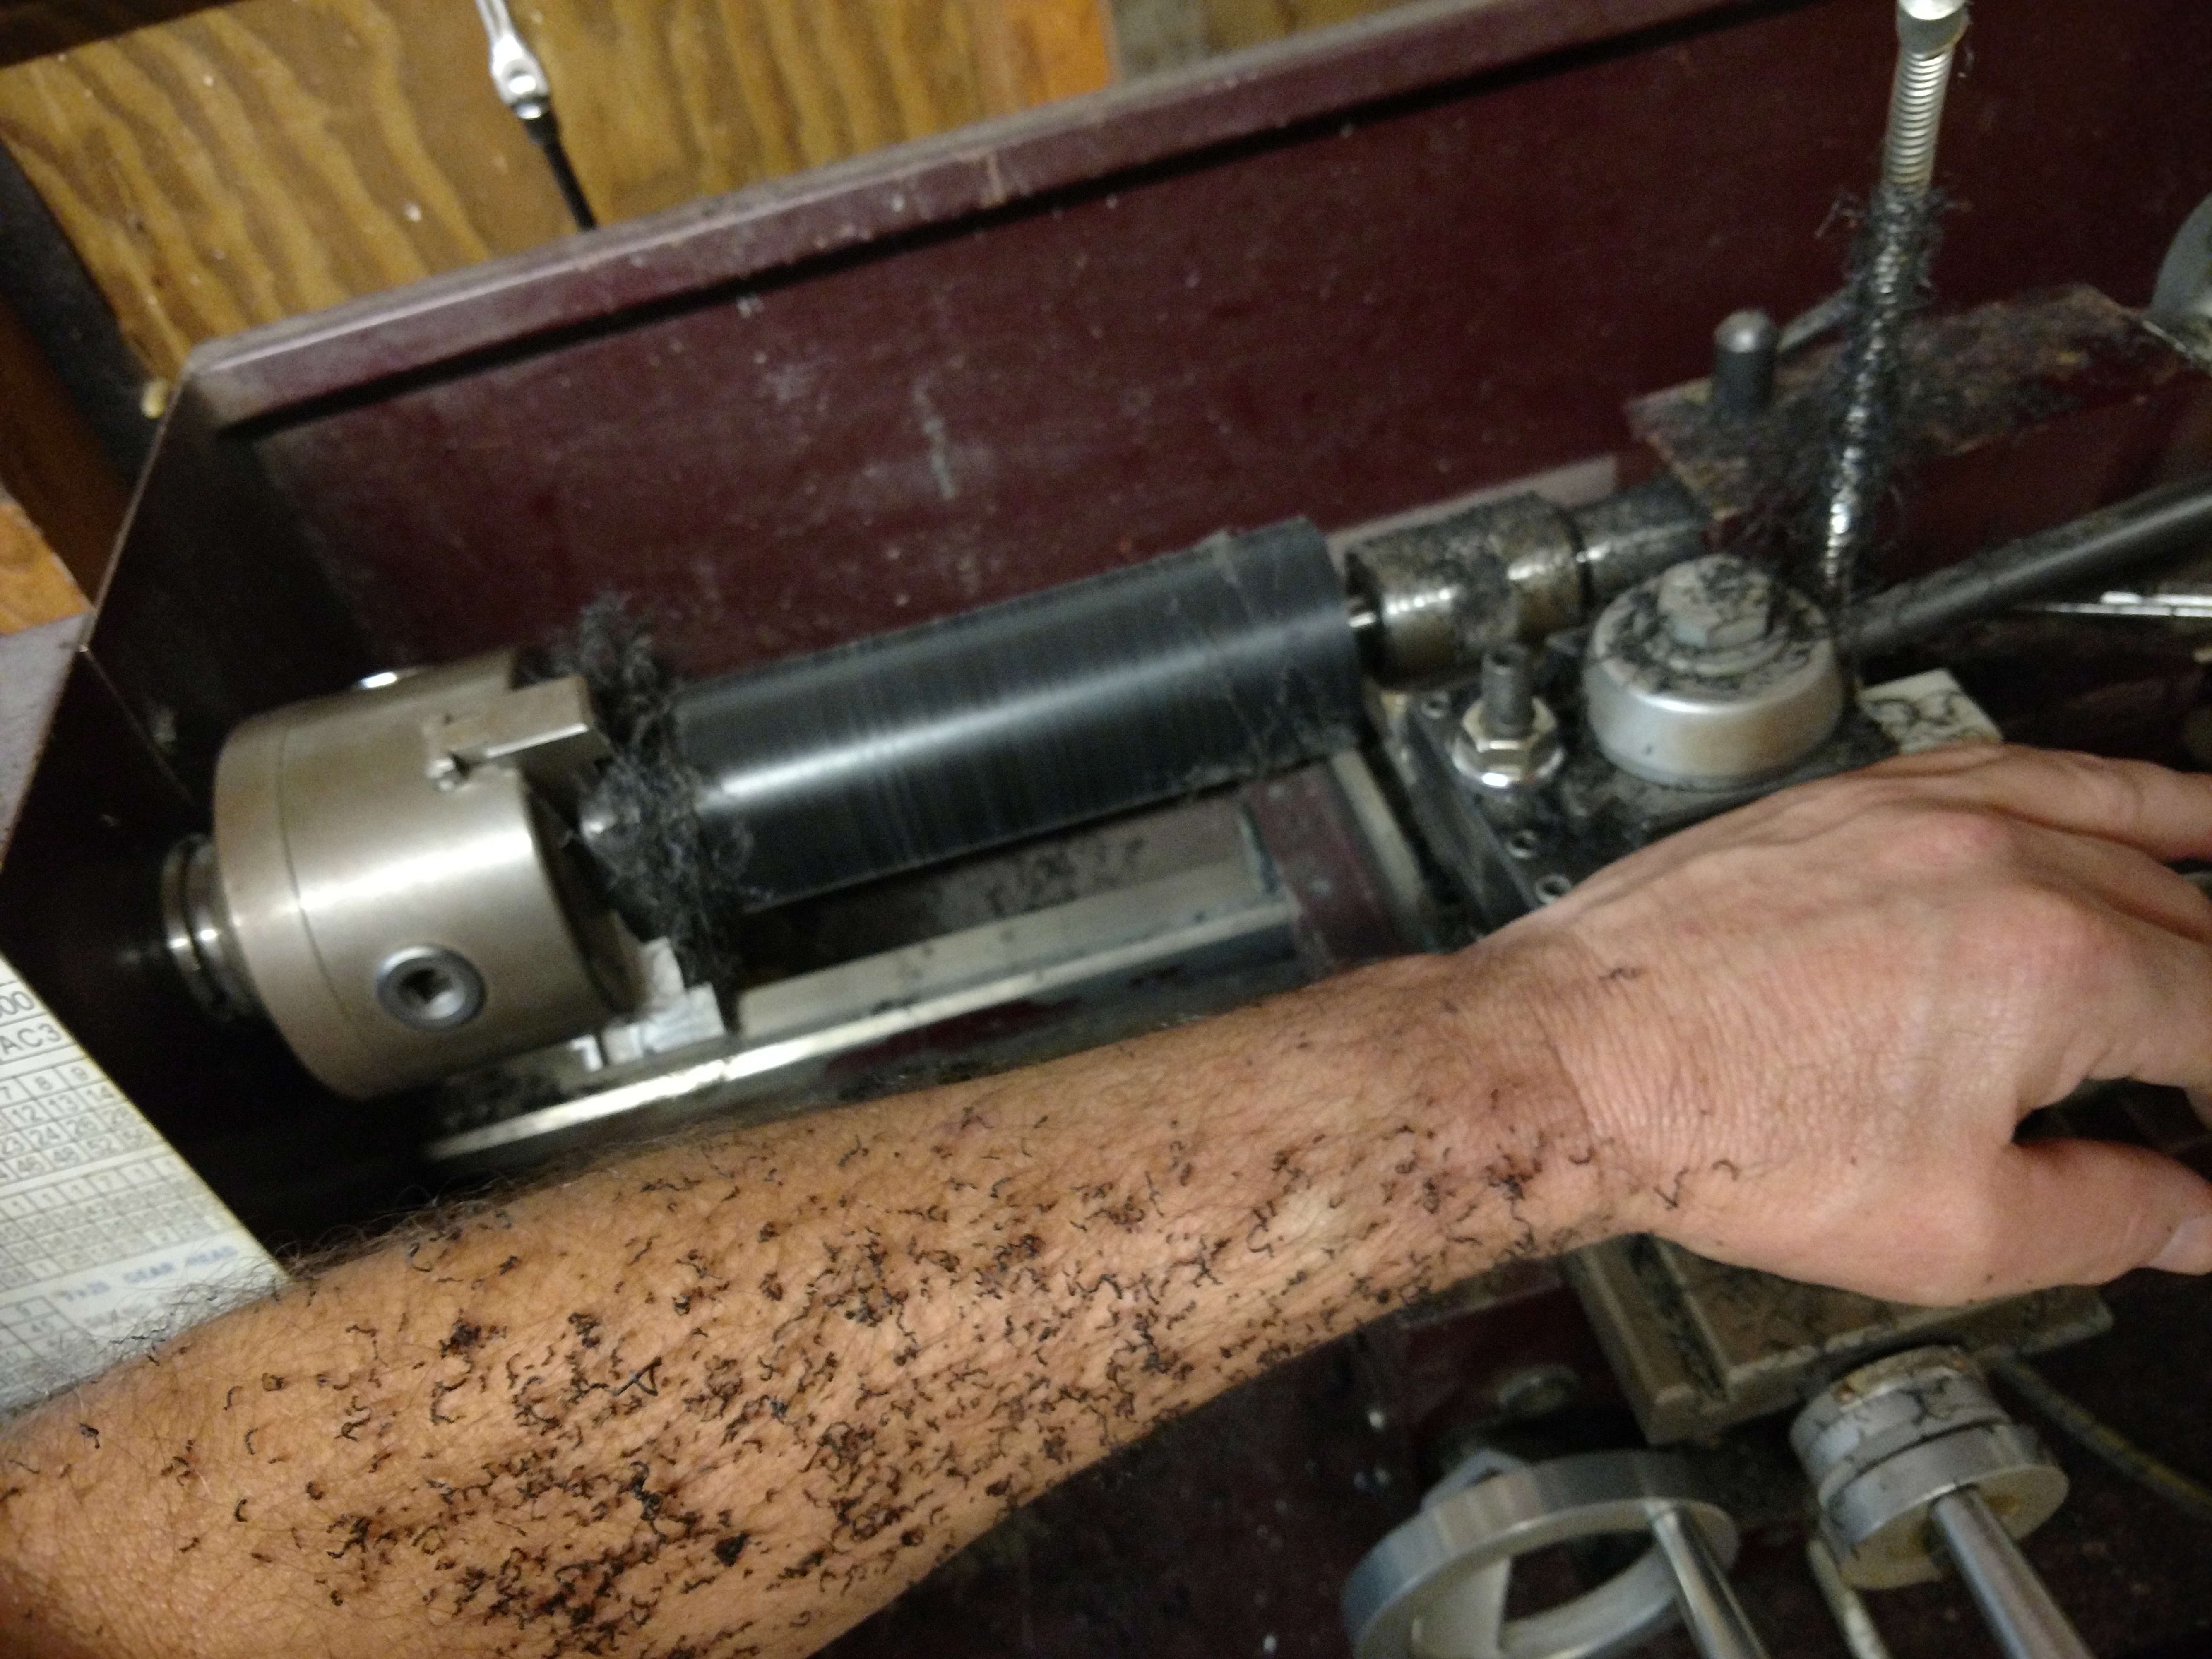
I bored out the center with my very crude hand-ground boring bar.
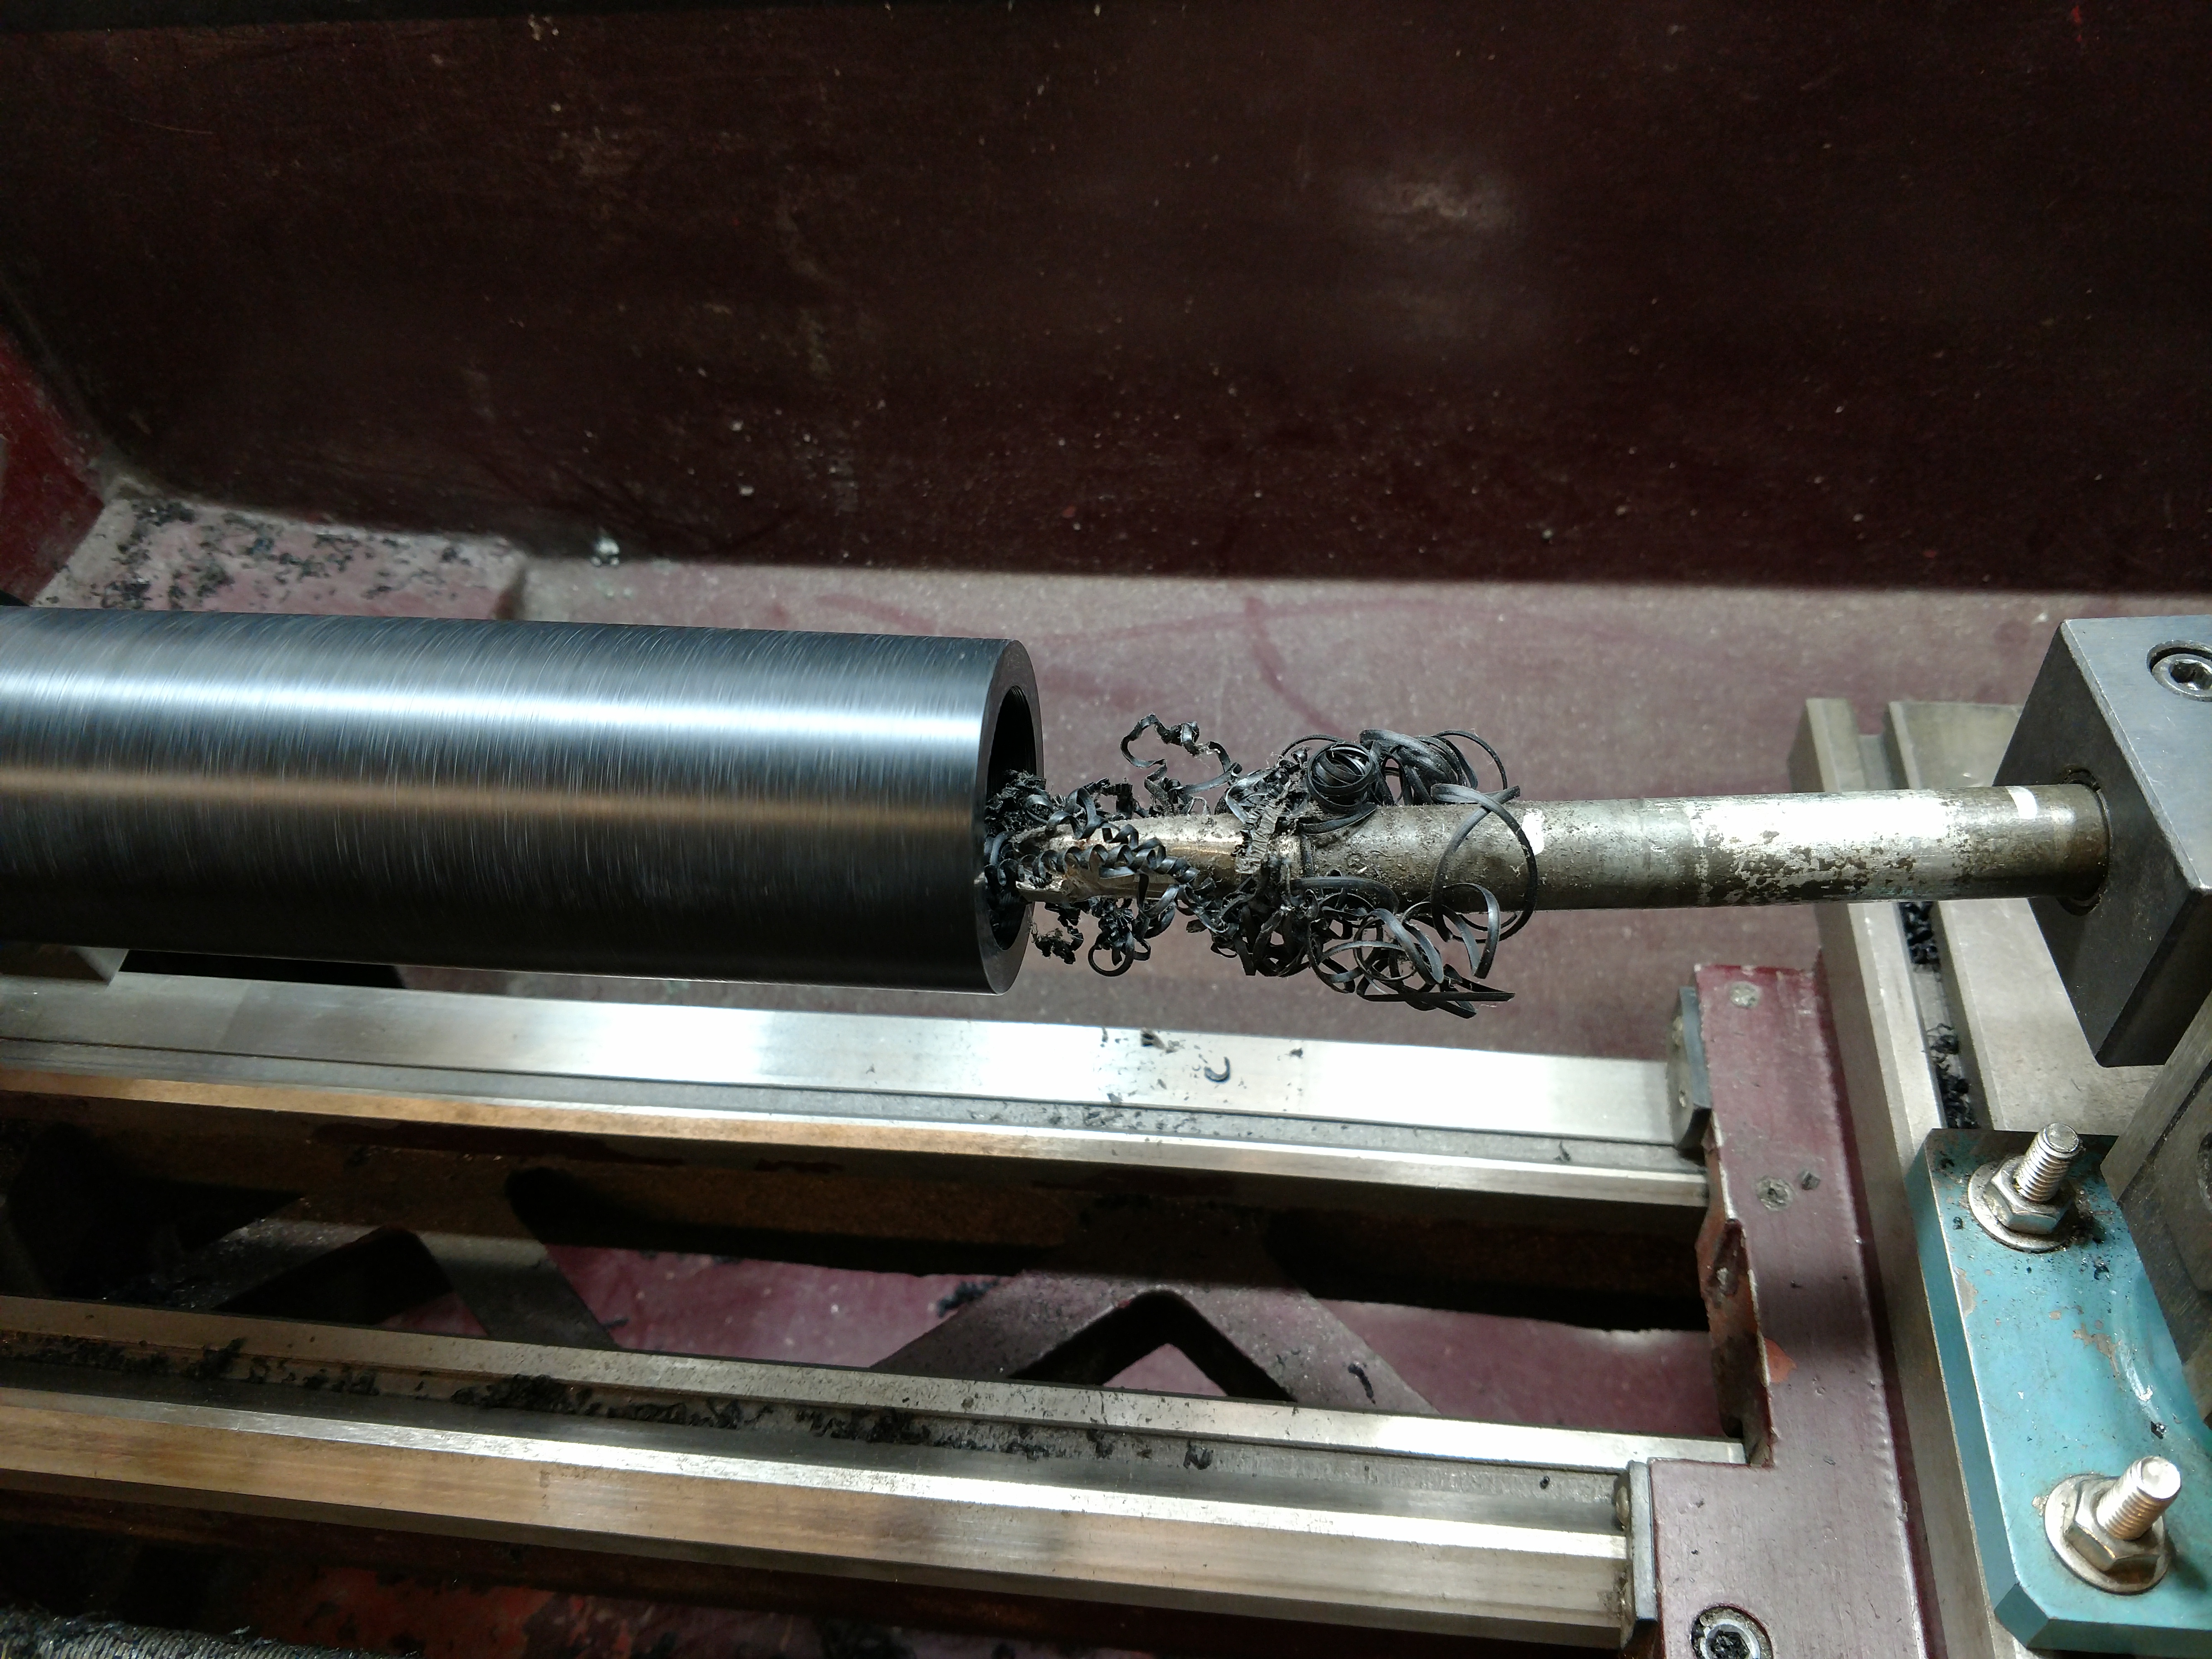
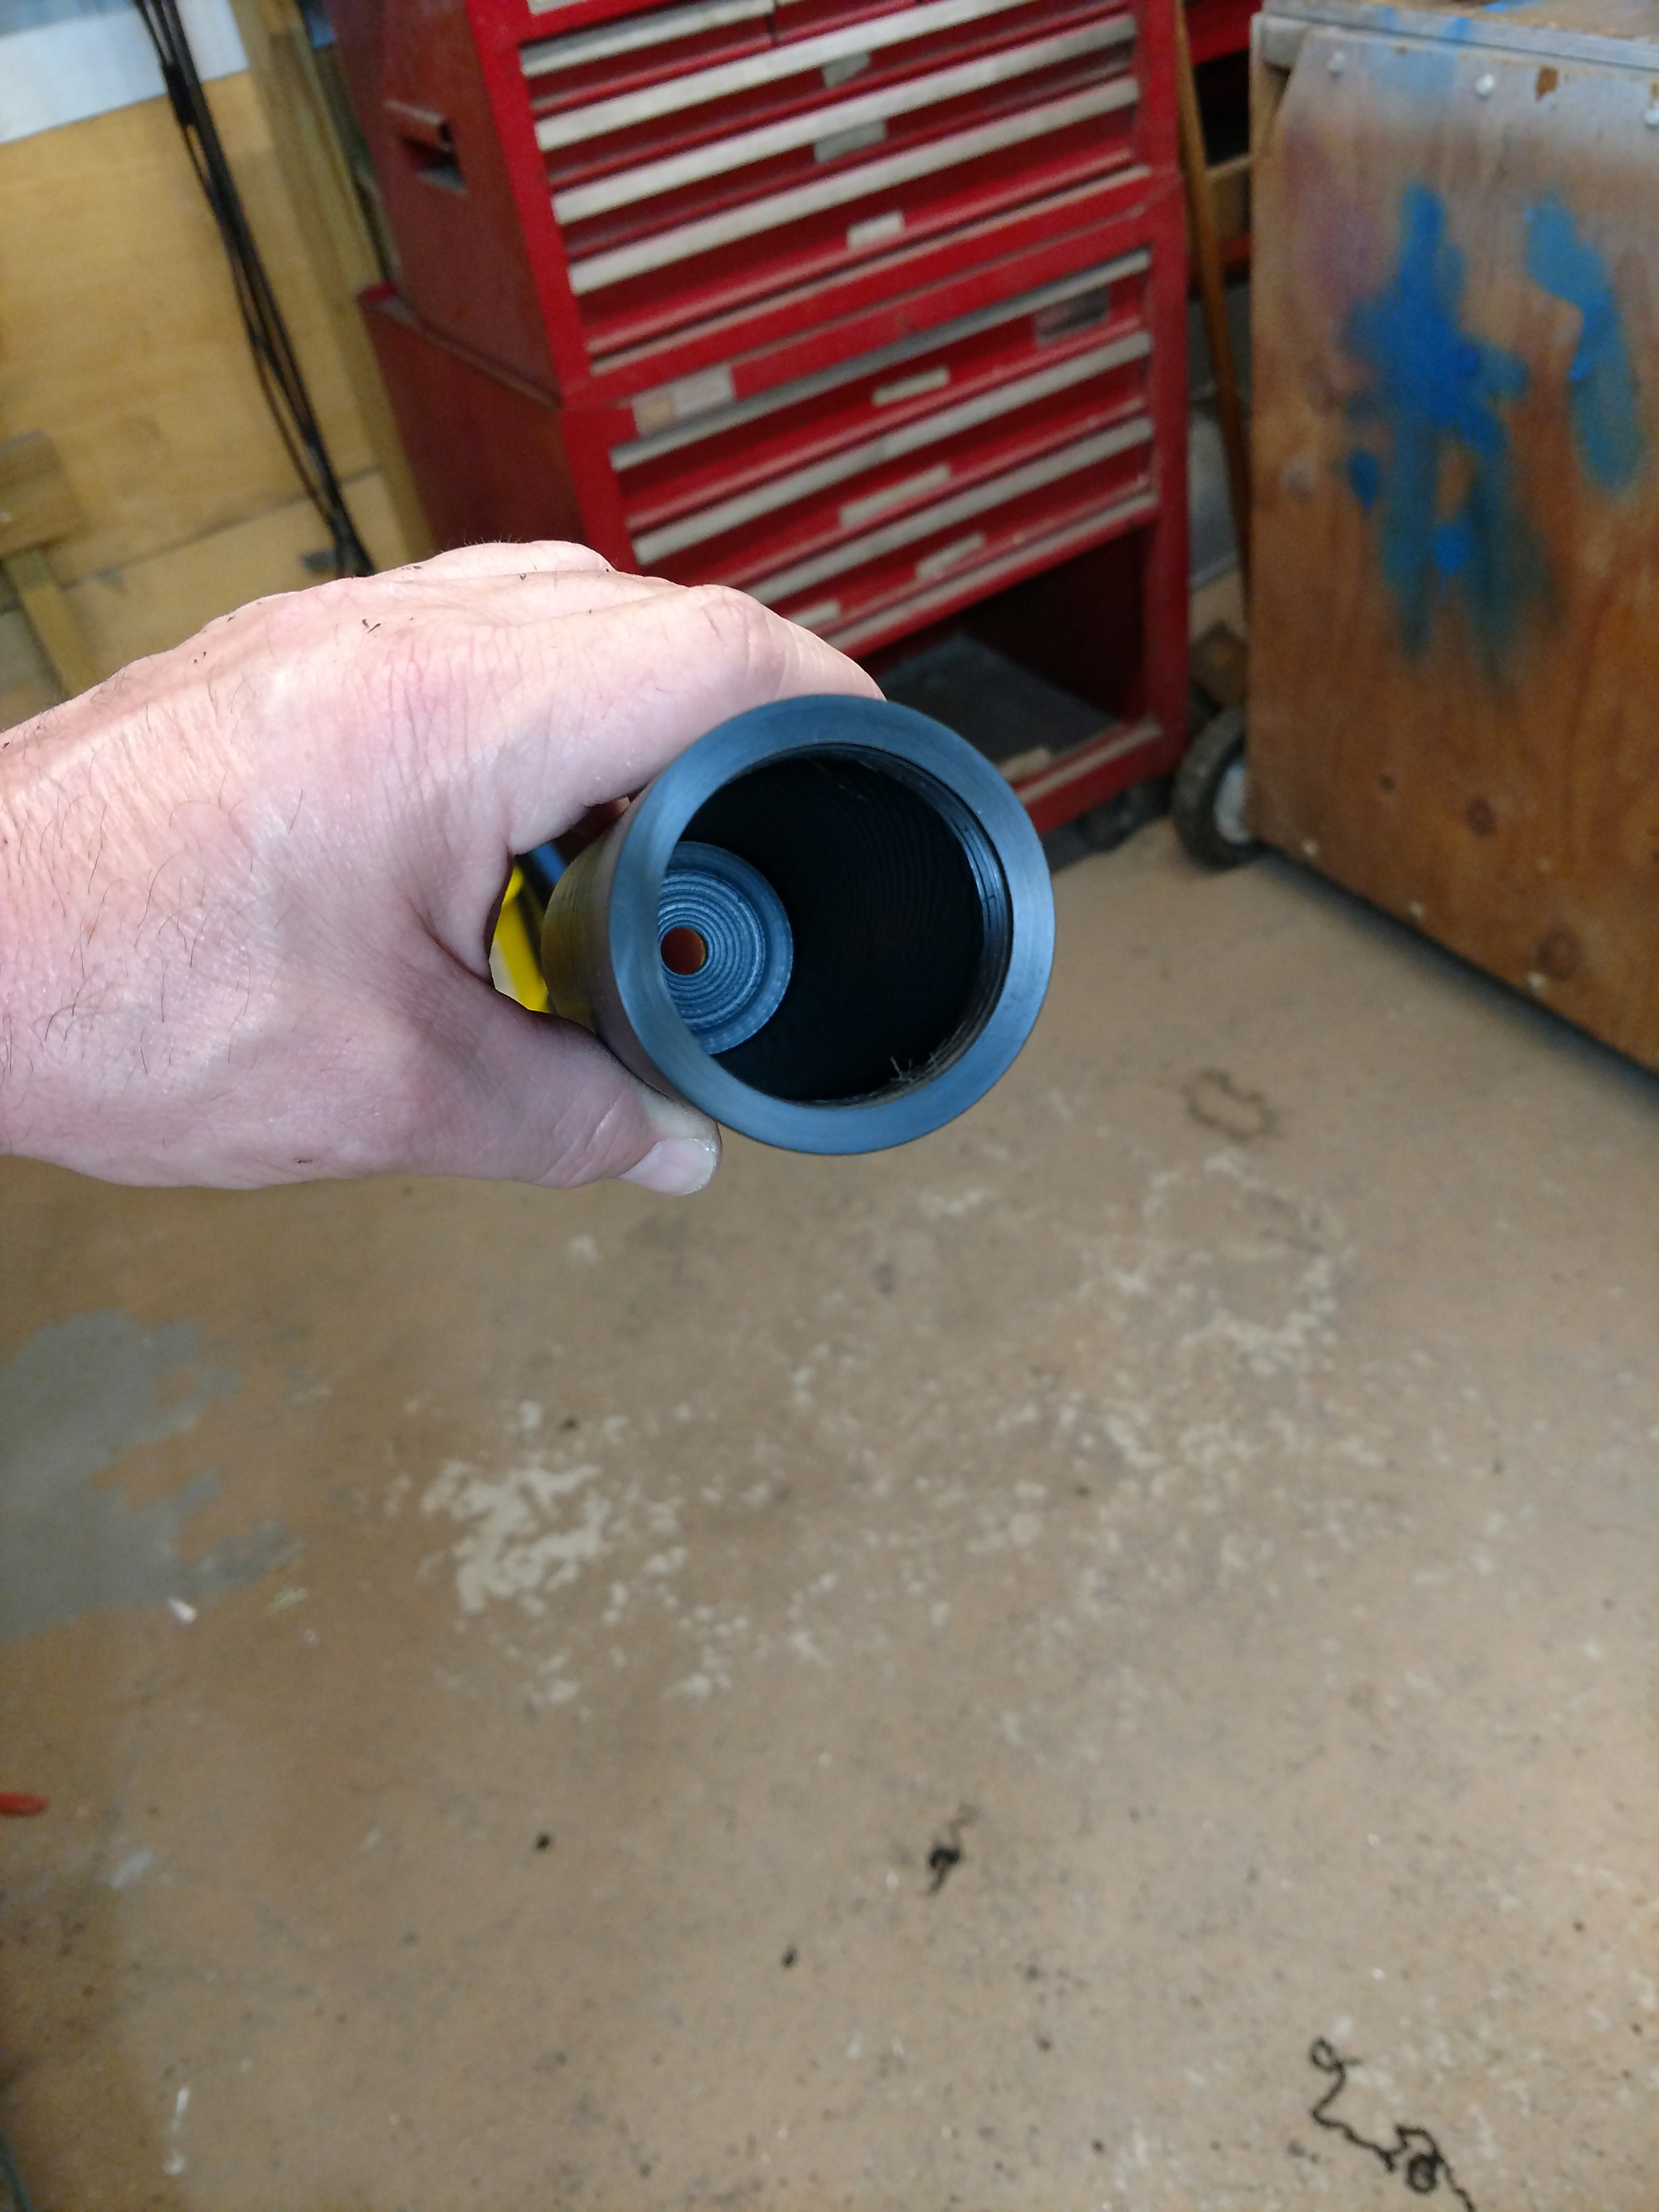
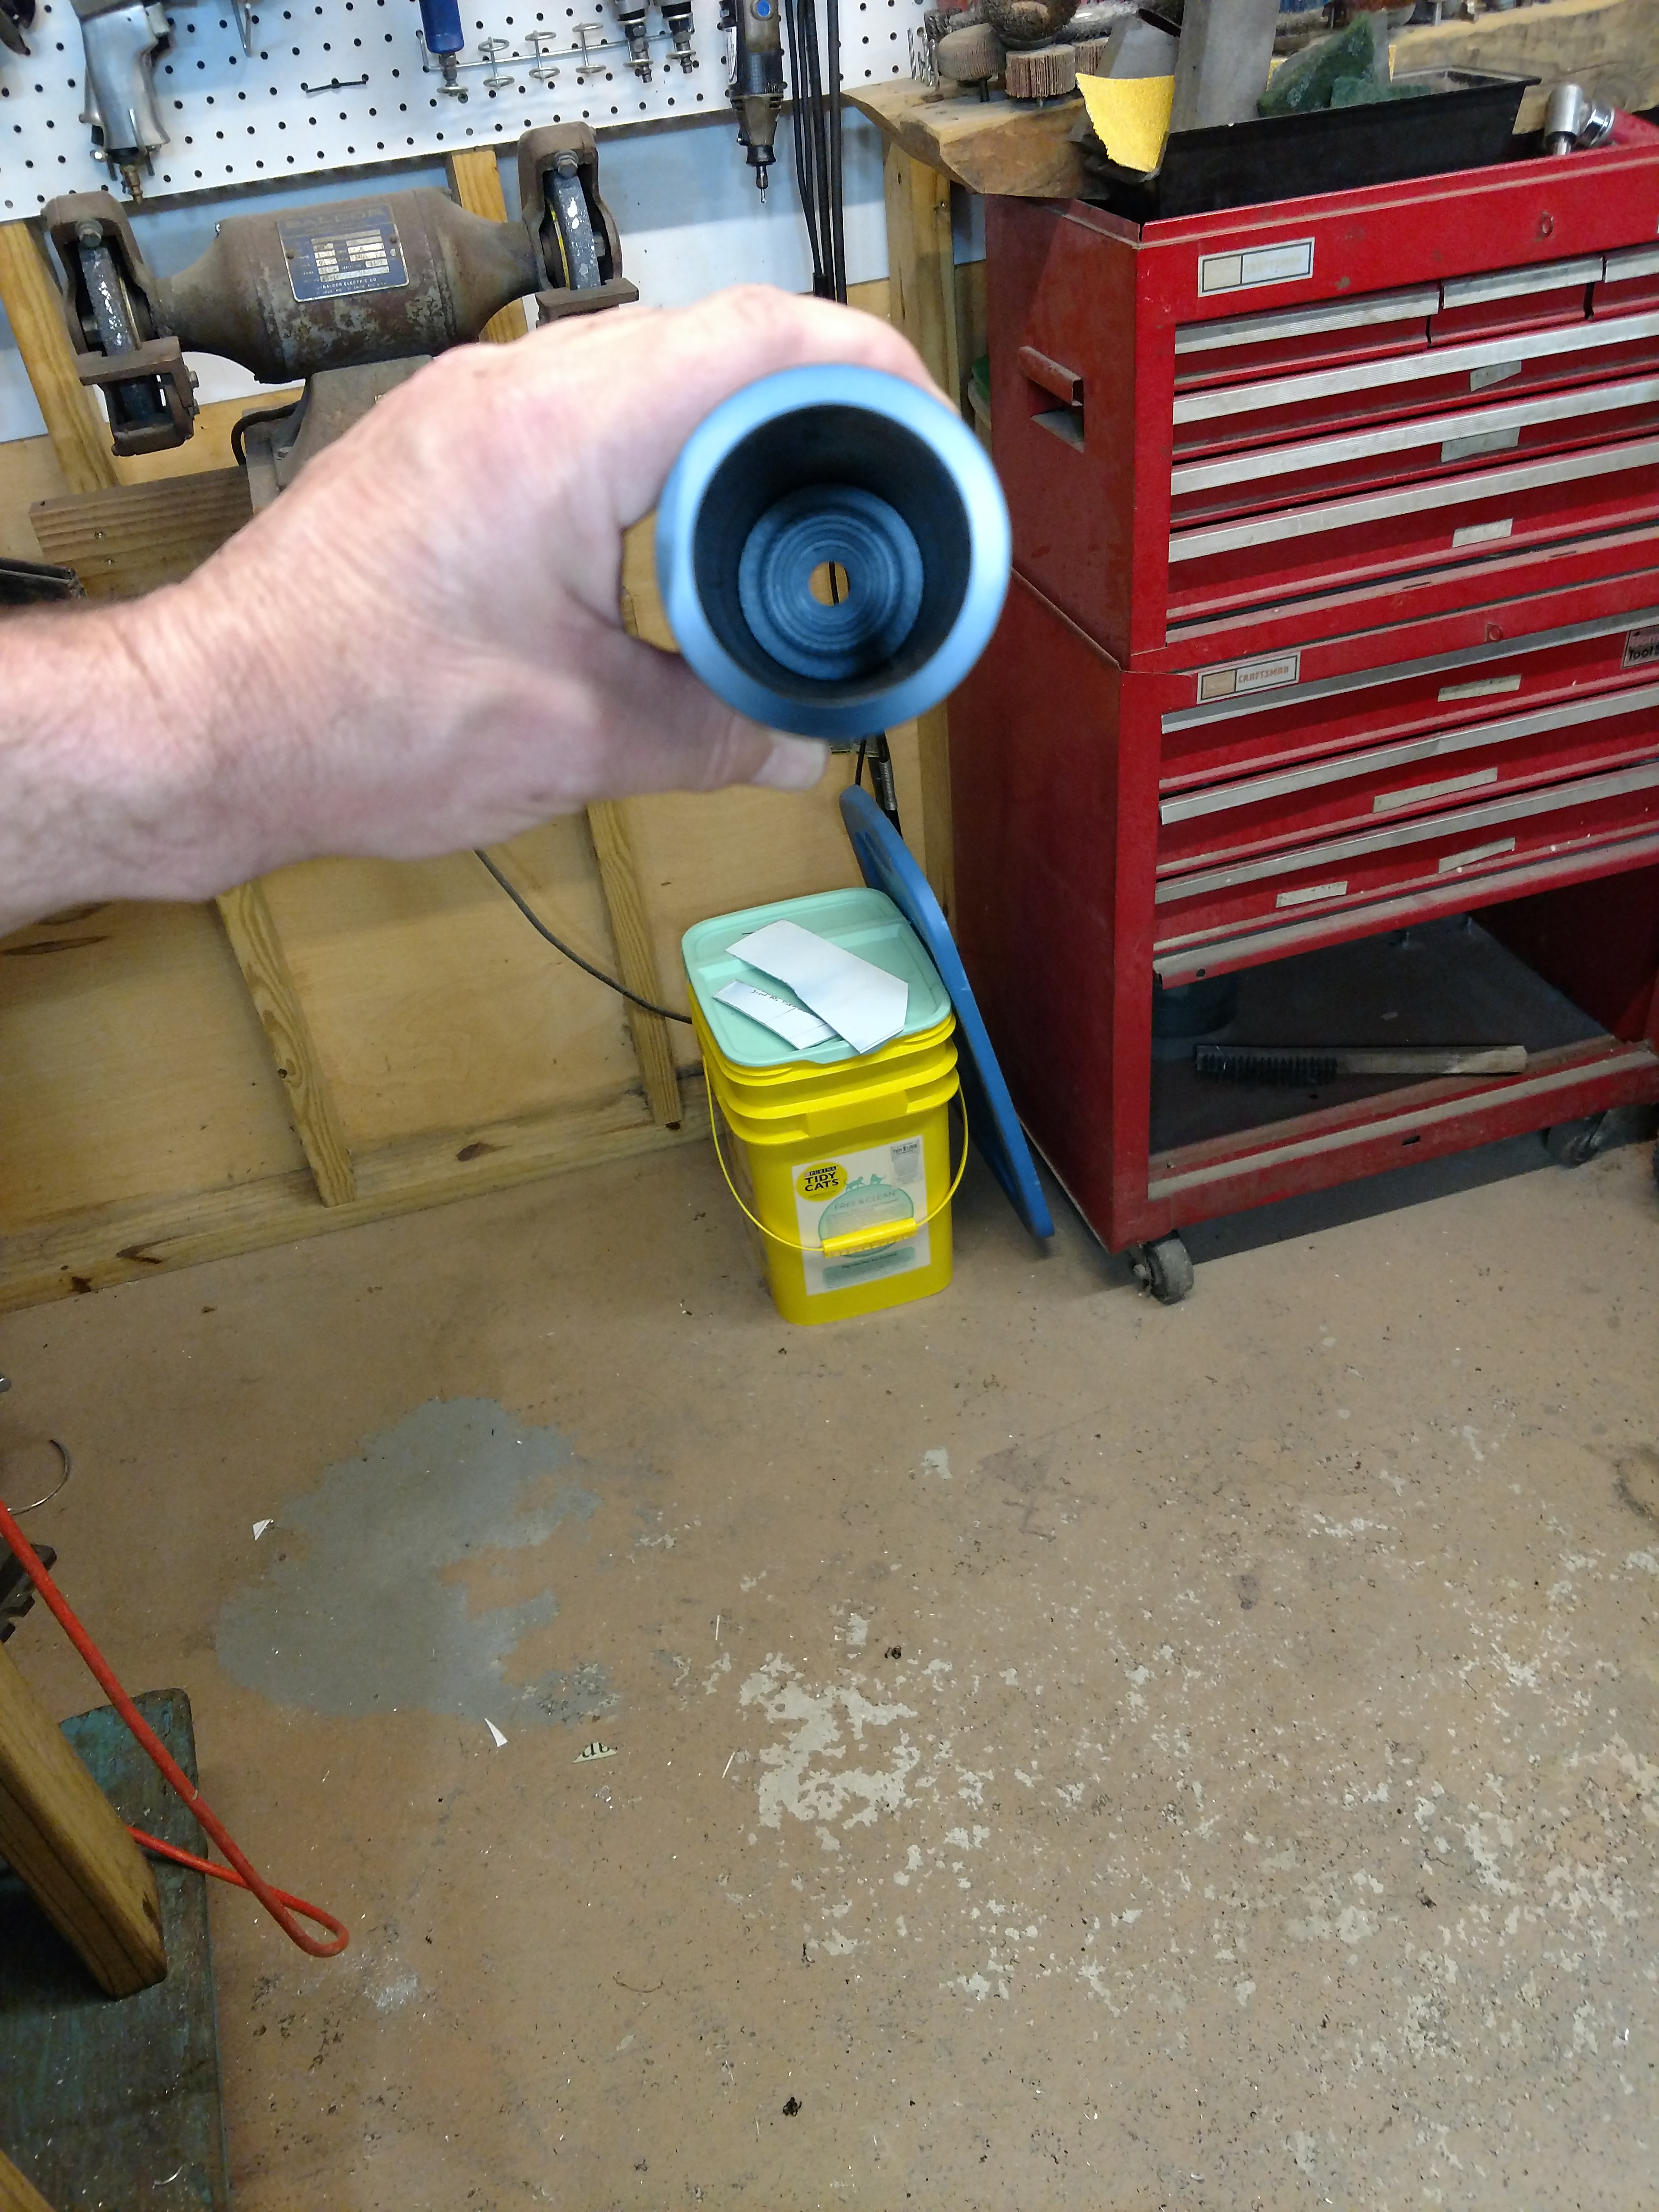
The top was turned with a .002" clearance to the main body and
grooves were cut into both to give the epoxy bond some teeth.
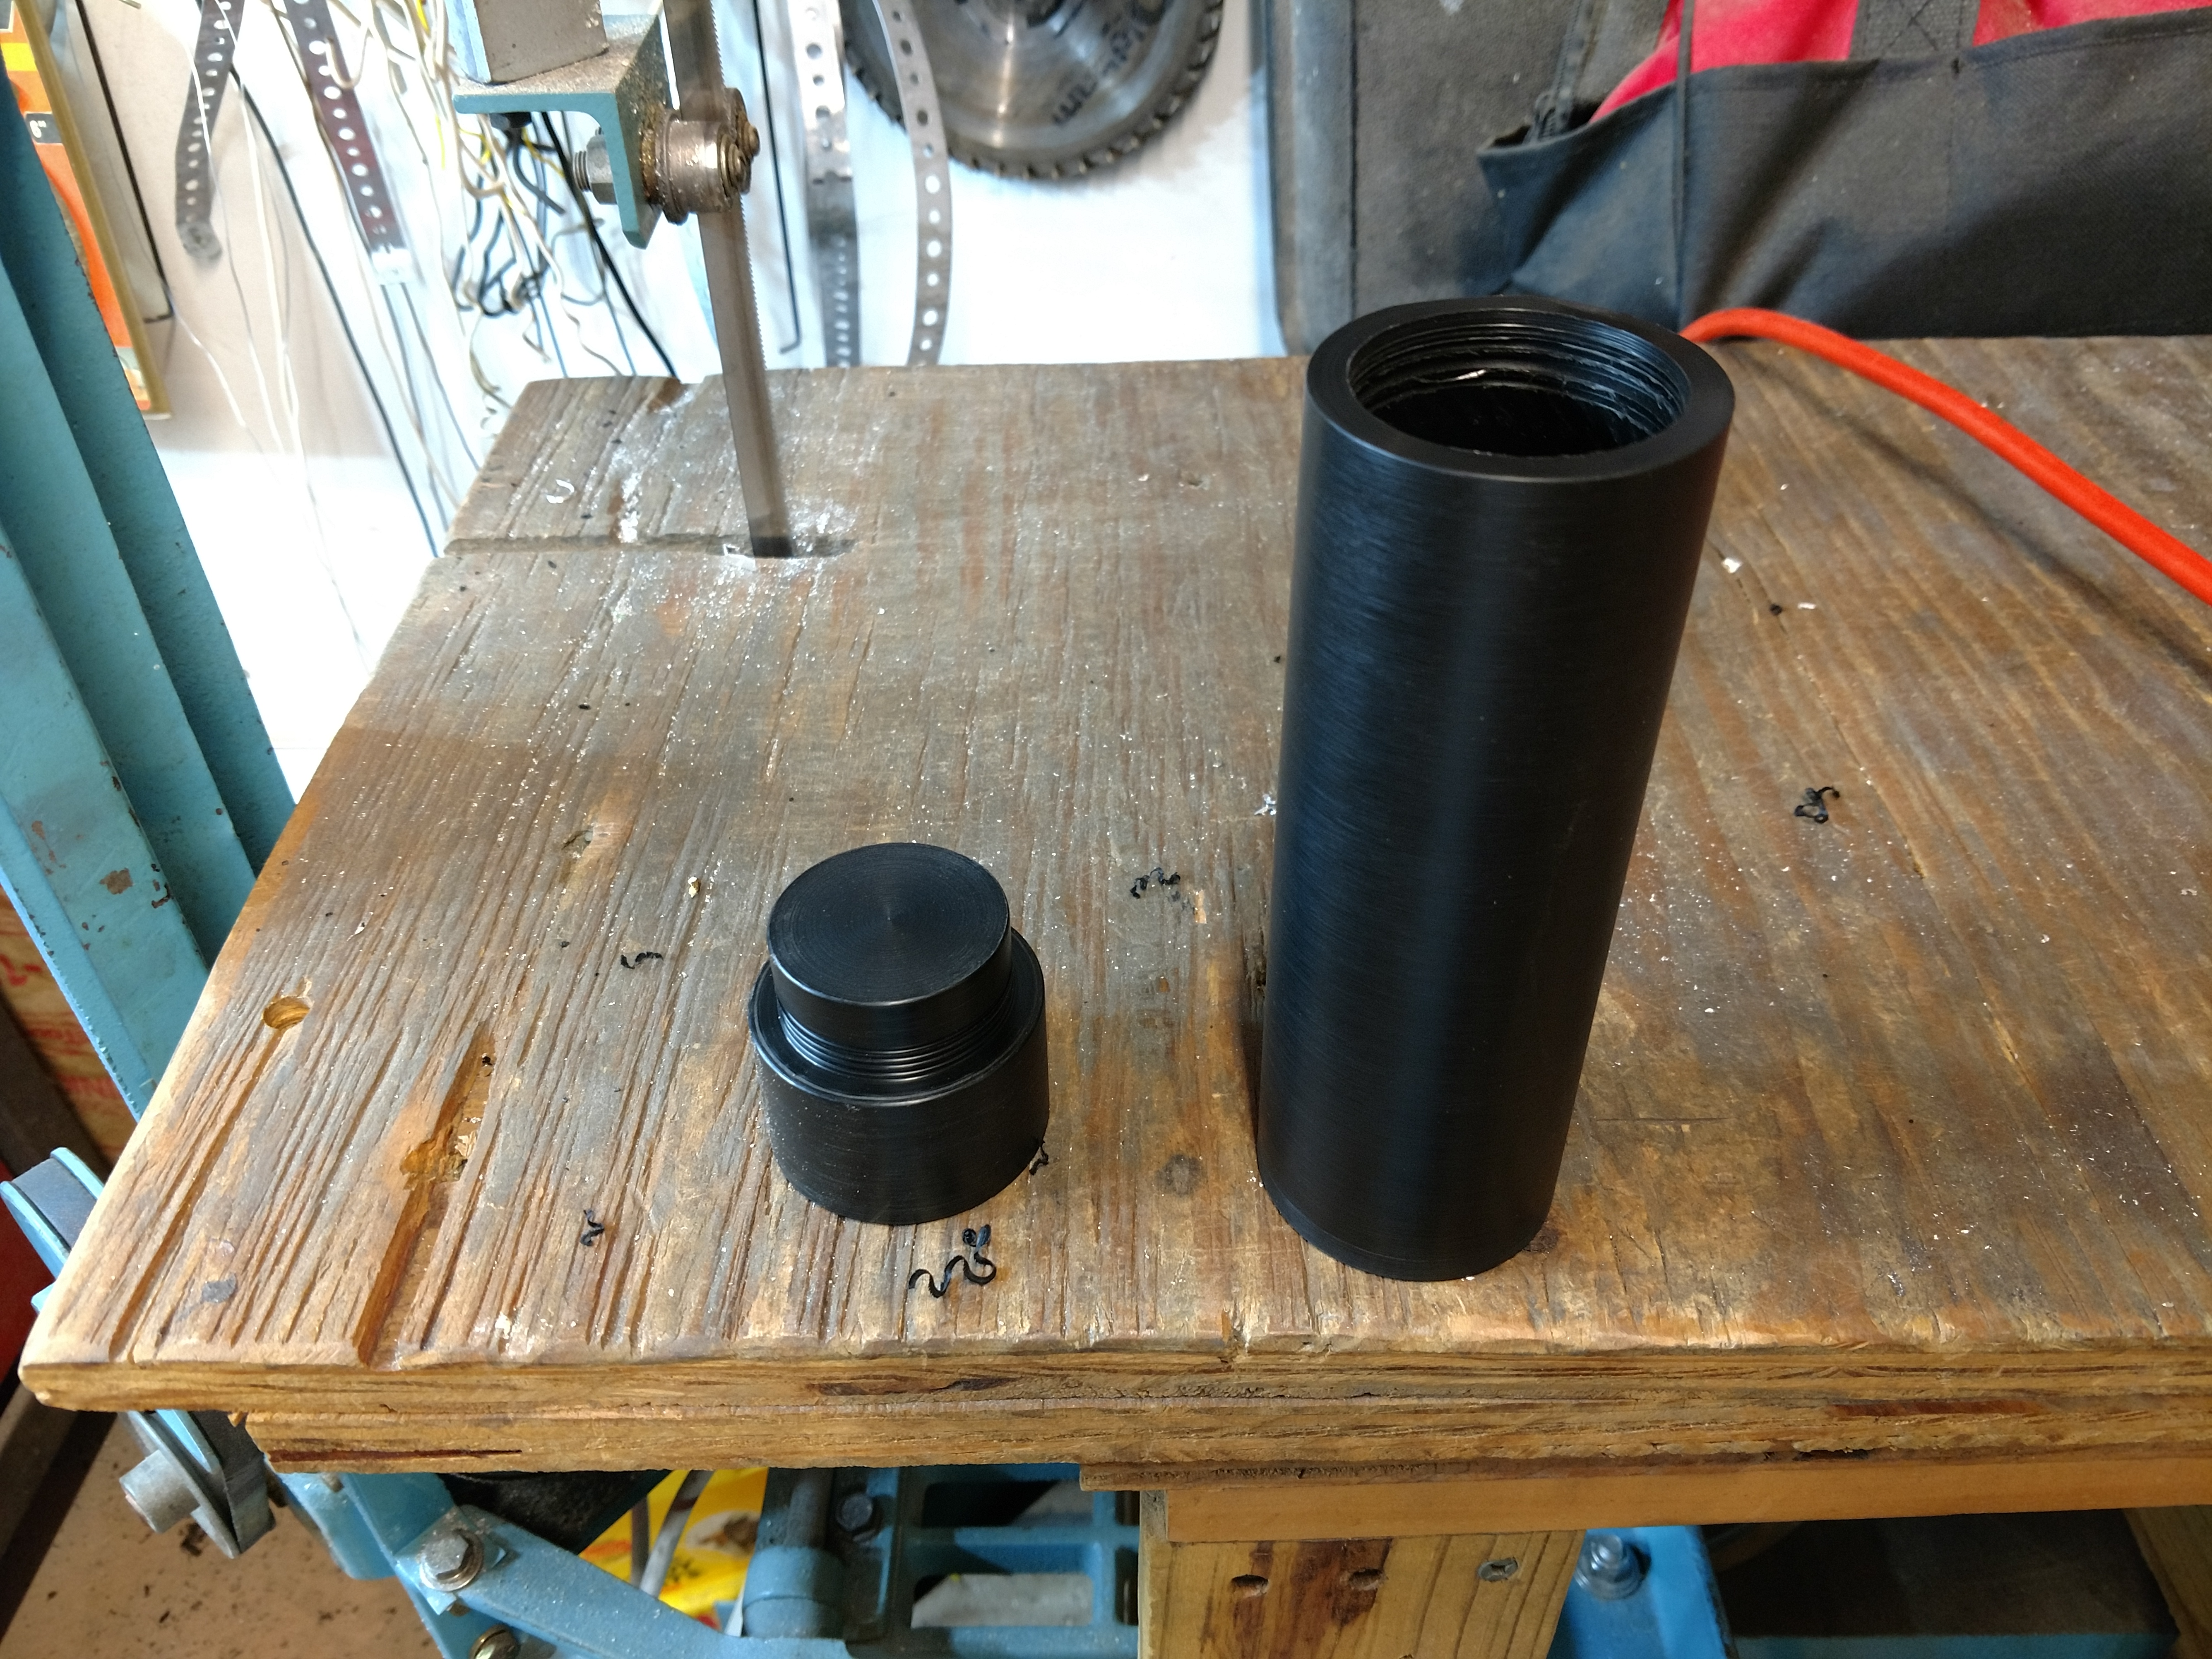
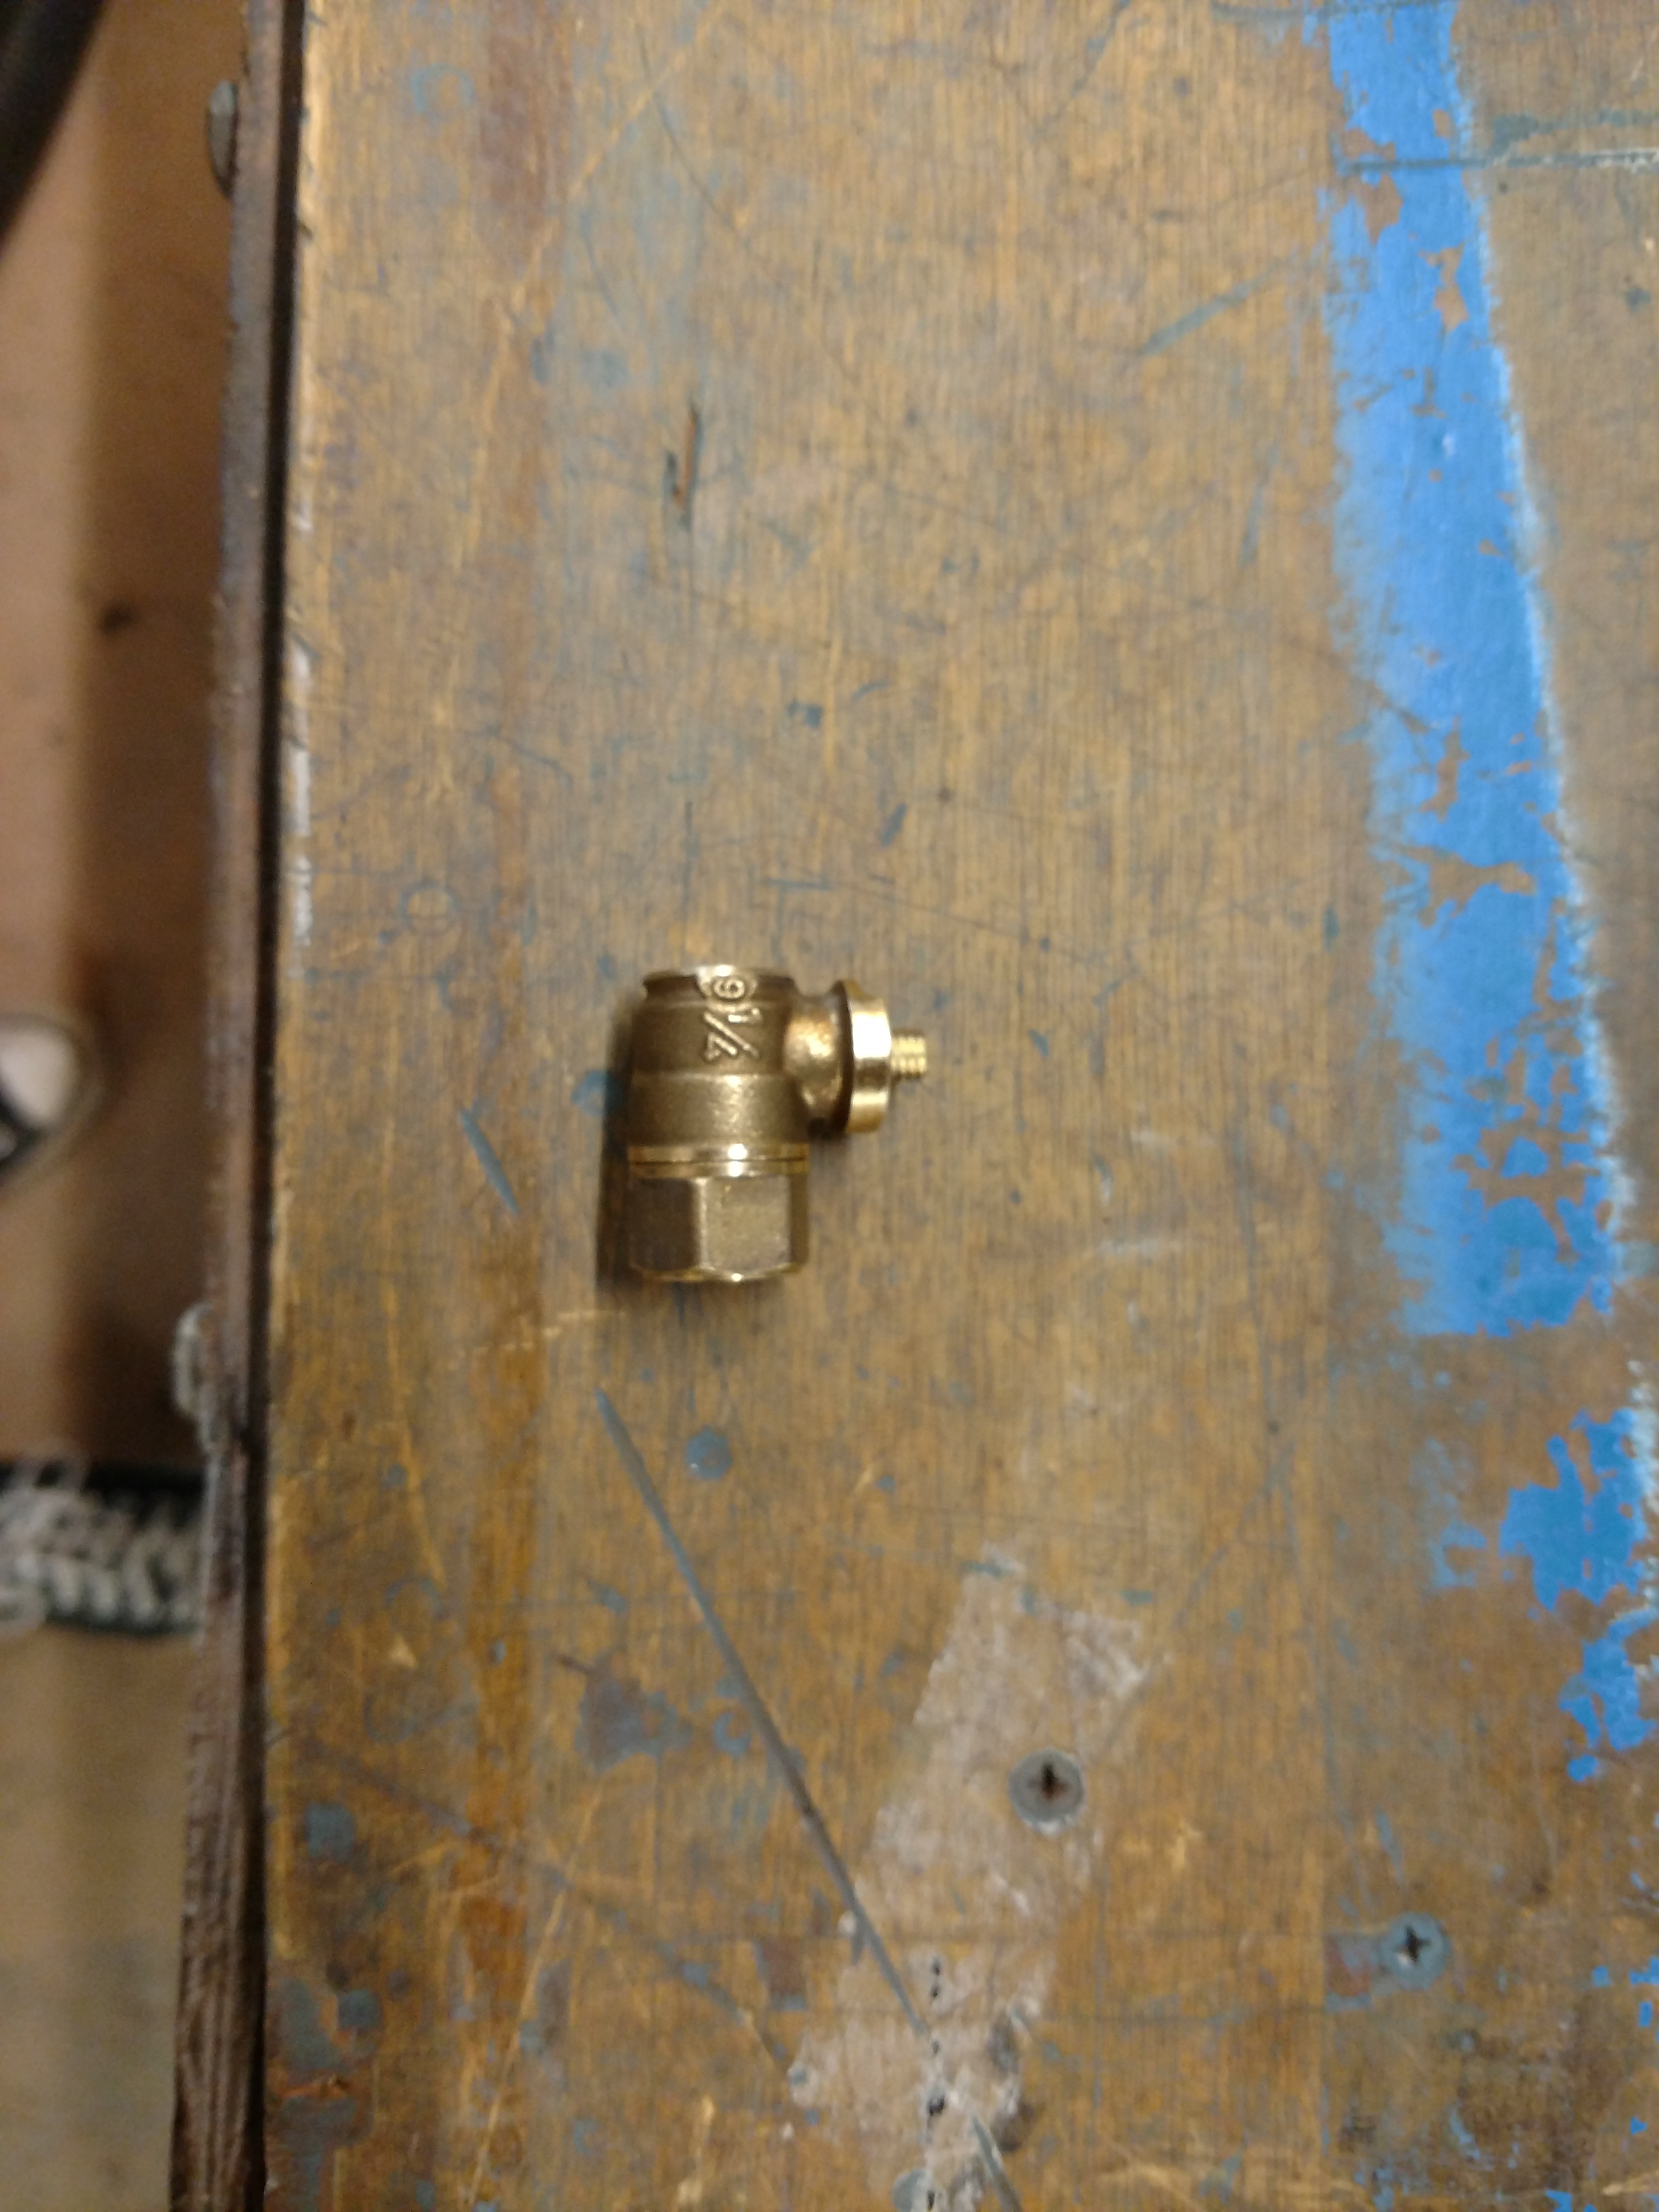
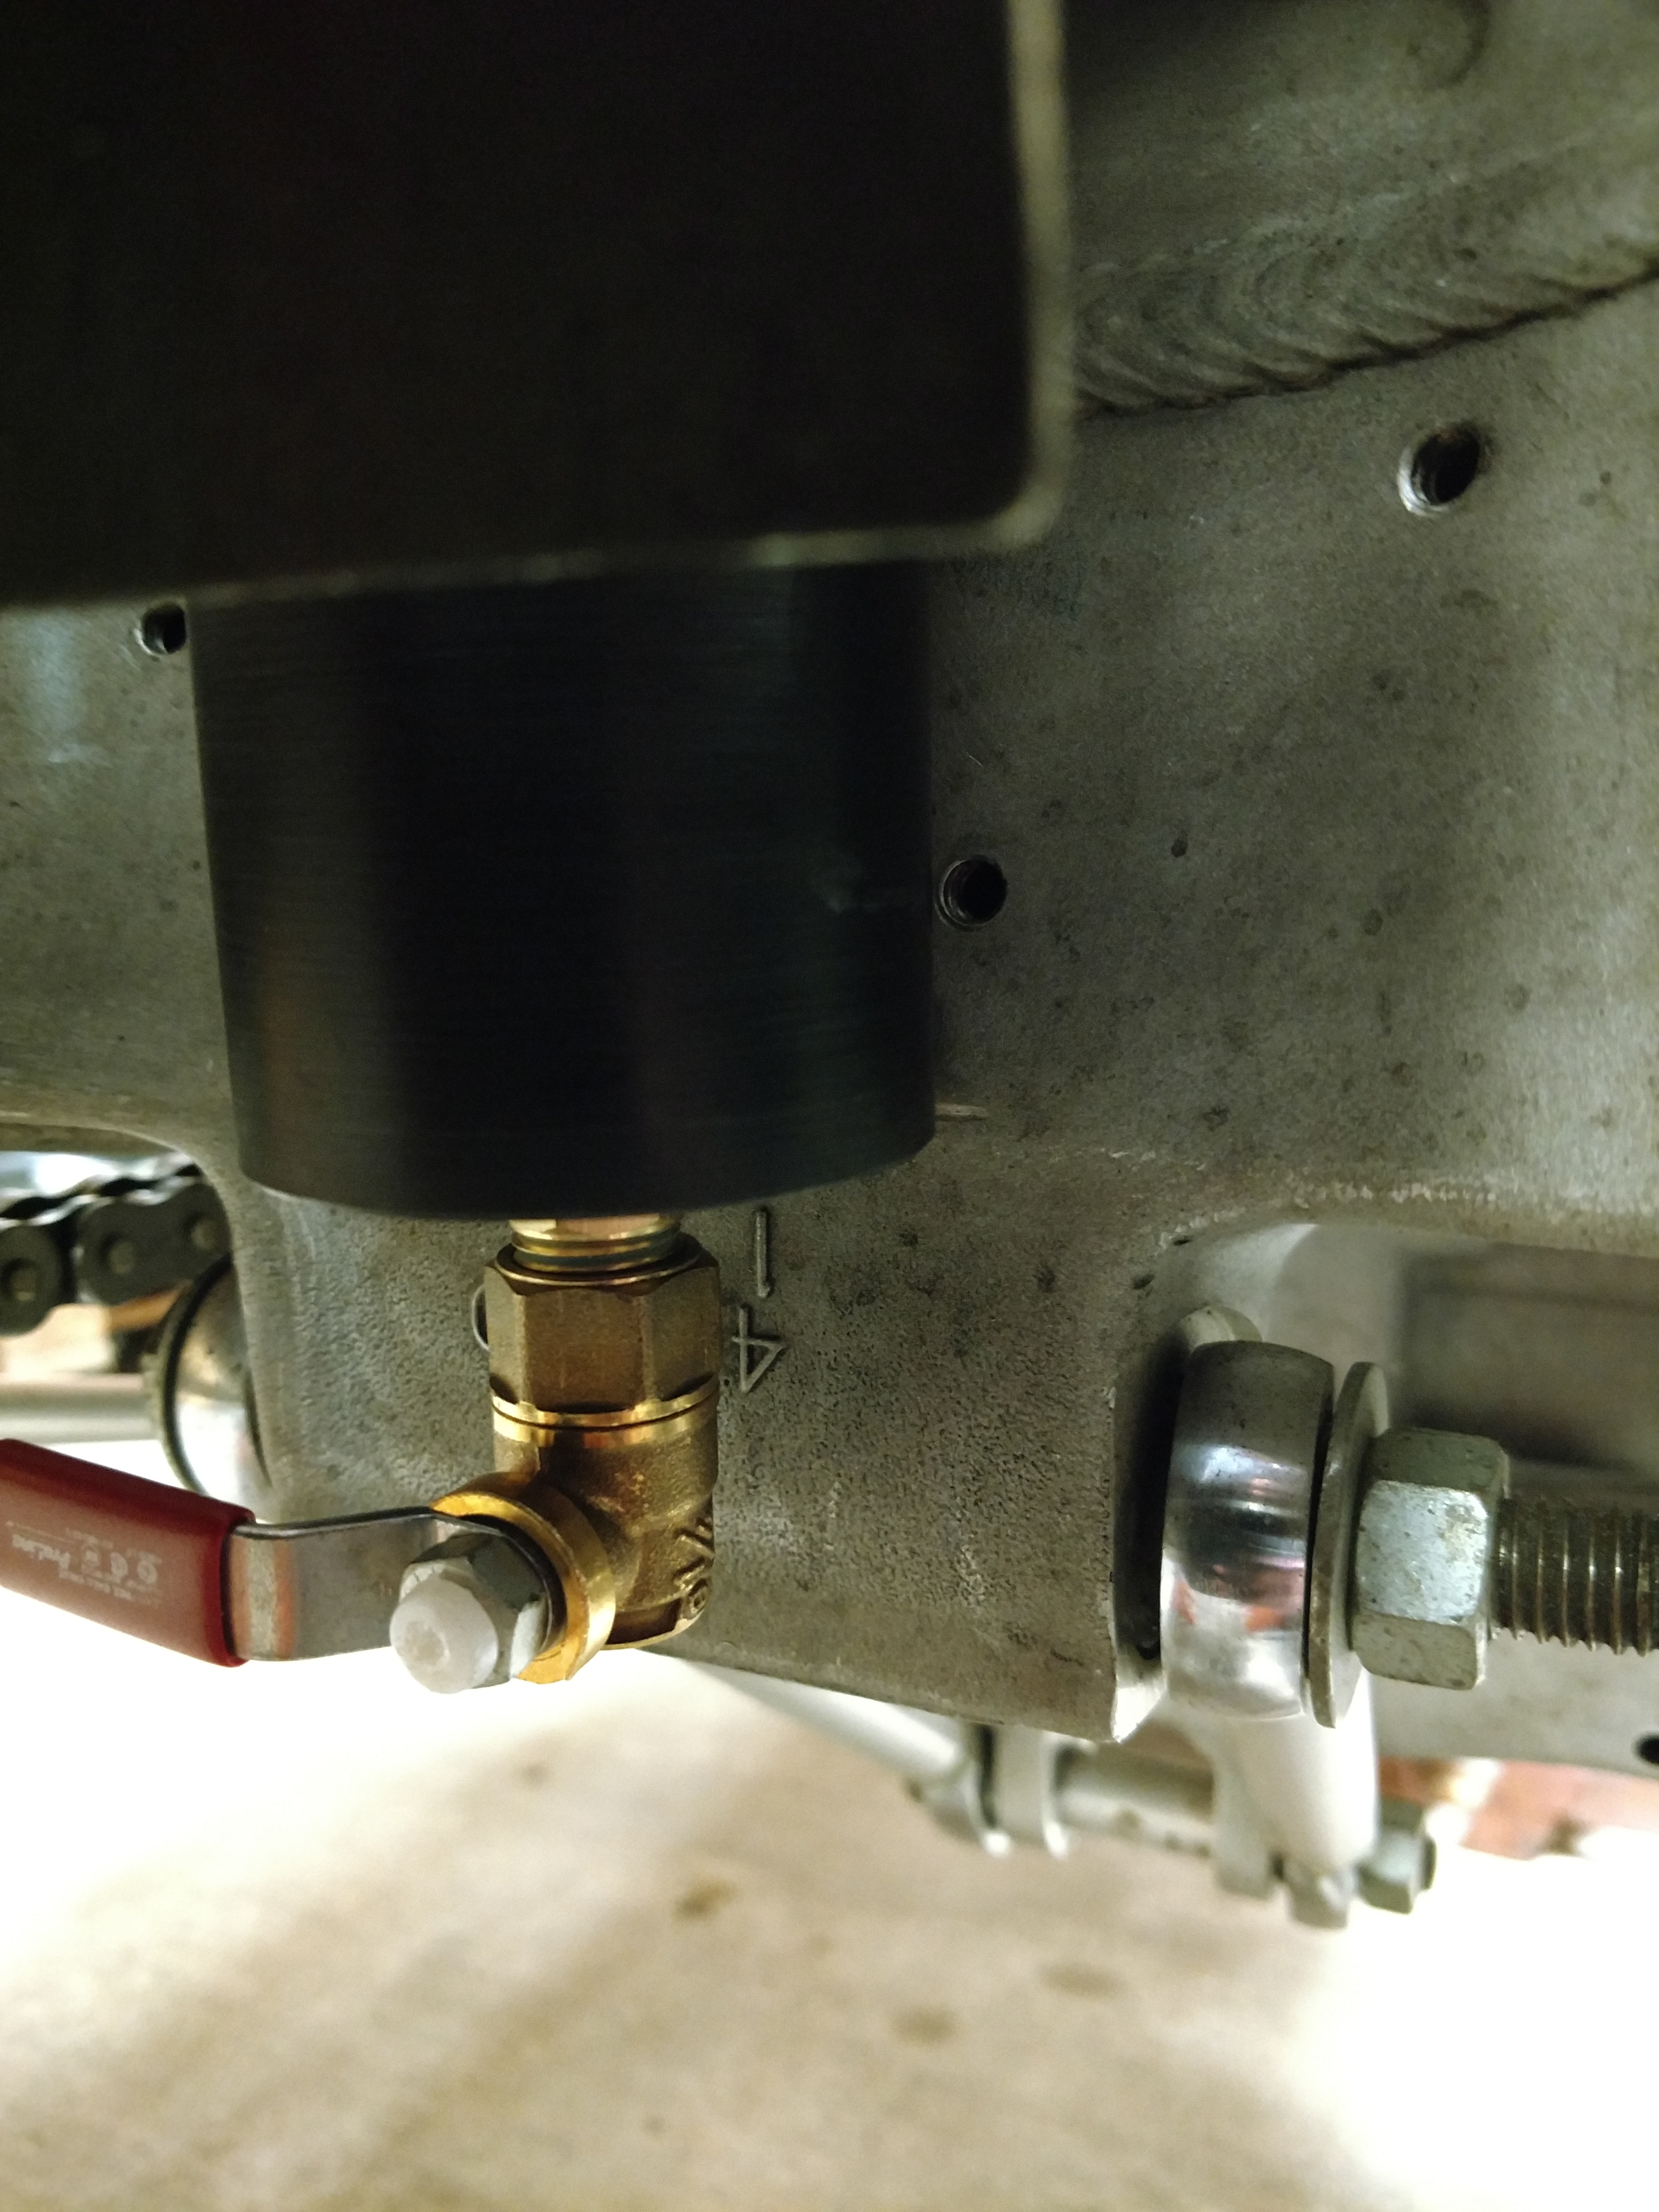
To get a smooth cleanable surface on the drain, I cut the threads
off a brass ball valve.
The top needed a flat for the "IN" port. It comes into a hard
90 degree corner to help separate the oil and air.
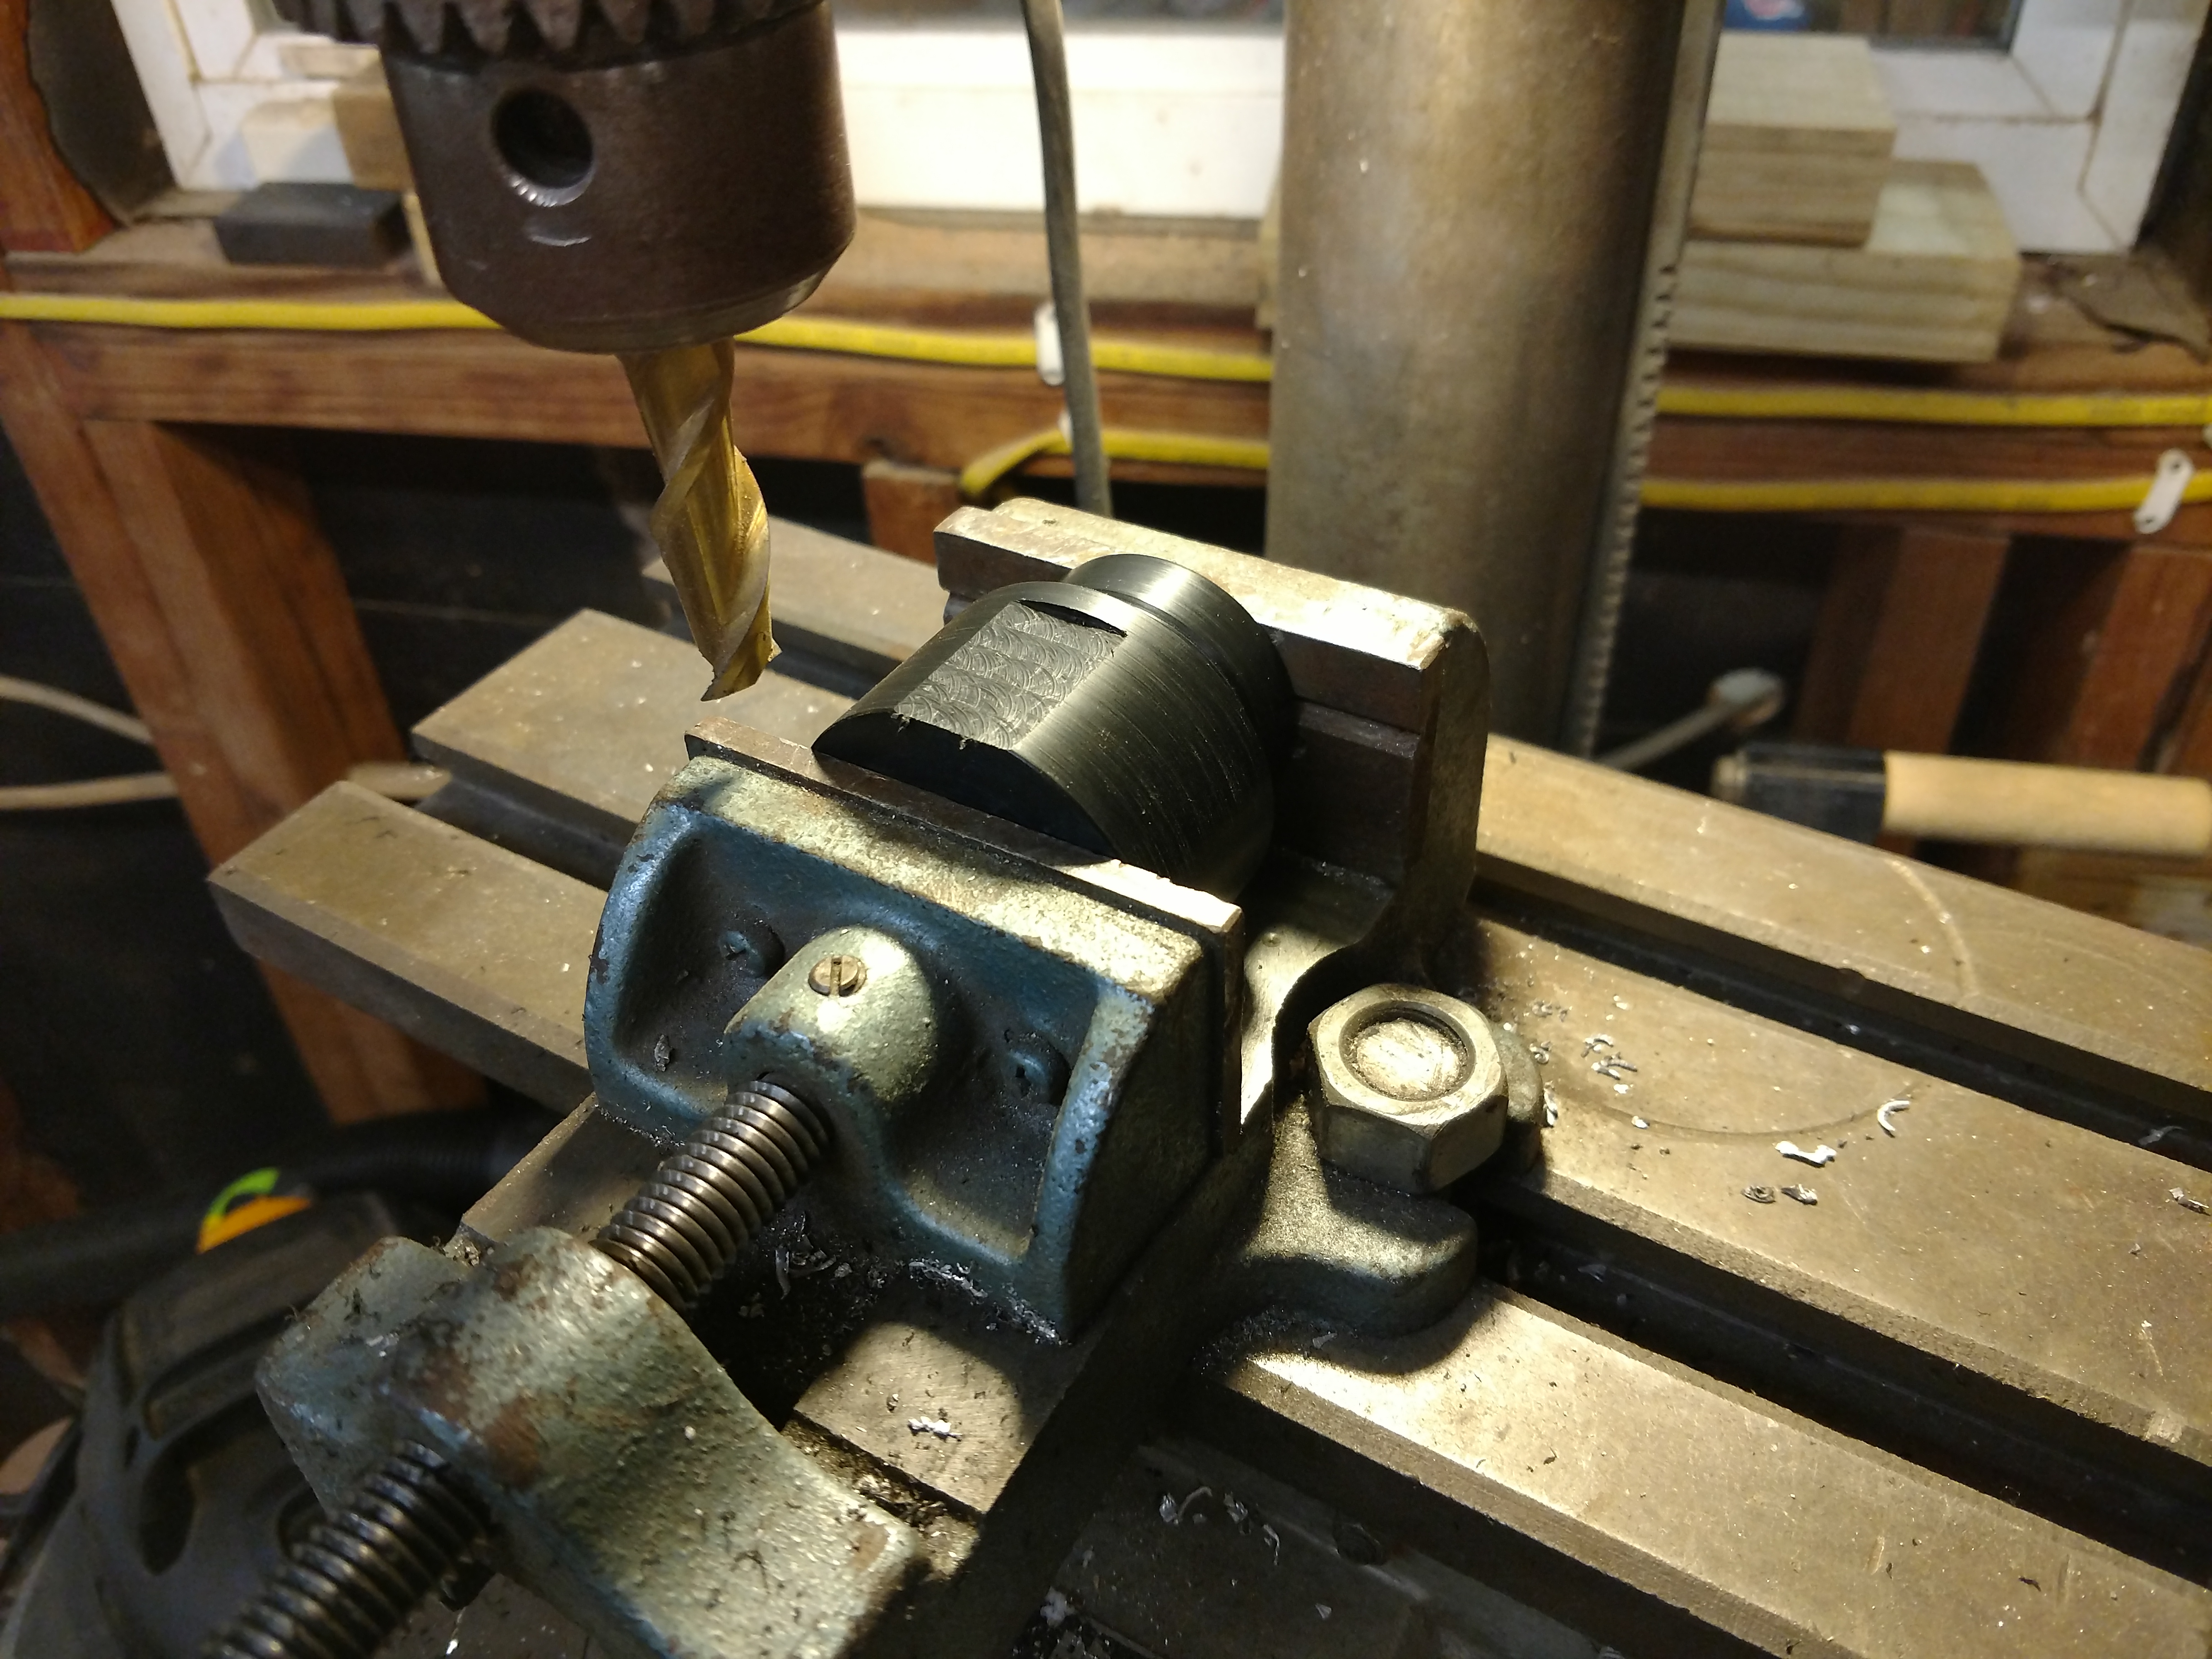
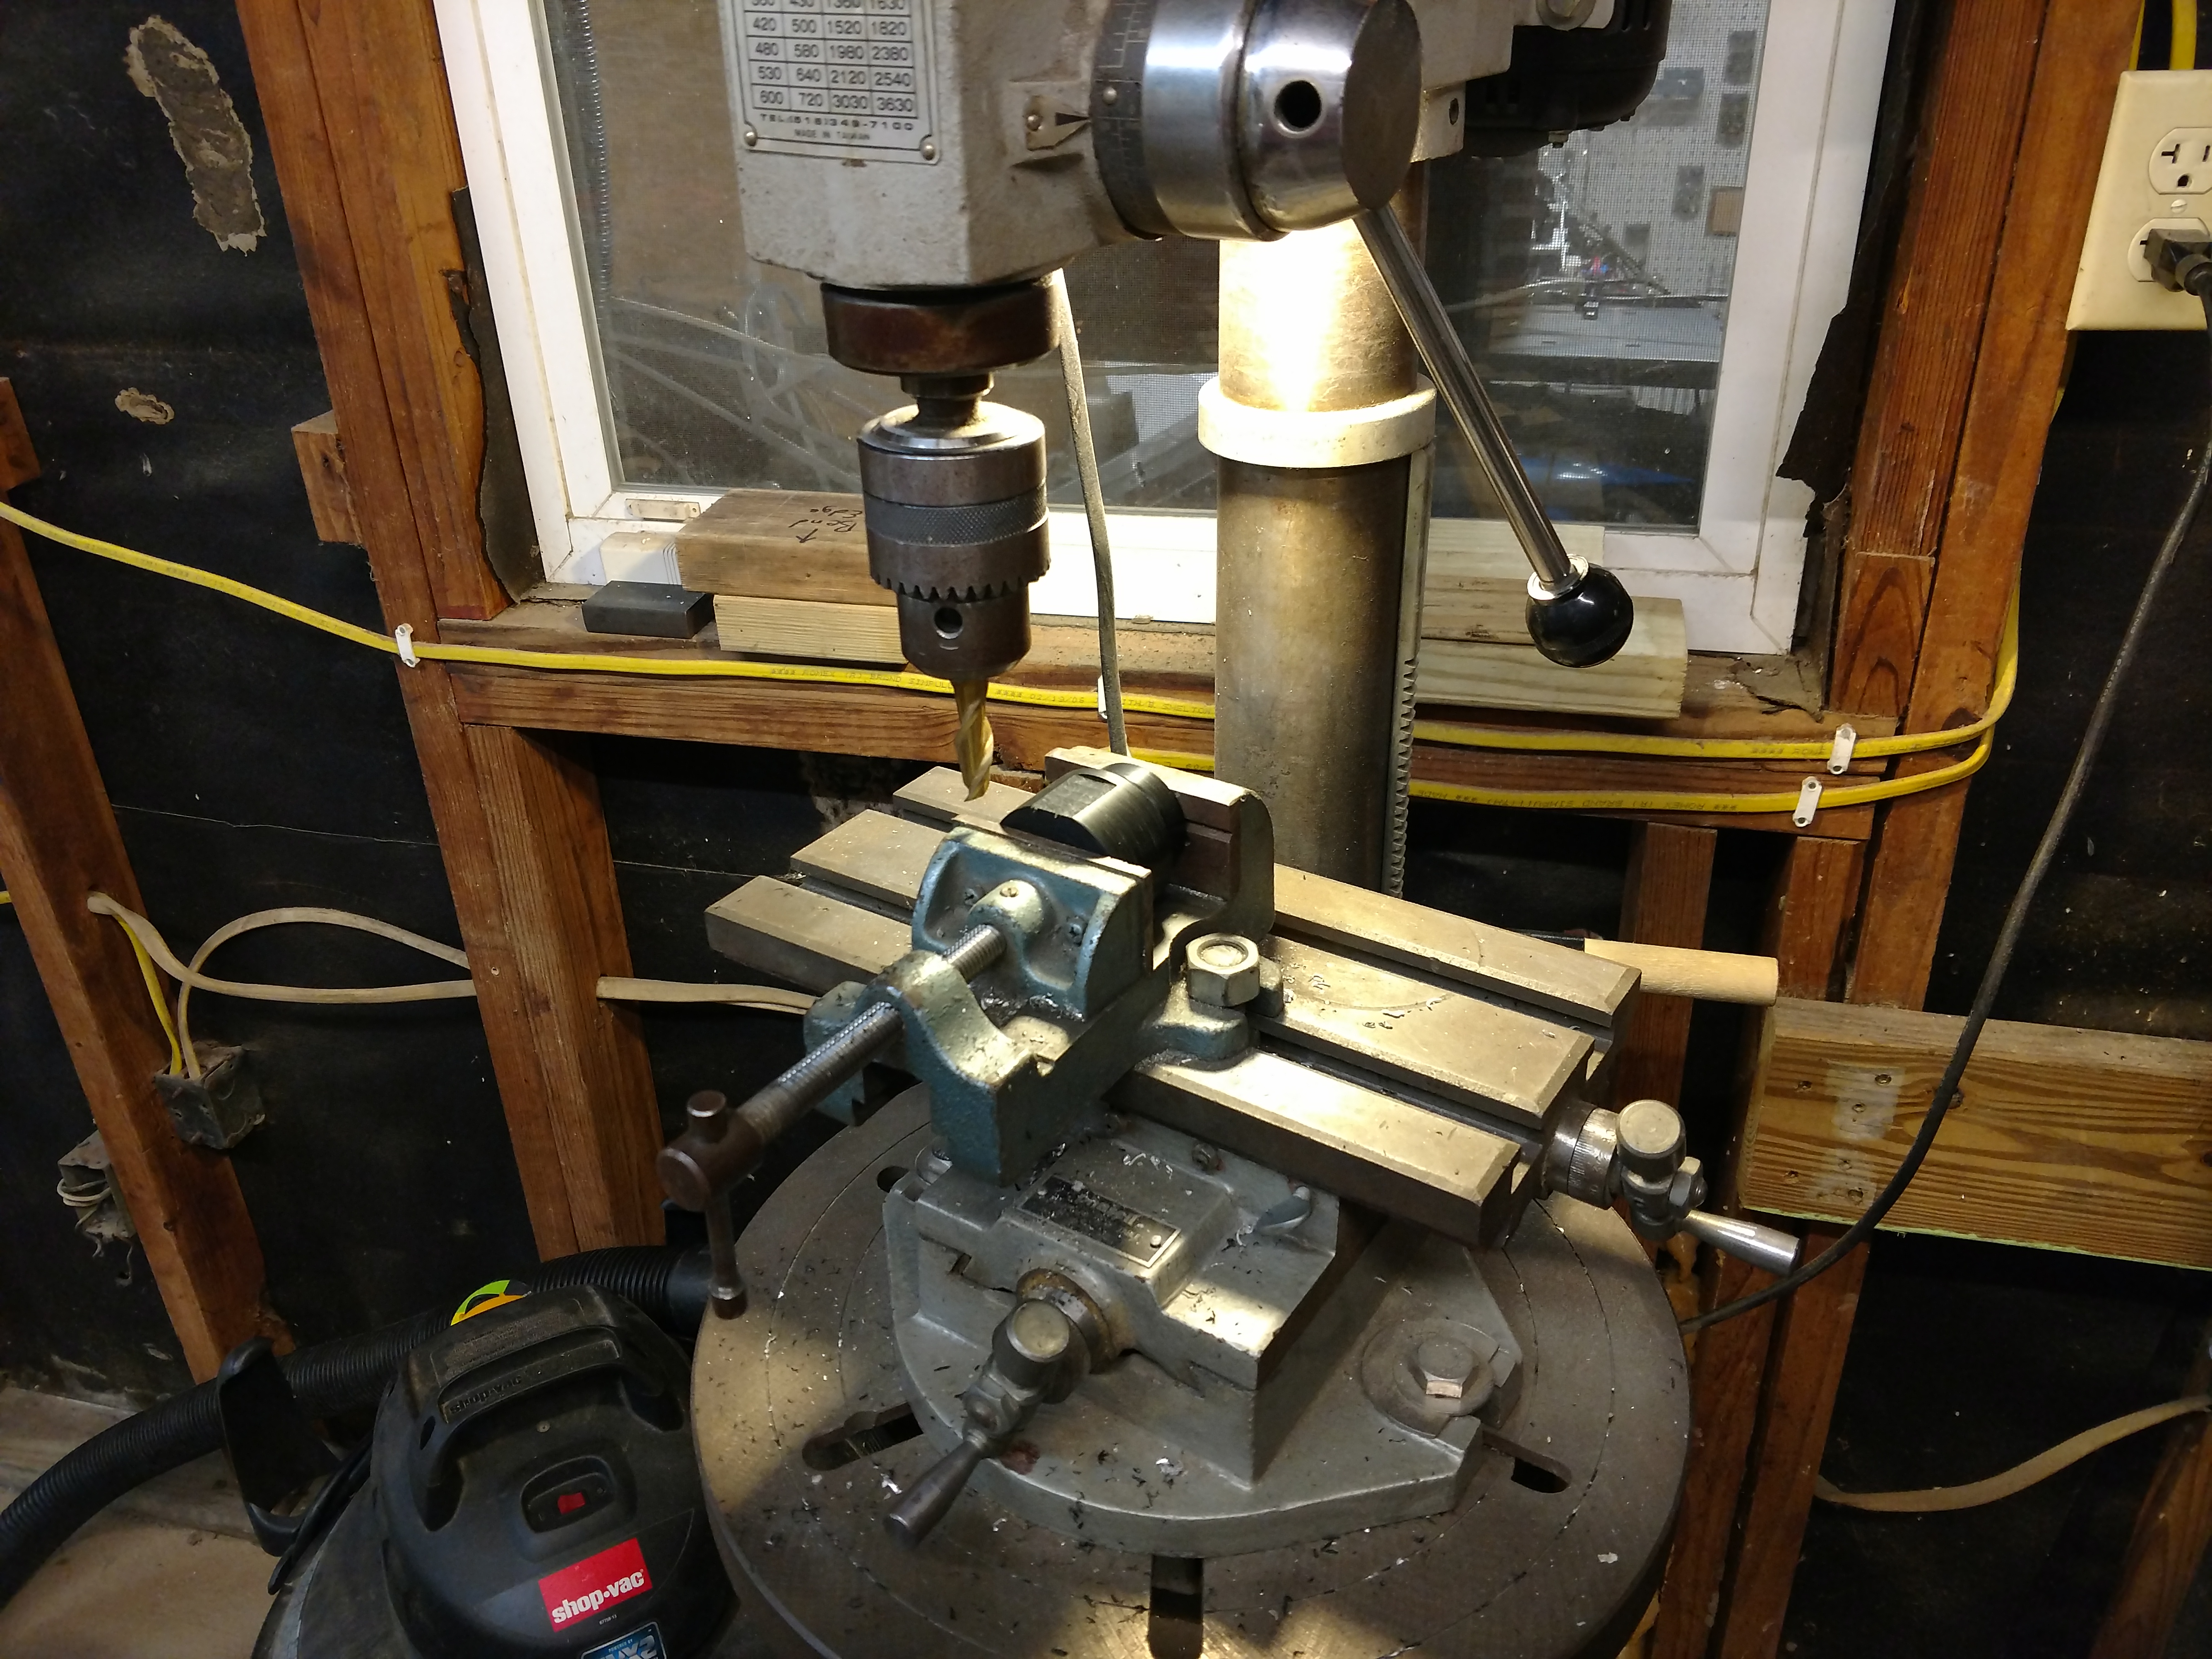
A flat bottomed hole and pipe threads finished the "IN" port.
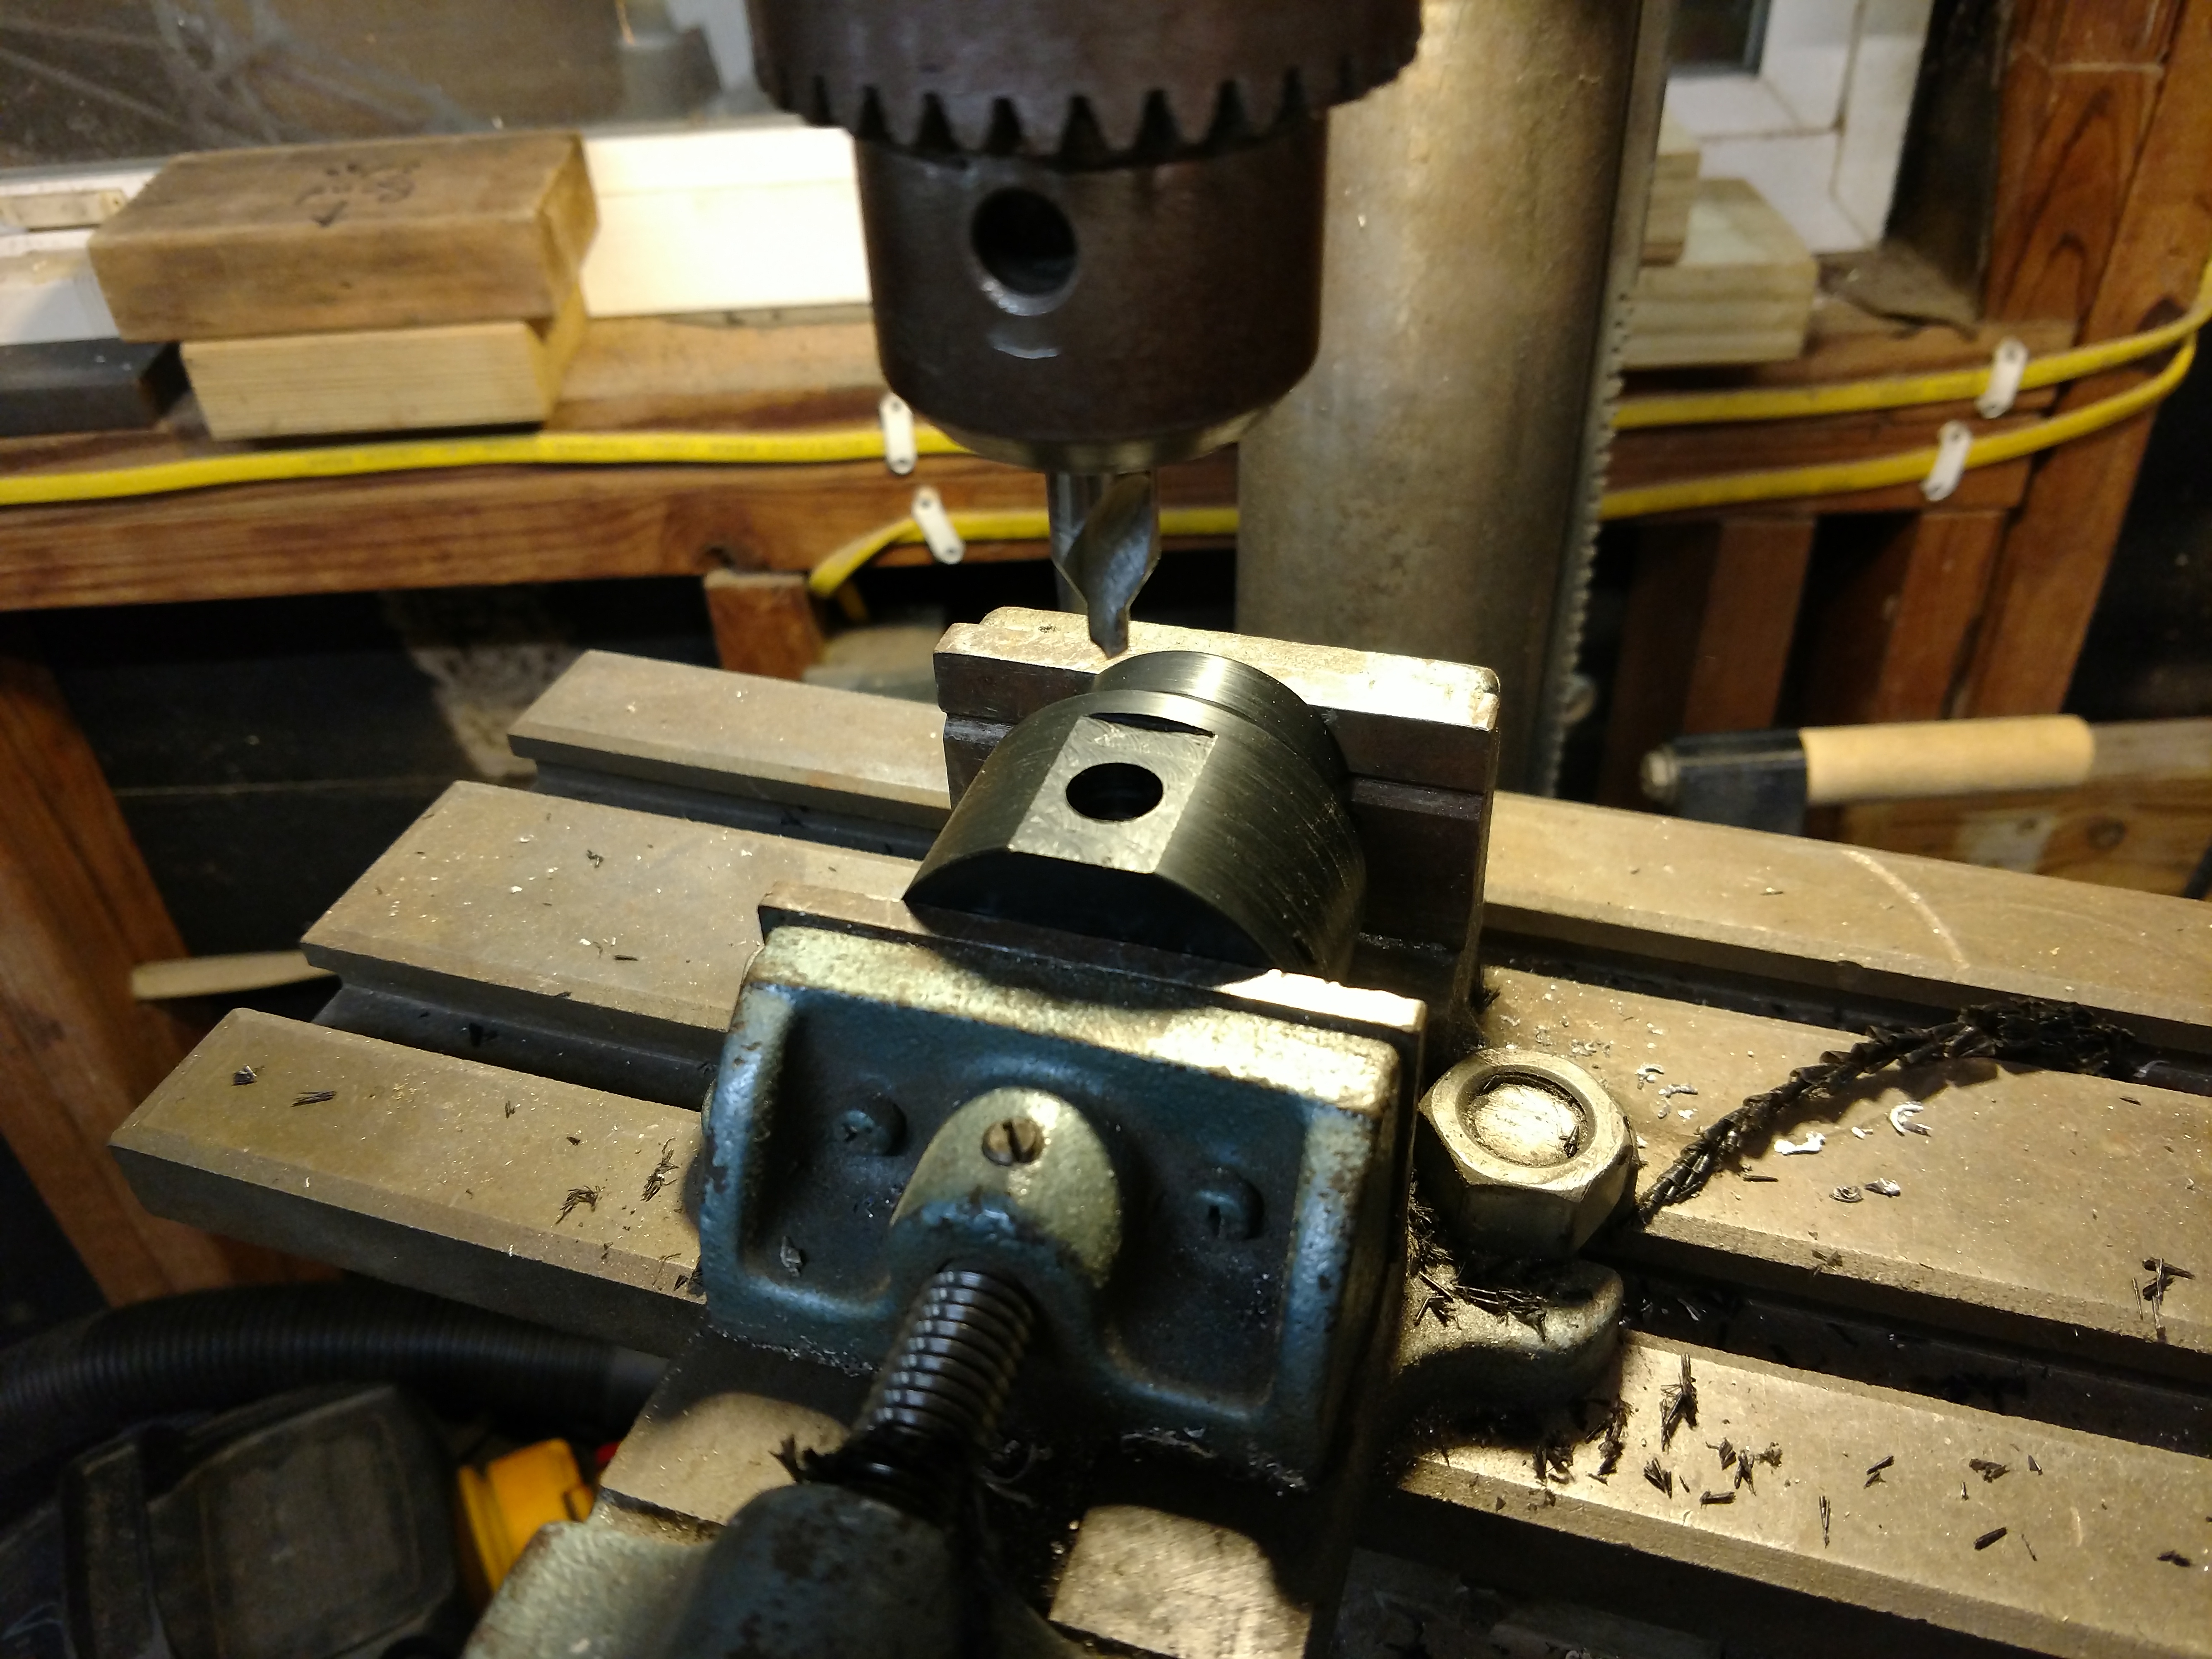
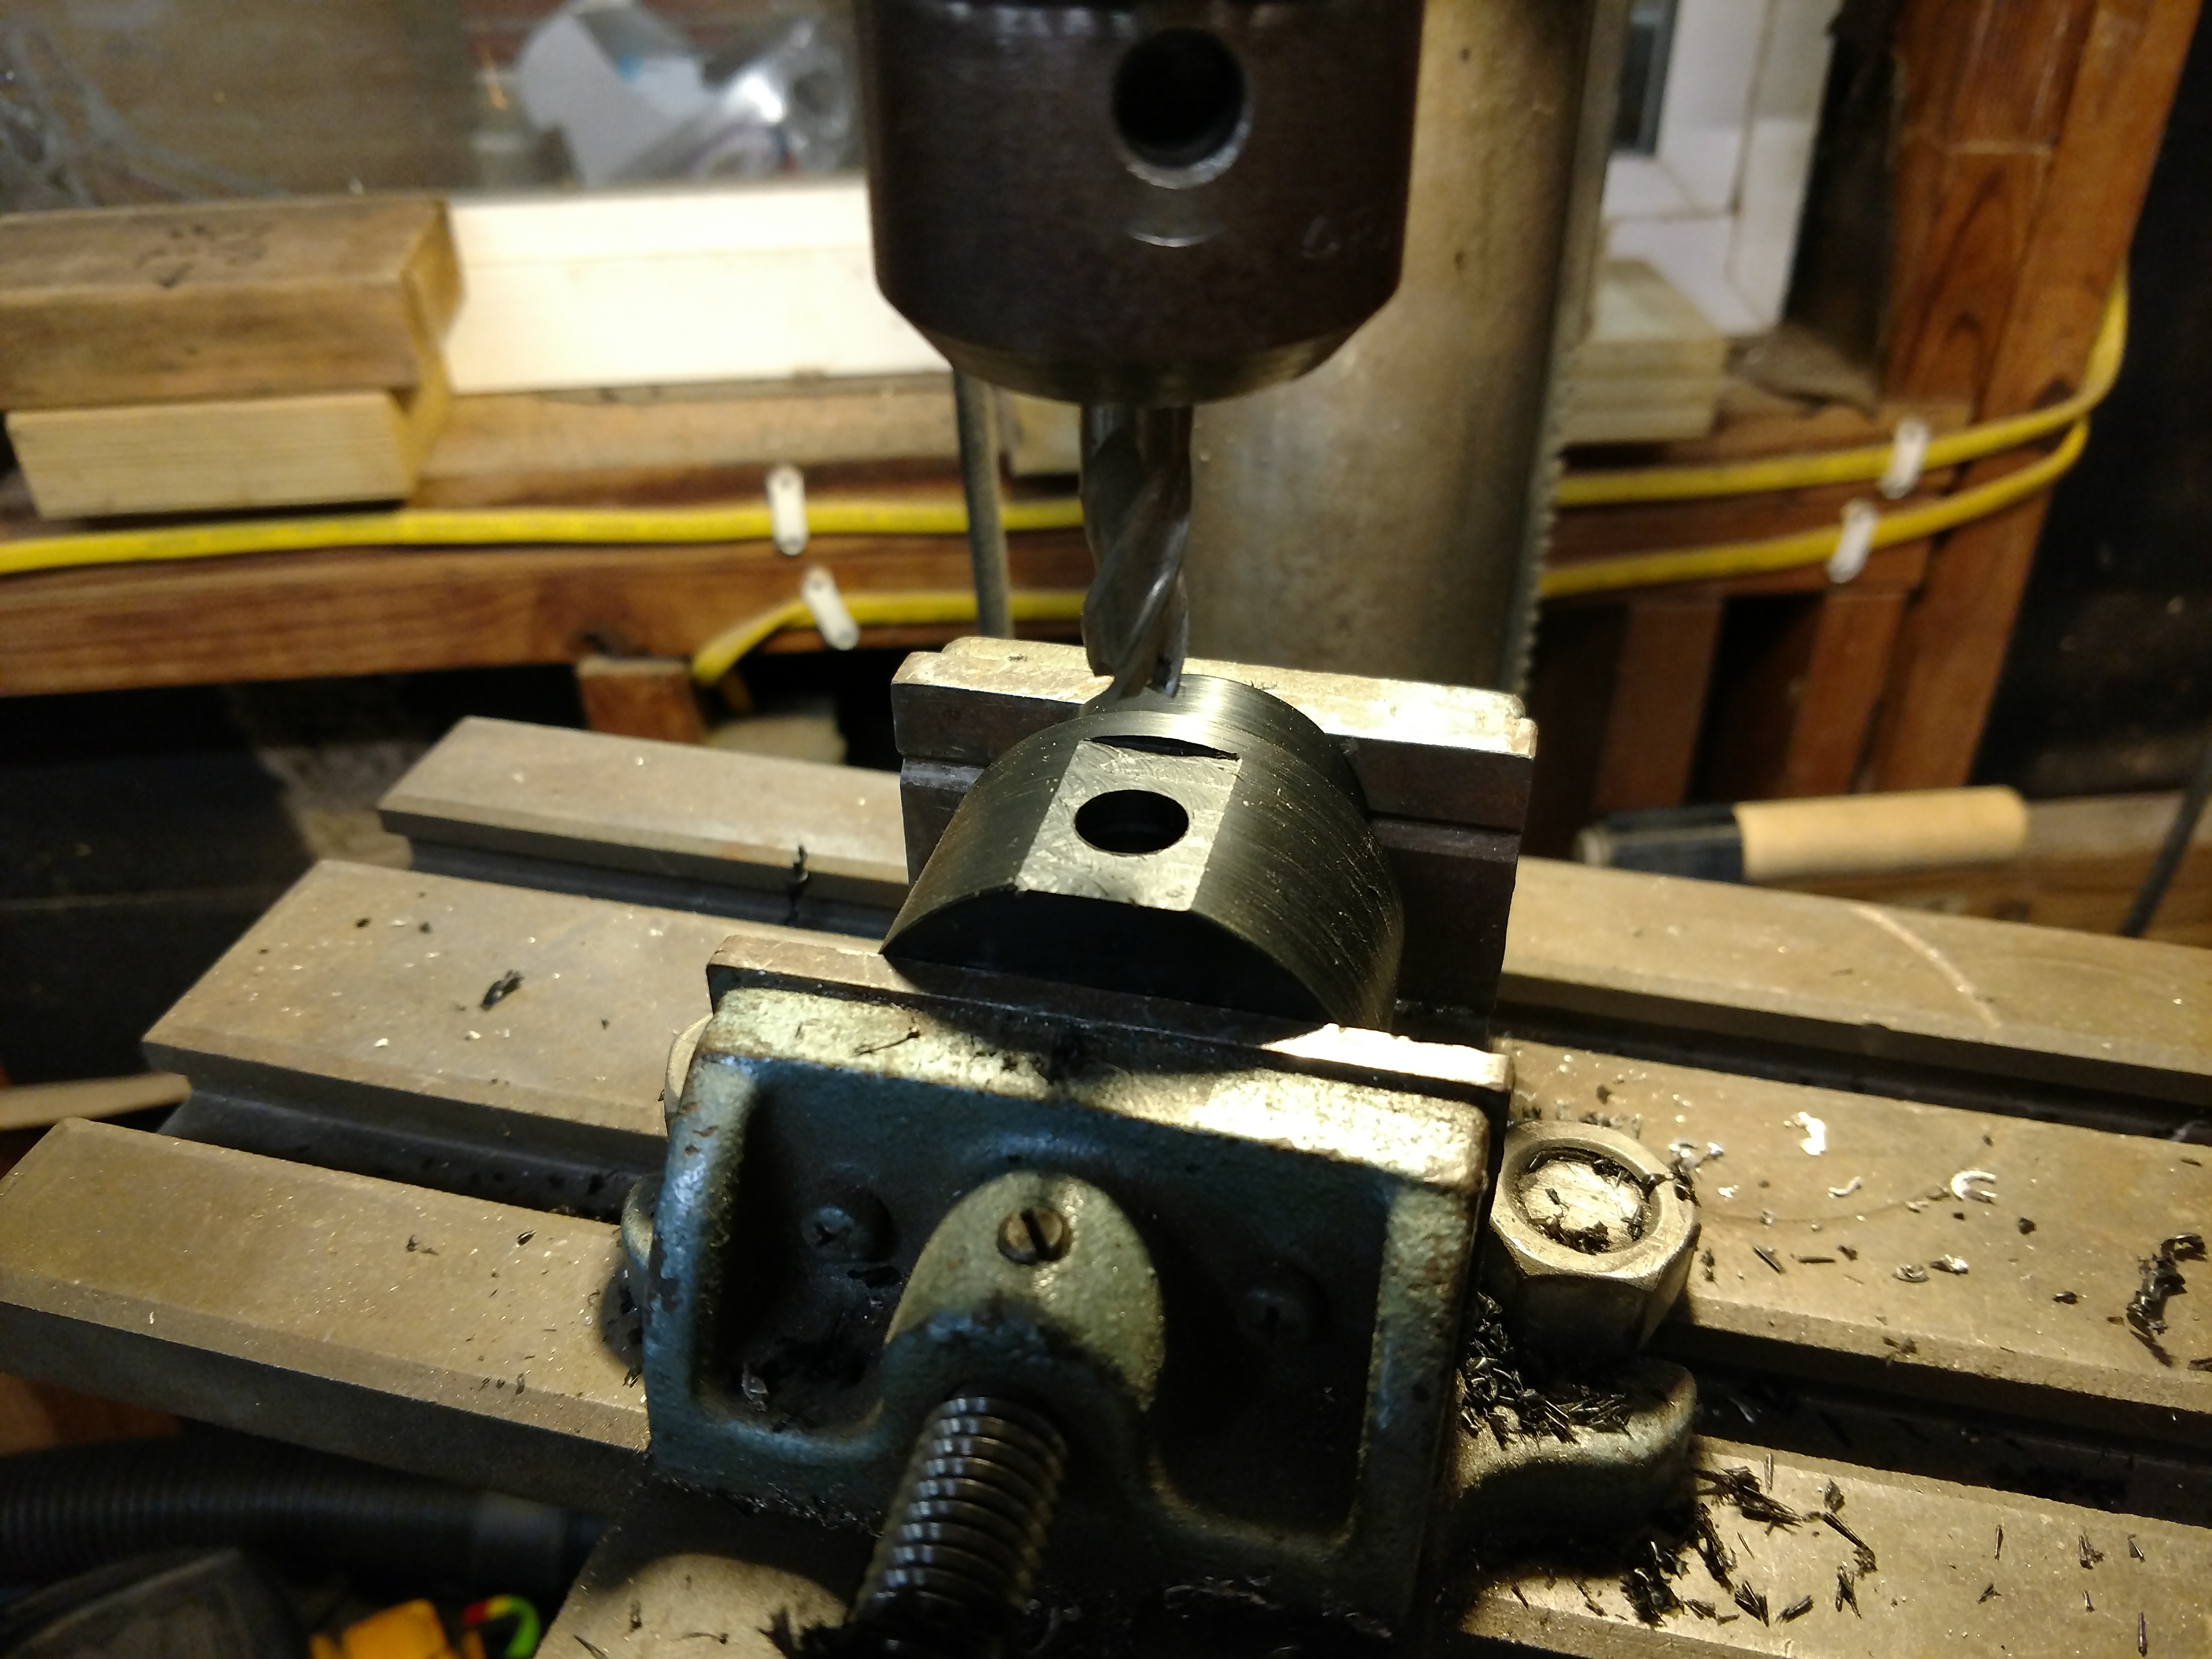
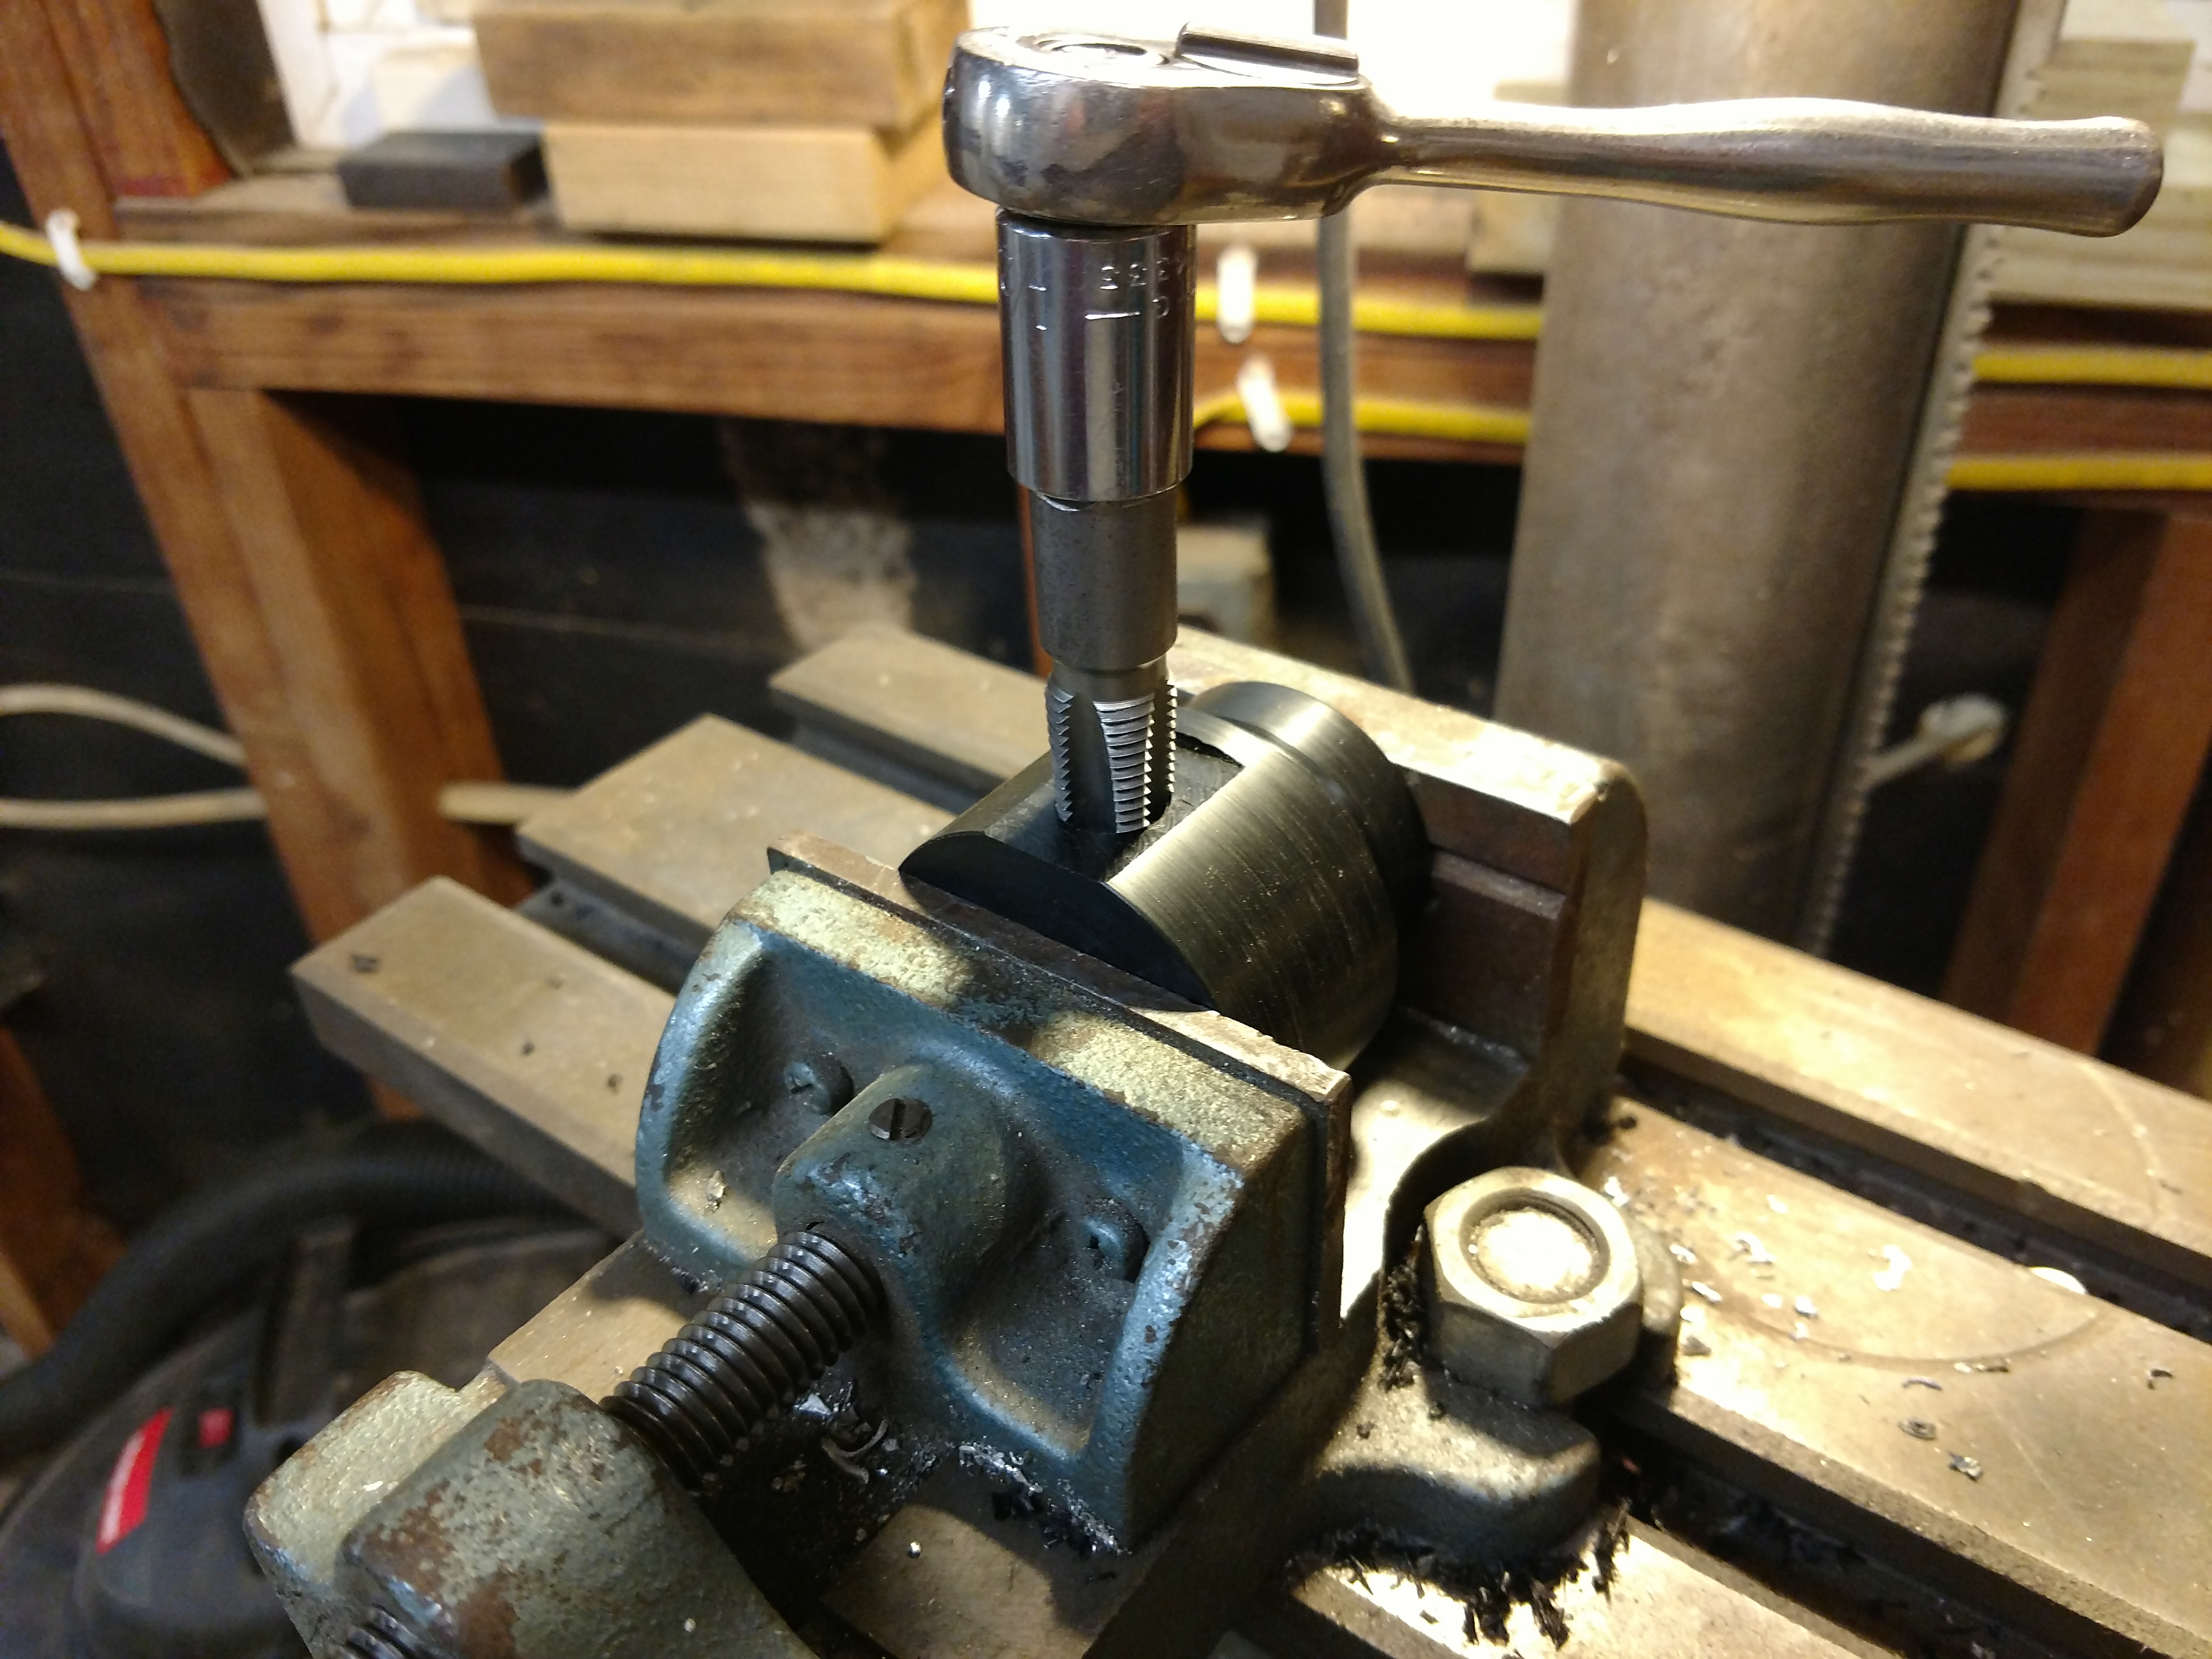
The inside ports were located, drilled, and tapped.
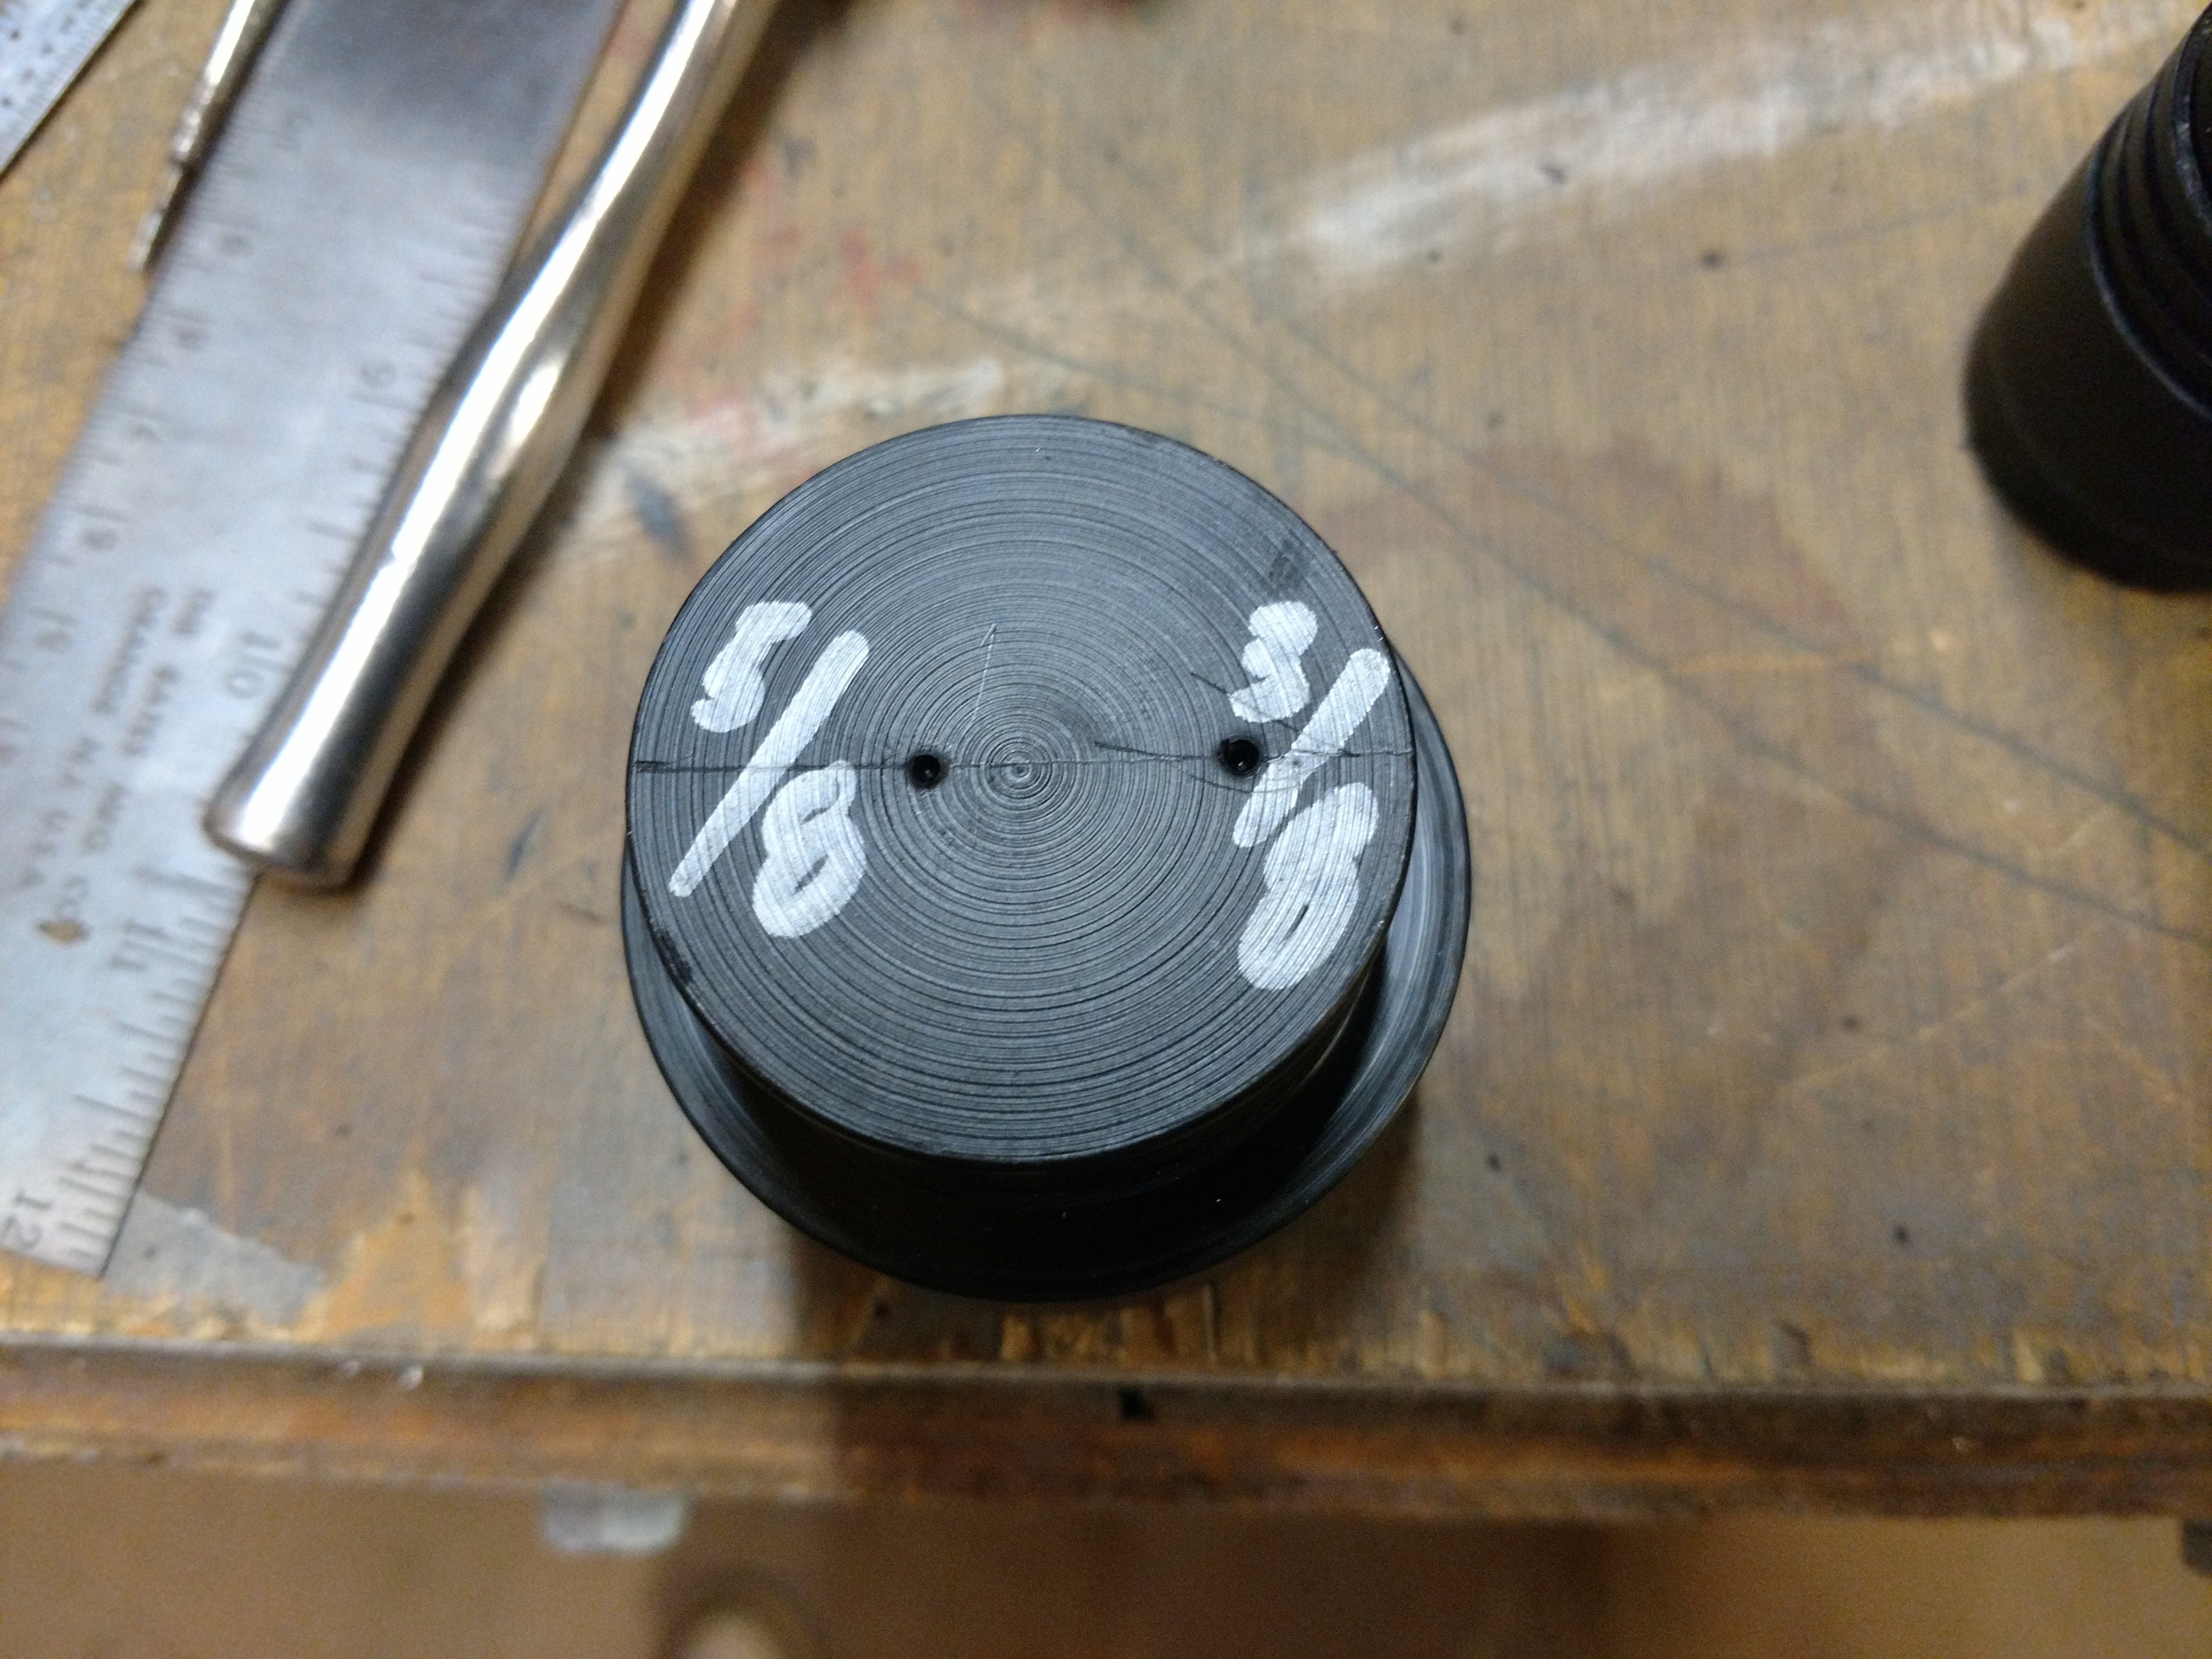
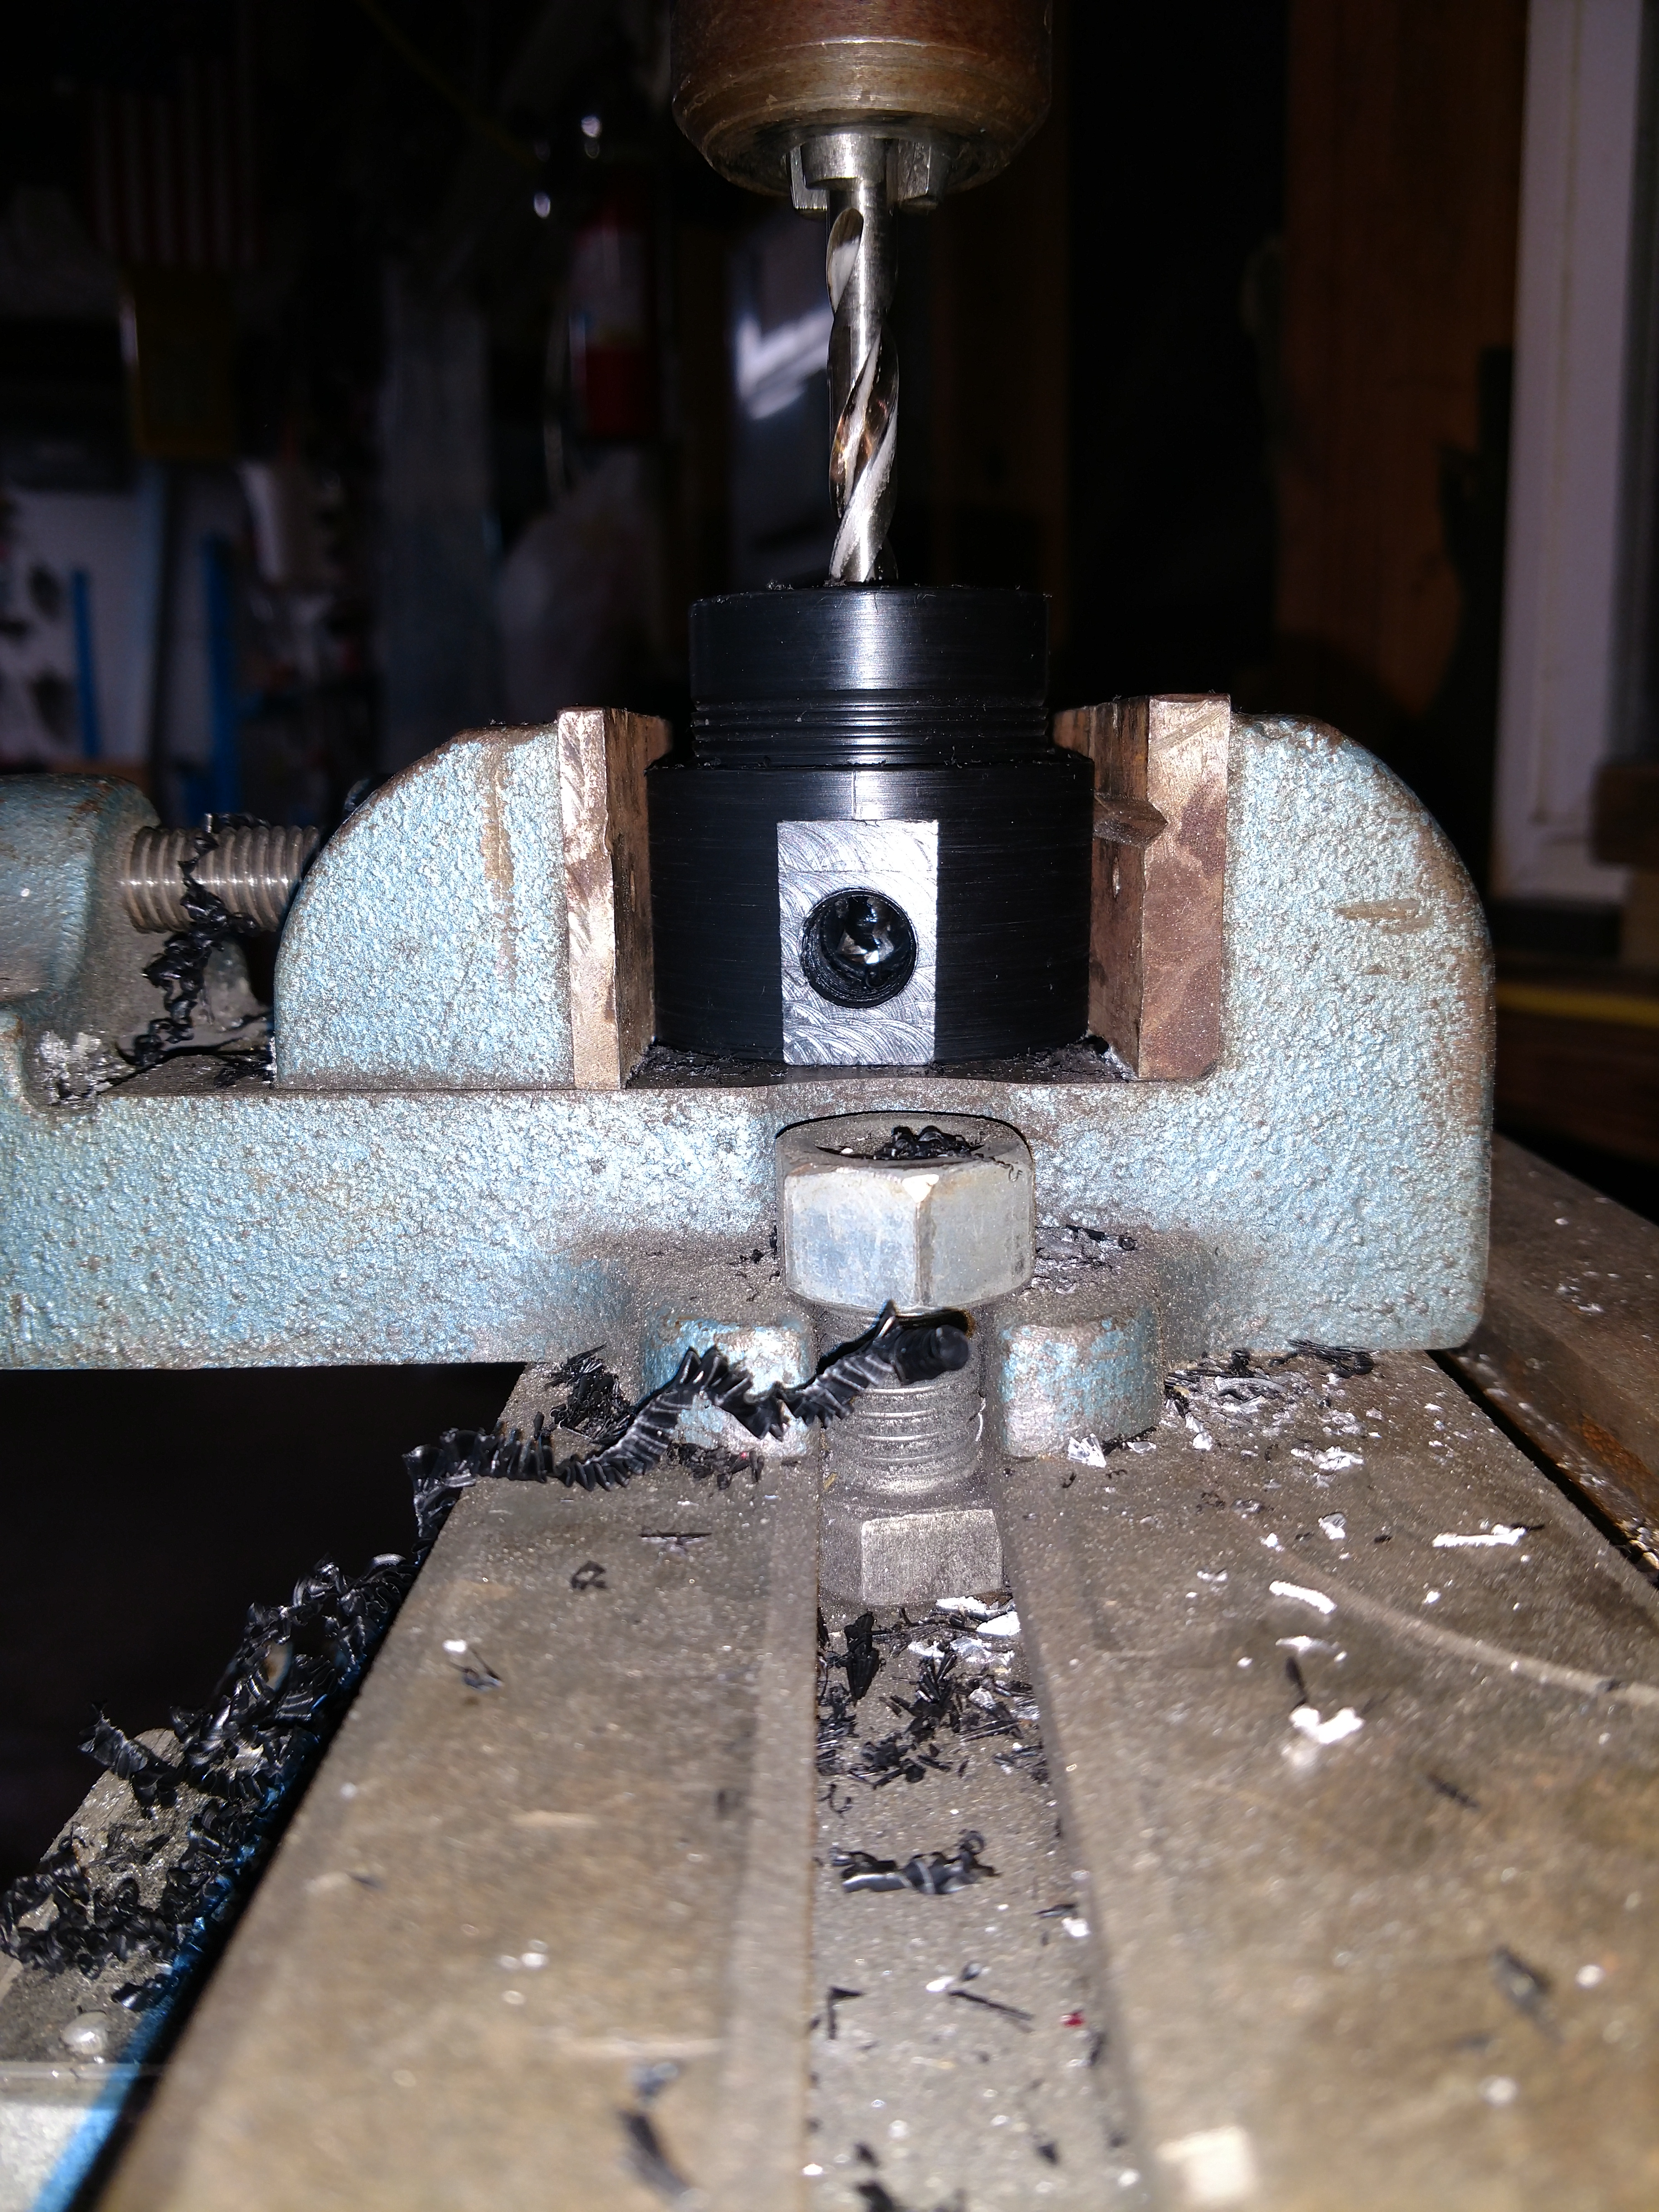
6AN fittings were installed in both ports in the top.
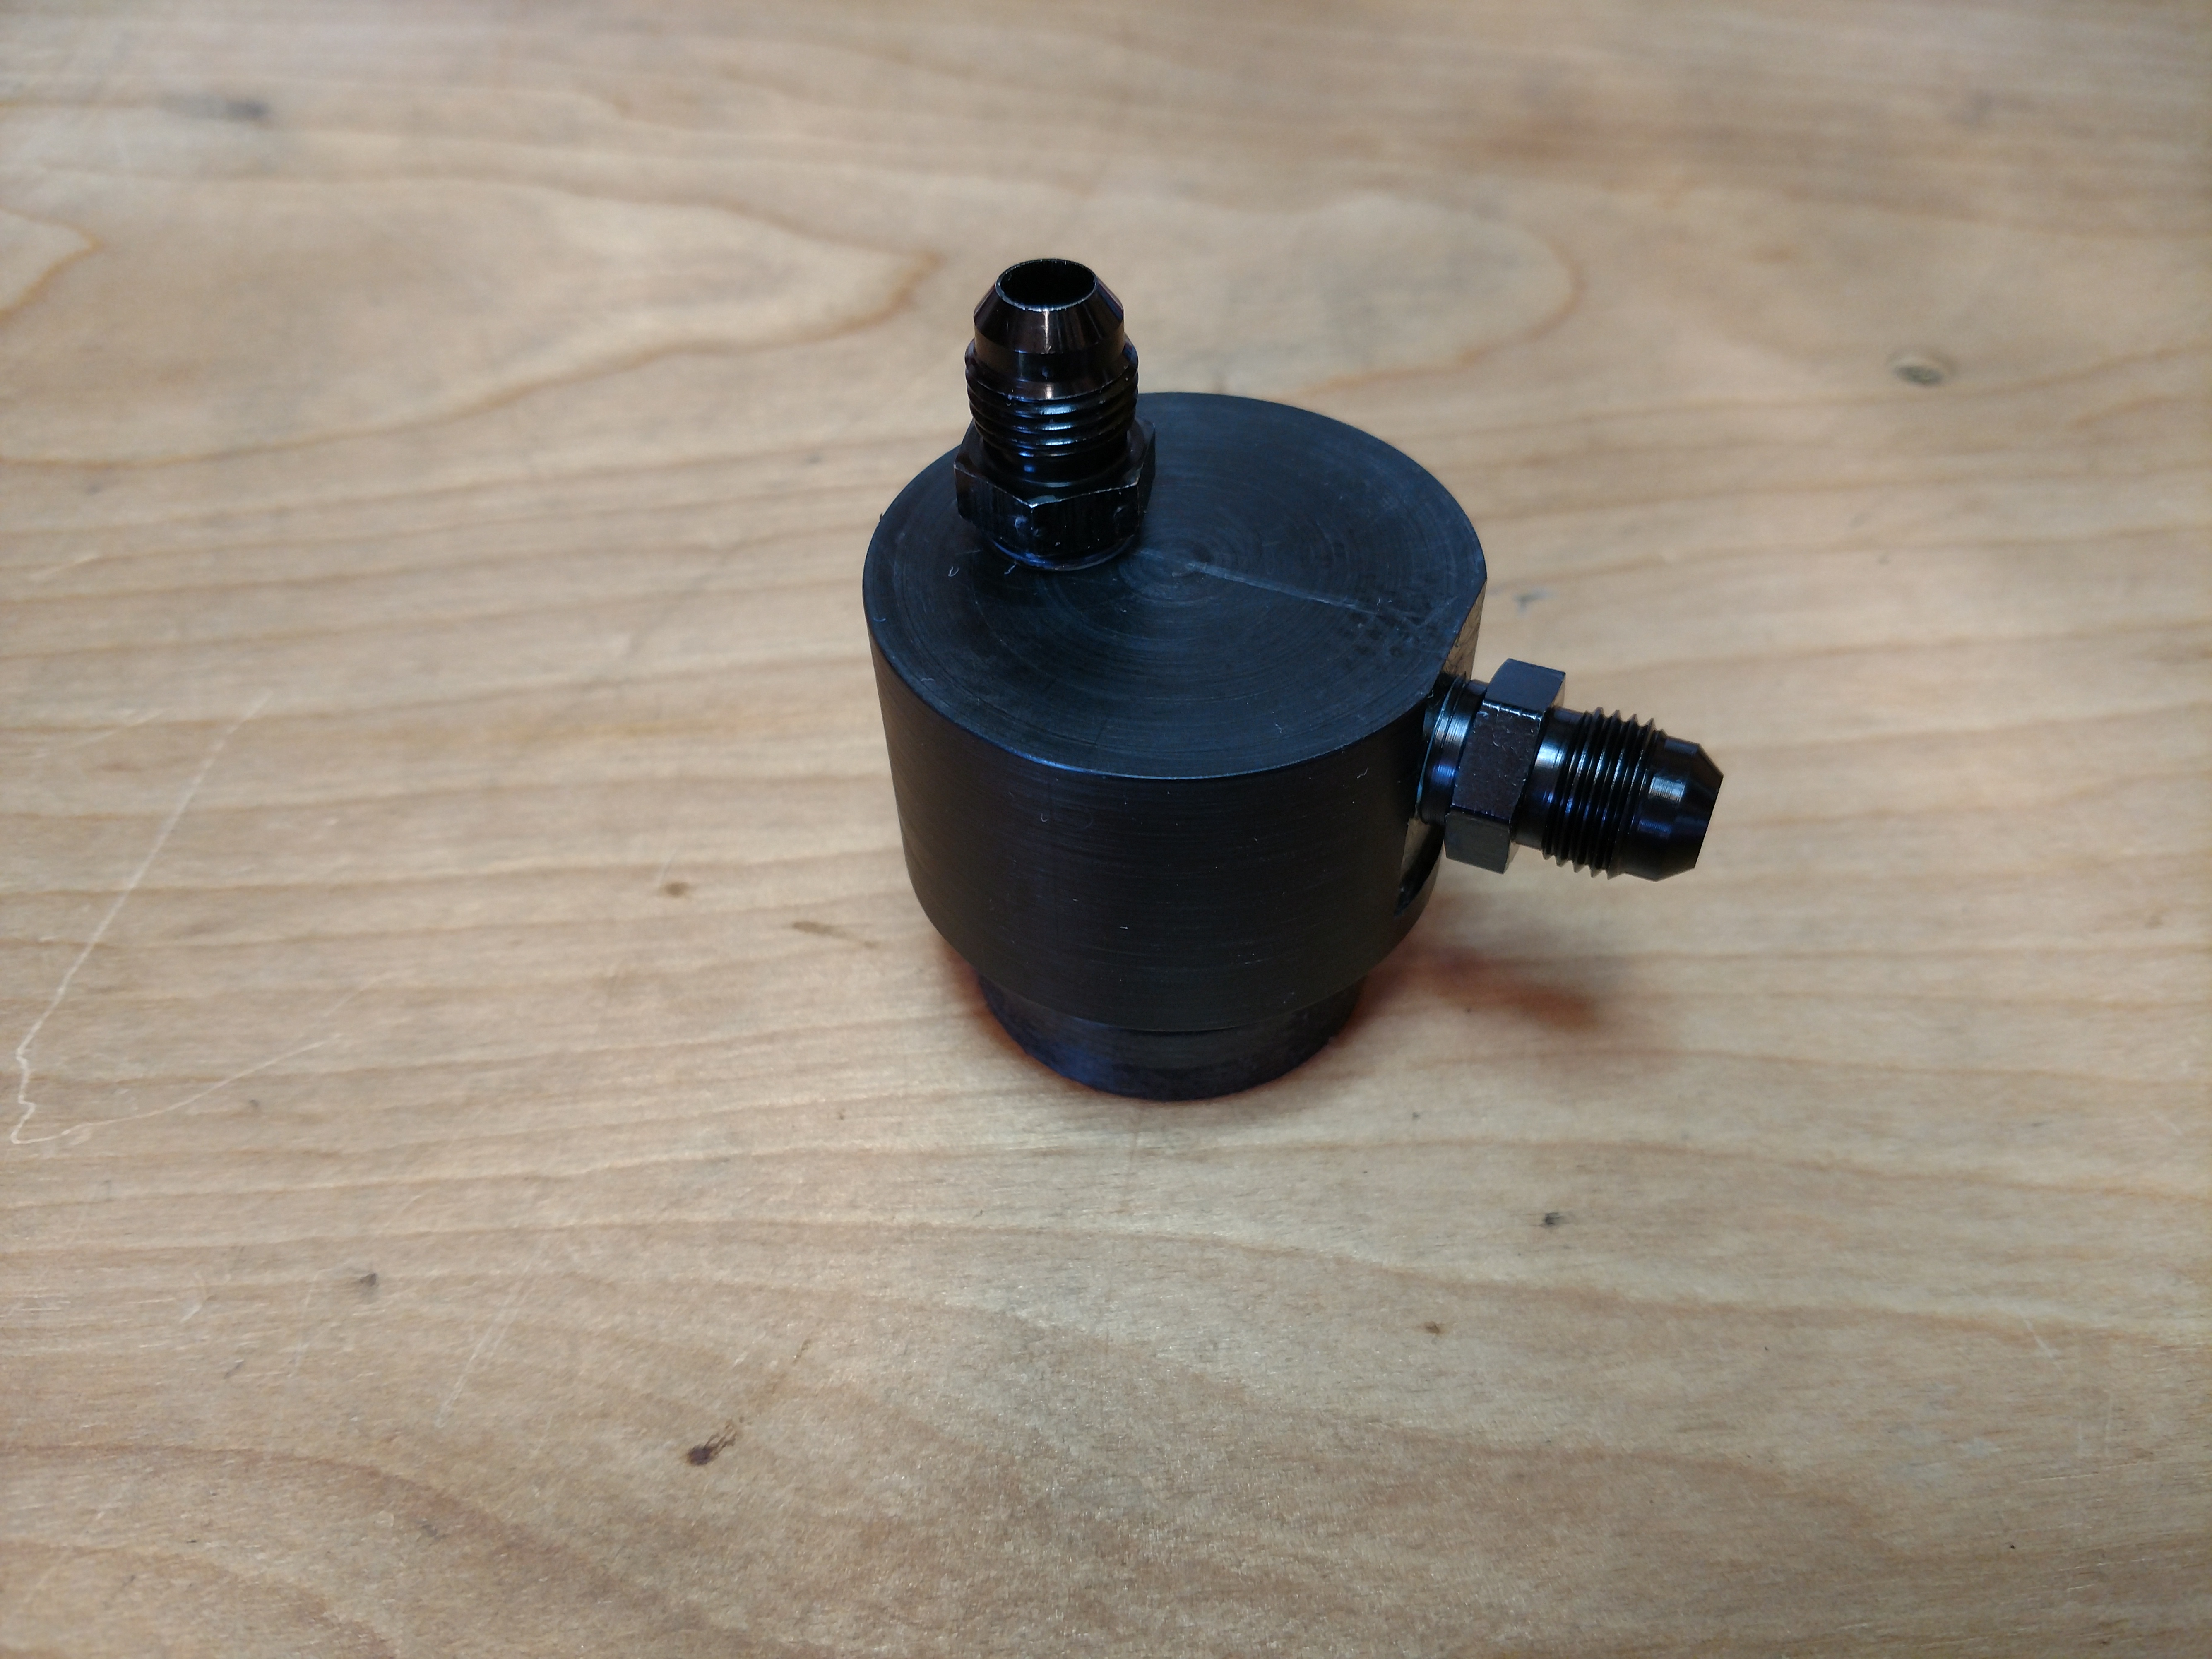
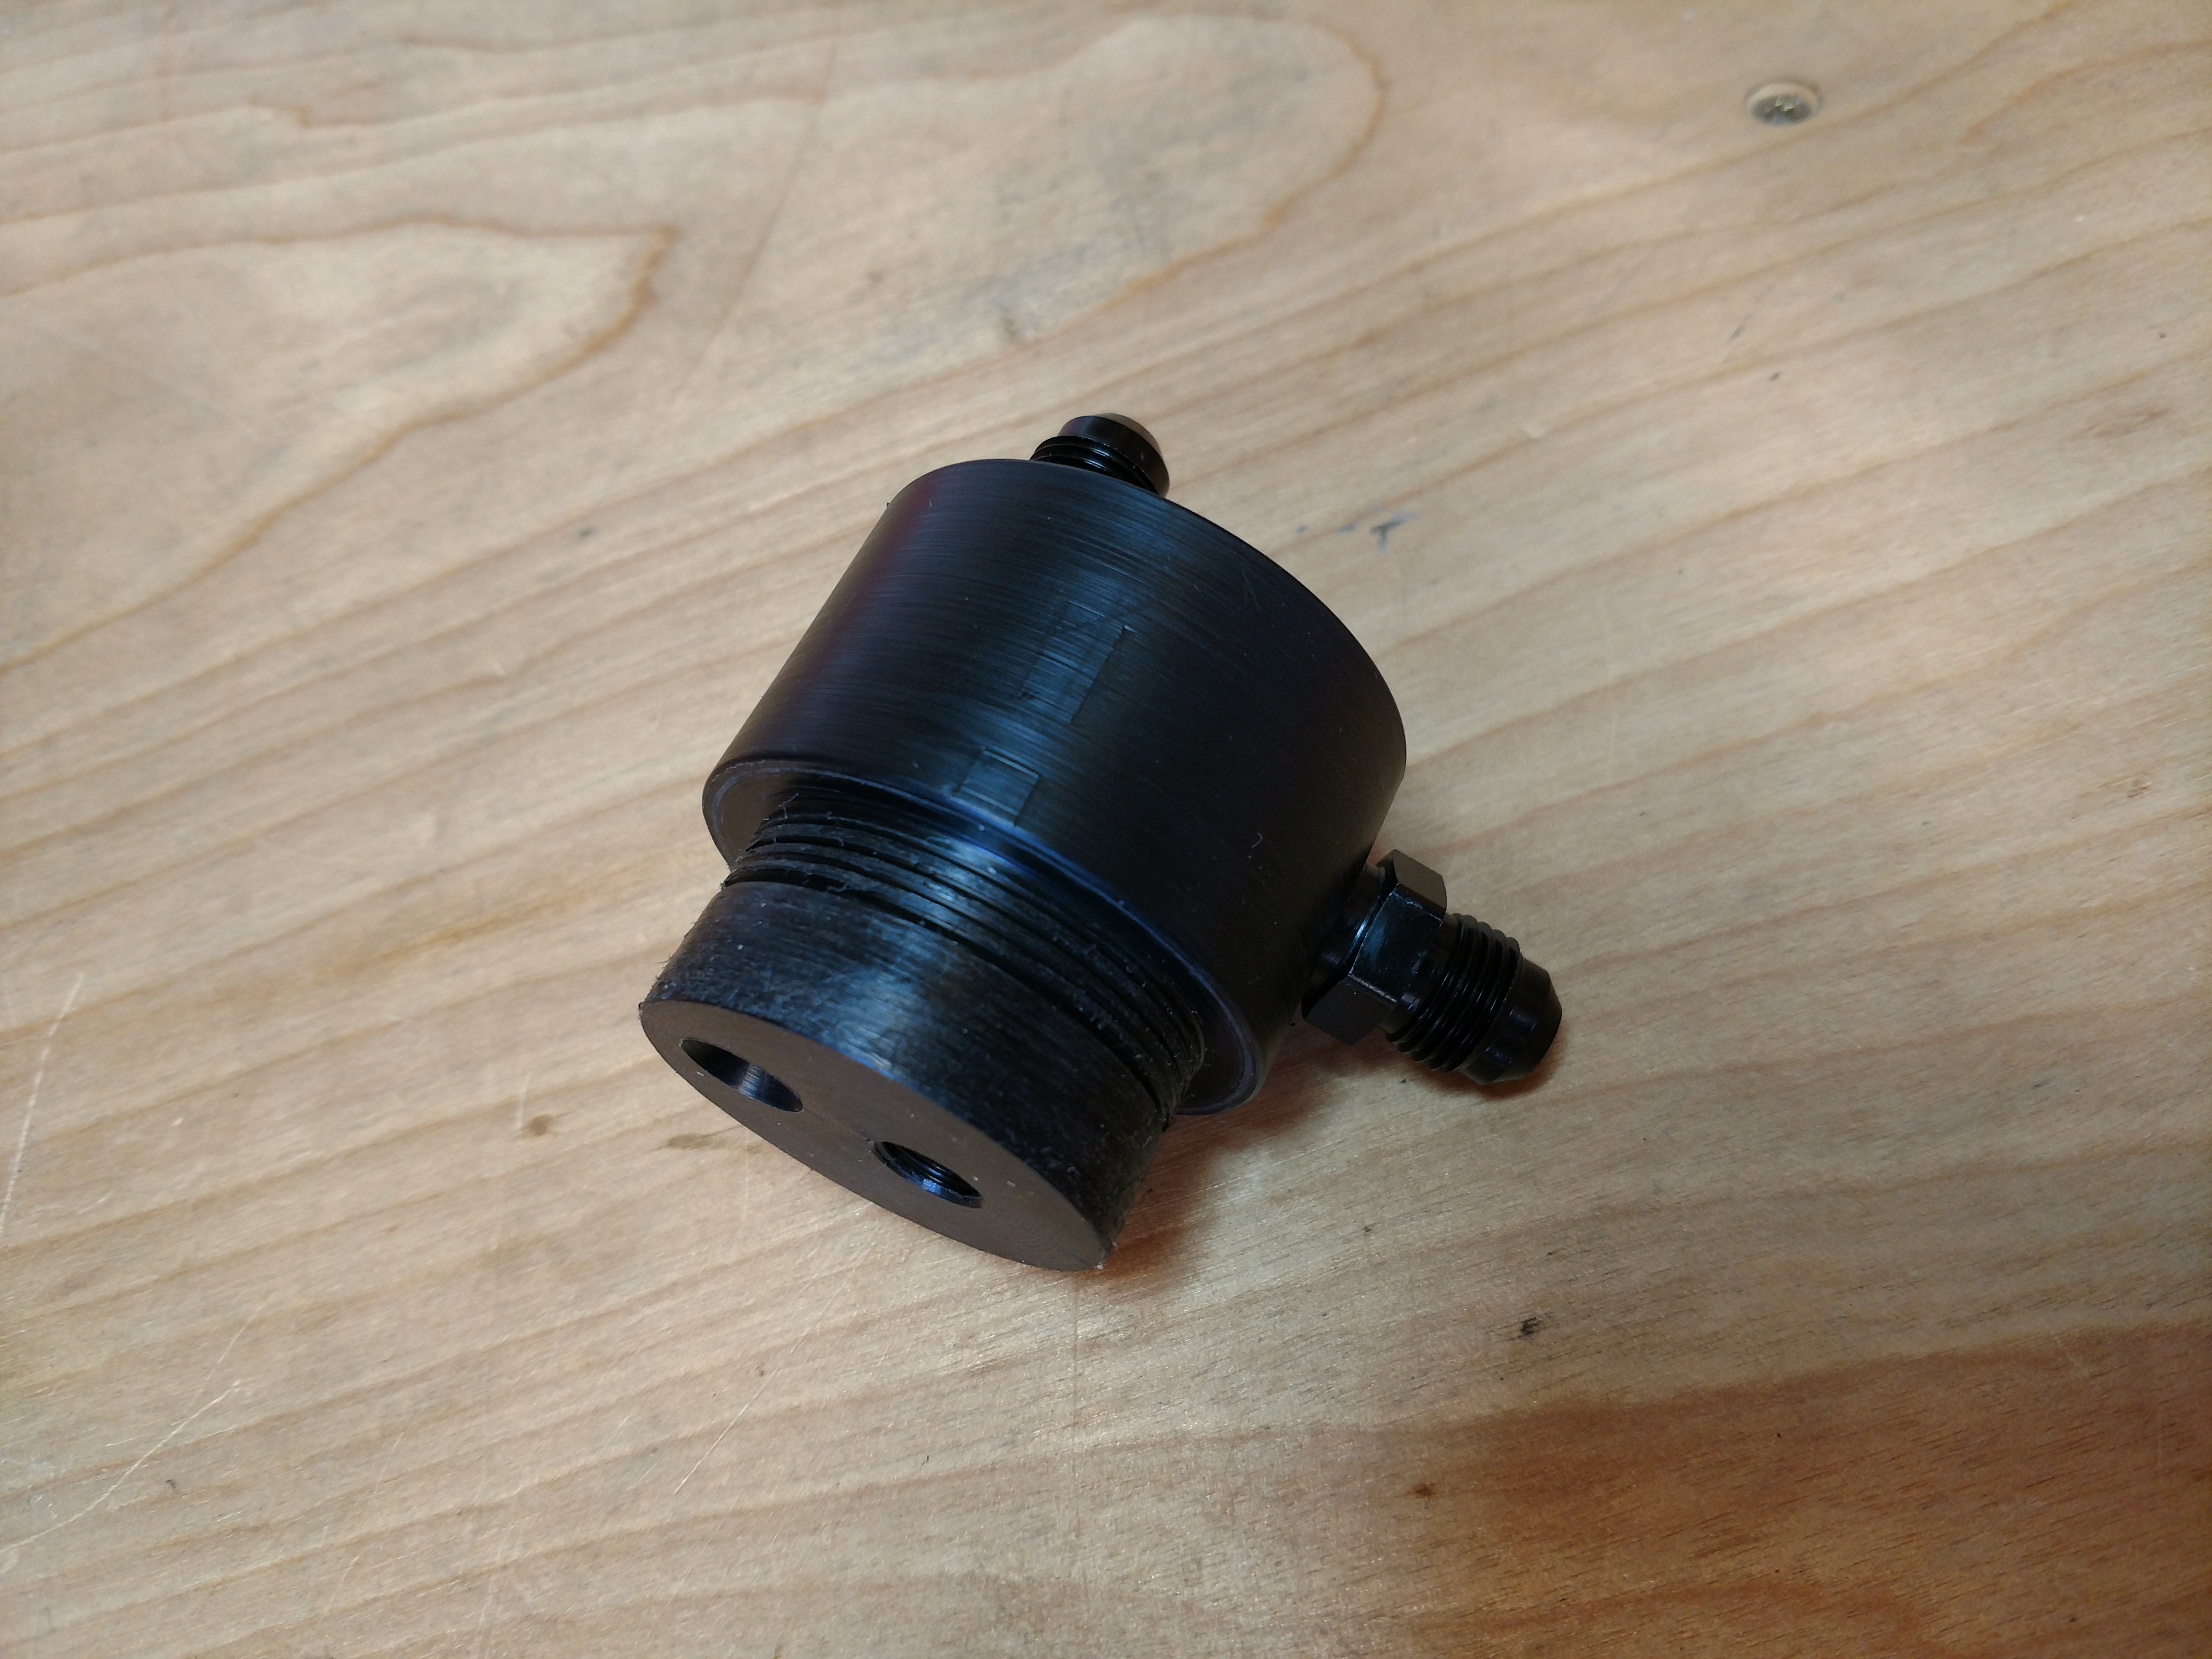
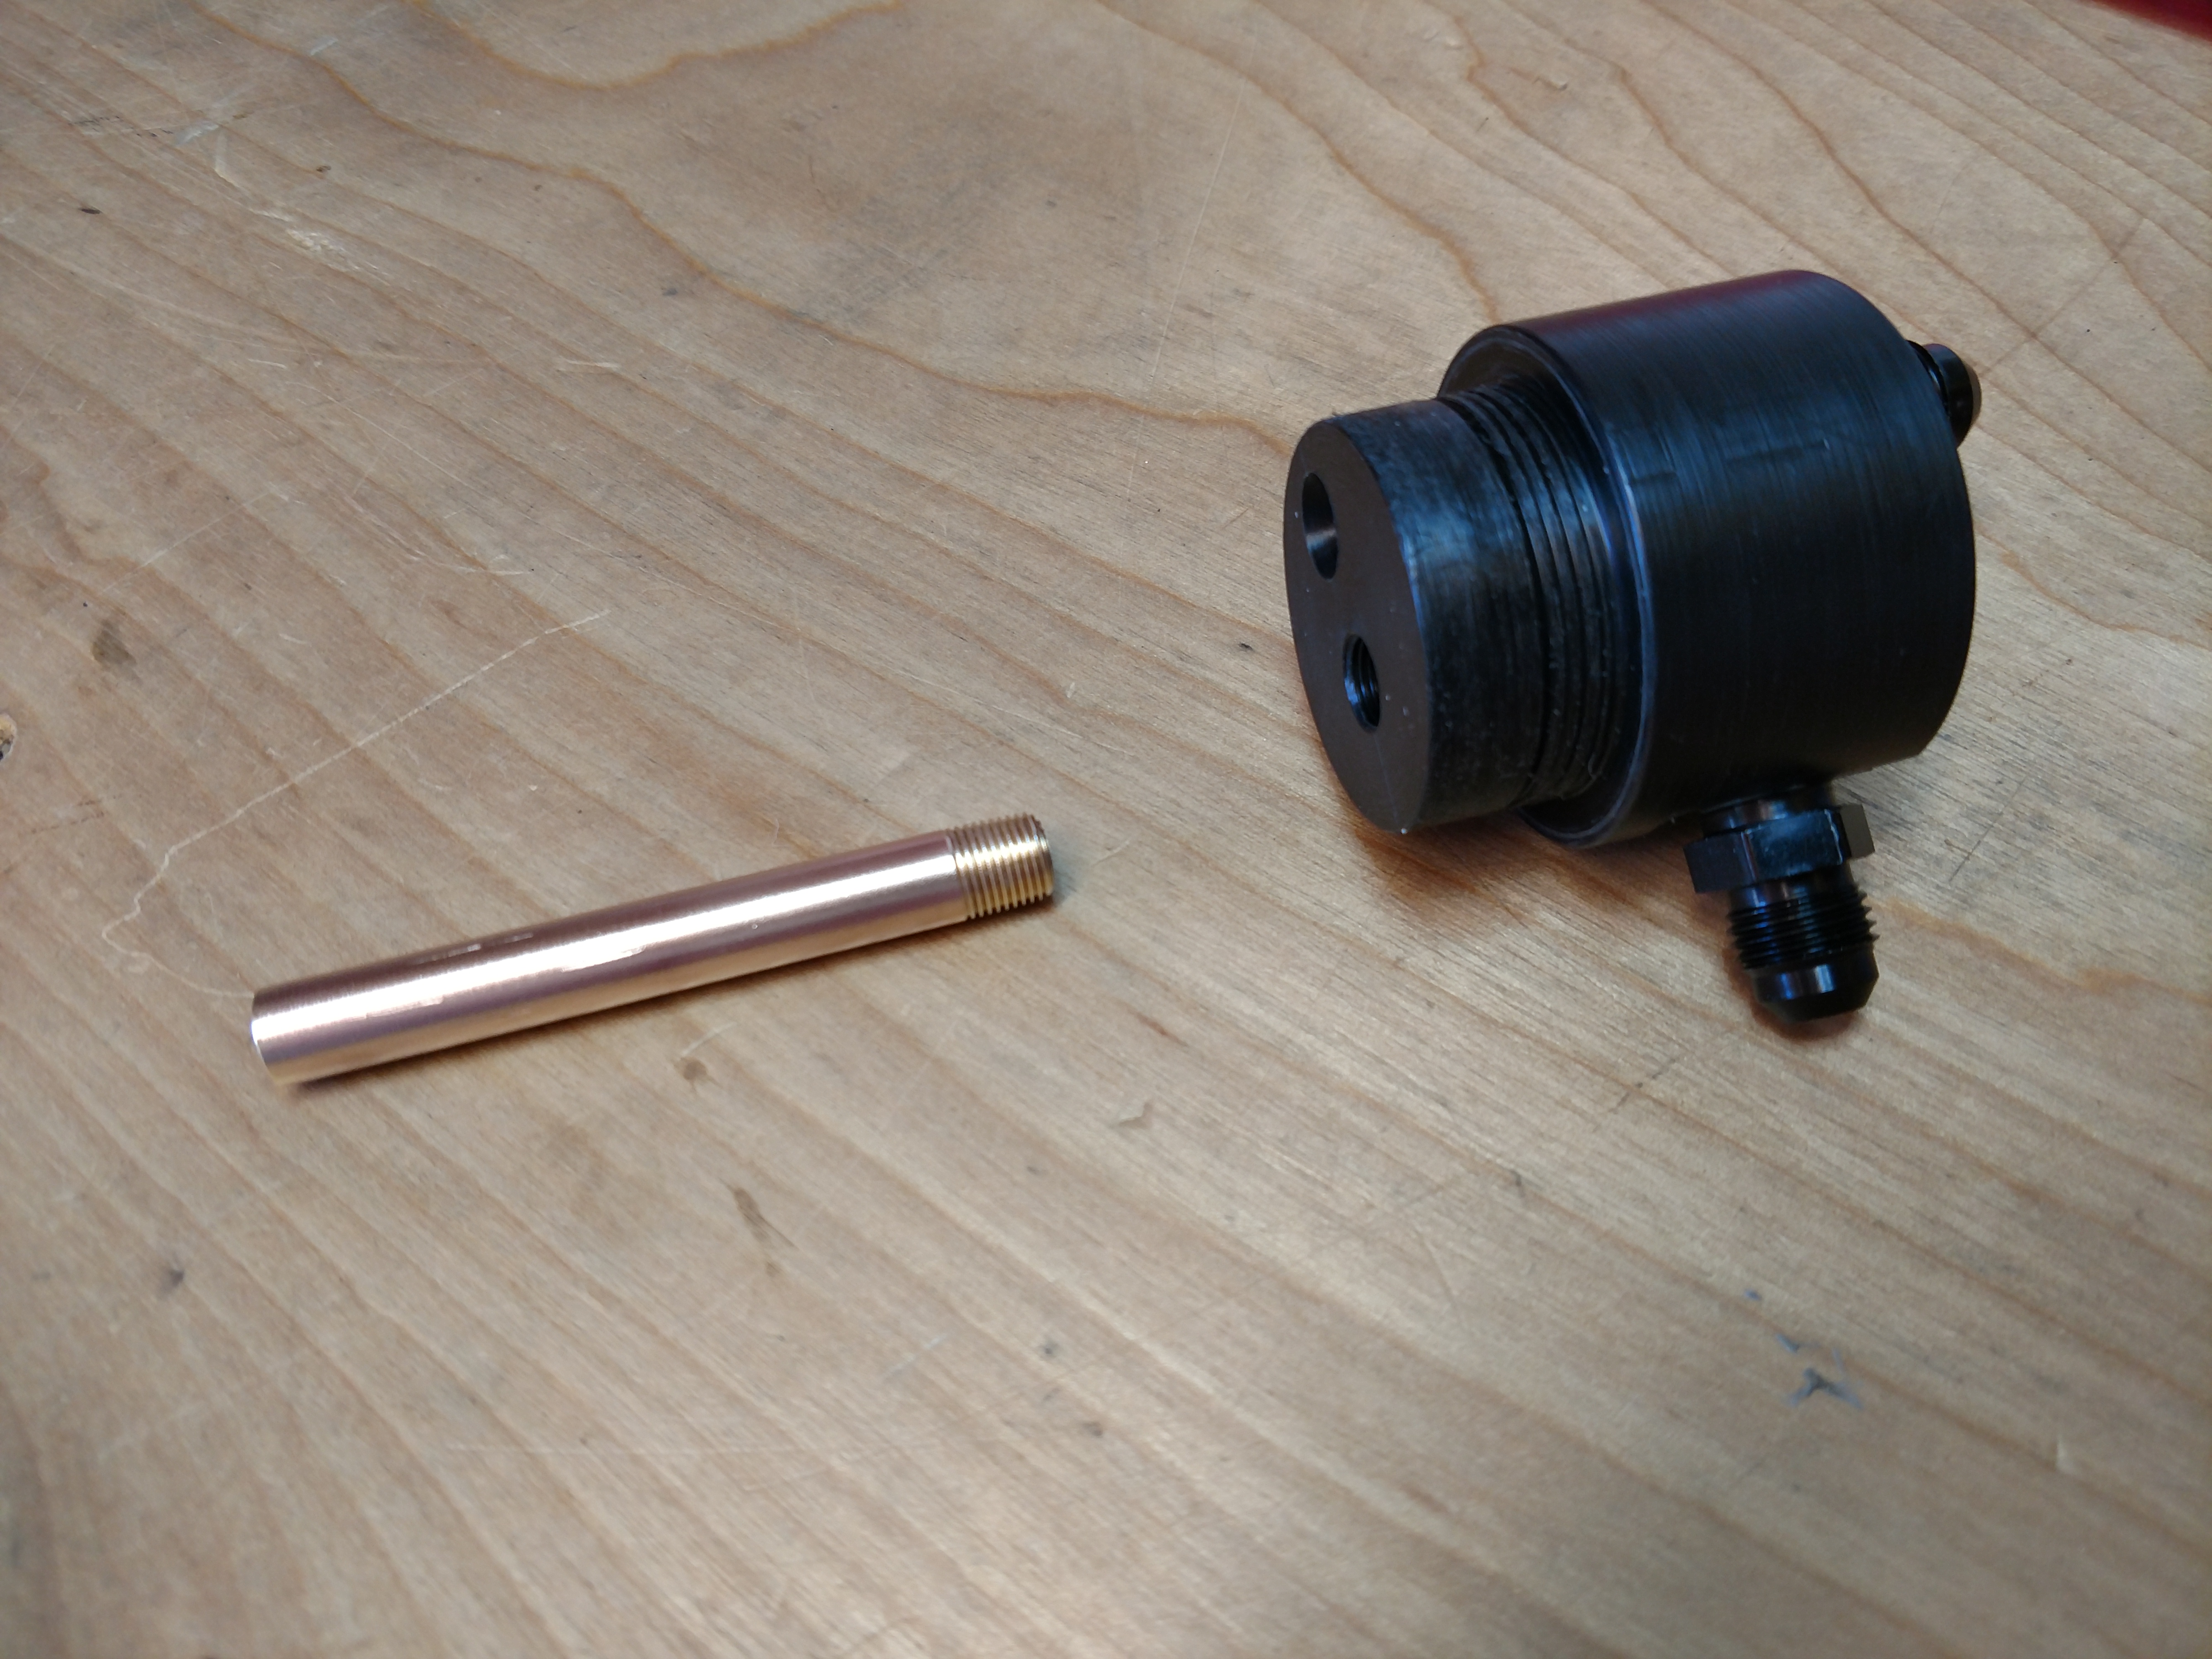
Then a drop tube was installed to further help with oil separation.
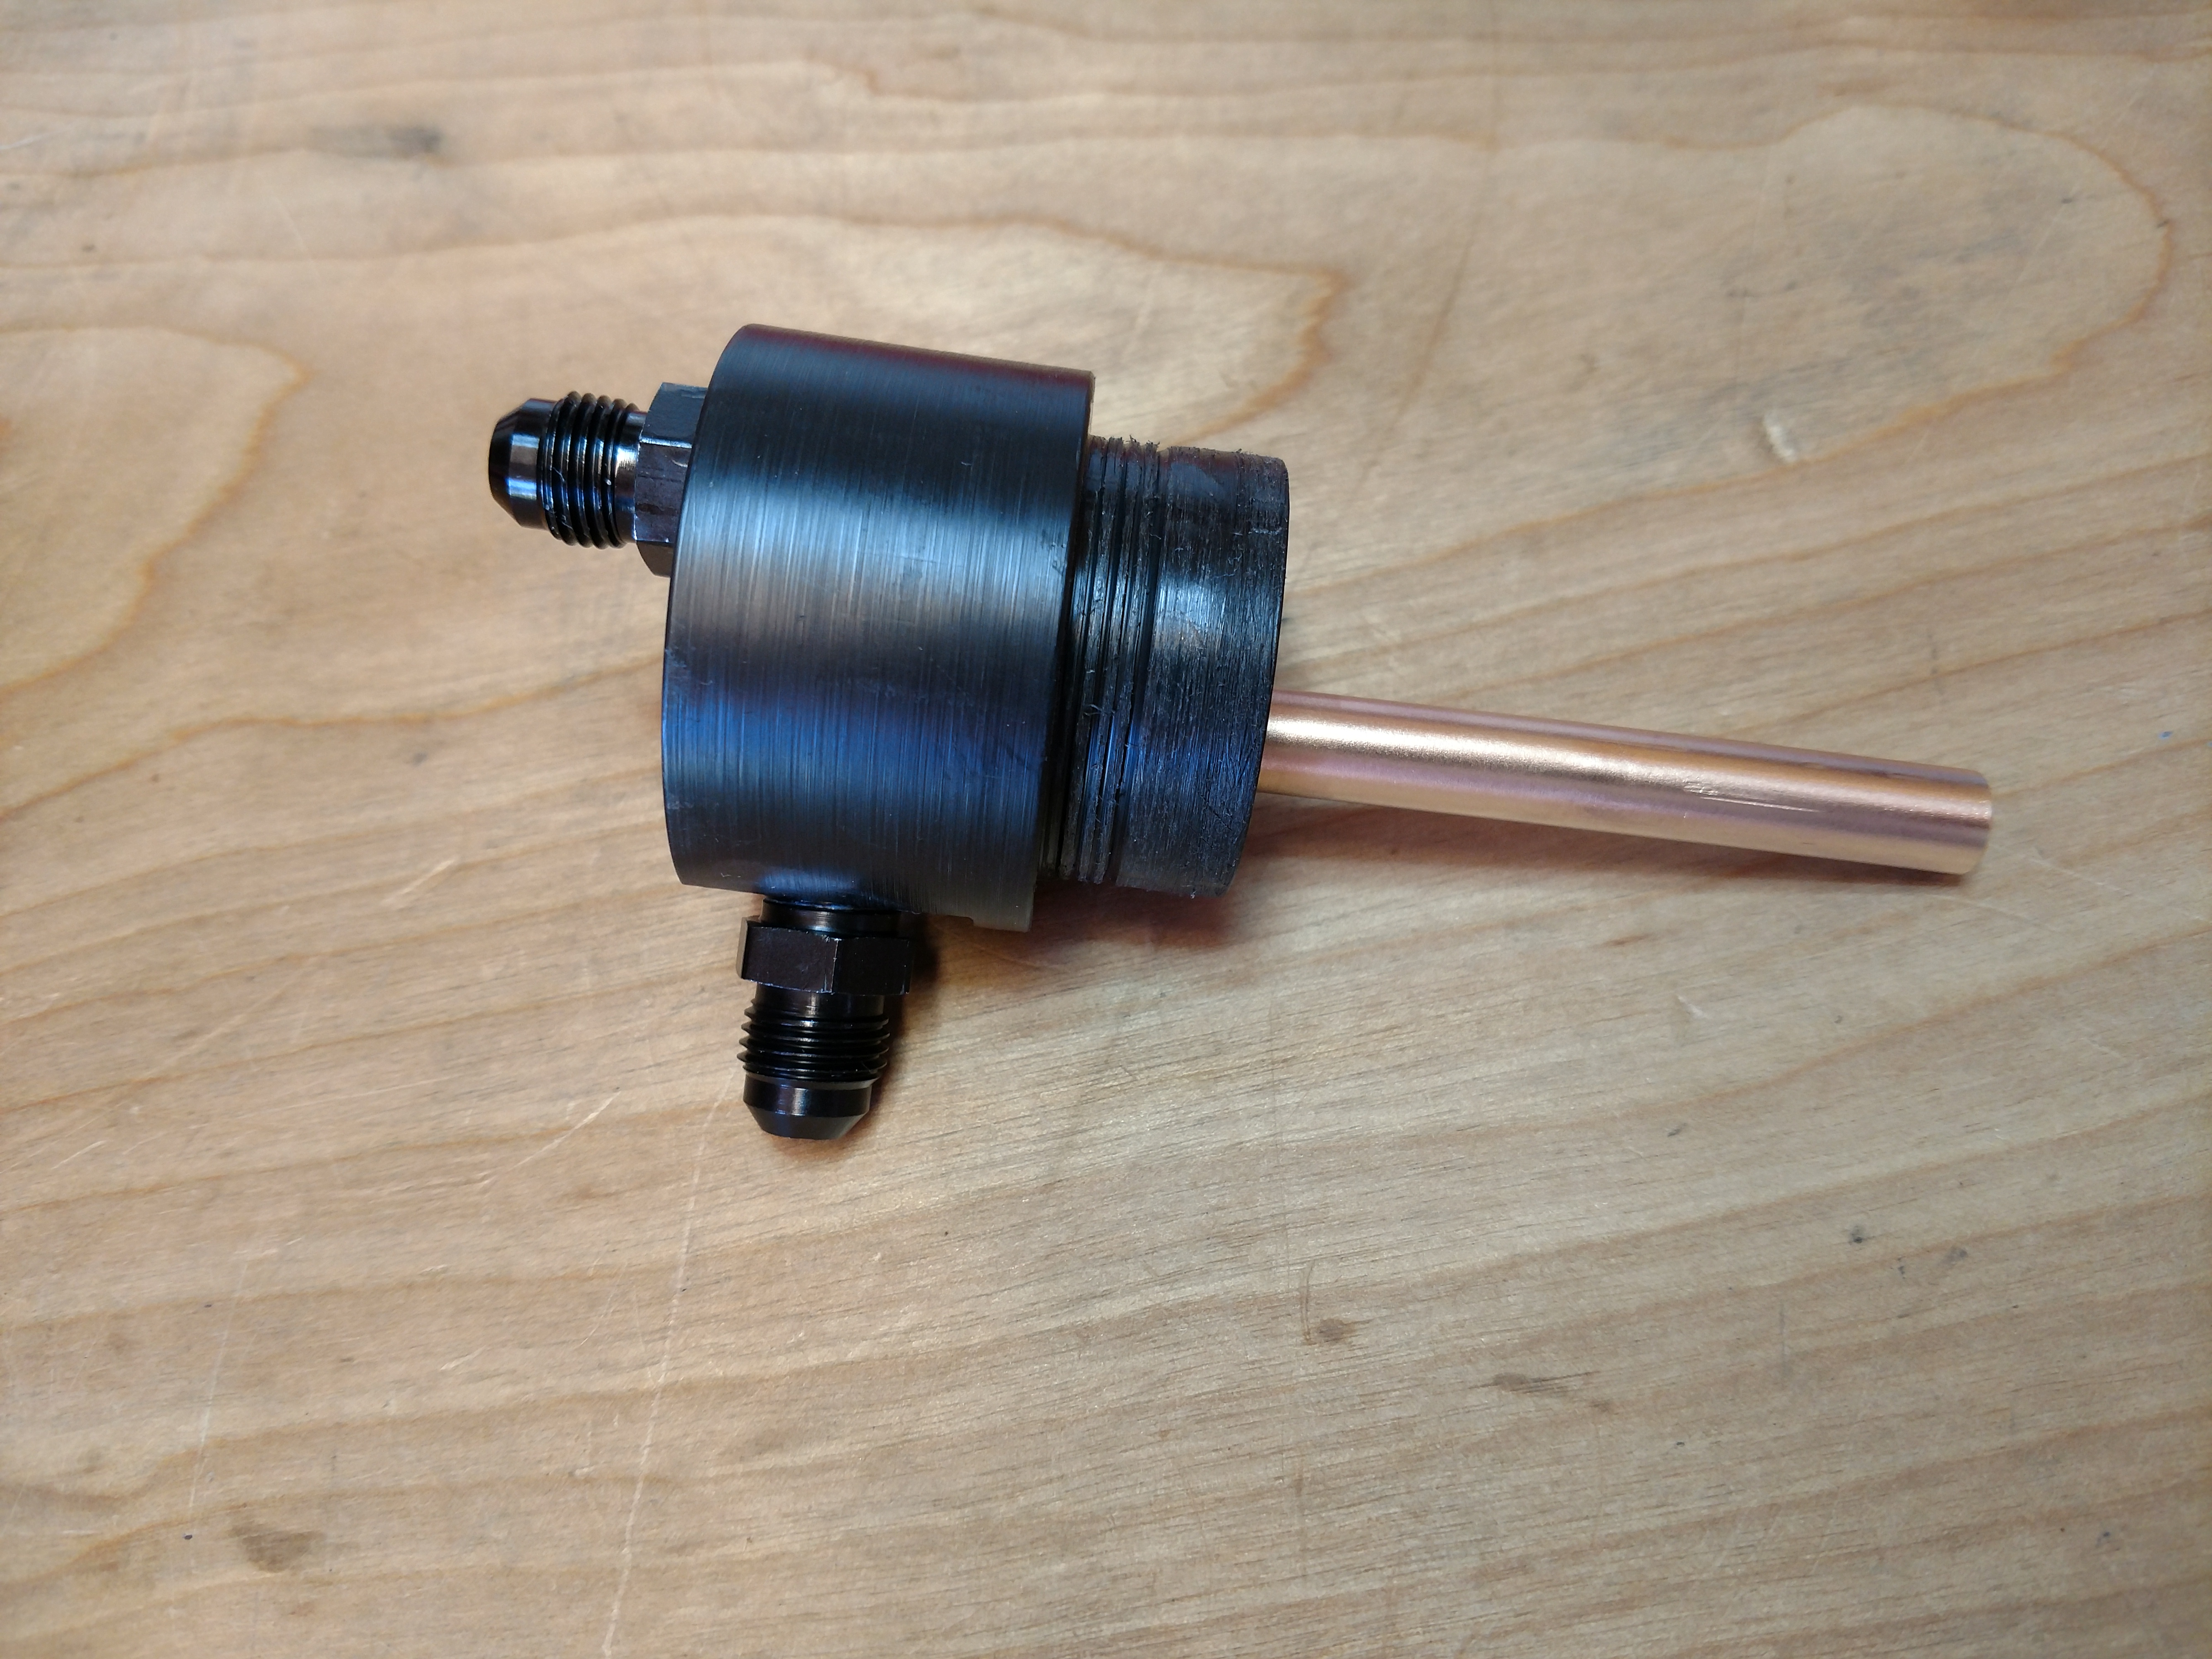
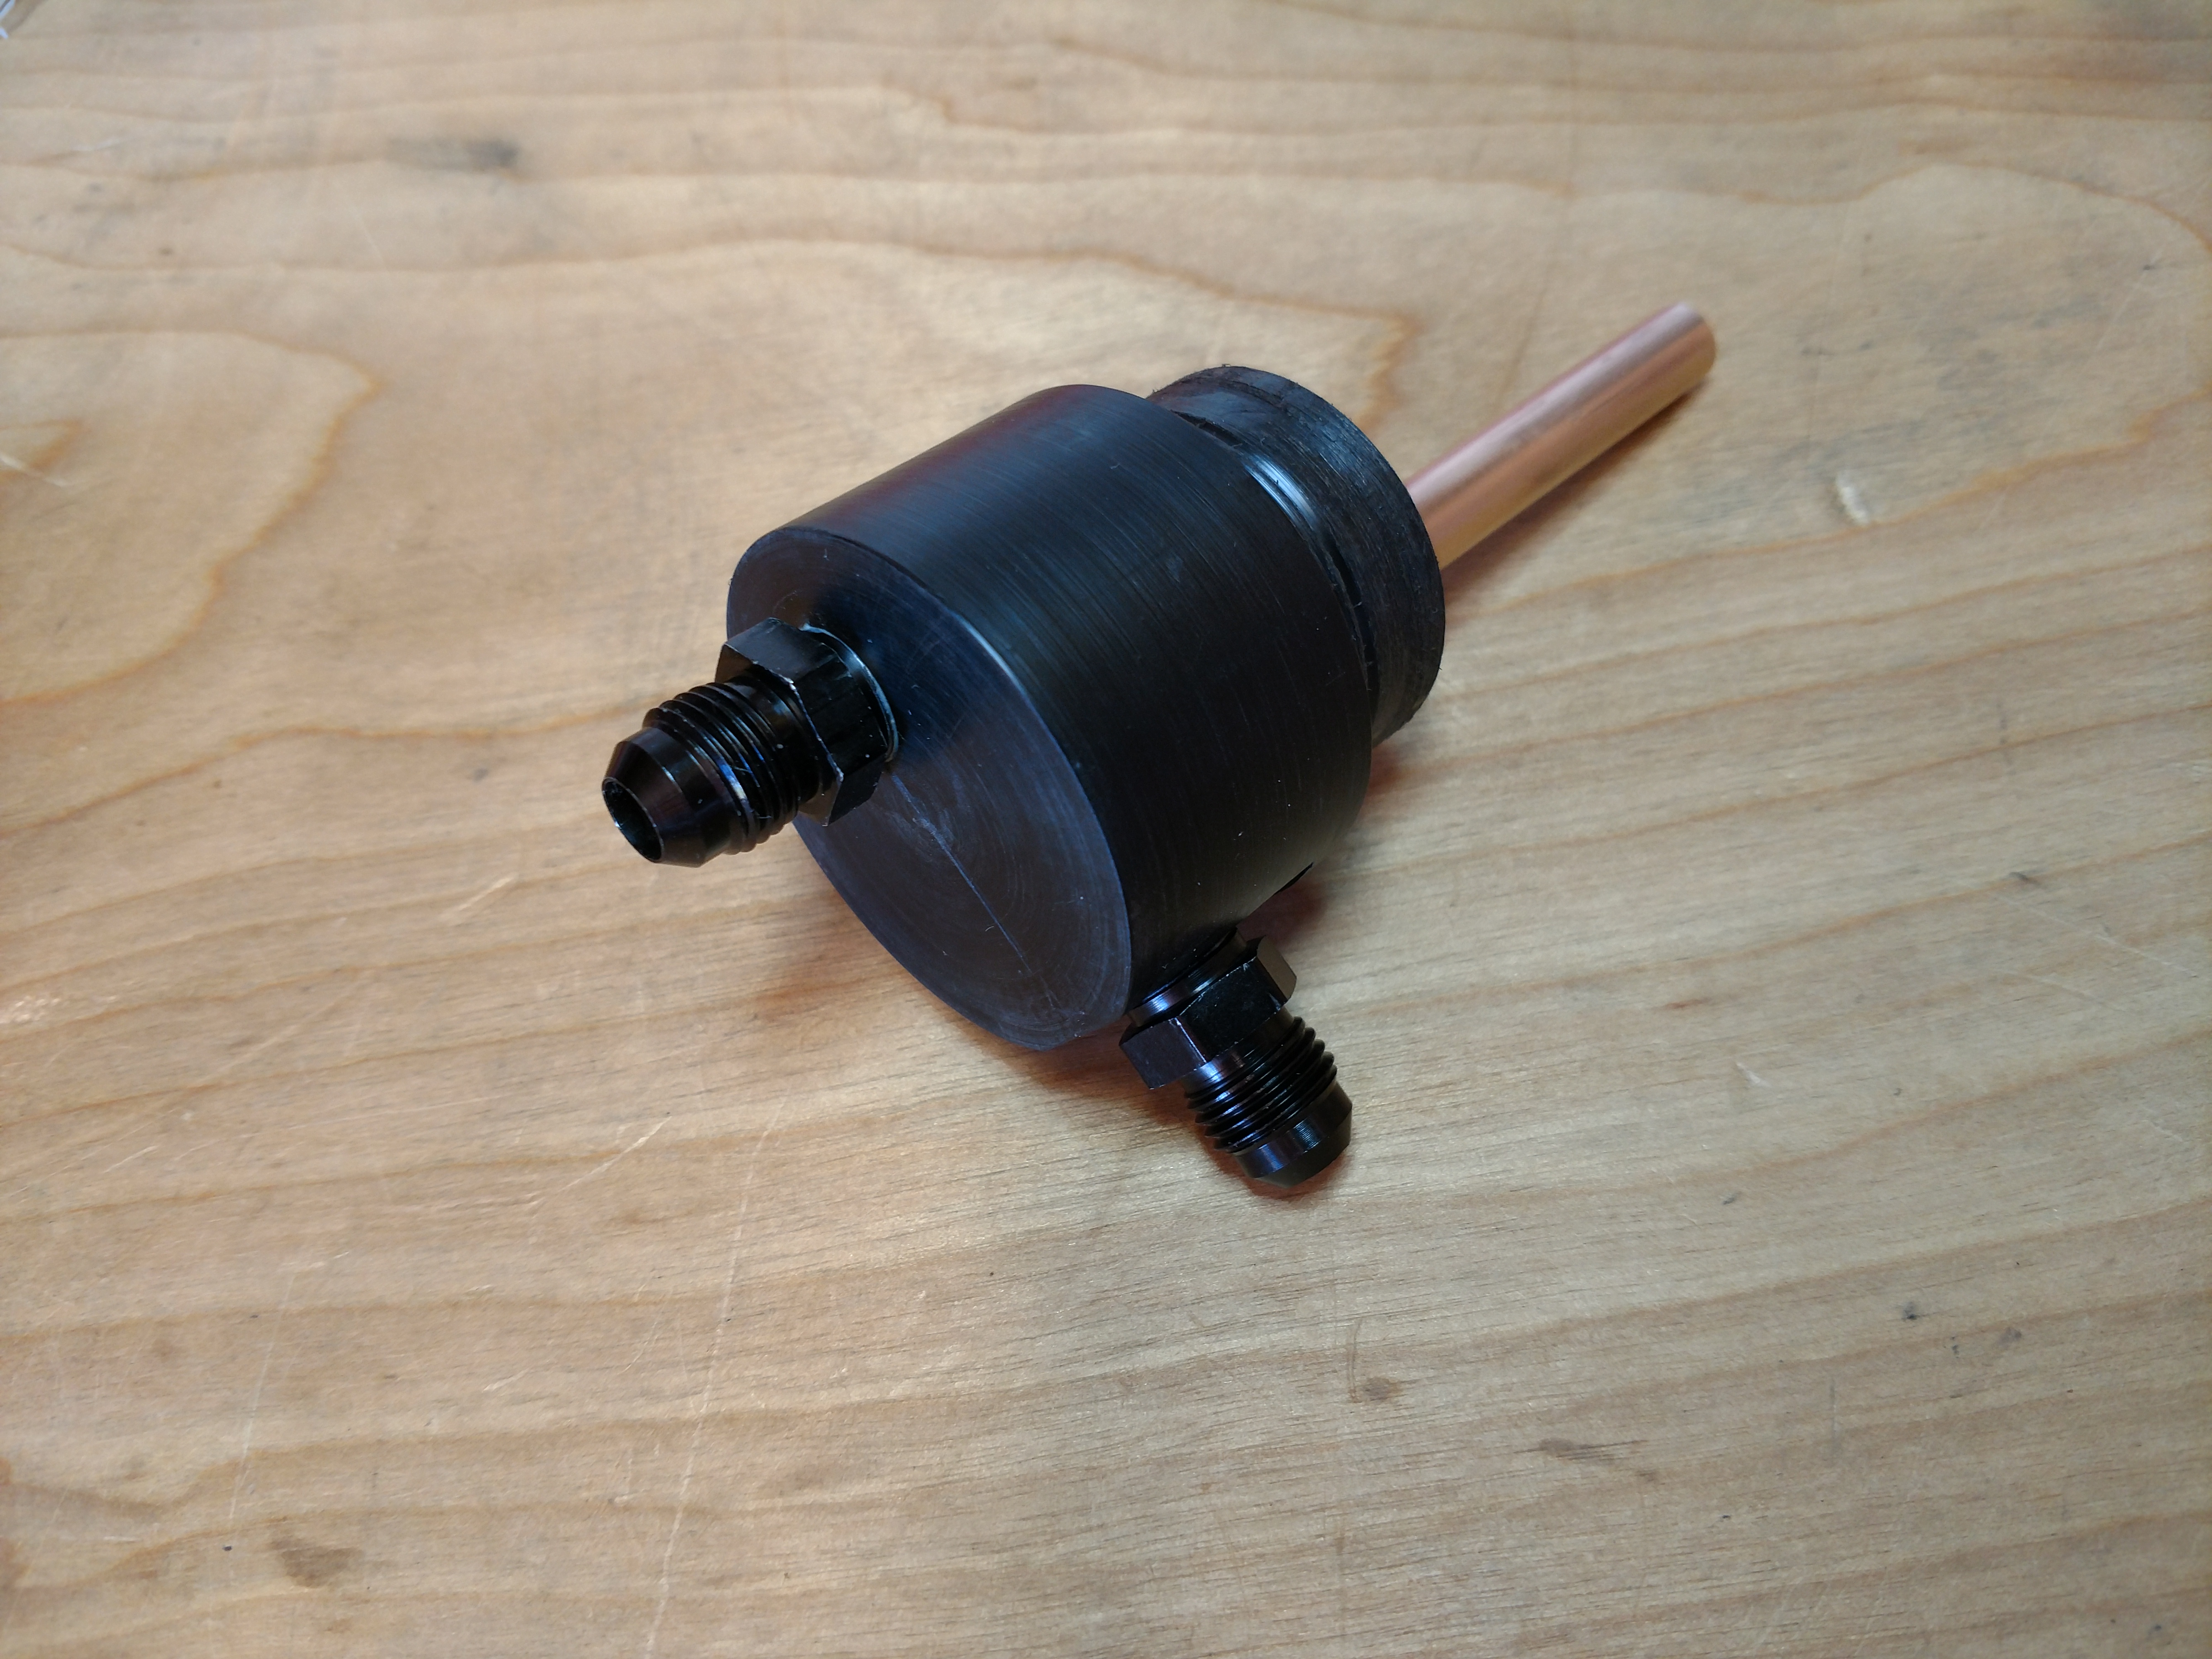
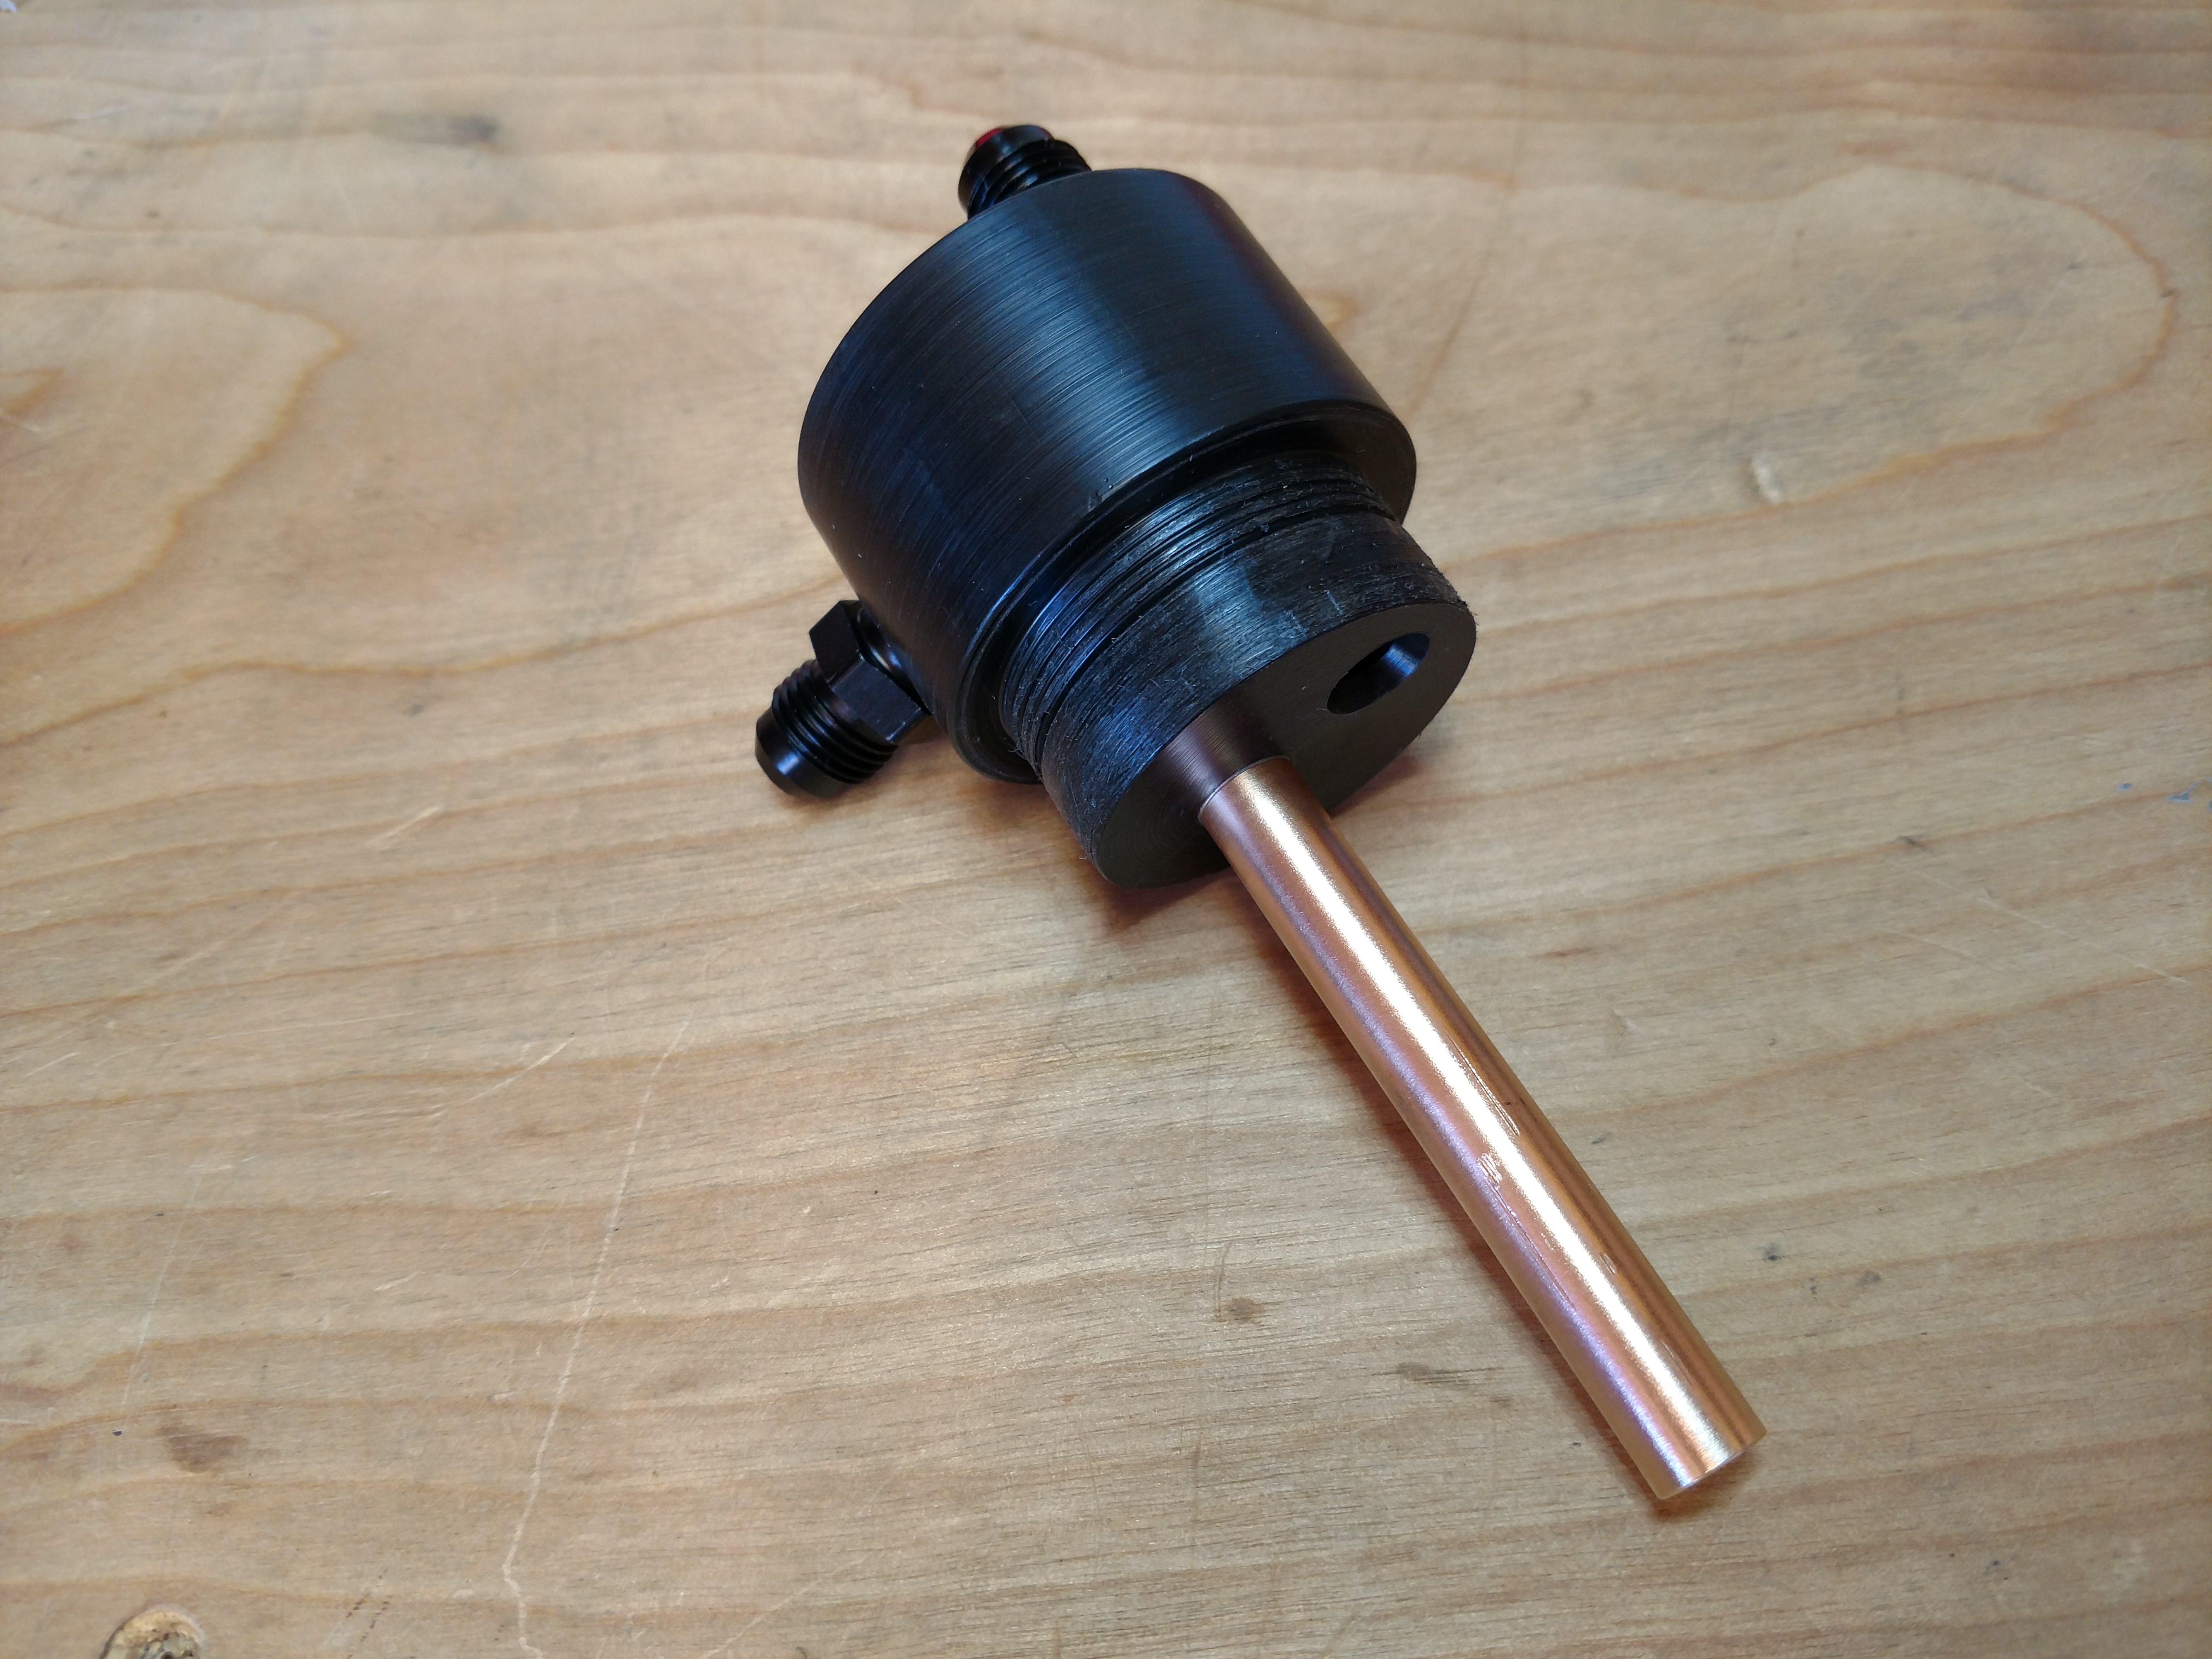
To finish the construction, I used high-strength, slow-setting
epoxy to glue the top to the main body of the tank.
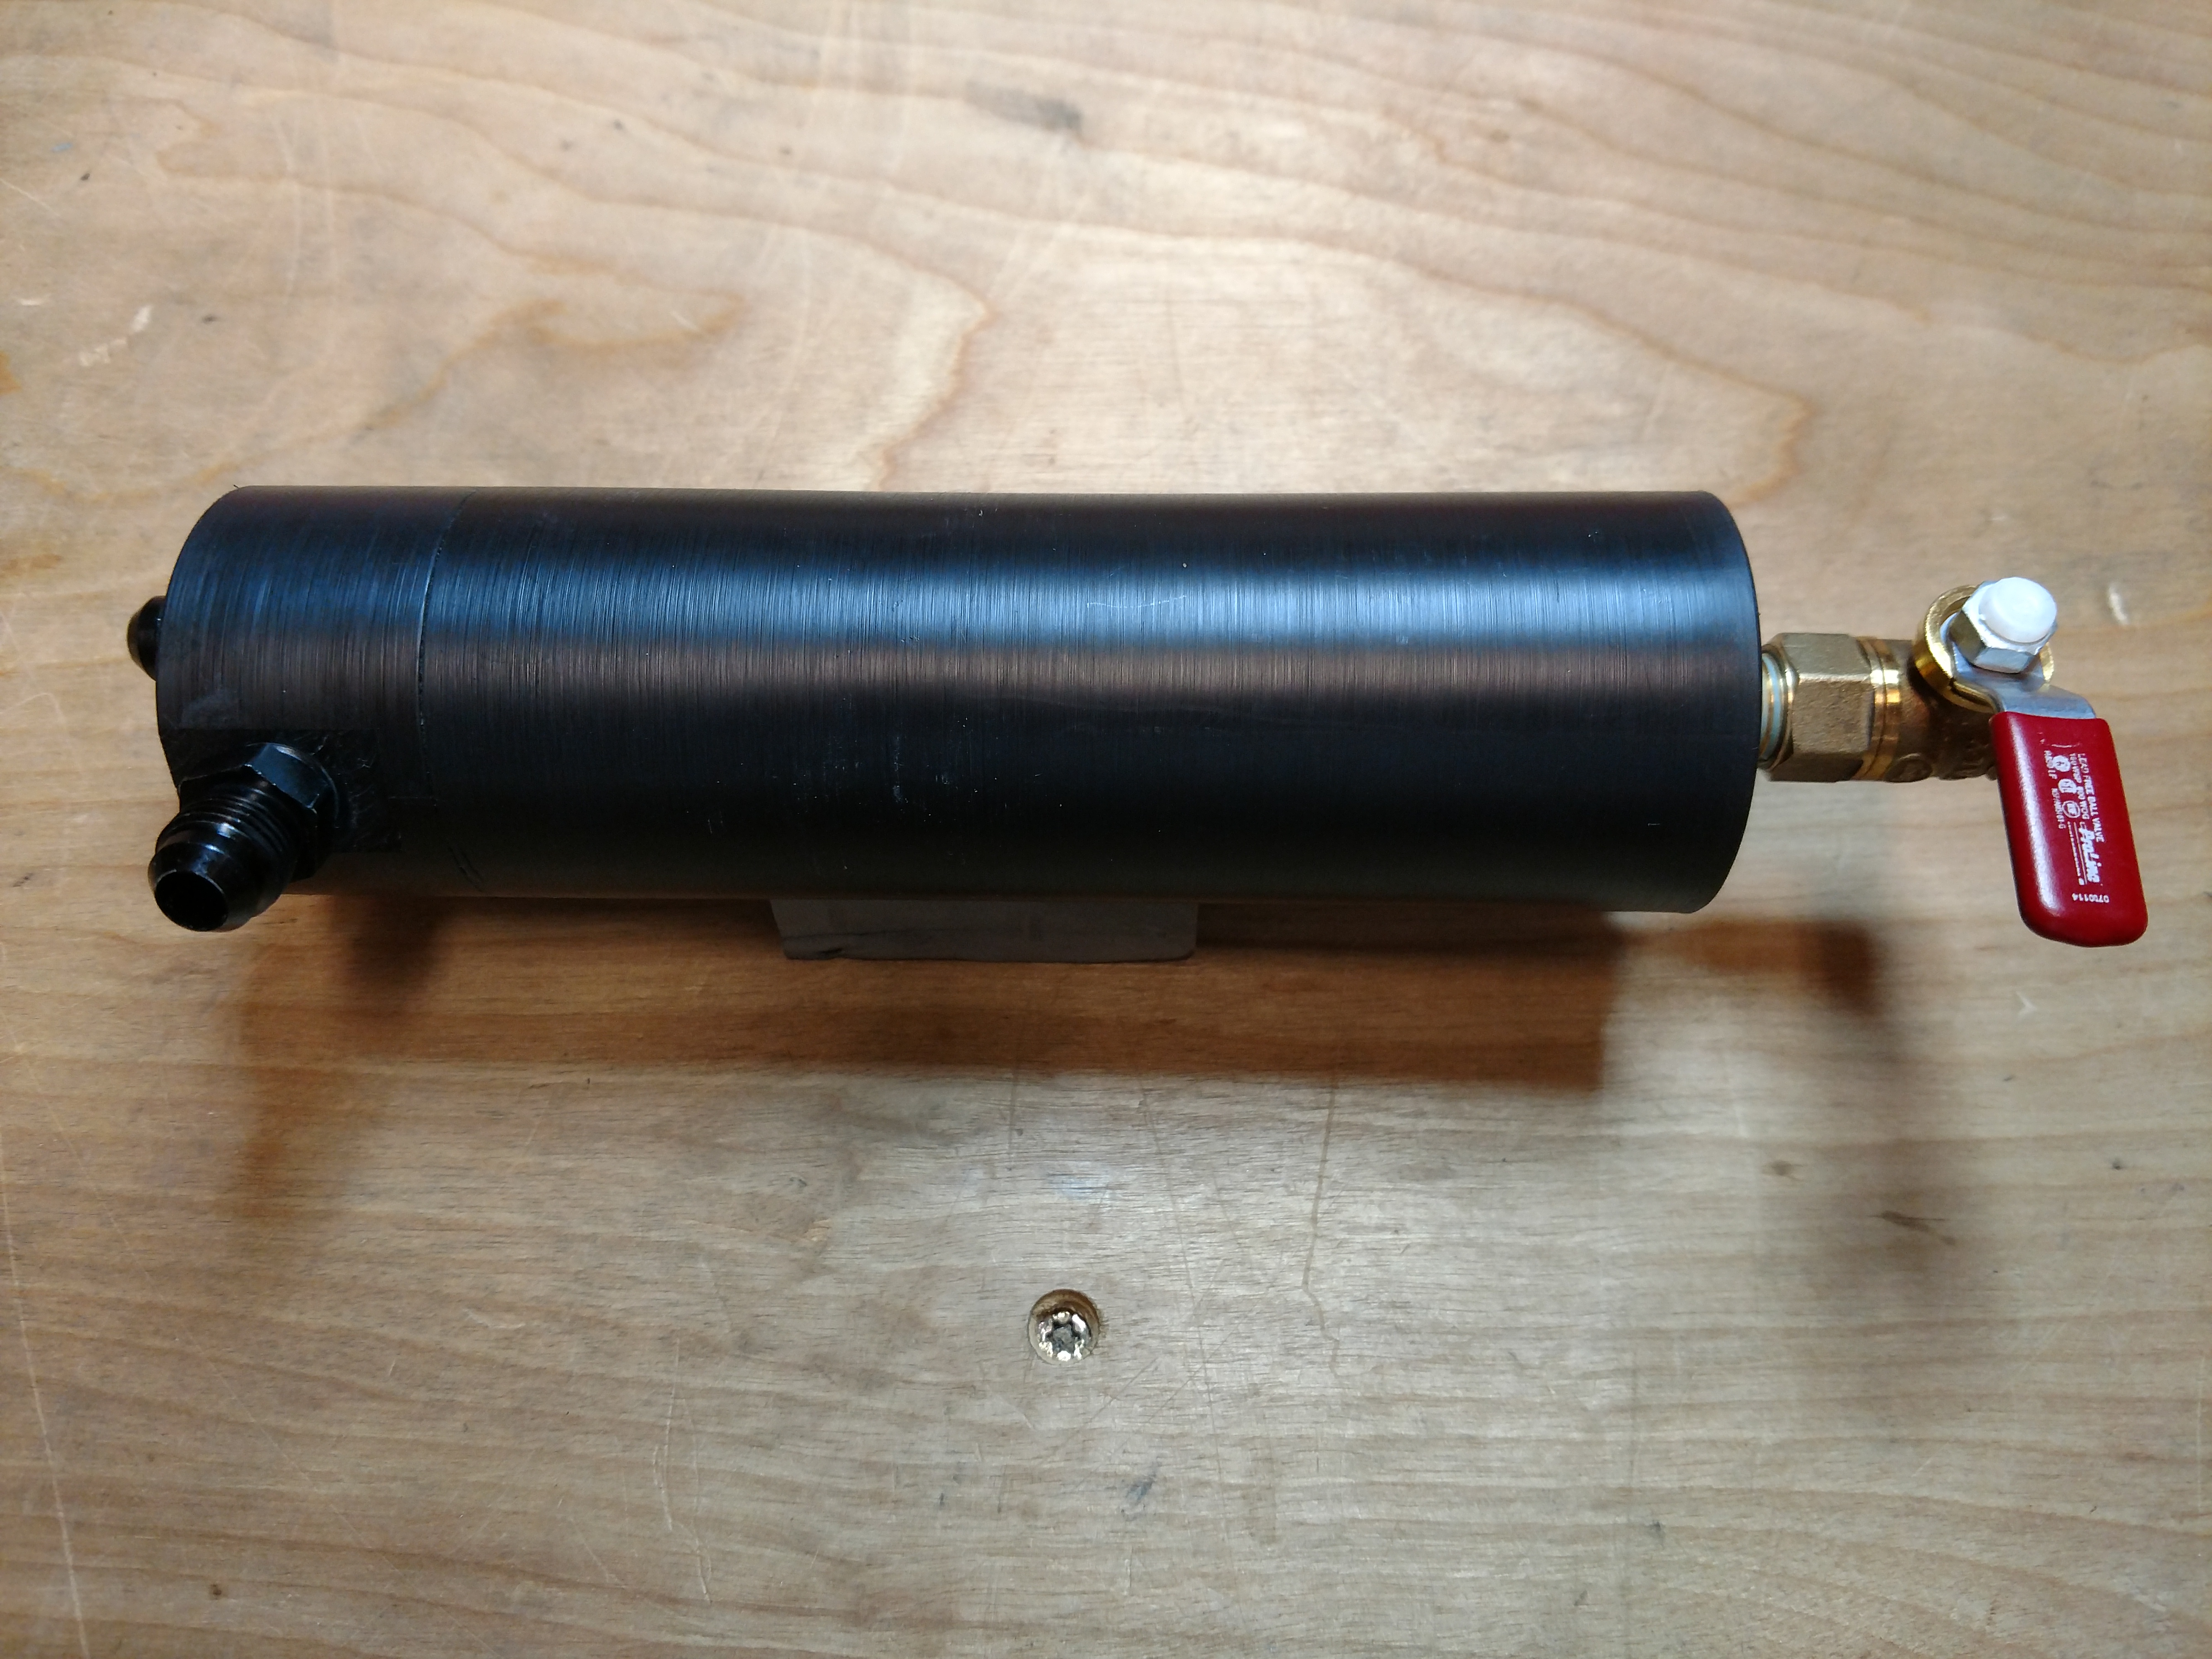
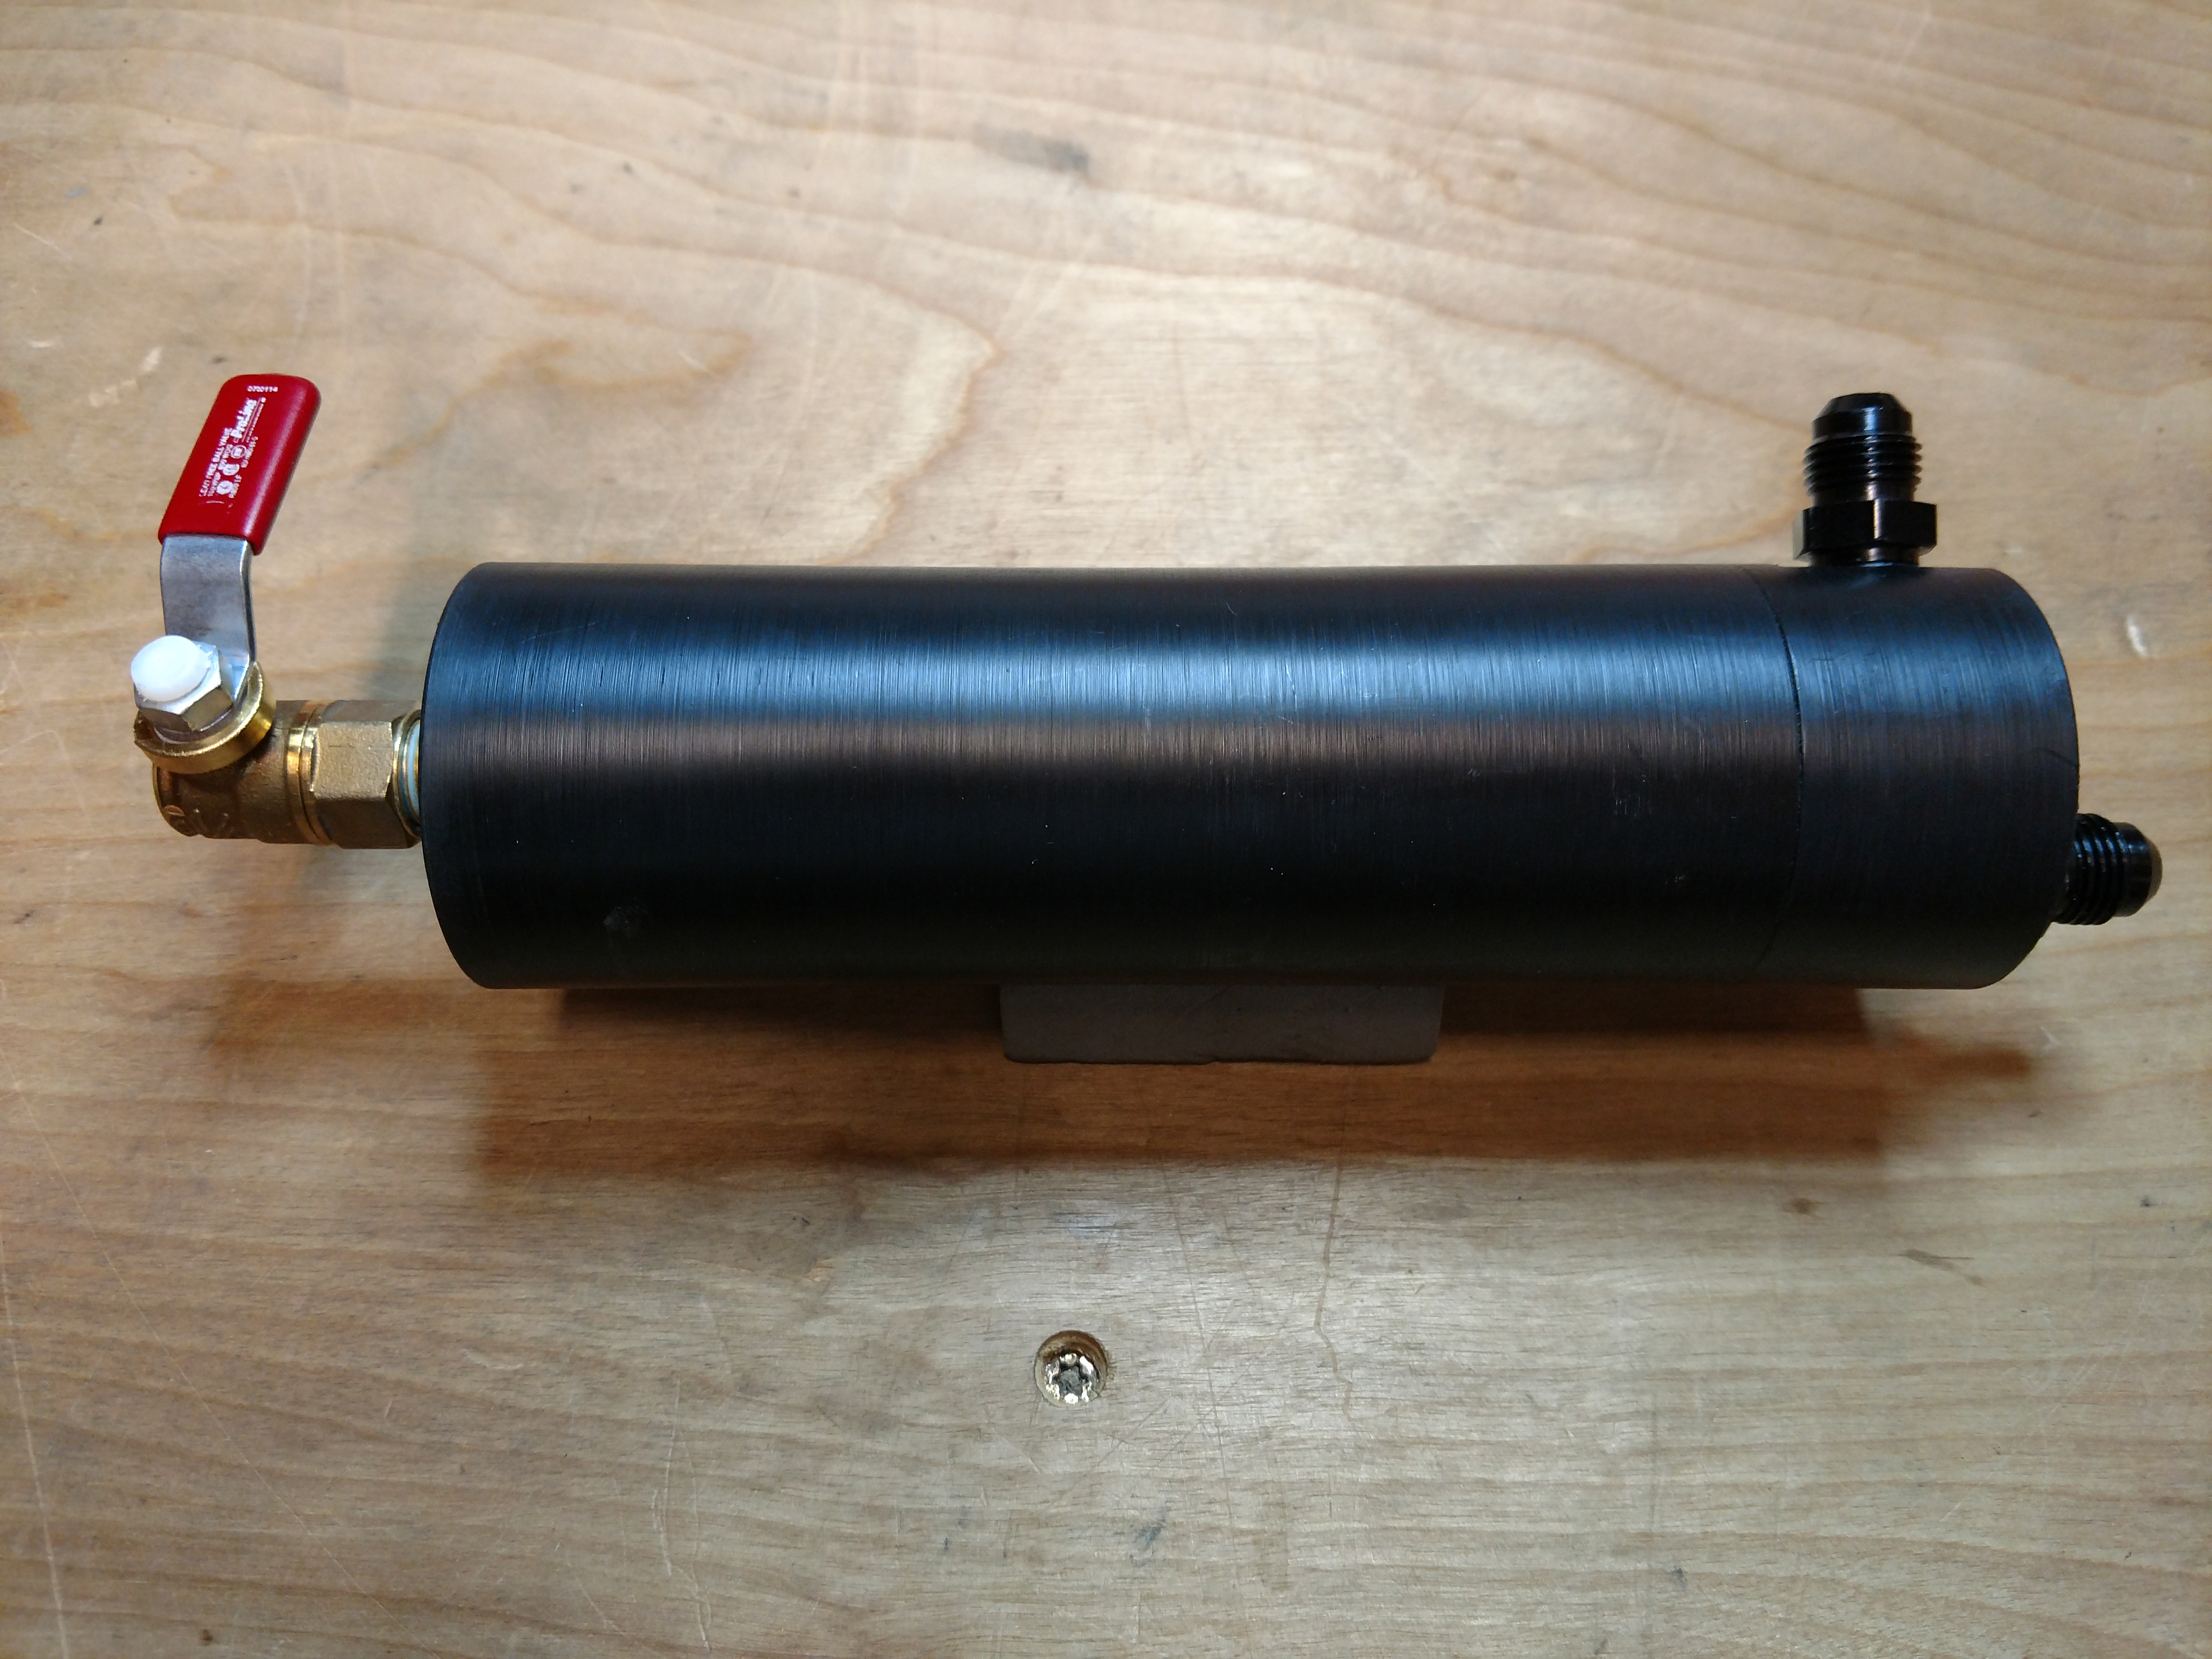
The tank mounts in indentations I cut into the swingarm.
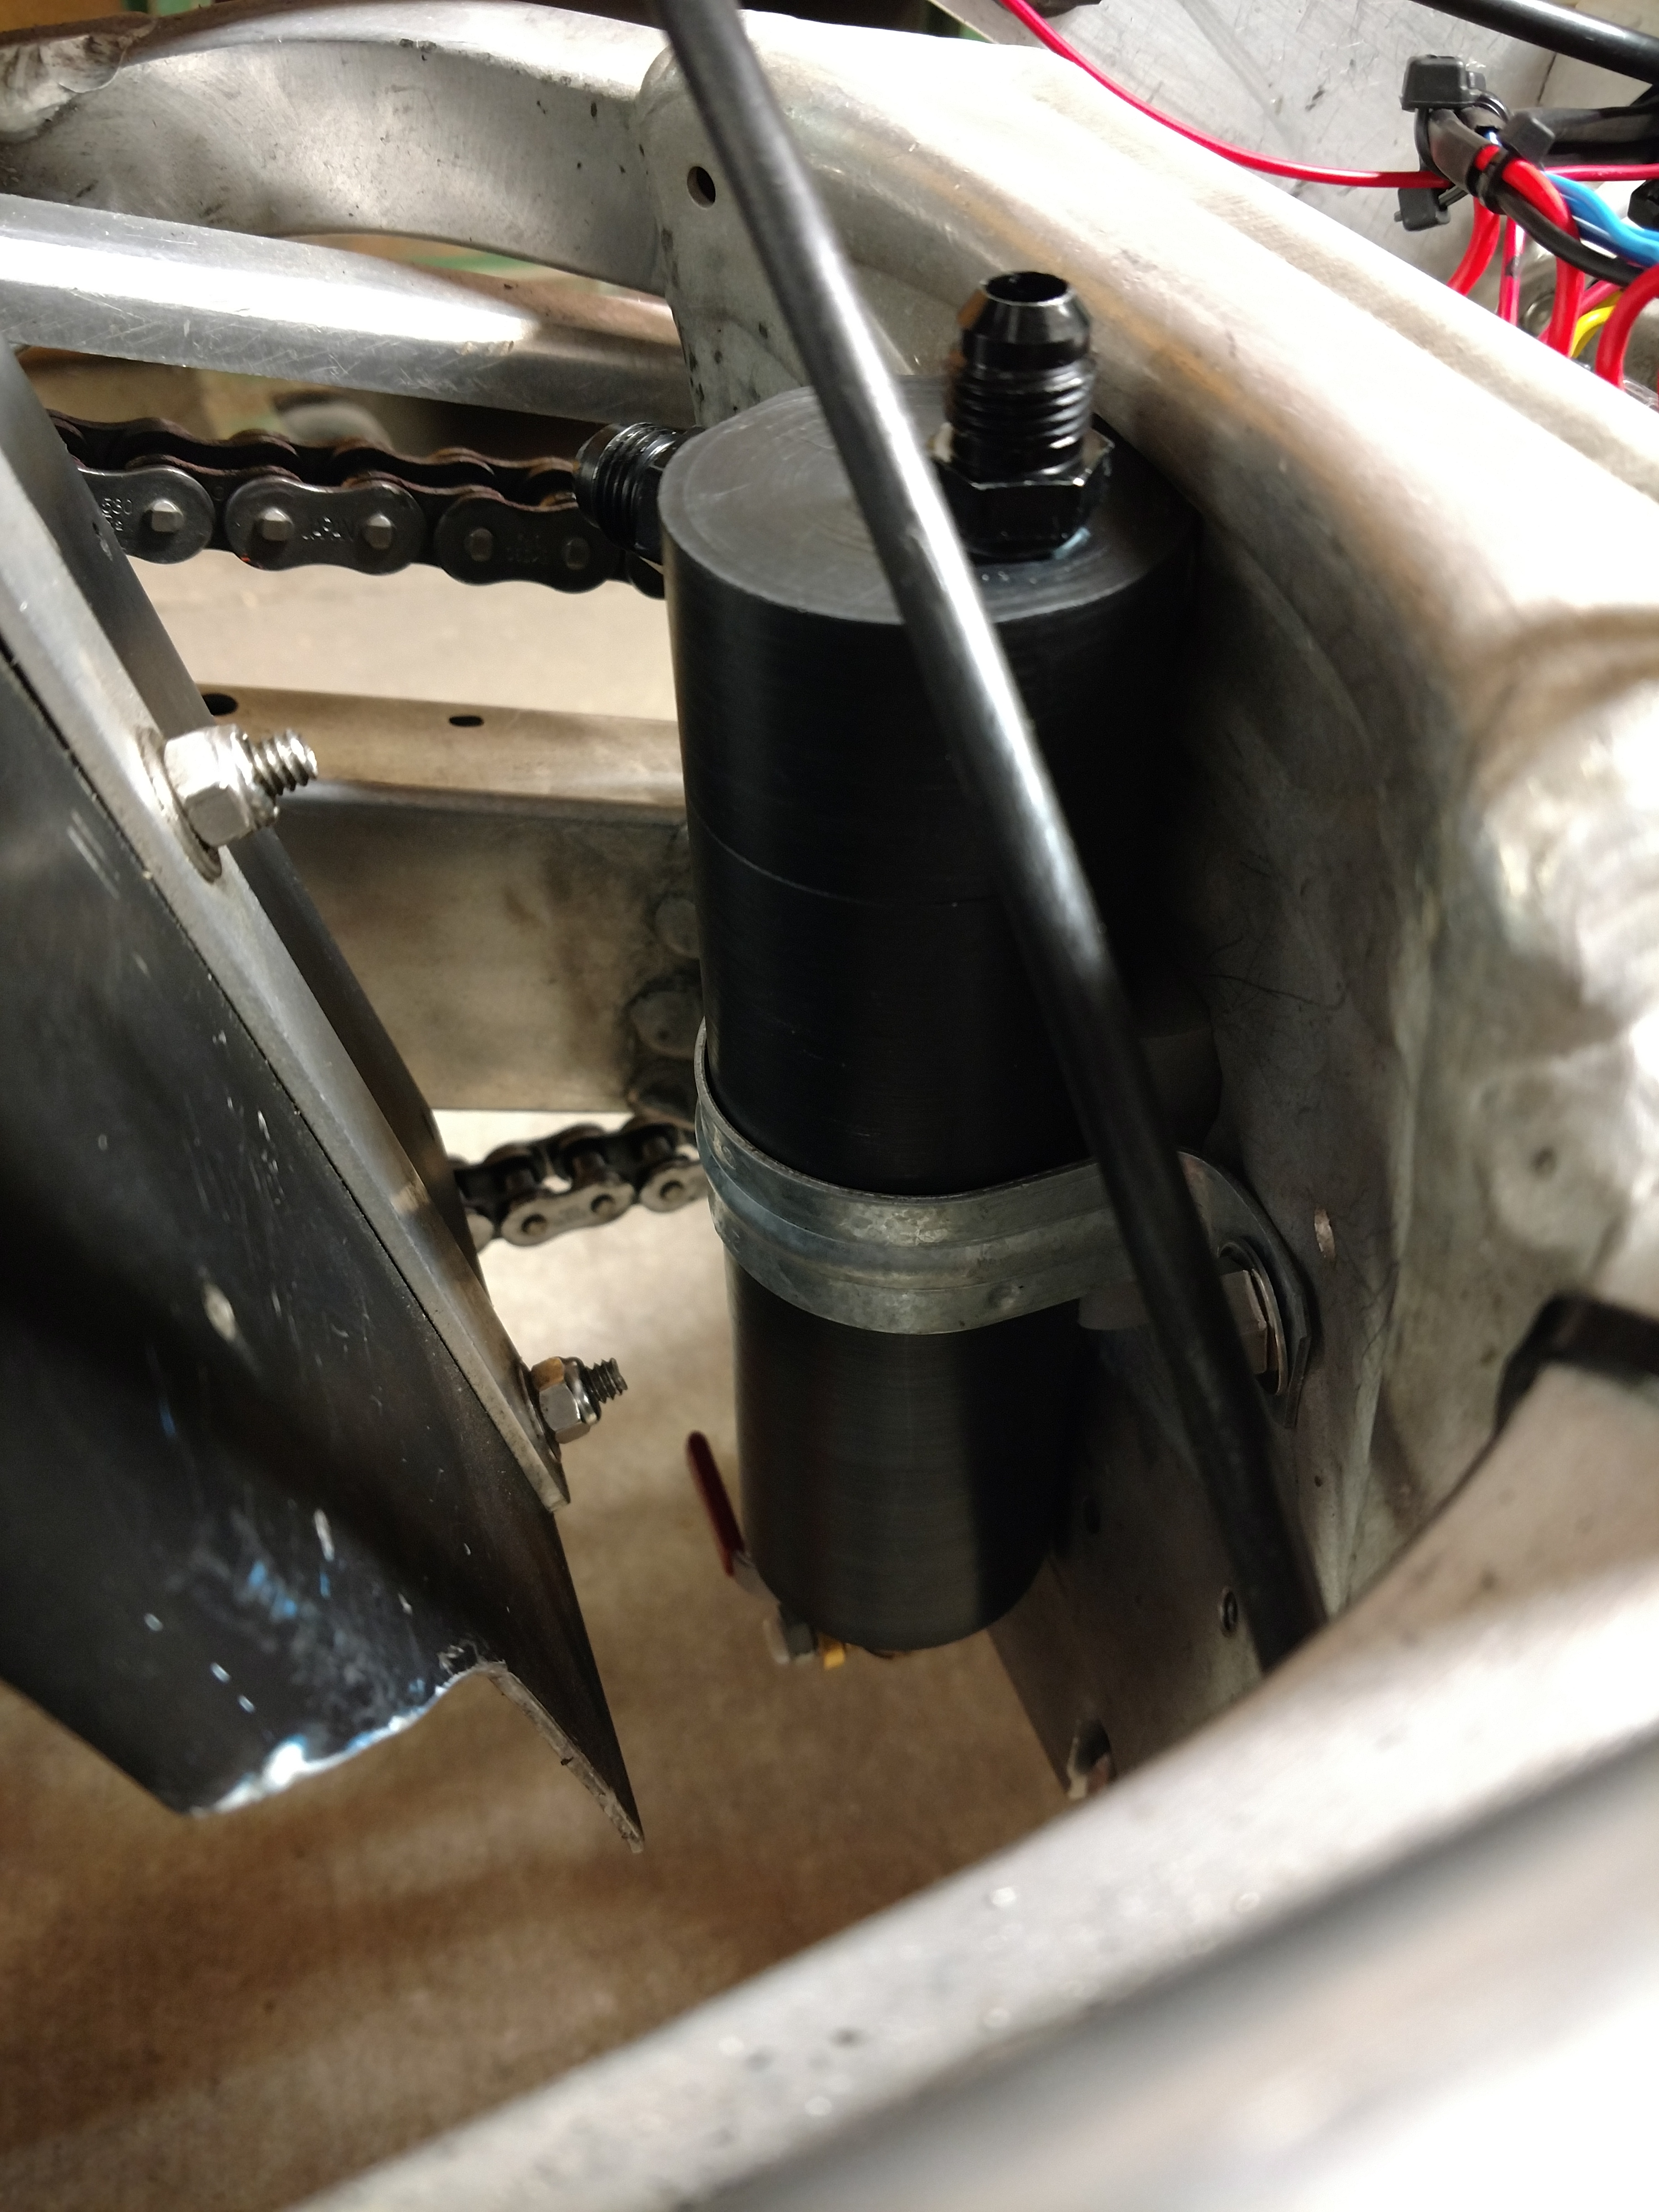
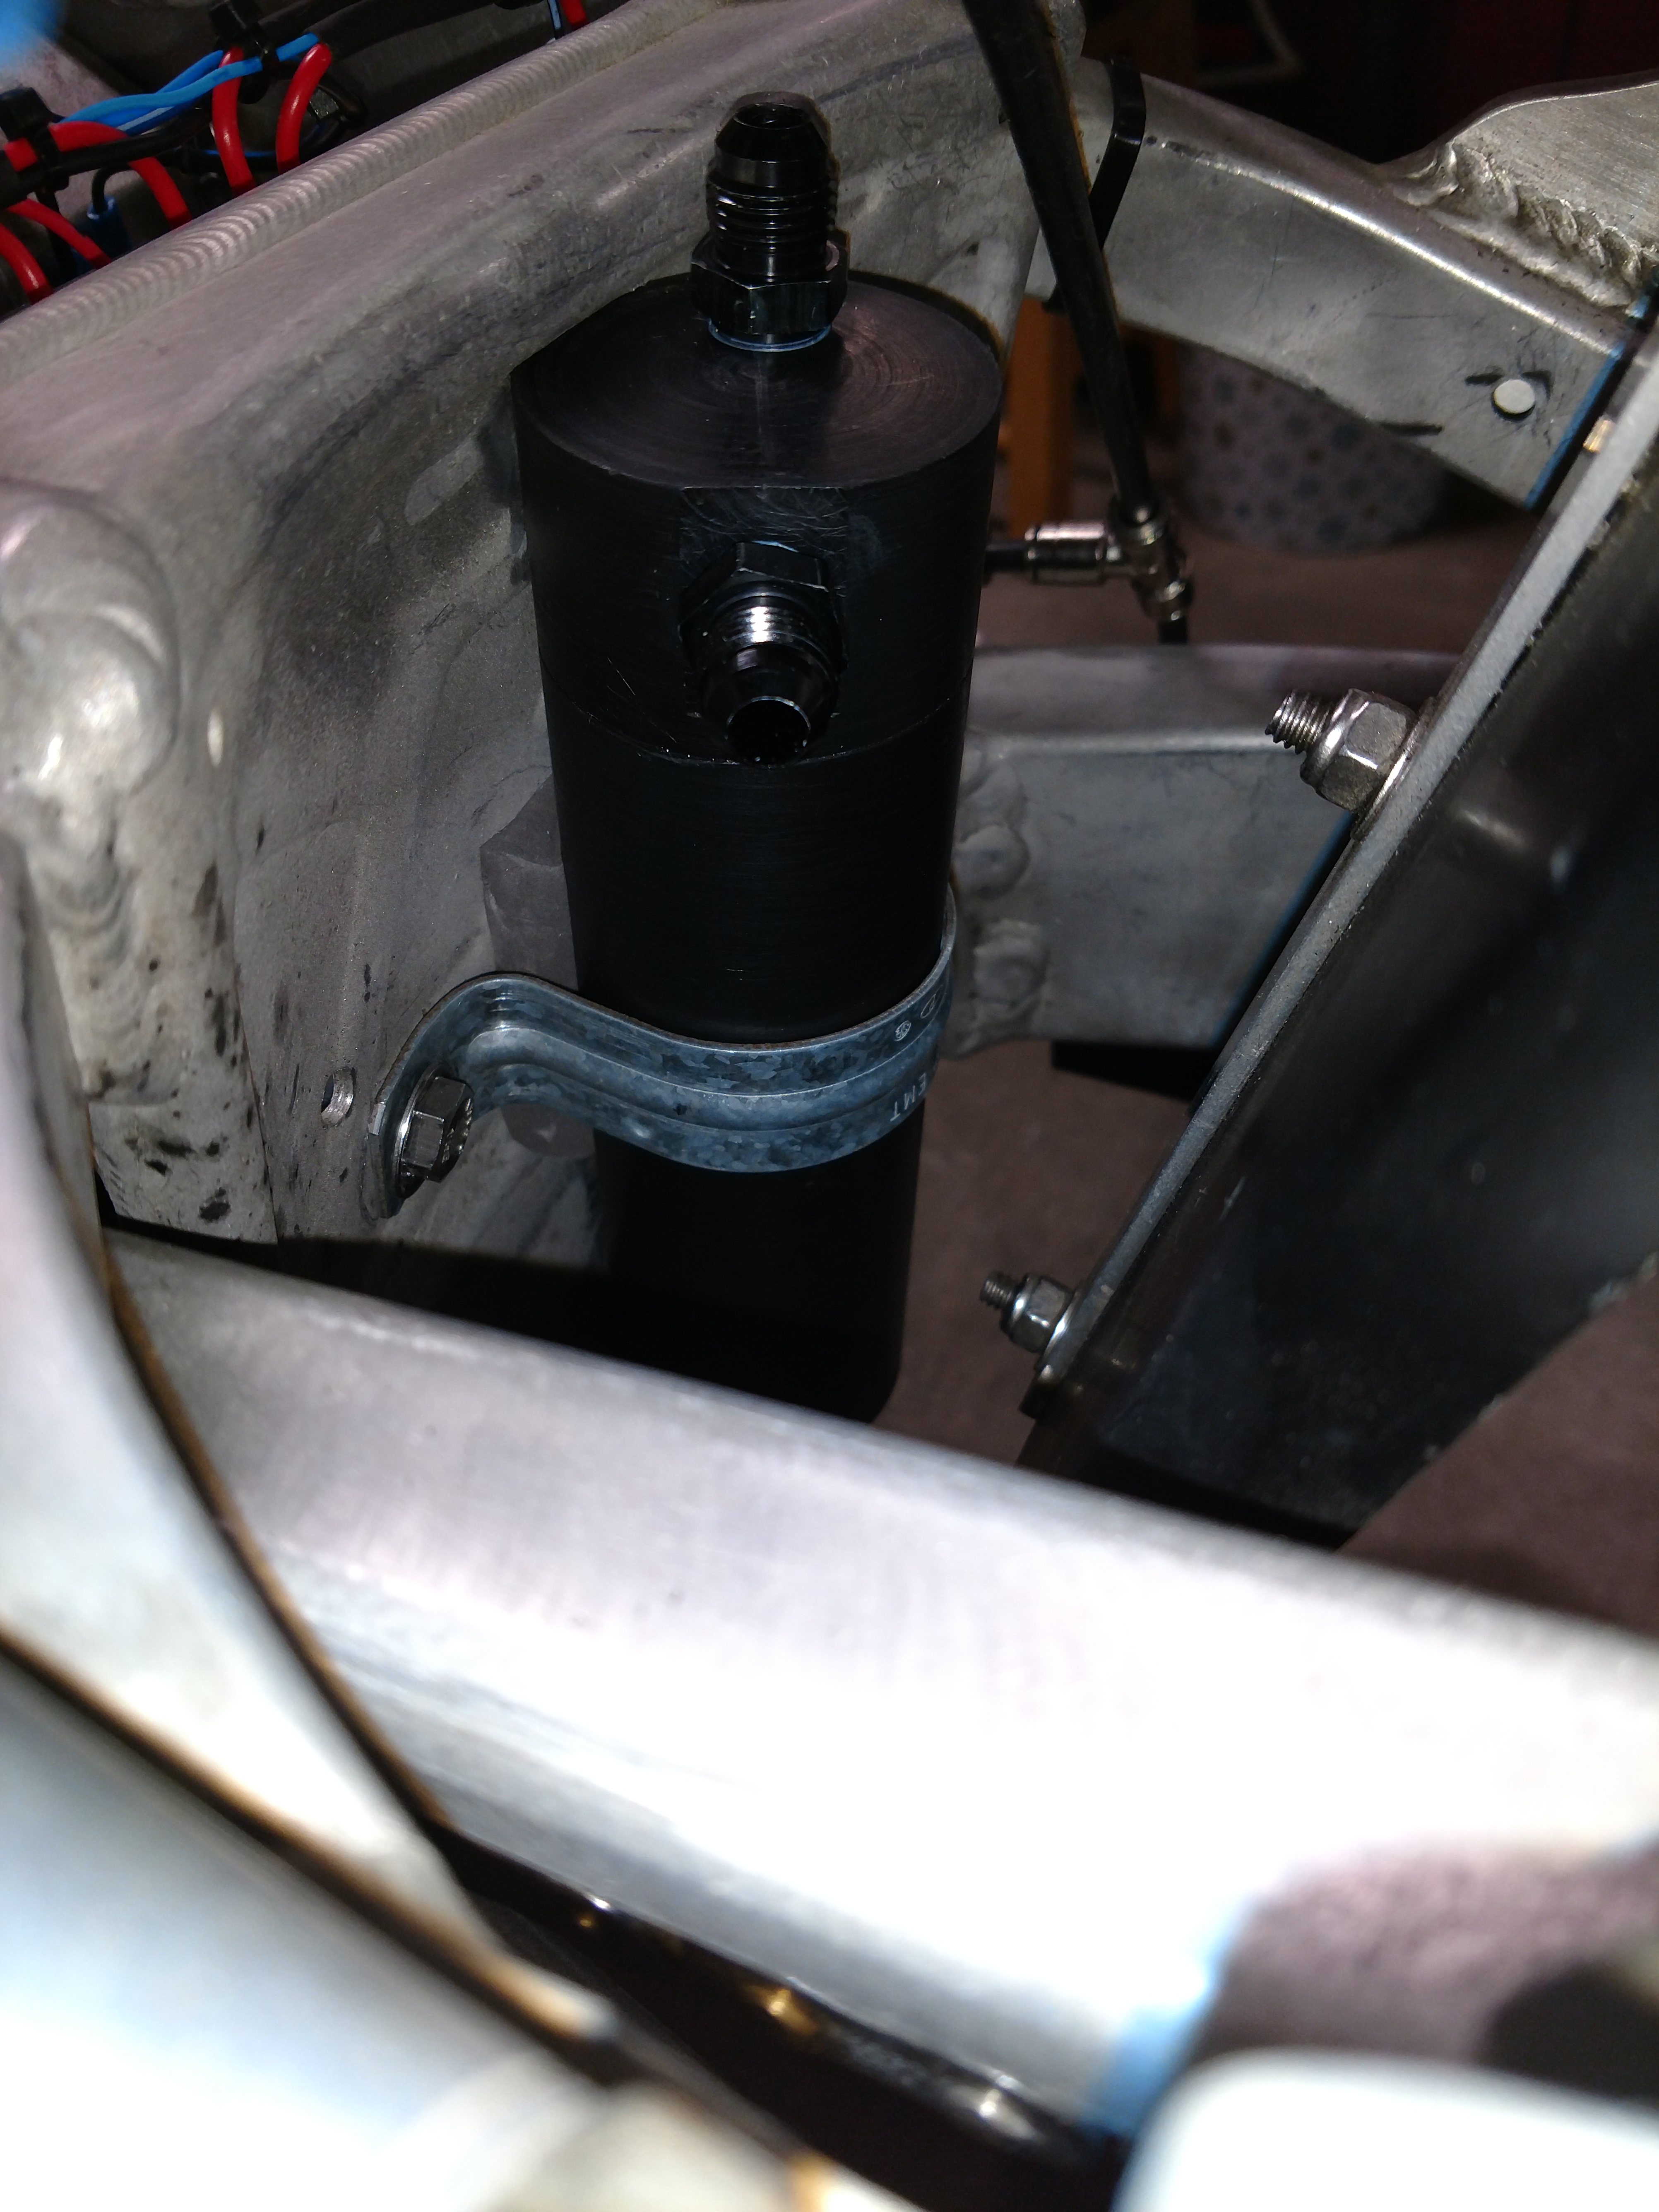
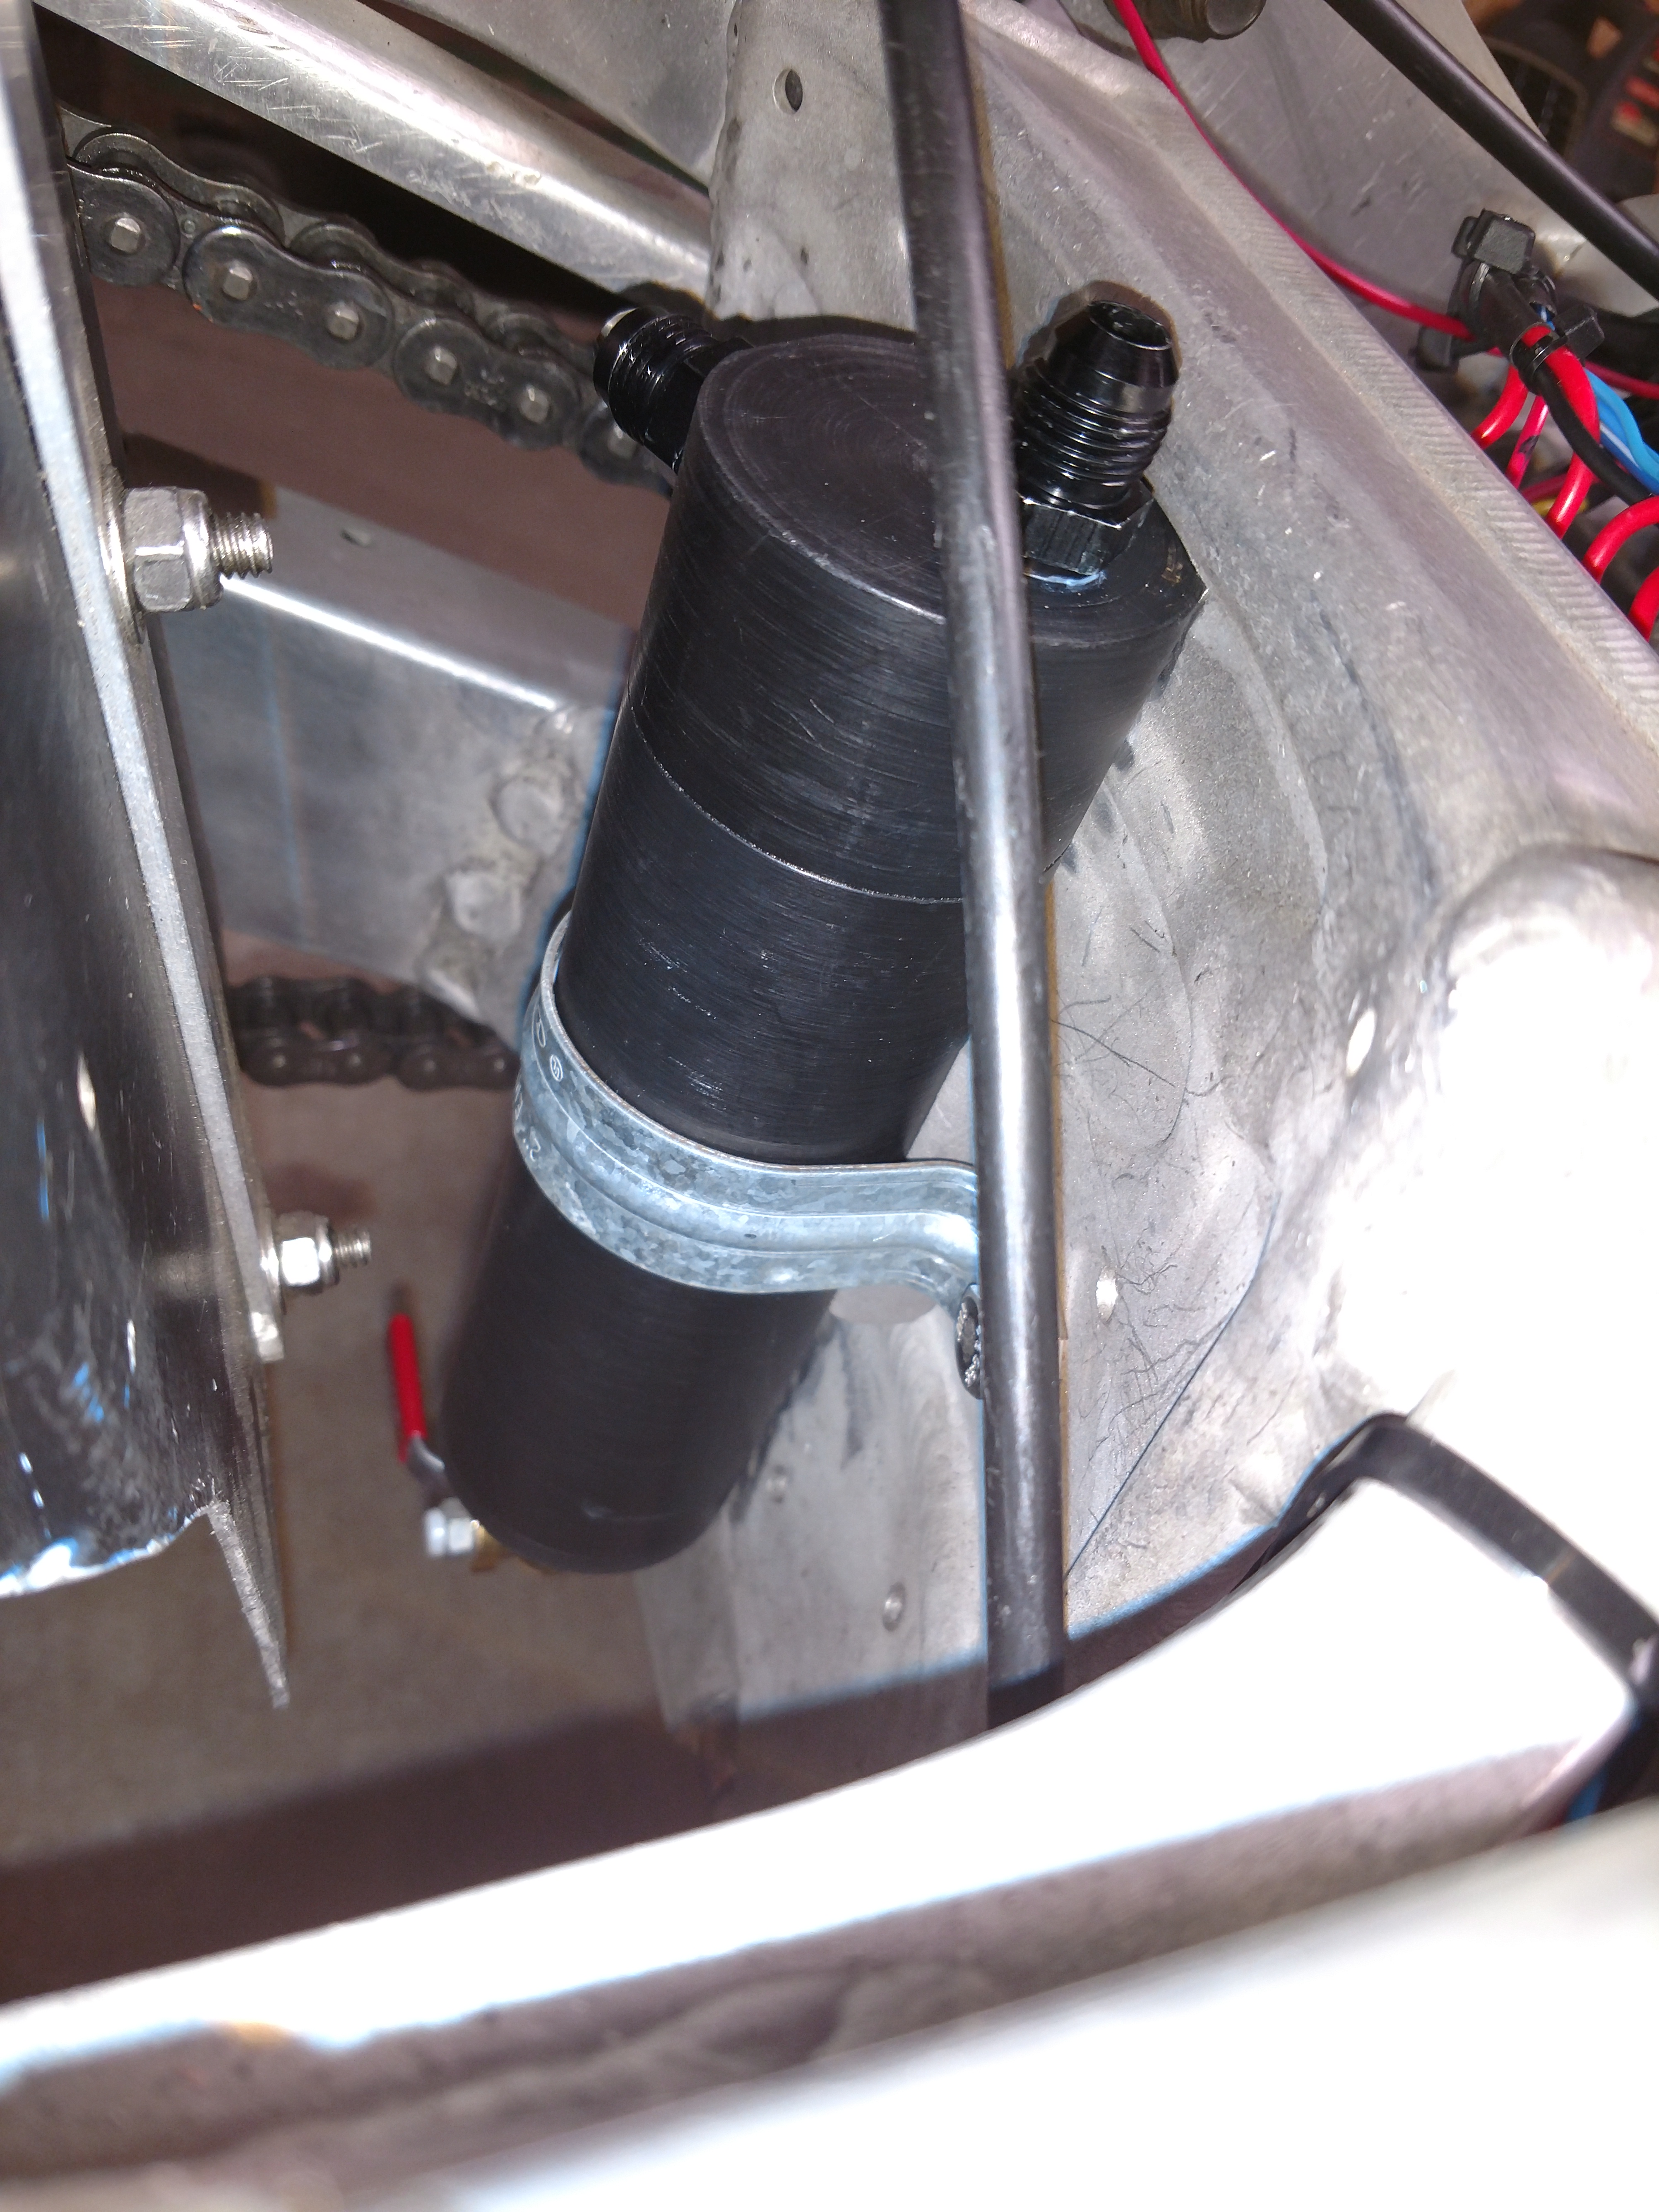
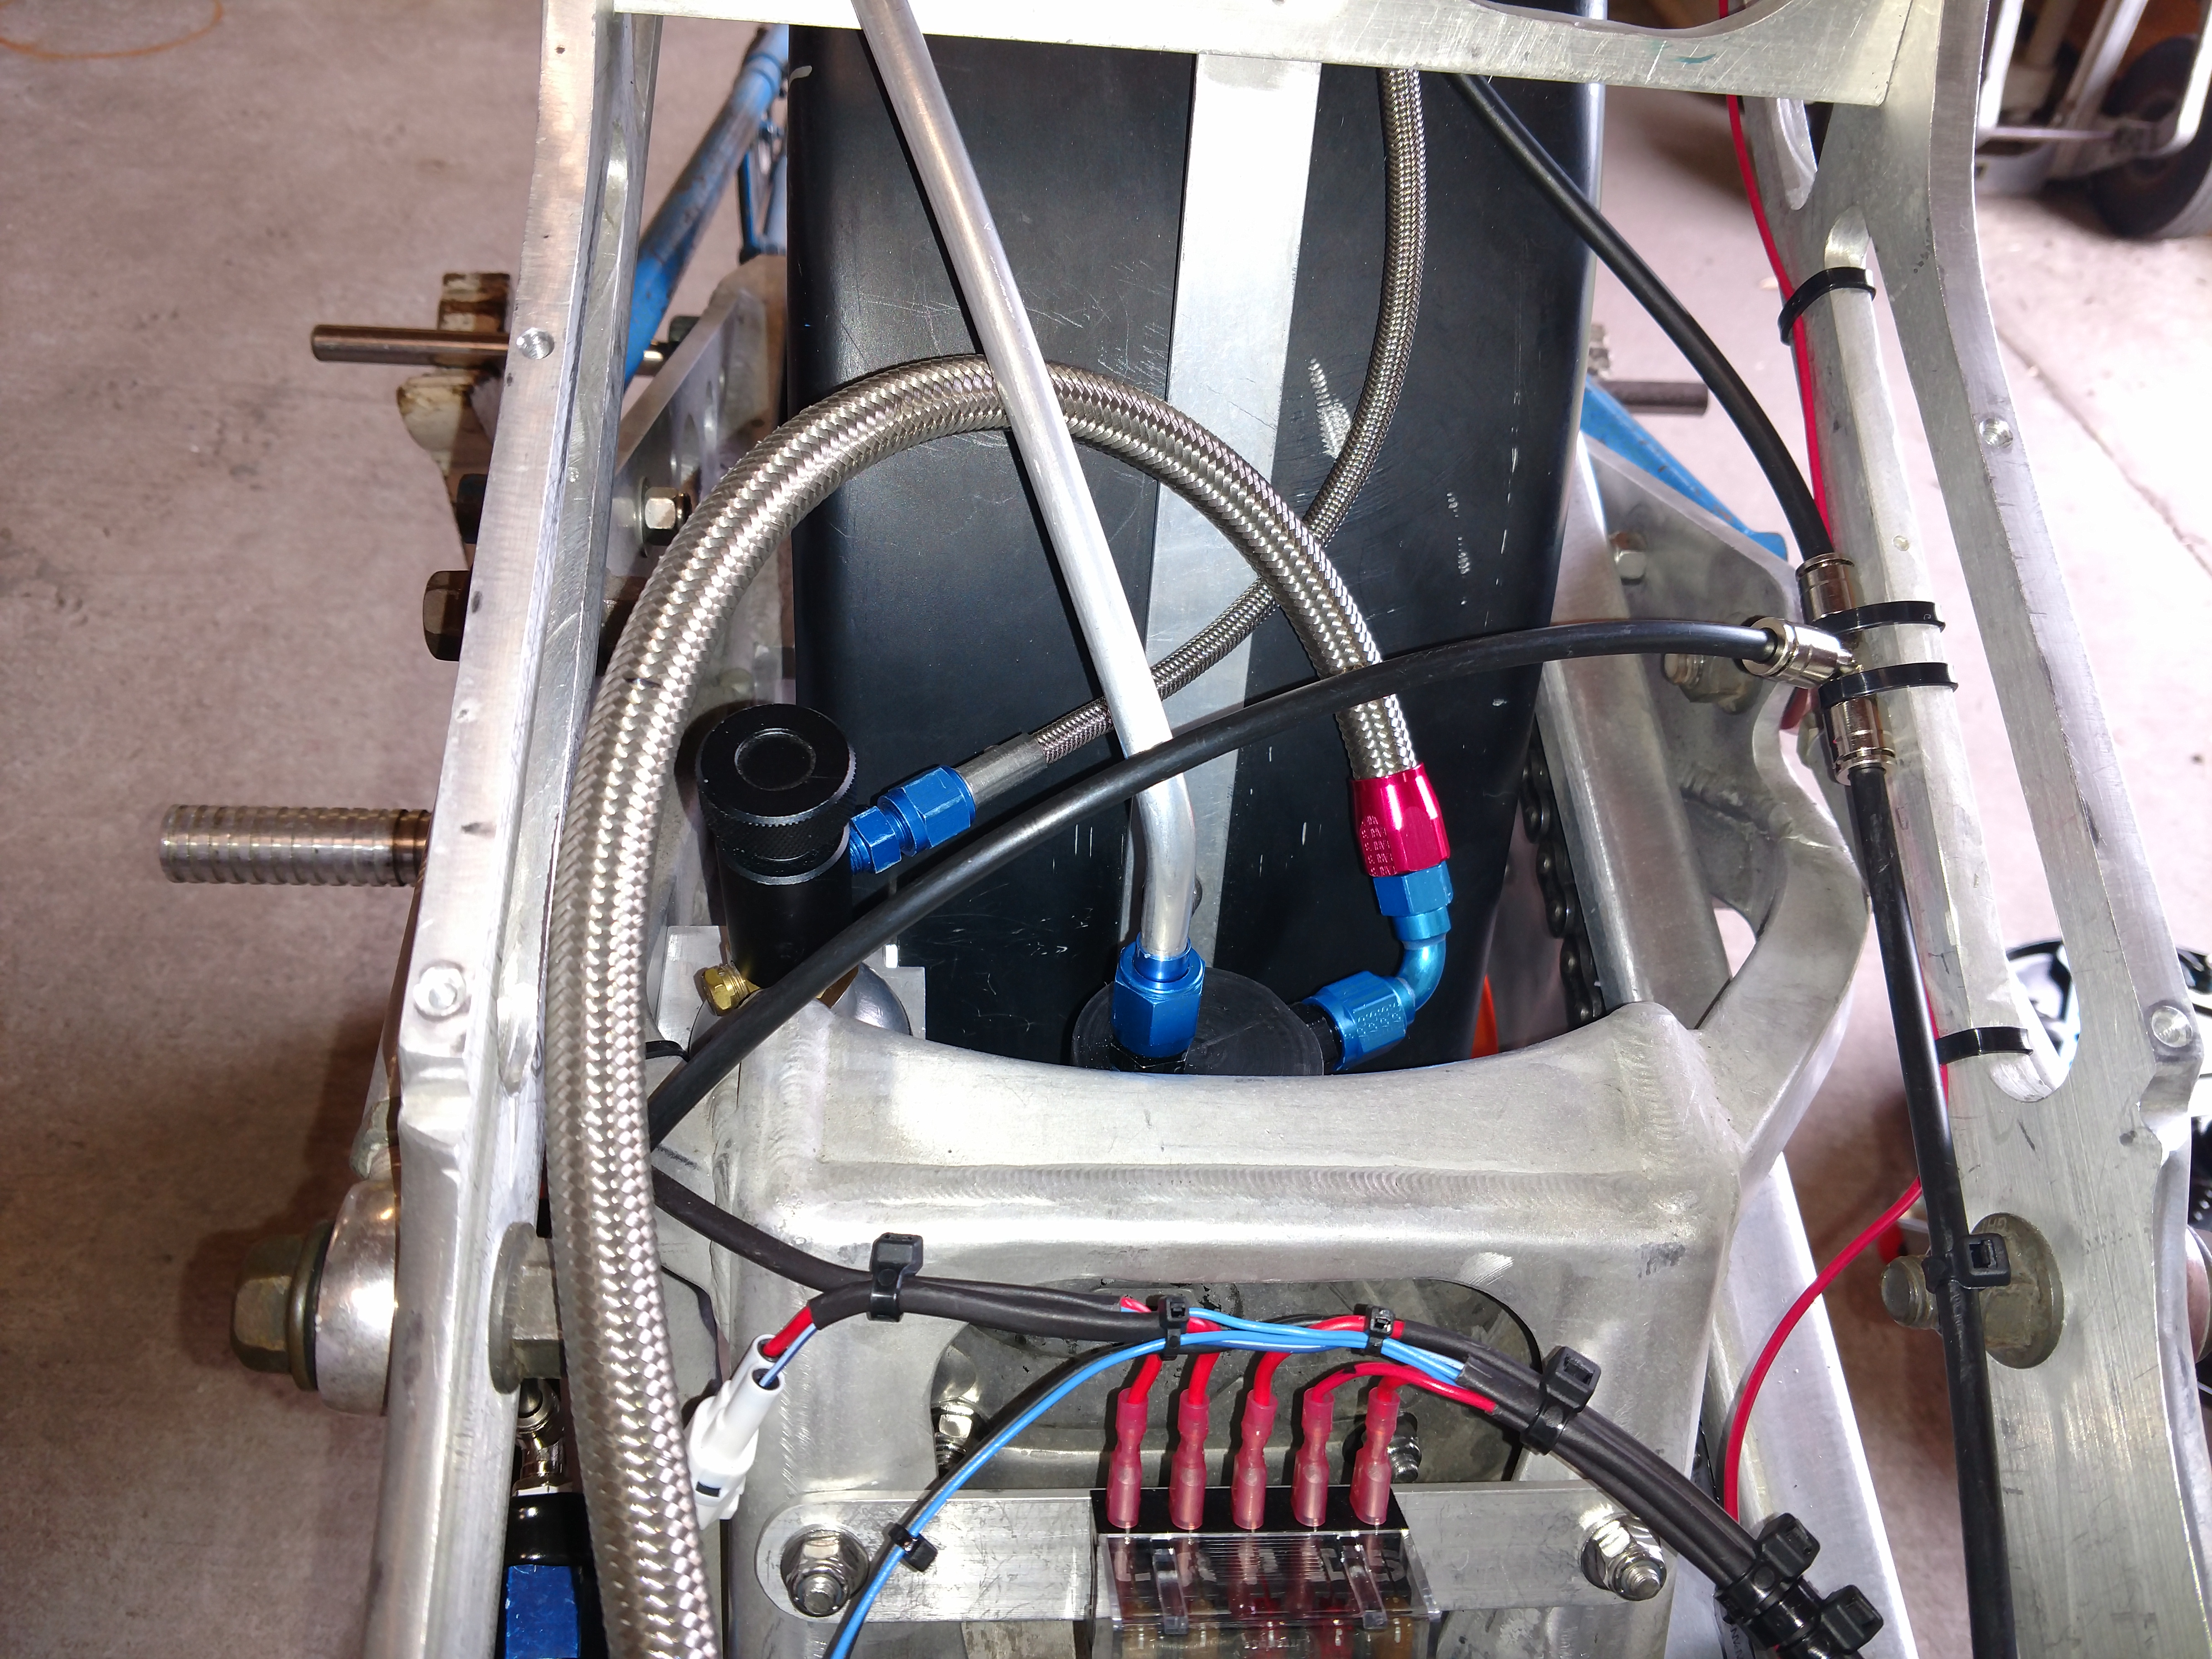
A flexible line connects to the crankcase vent for vibration
isolation. And a hard line runs to the breather filter in the tail.
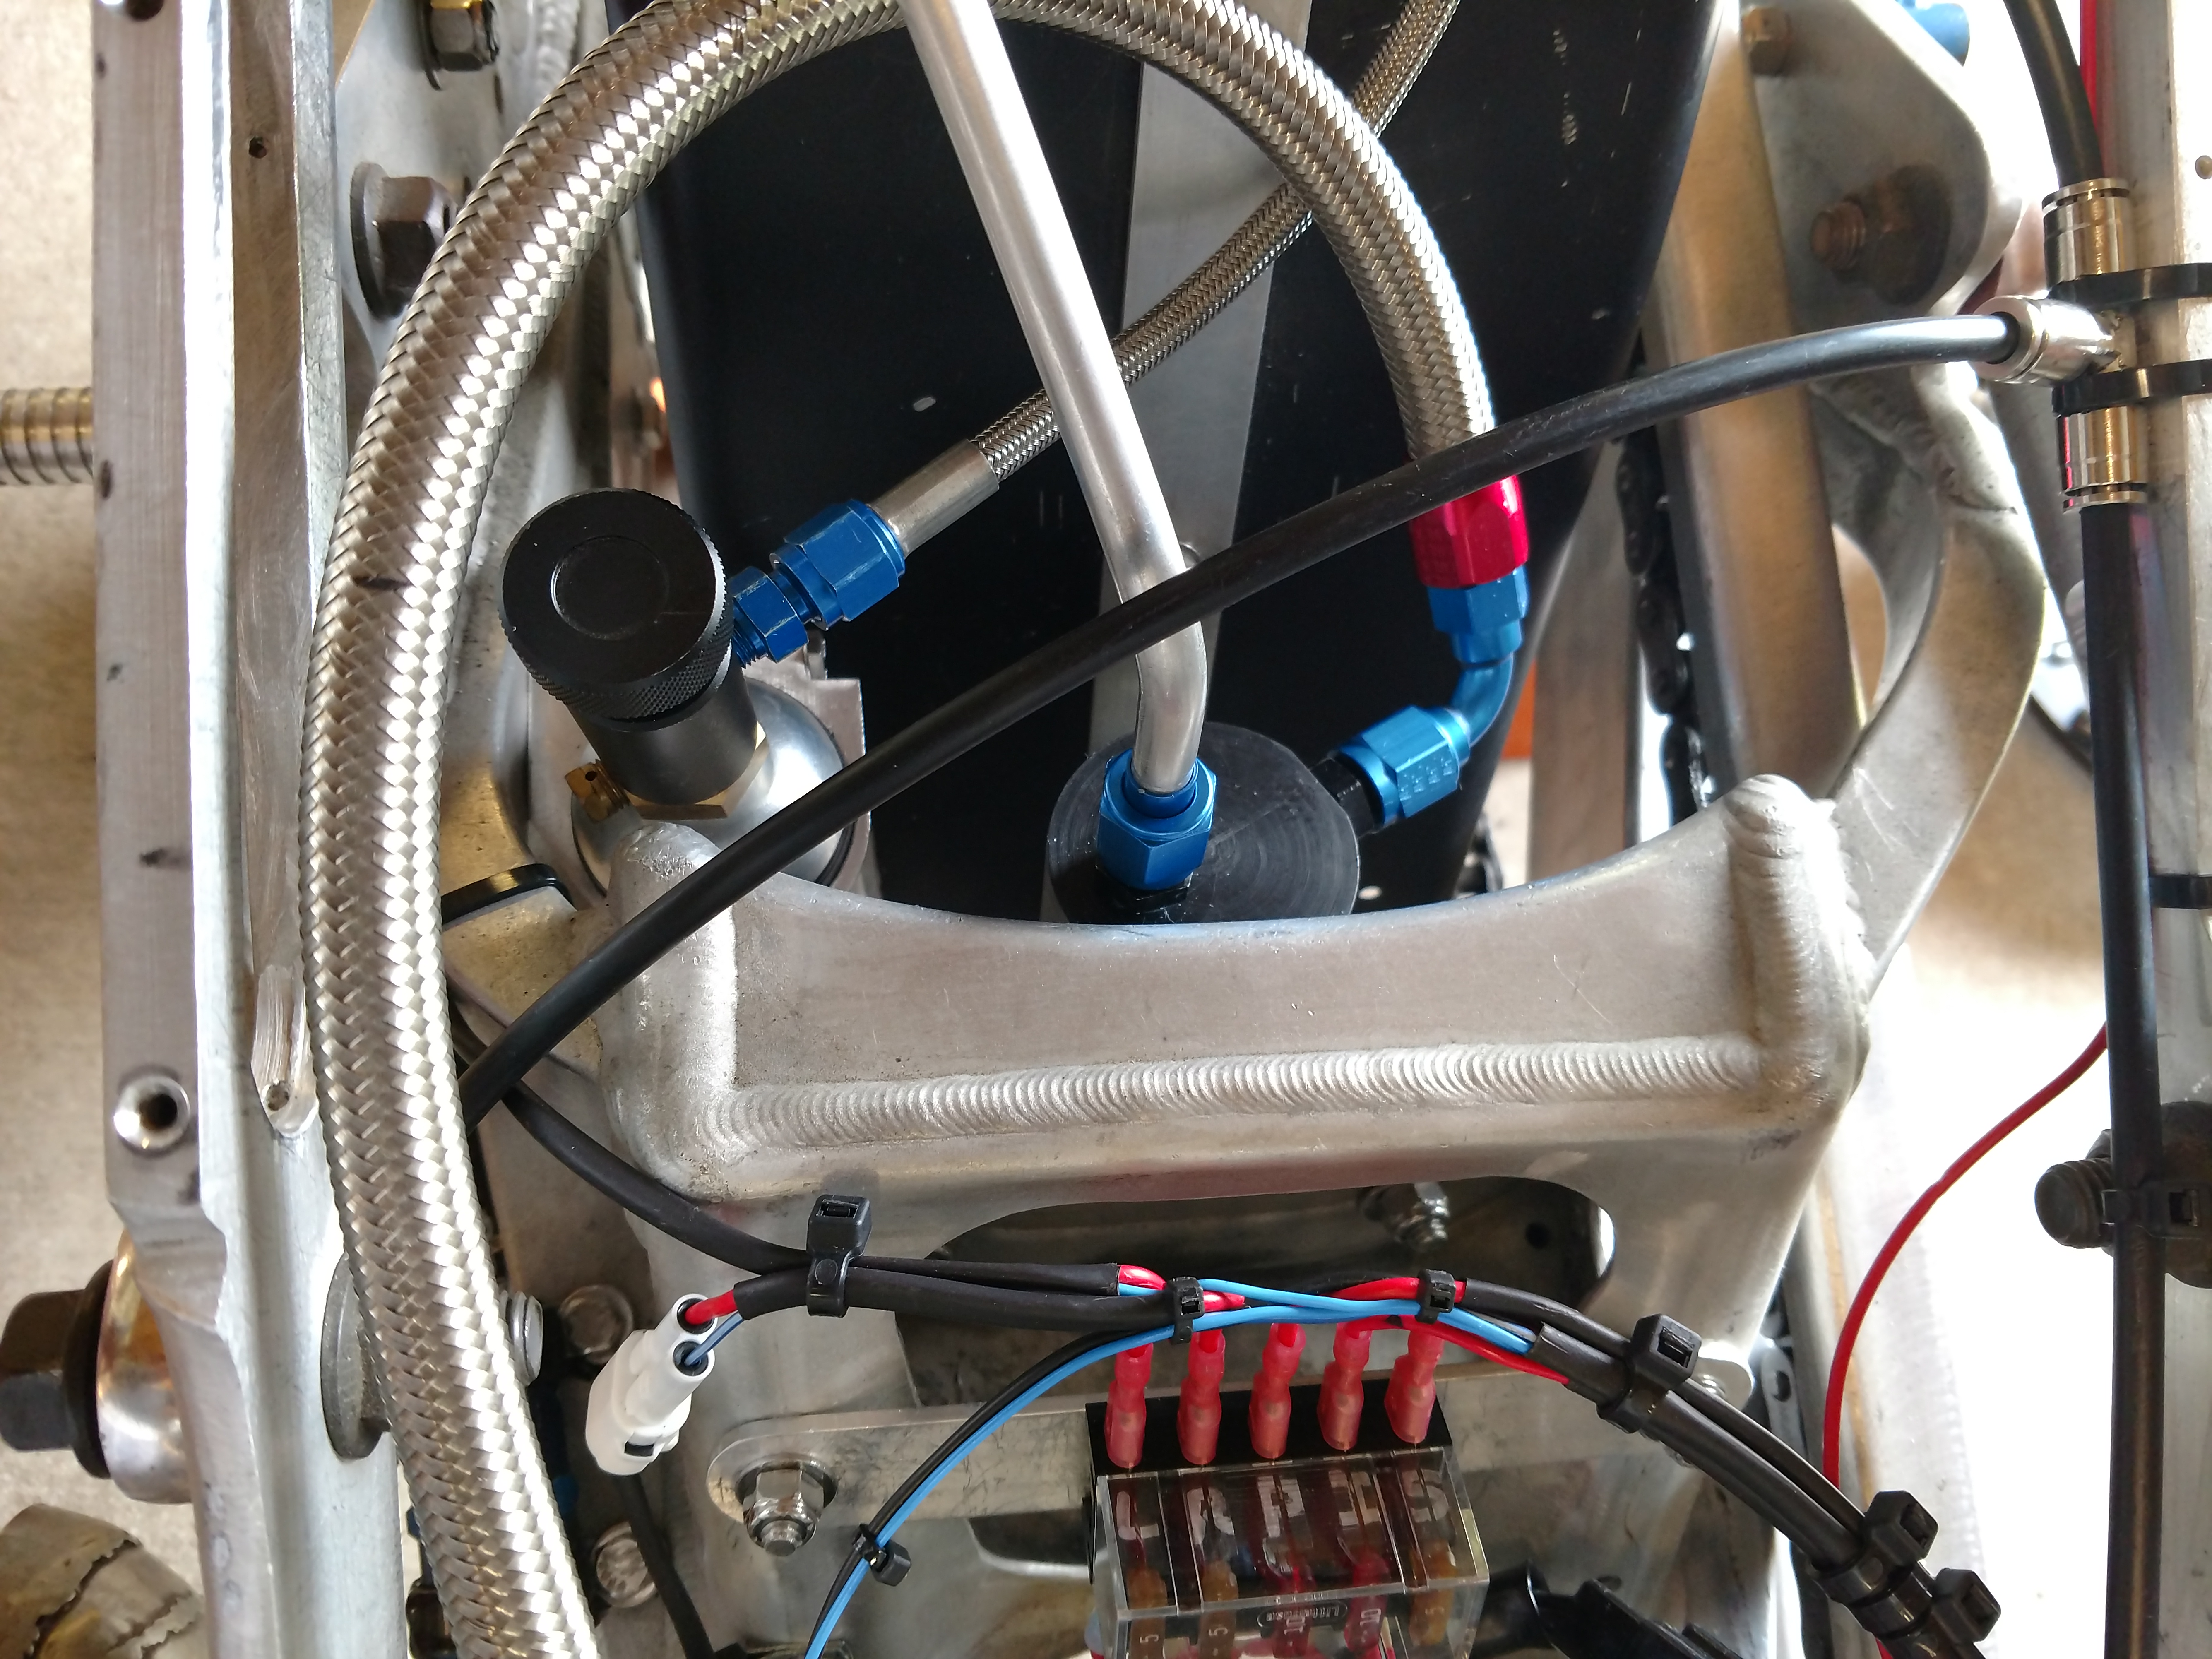
The drain is ready for use.